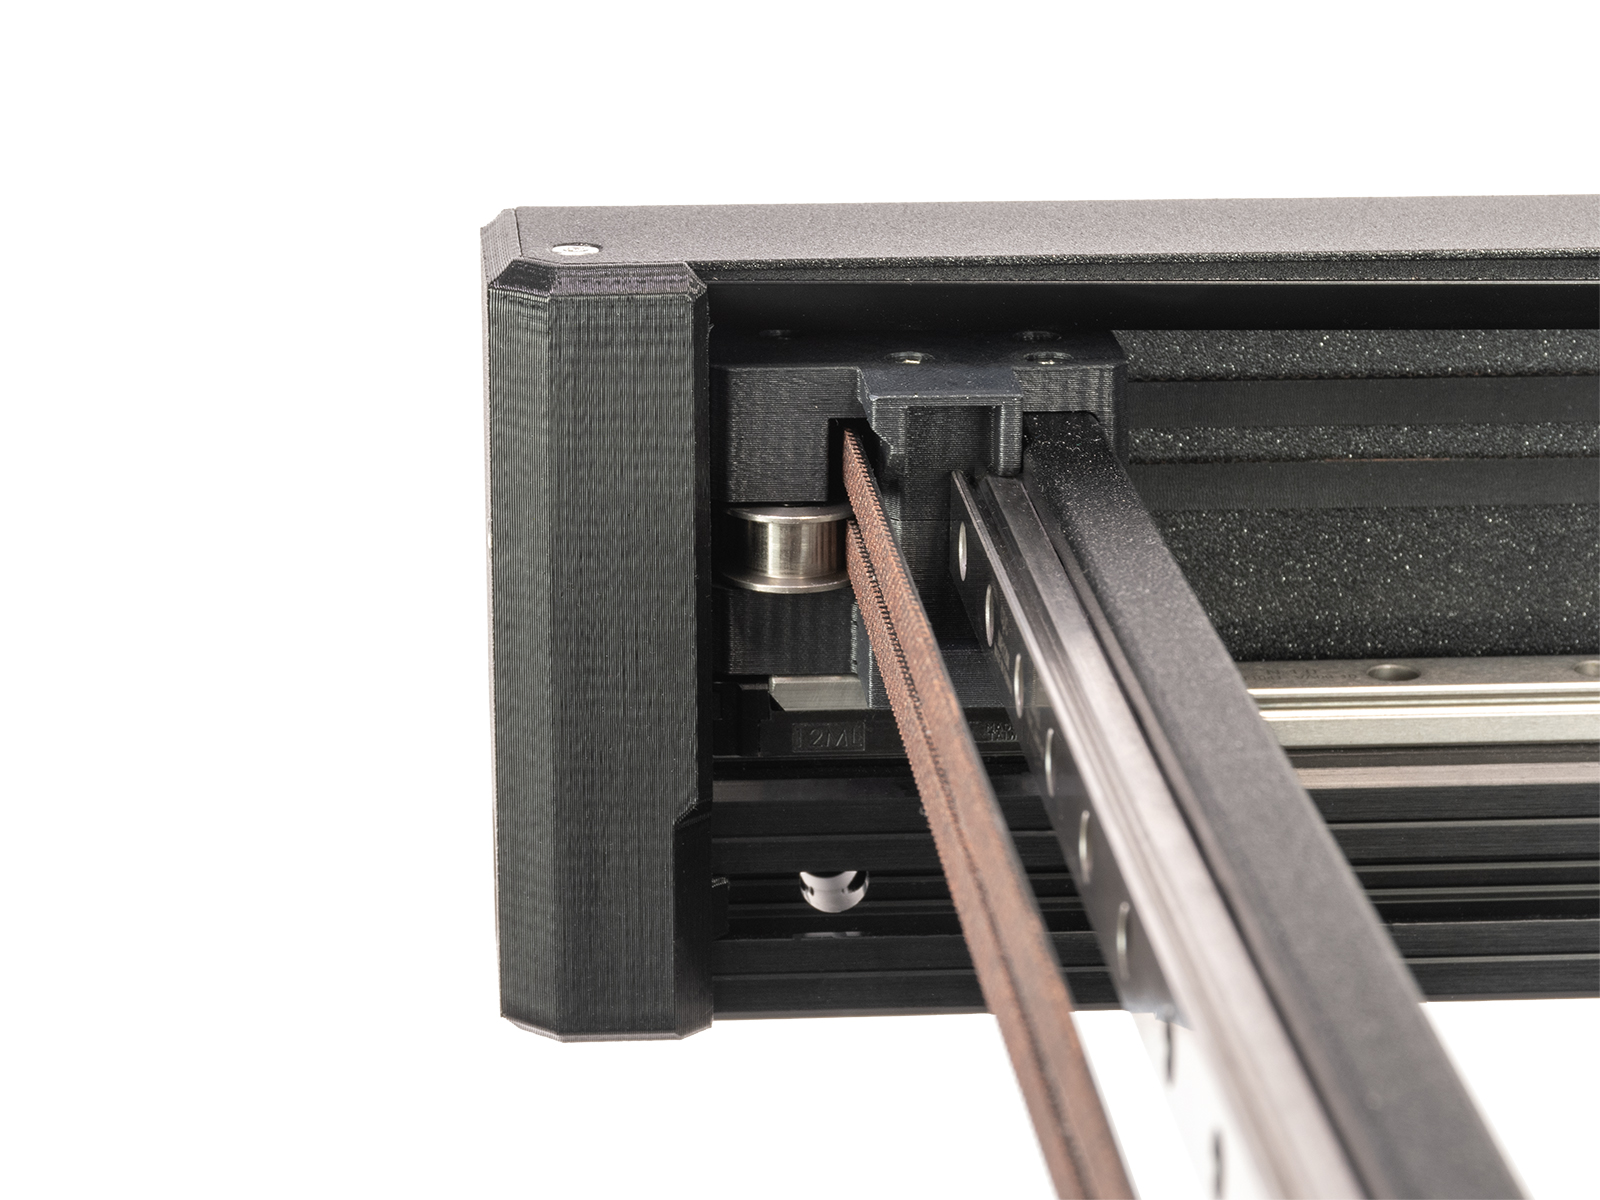
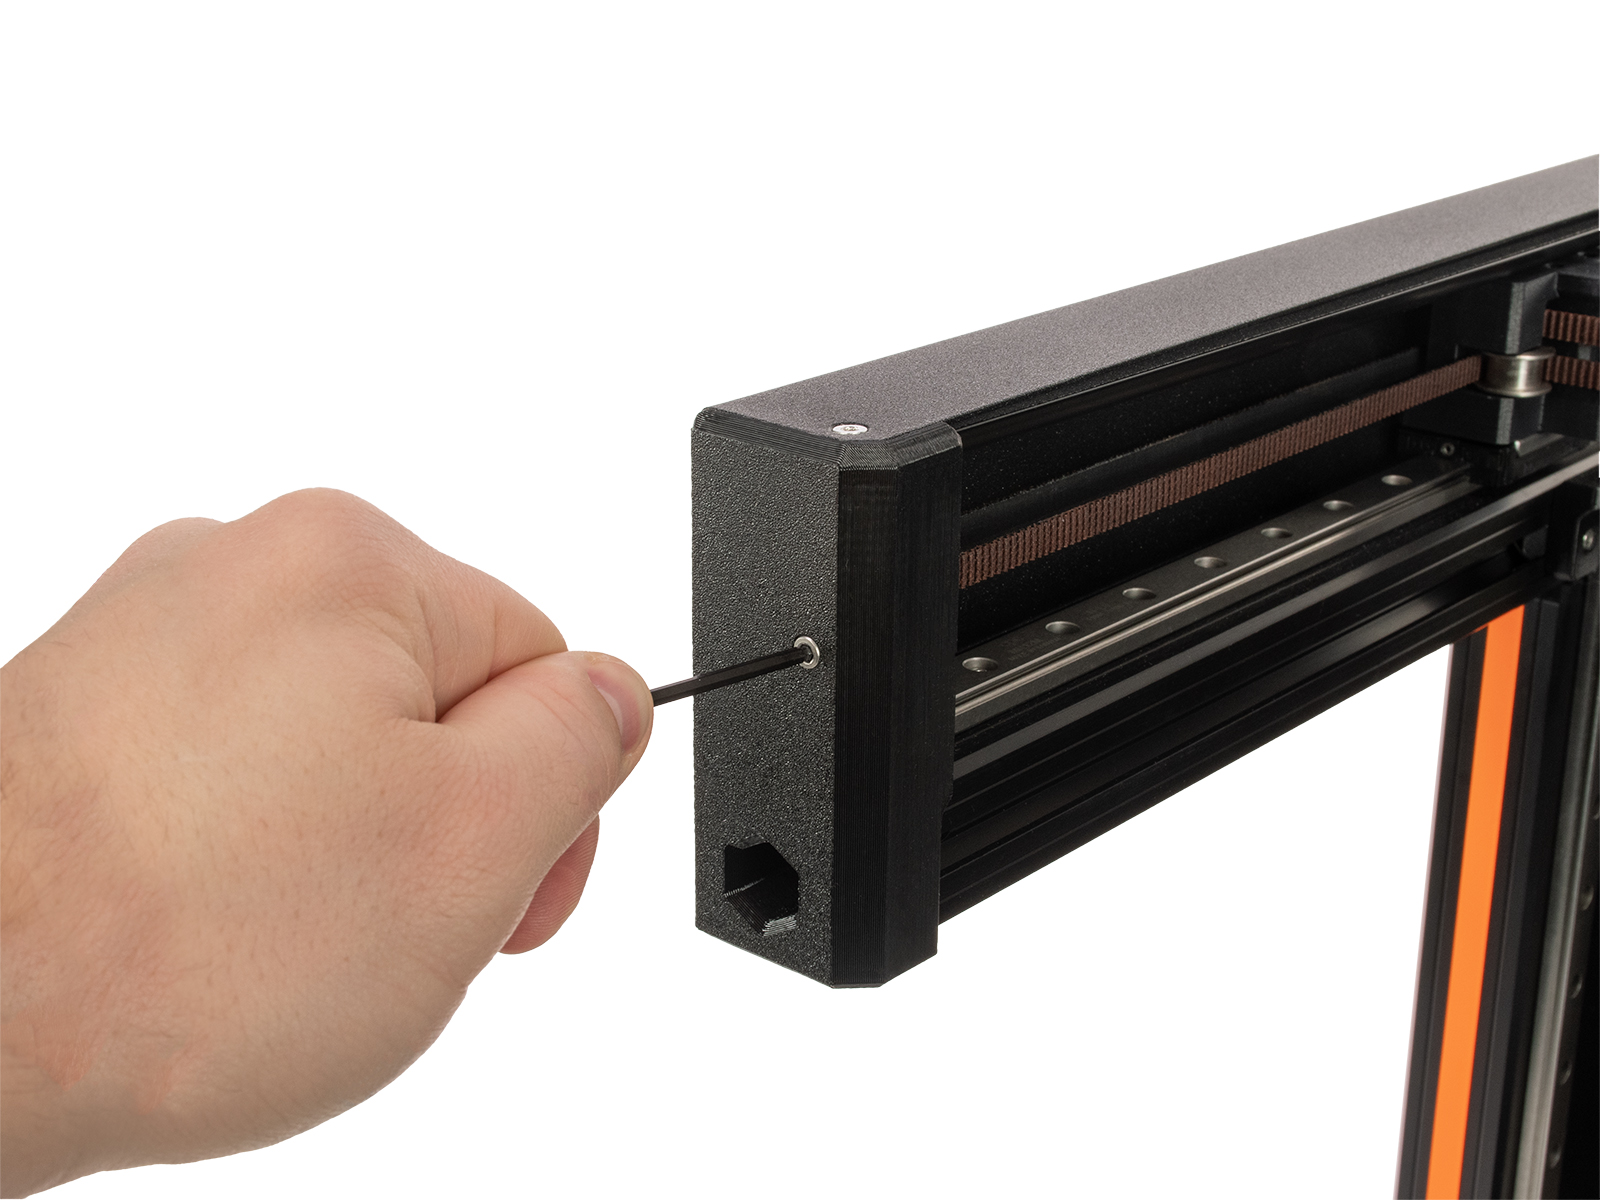
Úprava optimálního napnutí řemenů u tiskárny Original Prusa XL je zásadní pro dosažení dobré kvality tisku. Povolený řemen může způsobit Posun vrstev, Ghosting, nebo jiné poruchy tisku, například nepravidelný tvar místo dokonalého kruhu. Příliš napnutý řemen může způsobit nepravidelný pohyb os X a Y.
Geometrie tiskárny Original Prusa XL je CoreXY: má dva řemeny pro osu X.
Aplikace pro správné napnutí řemene
Máme naší vlastní Aplikaci pro správné napnutí řemene. Aplikace určí napnutí řemene měřením frekvence vibrací, které vznikají při brnkání. Při nastavování řemene postupujte podle pokynů ve videu níže.
Homing tower (věž)
Připravili jsme speciální homing tower (věž), pro vizualizaci případných problémů s napnutím řemene a pro možnost je ihned odstranit.
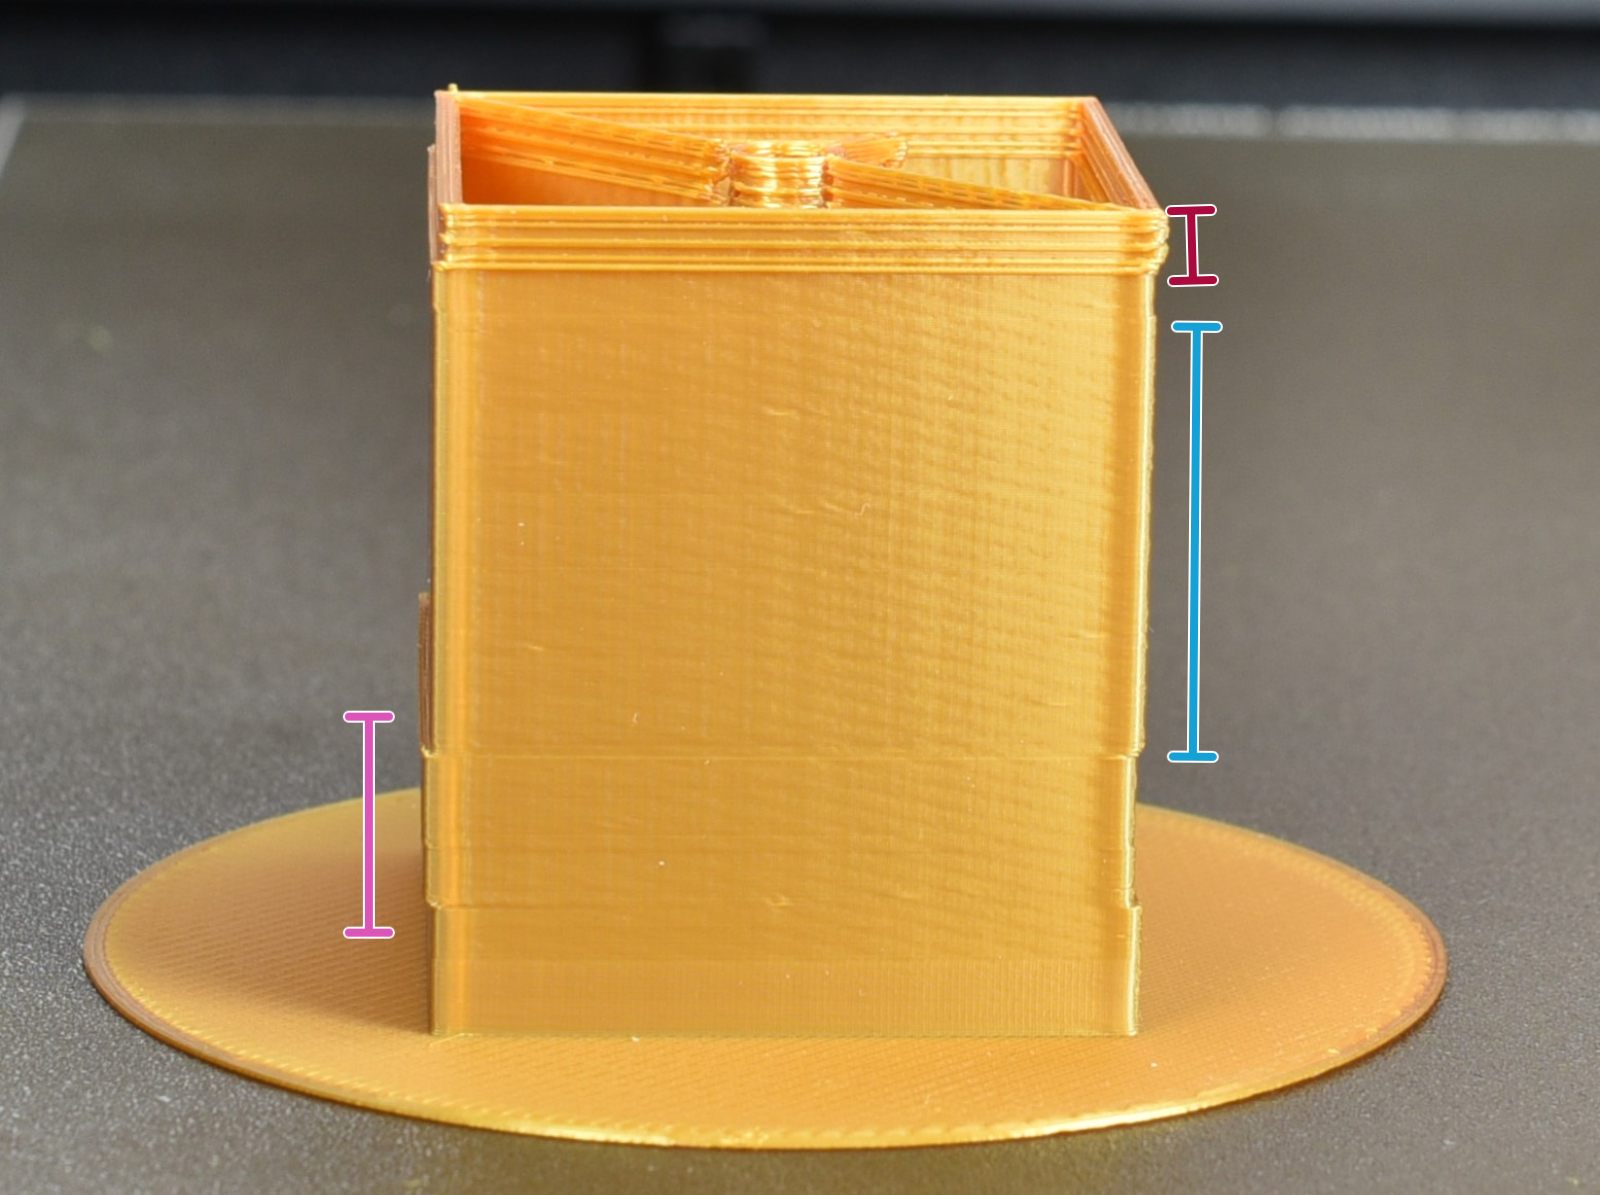
V případě, že je řemen volný, věž bude mít nekonzistentní vzhled s nerovným povrchem stěn namísto hladkého povrchu. Bez přerušení tisku utáhněte šrouby na obou vedeních osy Y o půl otáčky.
Pokud se kvalita tisku zcela nezlepší, opakujte postup ještě jednou, dokud nebude mít věž hladký, konzistentní povrch..
Příliš napnutý řemen může mít za následek posun vrstev.
Jakmile má věž hladký povrch, povolte velmi mírně stejné šrouby a sledujte, zda se tím věž ještě více nezlepší. Postup opakujte, dokud věž nebude mít ideální povrch.
Zarovnání
Zásadní je dokonalé zarovnání pravé a levé strany.
Přesuňte osu X zcela dopředu tiskárny a posuňte X-carriage s extruderem zcela doleva.
Zkontrolujte zarovnání stisknutím přední levé části CoreXY a osy X na obou stranách: mezi díly by neměla být žádná vůle. Pokud vůle existuje, mírně utáhněte šroub na stejné straně, posuňte sestavu osy X dozadu a úplně dopředu a znovu otestujte zarovnání na obou stranách.
Stejný postup opakujte, dokud nejsou obě strany dokonale vyrovnané a bez vůle. V této fázi ještě jednou zkontrolujte napnutí řemene pomocí aplikace pro správné napnutí řemene. Oba řemeny musí být stejně napnuté a zároveň musí být vyrovnána osa X.
V případě, že se při testu objeví rozdíl, mírně utáhněte šroub na straně:
- utáhněte pravou stranu, abyste napnuli horní řemen při pohledu zepředu.
- utáhněte levou stranu, abyste napnuli spodní řemen při pohledu zepředu.