English
Login
3D printers
Materials
Parts & Accessories
For Business
Software
3D Models
Community
Help
Courses
Blog
Company
Support
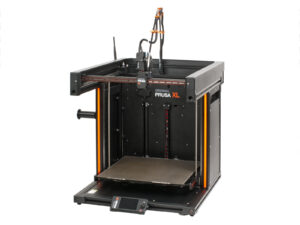
Original Prusa XL
Original Prusa XL Single-Tool (Assembled) (1.06)
4. First run | Before you start with Single-Tool
1. Before you start with Single-Tool
Step 1 of 16 (Chapter 5 of 6)
Contents
Comments
This chapter shows a brief description of the wizard. Please note that the screenshots are illustrative and might differ from those in the firmware.
Make sure you are running
Firmware 5.1.2 or newer
Loading...
Next
Contents
Original Prusa XL Single-Tool (Assembled)
1. Introduction
2A. Printer Unboxing
2B. Printer Unboxing
3. Printer set up
4. First run
Before you start with Single-Tool
Preparing the printer
Firmware update
Wizard: Network and Prusa Connect setup
Wizard: Calibration tests
Wizard - Test Loadcell
Wizard - Calibrate Filament Sensors part 1
Wizard - Calibrate Filament Sensors part 2
Wizard: Phase stepping
It's done
Prusa nextruder sock (Optional)
Quick guide for your first prints
Printable 3D models
Prusa knowledge base
Join Printables!
Haribo time!
Manual changelog
Comments
Log in
to post a comment
No comments