When returning an assembled Original Prusa SL1 printer, we would like you to secure it in a proper way, to prevent any damage during the transport.
If you are sending it back for a refund, you must include all of the tools and accessories that came with it.
That includes:
- Build-plate
- Resin supplied with the printer
- USB flash drive
- Power cable
- USB cable
- Spatula
- All tools, like screwdriver, Allen-keys, etc.
If we have sent you some replacement parts before, don't forget to also send us back the original (broken) parts too.
Return for repair
When returning the printer just for repair, you do not have to include everything. You can keep the tools (pliers, spatula, screwdriver, Allen key, spanner, cables, etc).
We do need you to send us the resin giving you issues (the whole bottle, not just a sample), and the USB flash drive with the "G-code" that you had trouble printing. Please, also include a copy of the original STL-file.
Always include the Prusa Service list, filled out with your order number, serial number, and summary of what went wrong, so that we know what we should focus on. All this will help us to get the printer back to you much faster.
Packing materials
Before you start packing it down, get out your phone or camera to take pictures of the printer before and during the packing process. Make sure the serial number sticker is present on the back of the printer. If it is not present, please contact support right away.
If you bought the printer assembled, please re-use the box and padding in which you received it. If it was a kit, it uses the same box but is missing the special padding. If you have discarded the box, here are some measurements to acquire a new one:
- The assembled printer's dimensions are roughly 220 x 240 x 410 mm / 8,6 x 9.4 x 16.1 in
- Box should be at least 300 x 320 x 500 mm / 11.8 x 12.6 x 19.6 in.
- The original printer's box is 500 x 450 x 320 mm / 19.6 x 17.7 x 12.6 in.
You will need a piece of bubble-wrap/sheet padding. Roughly 400 × 400 mm / 15 × 15 in. Do not use packing peanuts and/or shredded paper as padding material! This is not suitable. Use crumpled paper, bubble-wrap, or other inflated packing material.
Packing process
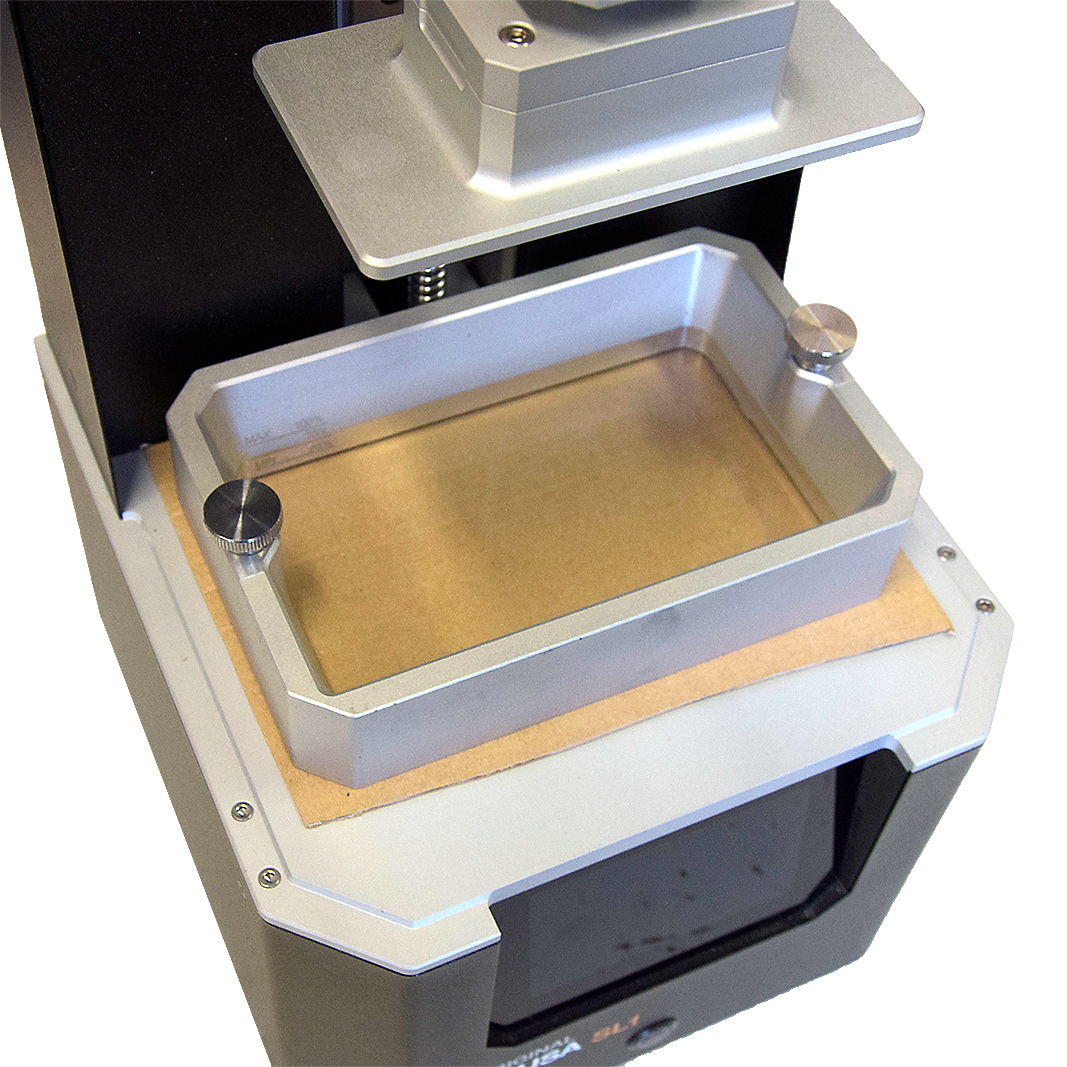
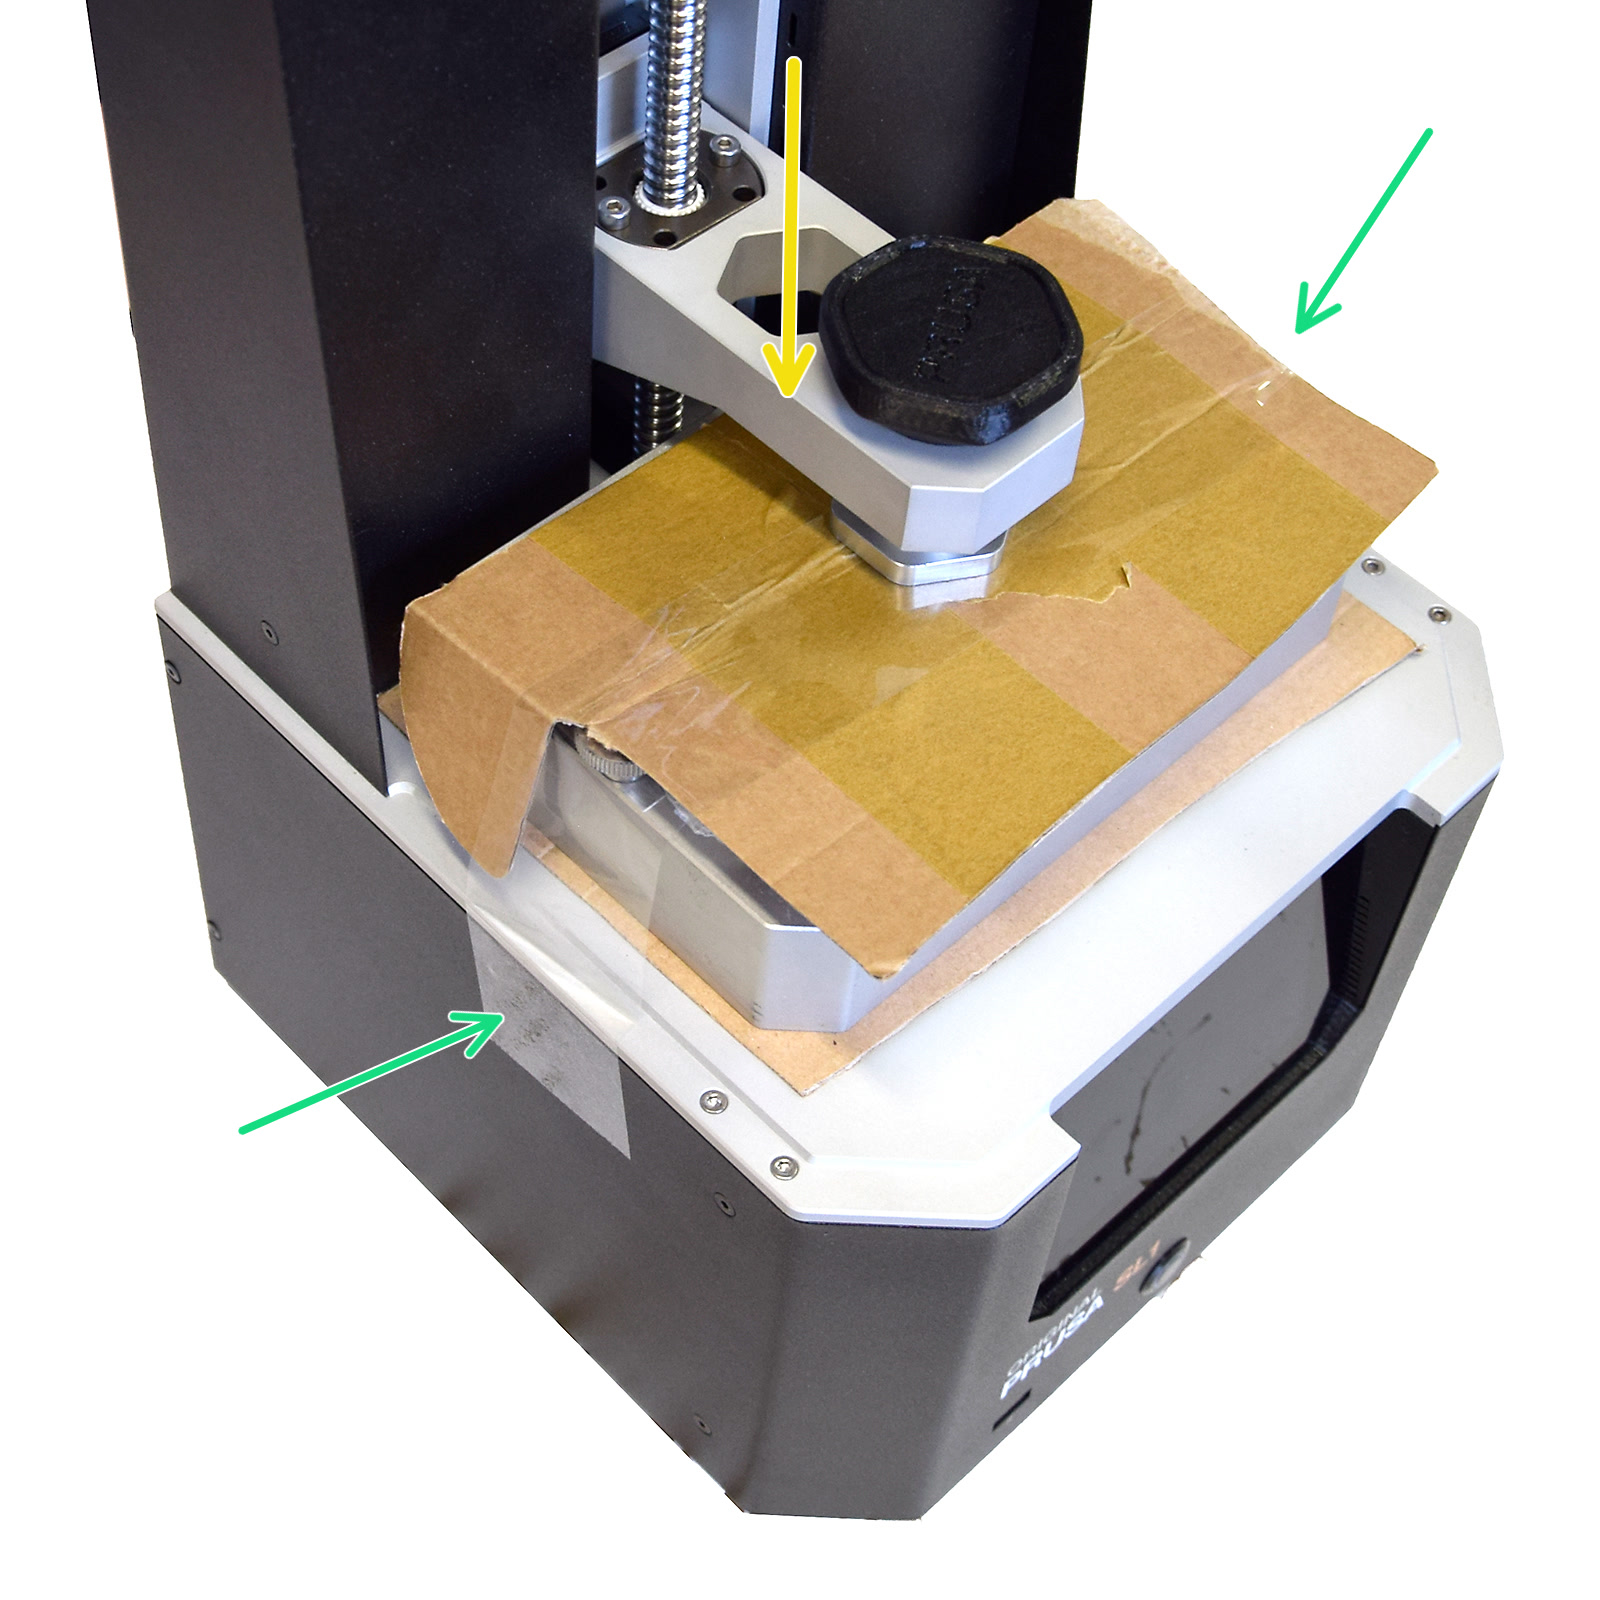
- Remove the resin-tank (vat) and lay a layer of thin cardboard on top of the print-LCD. Make holes in the cardboard at the screw-holes and secure the vat on top with its screws. To easily get the correct holes, place the tank with screws on top of the cardboard and press the screws down to mark where you create some holes (left picture).
 |  |
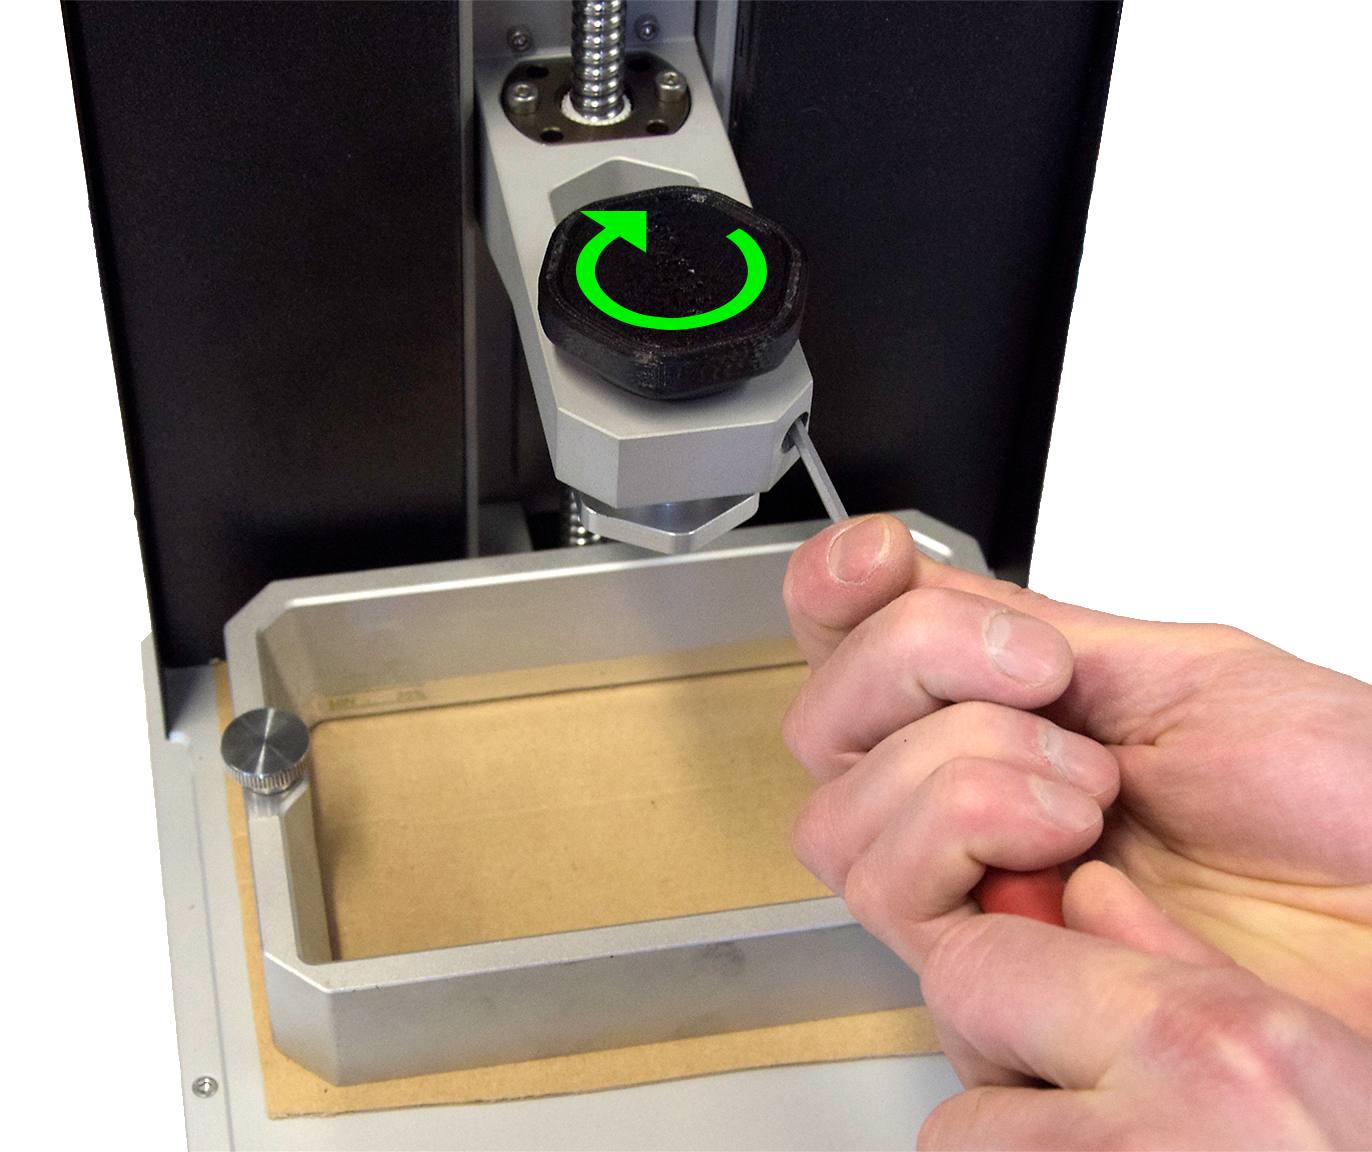
- Remove the build-platform and push the tower halfway down its axis and secure the platform-mount by securing the knob and cantilever screws, as in the last step of the calibration-procedure.
- Wrap the build-plate up in several layers of bubble-wrap and place it inside the resin tank.
- Cut out another piece of cardboard and place it on top of the tank with the platform and tape it down (green arrows). Then push the lever down until it touches the cardboard (yellow arrow).
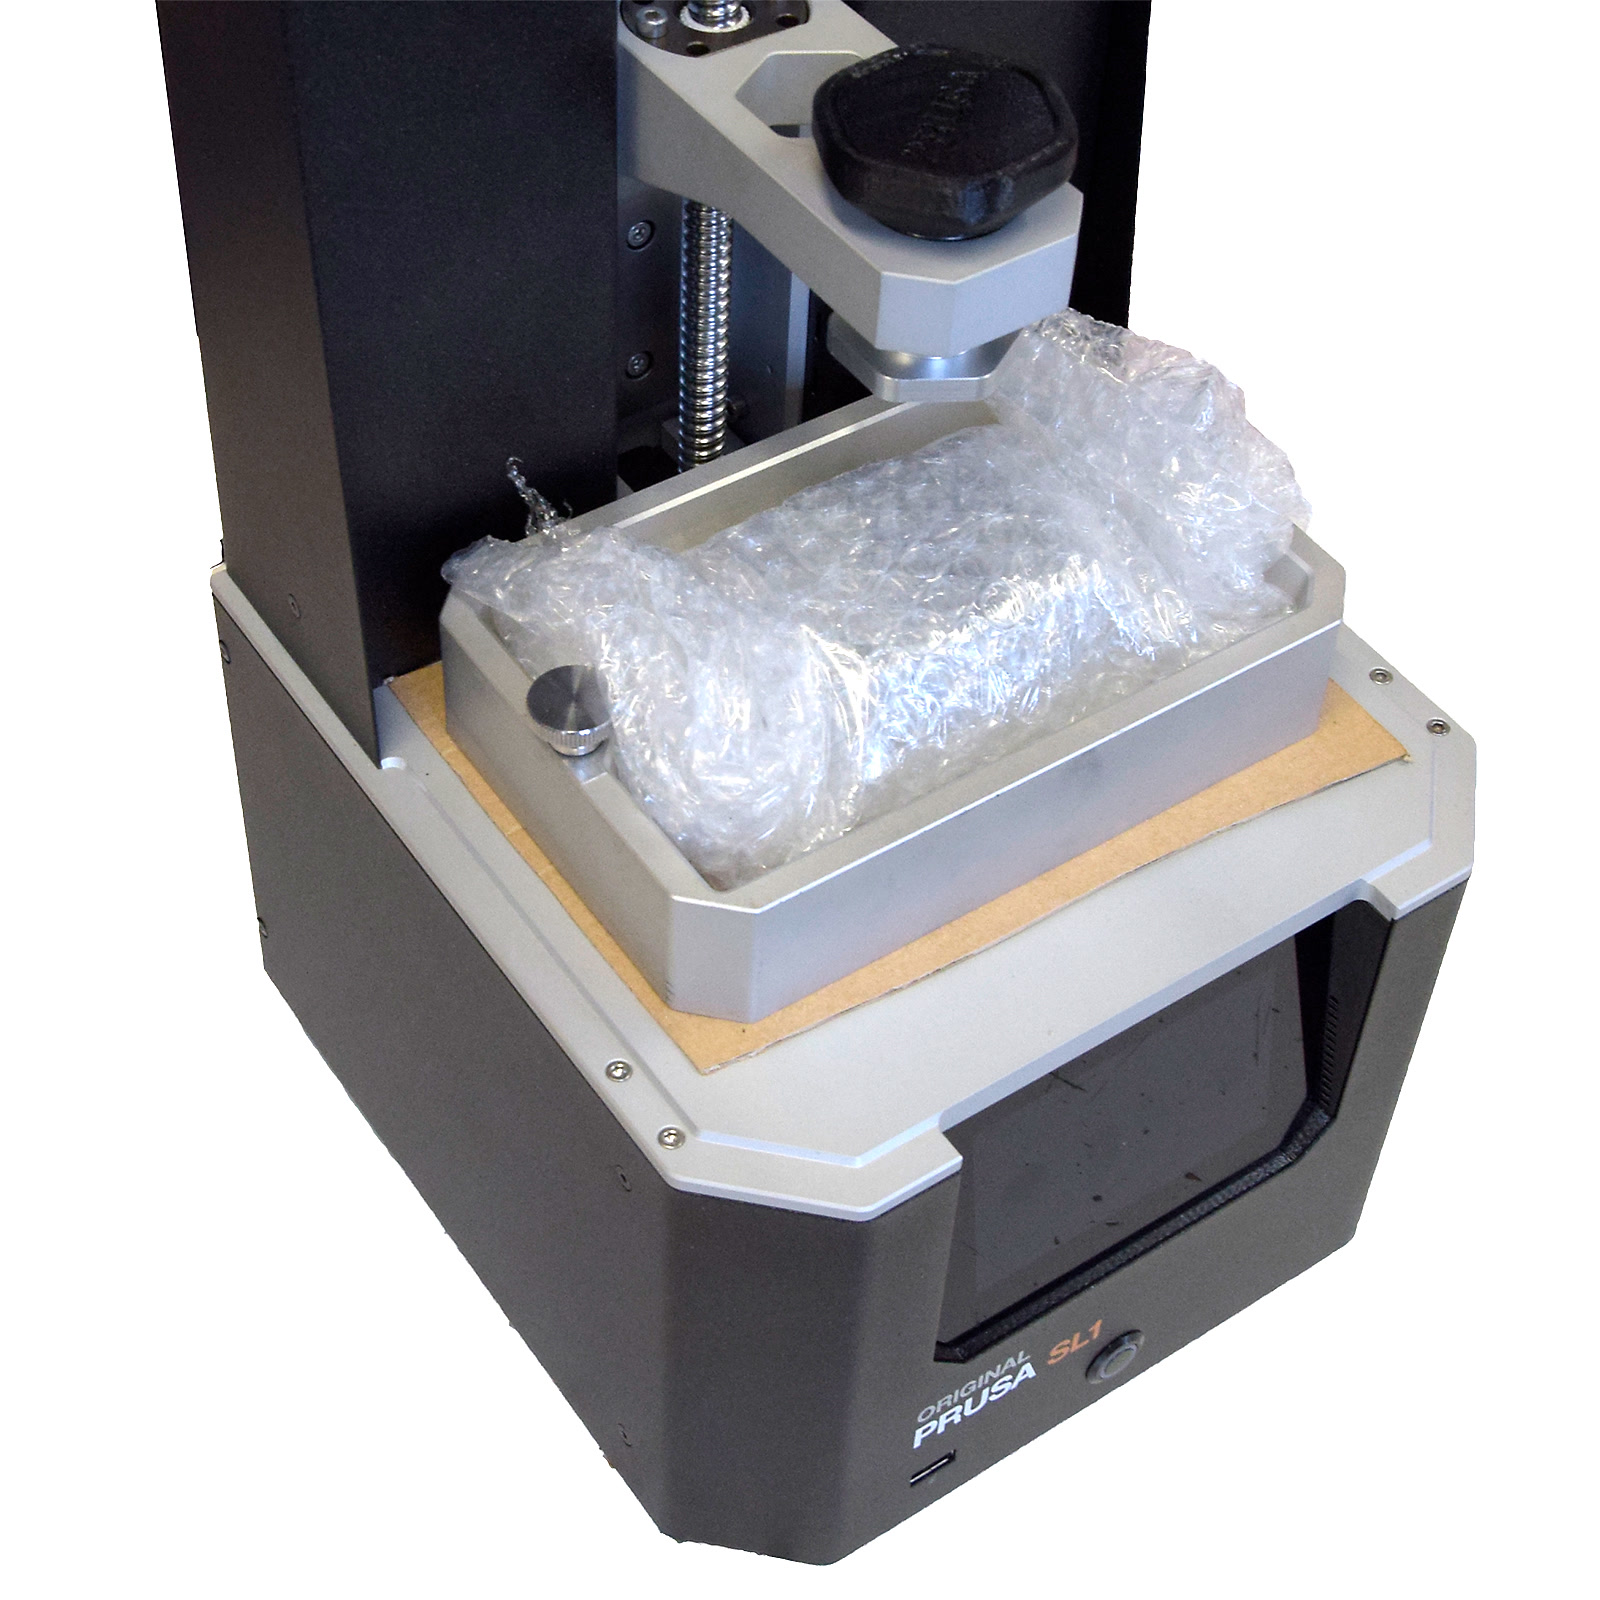 |  |
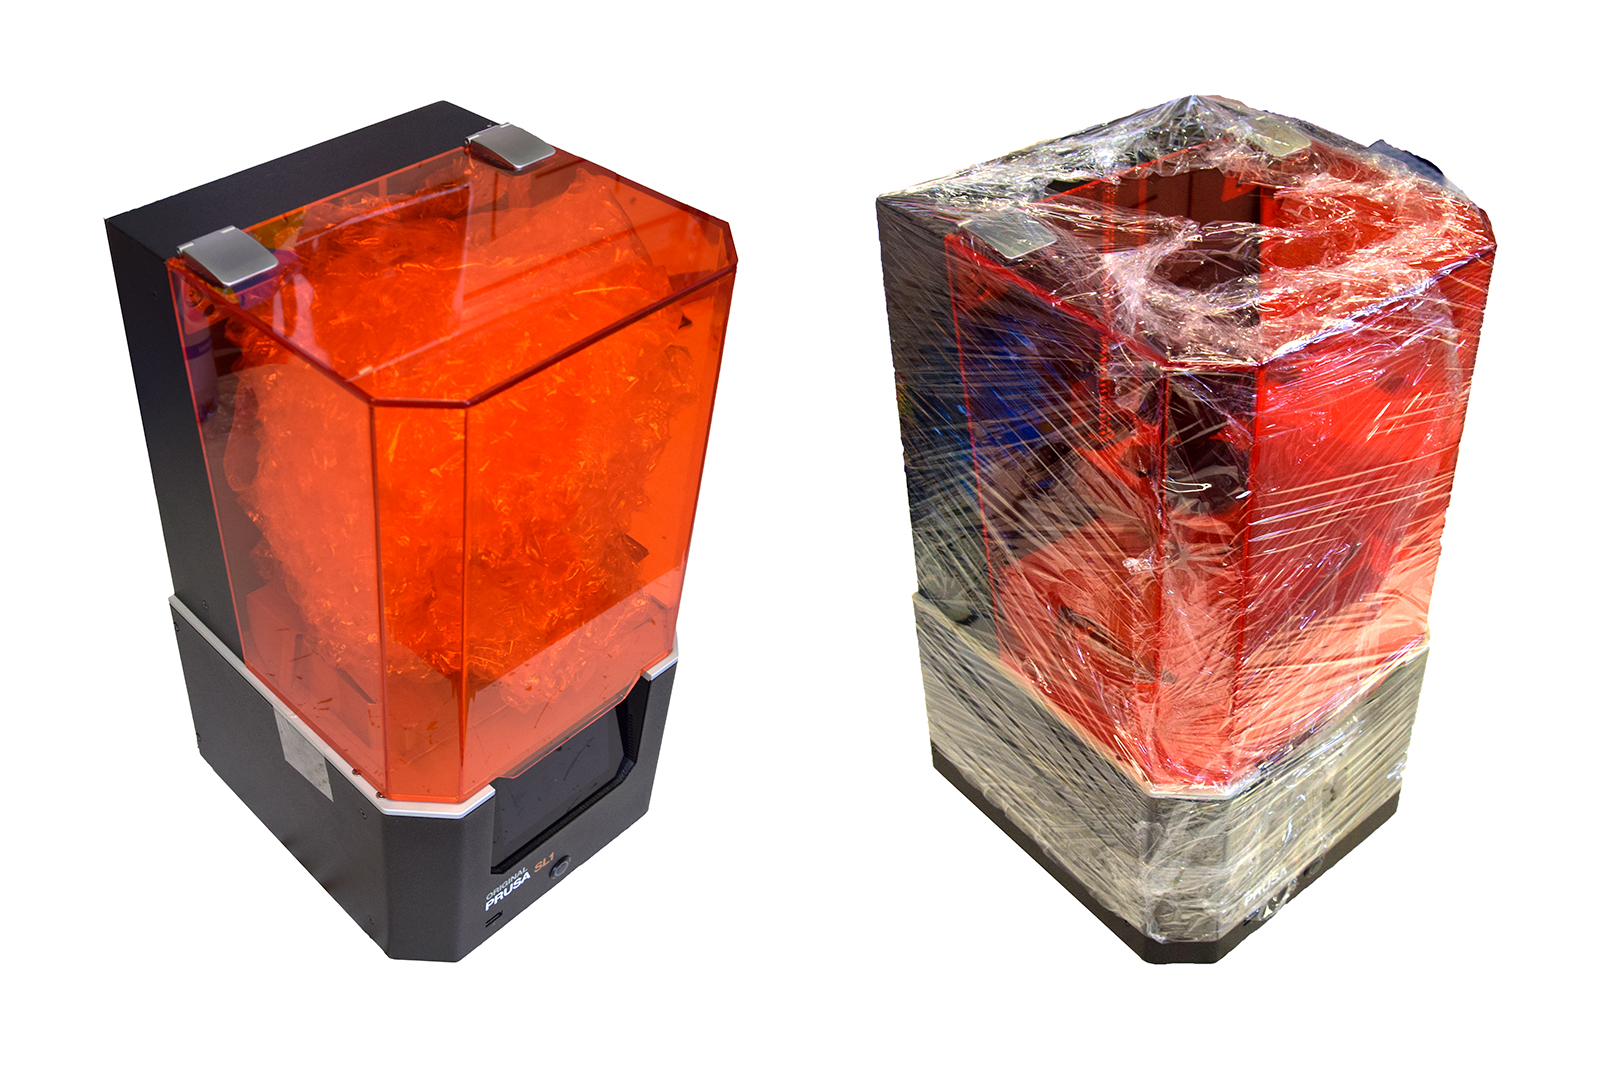
- Fill the remaining space with bubble-wrap or other packing material and close the orange lid of the printer.
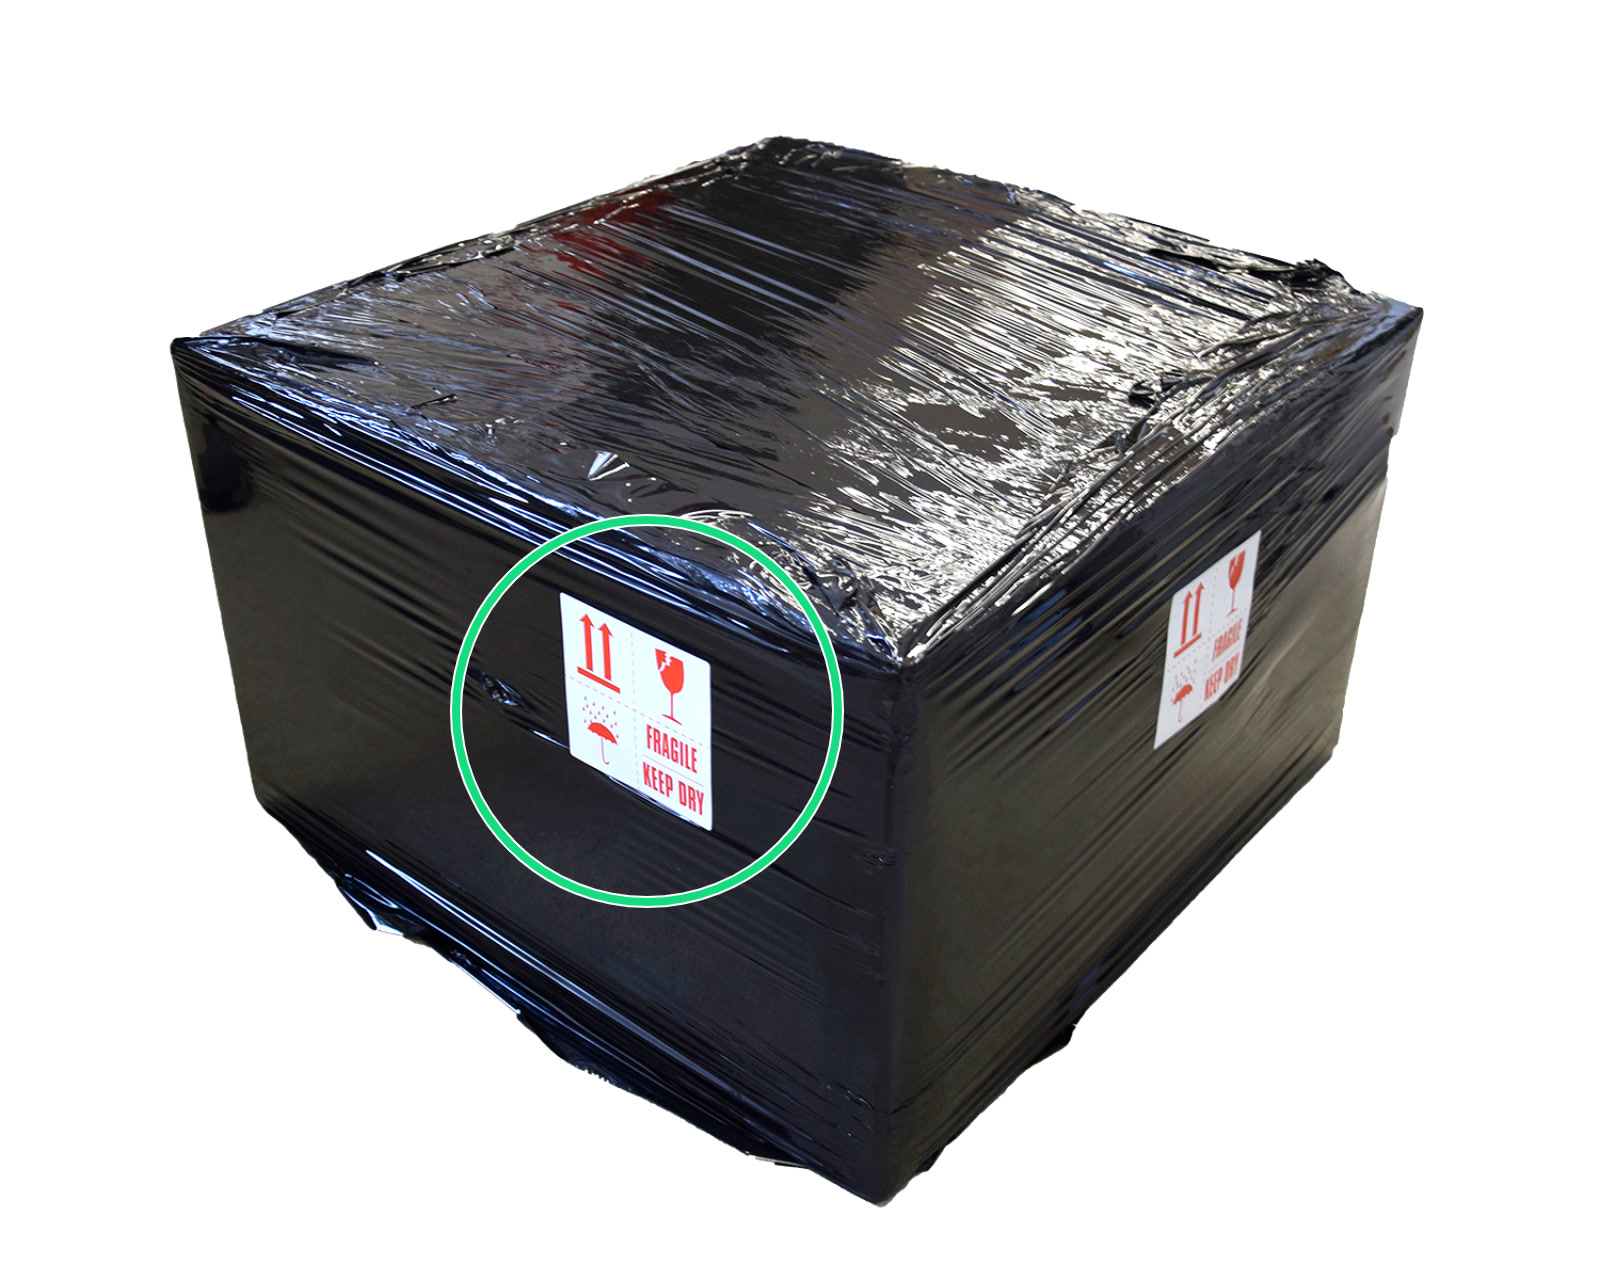
- Secure the cover with kitchen cling-film (plastic foil) 2-3 times around the whole printer.
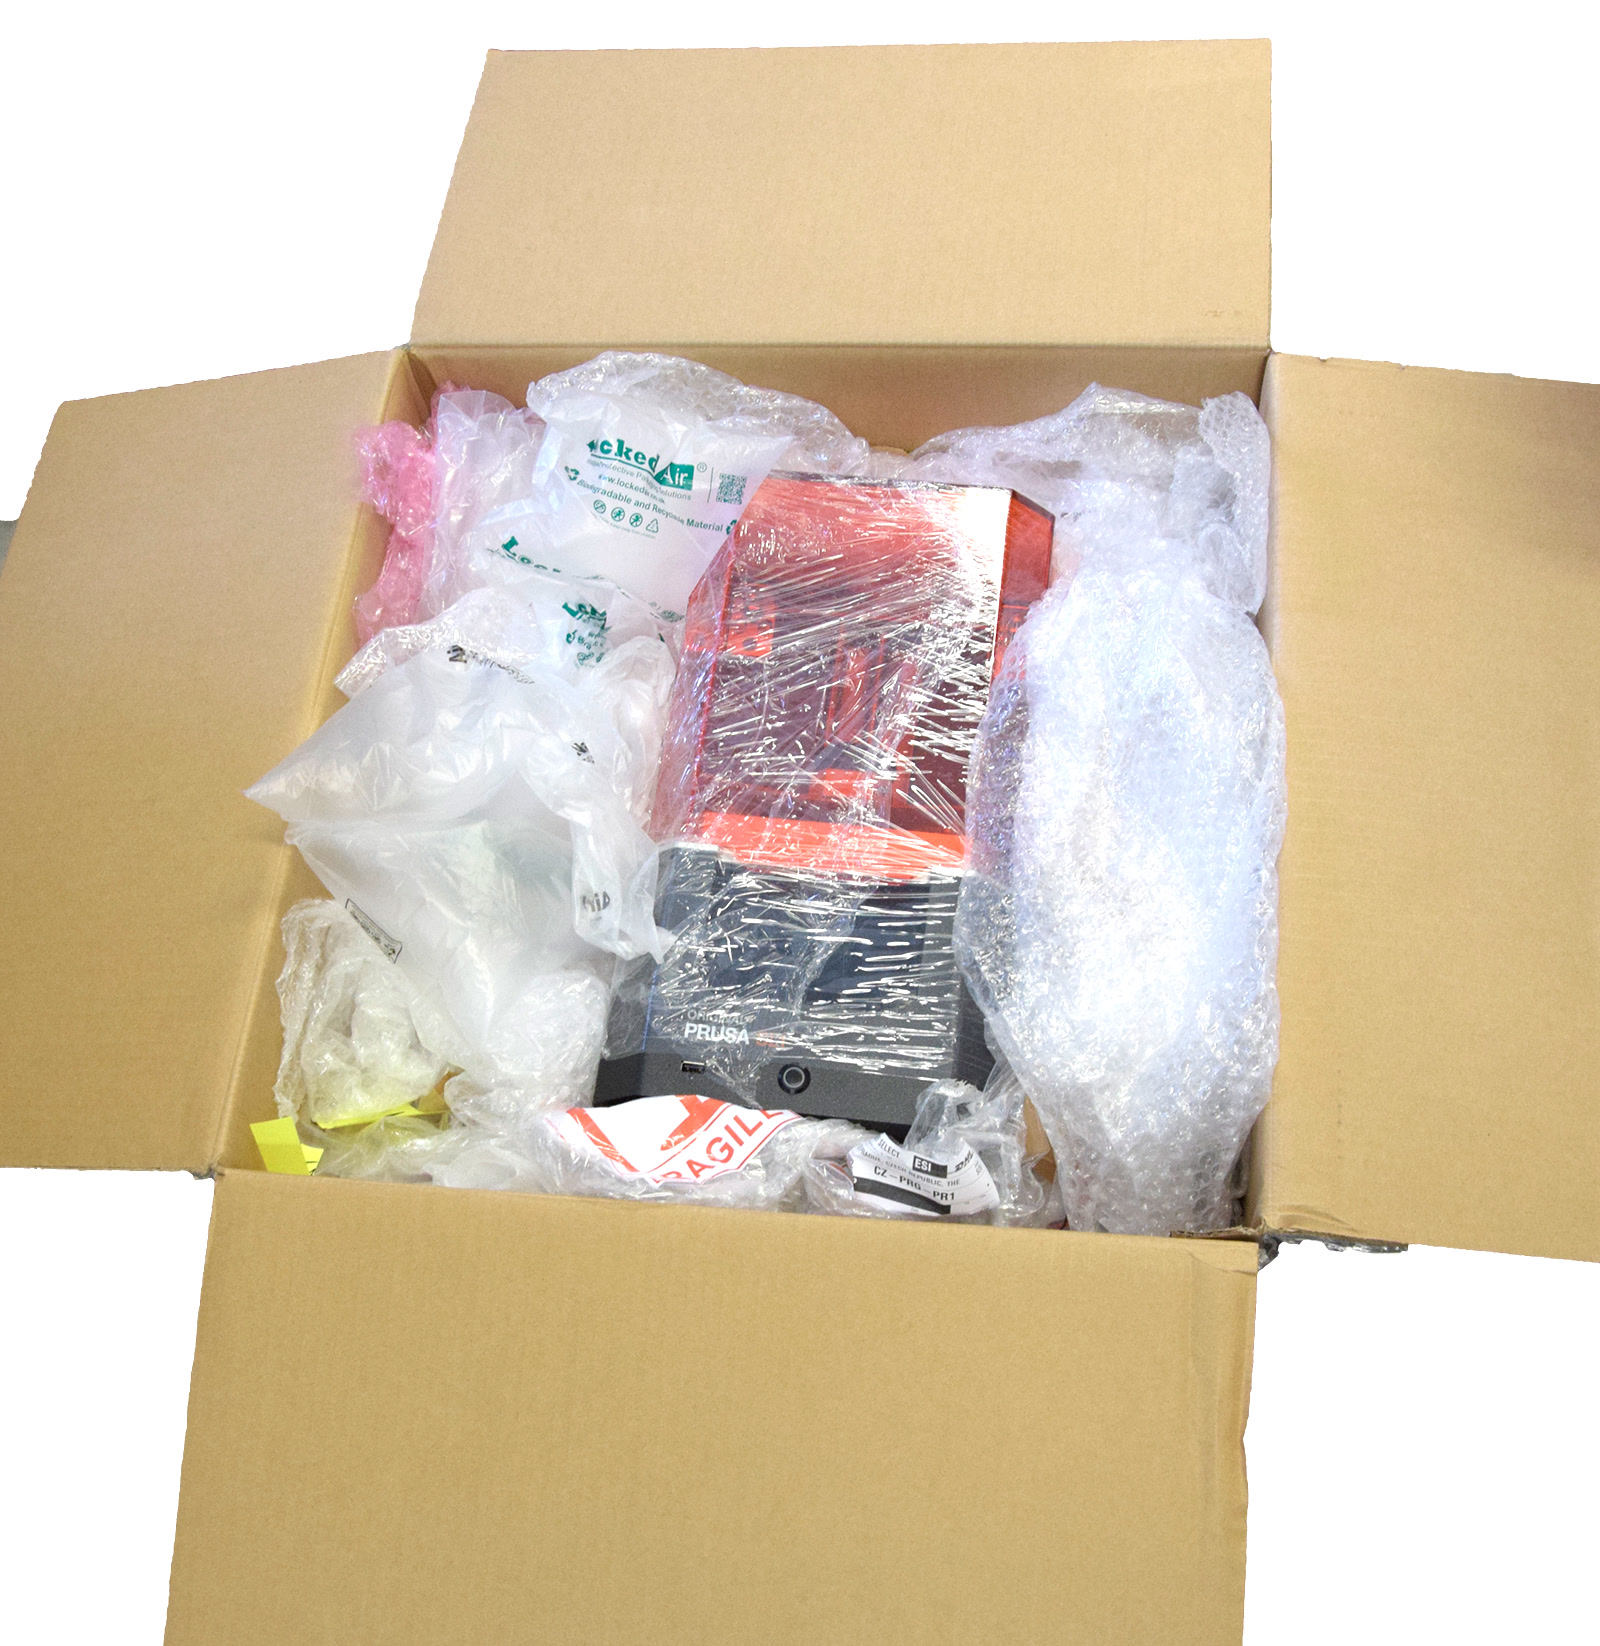
- To secure the printer itself in the box, apply 5-8 cm (2-3 in) of padding to the bottom of the box, place the machine in the center.
- Pack additional material/accessories in a separate box, or in padding material and place it next to the printer.
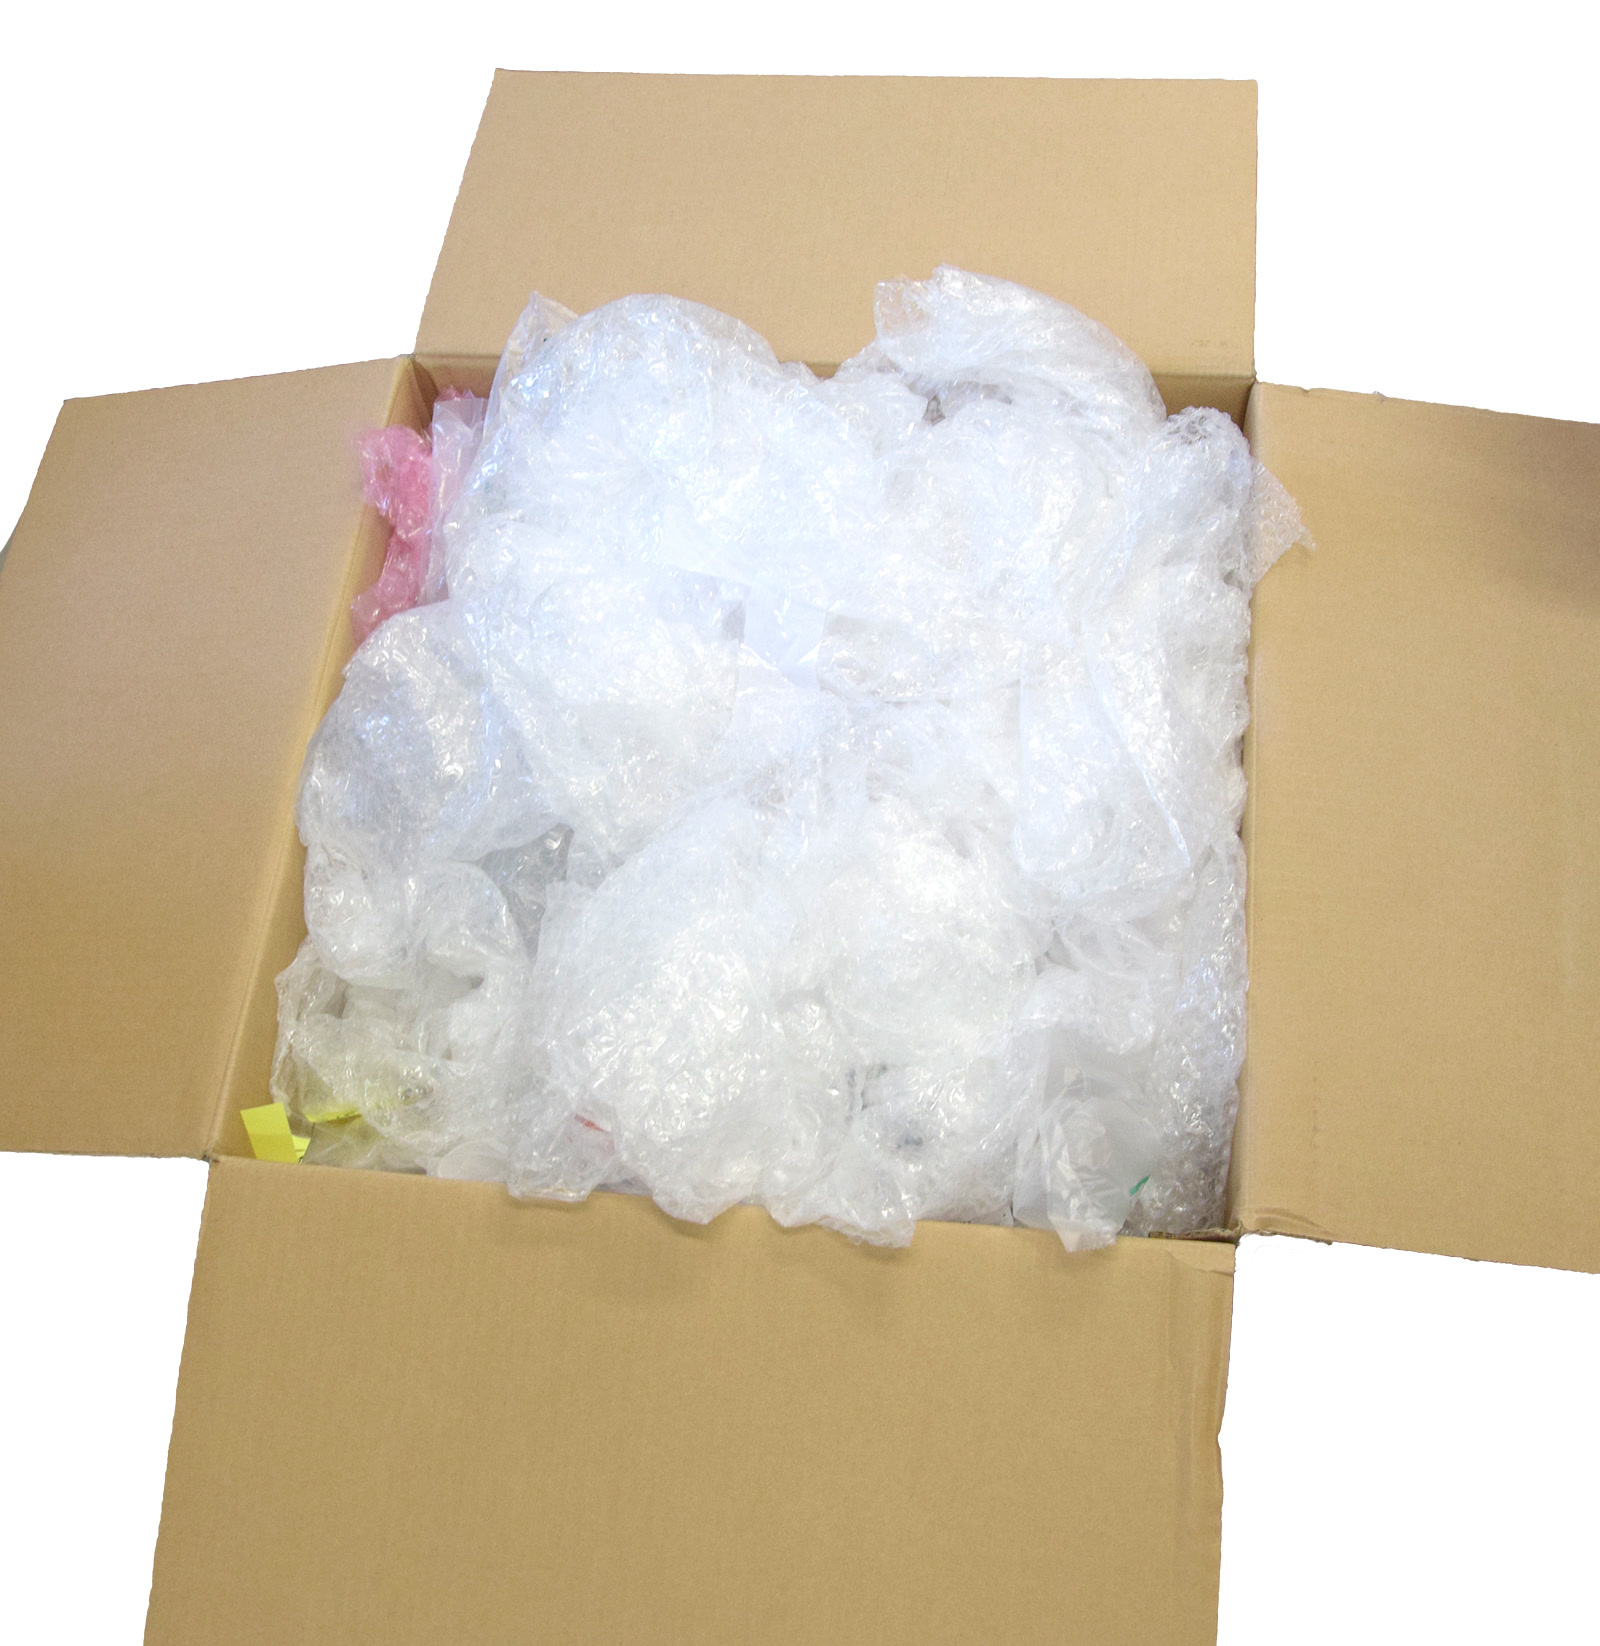
- Fill the remaining empty space inside the box with bubble wrap, inflatable air cushions, or similar soft packaging material.
 |  |  |
- Wrap the whole box up in a few layers of plastic film for additional protection and print the 'Fragile' picture linked here and tape it to the outside, with the arrows pointing to the top of the box.