There are some things that PrusaSlicer simply doesn’t do. However, using post-processing scripts you can automatically modify the generated G-code to do (almost) anything you want.
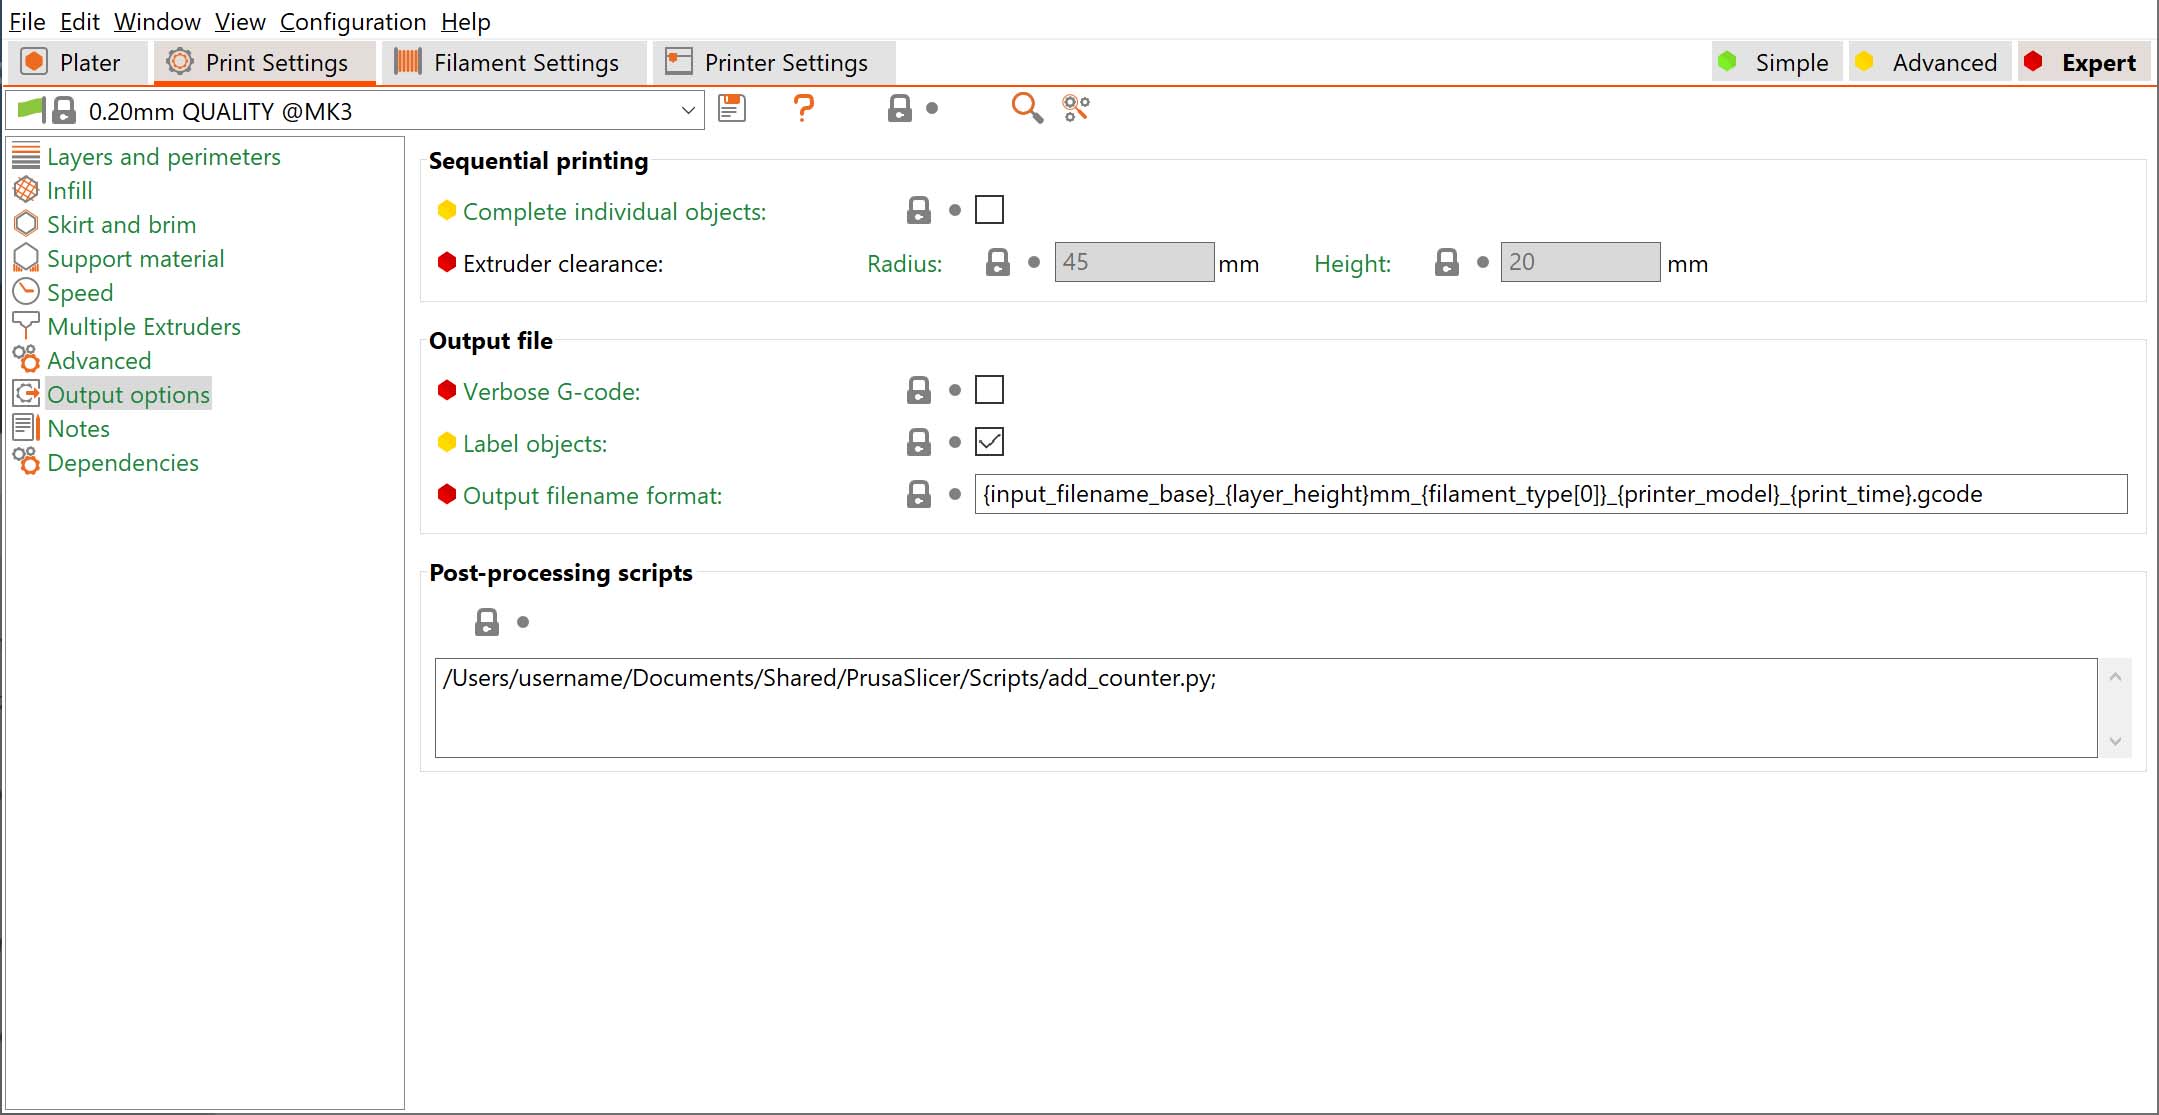
You can specify the path to the script in Print settings - Output options - Post-processing scripts.
Script setup
Post-processing scripts can be written in any programming language (Perl, Python, Ruby, Bash etc.). They just need to be recognized by your system as an executable and accept the path to the G-code file as the only argument.
If you want to run several scripts, put each script invocation into its own line.
Script execution
Each script will be passed the absolute path of a temporary G-code file that PrusaSlicer generates. This file is stored in a temporary folder on your drive (typically your fast system drive). The script is then executed to modify the G-code in place and the resulting G-code file is written to your selected target folder or sent to a print host, such as PrusaConnect or Octoprint.
Script Parameters
You can use parameters with your script as such:
/path/to/executable becomes /path/to/executable with the arg outputfilename.gcode
/path/to/executable -arg -arg2 becomes /path/to/executable with args -arg, -arg2, and outputfilename.gcode
If path to executable or arguments contain spaces, these arguments need to be escaped using the escaping style common to the platform (shell escaping style on Linux and OSX, Windows command line escaping).
Examples
Python
Adding counter to the file name example
Path to the final exported file (or its name for Octoprint)
Python script that modifies the output path
Historical changes and breaking backward compatibility
Before version 2.4, PrusaSlicer used to execute the script on the final G-code exported to your desired target medium. Which was very often a removable drive, such as an SD card. SD cards are slow and wear out, so this was not ideal. There were also problems when sending the G-code to Octoprint. The new approach with the temporary file on your system drive prevents these problems and extends the functionality of post-processing scripts. However, it might break some of your existing scripts.
This documentation page includes some texts from the original Slic3r documentation and from Bob's Project Notebook.