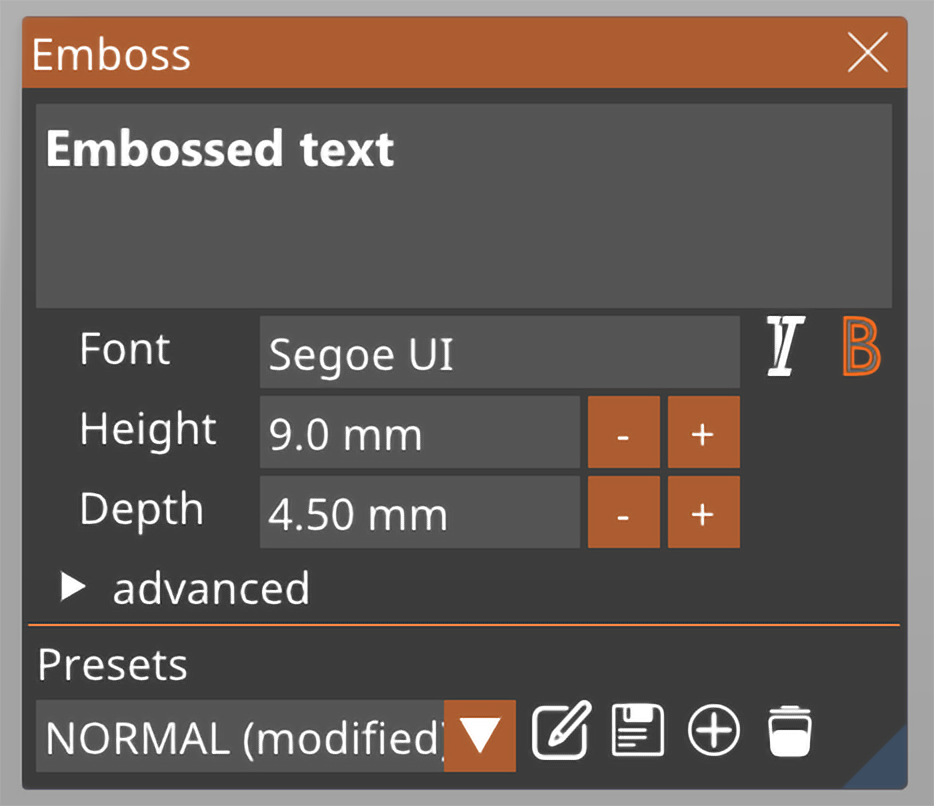
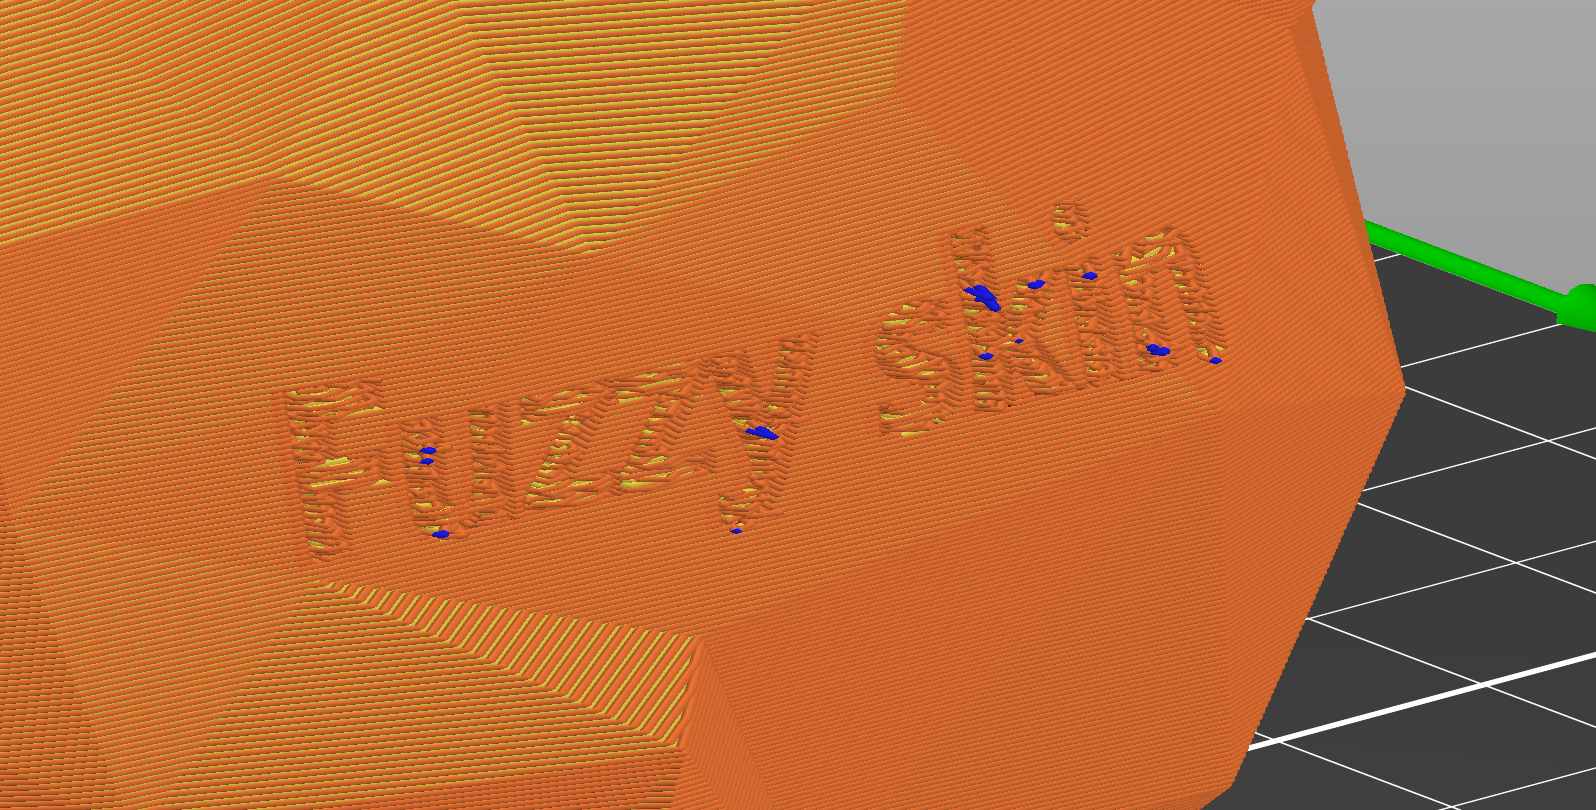
The Text tool lets you easily add labels, notes, signs, serial or version numbers to your models directly in PrusaSlicer. You can add text to any type of surface, not just planar faces, but even to curved surfaces. The text entities are fully editable even after re-opening a saved project file.

Adding text to existing models
Select the target model and press the T key. Alternatively, you can right-click on the model and select Add part - Text, from the context menu.
Creating standalone text objects
Right-click the platter and select Add shape - Text. This will create a standalone object not connected to other objects in the project.
Text manipulation
You can manipulate the text by dragging it around the object and placing it in the desired position. When you're dragging the text object on the model, a white marker will appear, highlighting the position at which the surface normal is calculated.
You also have the option to rotate the text along the Z-axis (Z-rot) and elevate it along the Z-axis (Z-move).
Fonts
The text tool automatically import's the font library on your device. Any TrueType Font (TTF) should work correctly. If you install a new font on your device, you don't have to restart PrusaSlicer to be able to use it, simply close and open the text tool again and PrusaSlicer will load the newly added fonts.
Text presets
You can save and load text presets. These include all the text settings, such as the selected font, the text height, and depth, but also all of the advanced settings. Text presets are especially useful if you want to maintain a consistent text style when creating version numbers and similar labels.
Embossing, debossing and modifiers
In the Text tool context menu, you can select whether the text is to object:
- Added - this creates a new part and embosses the text
- Subtracted - this creates a negative volume, which debosses the text
- Modifier - this creates a modifier
You can also switch between these object types later. Simply right-click the Text object in the Object list and select Change type from the context menu.

Make the text follow curved surfaces
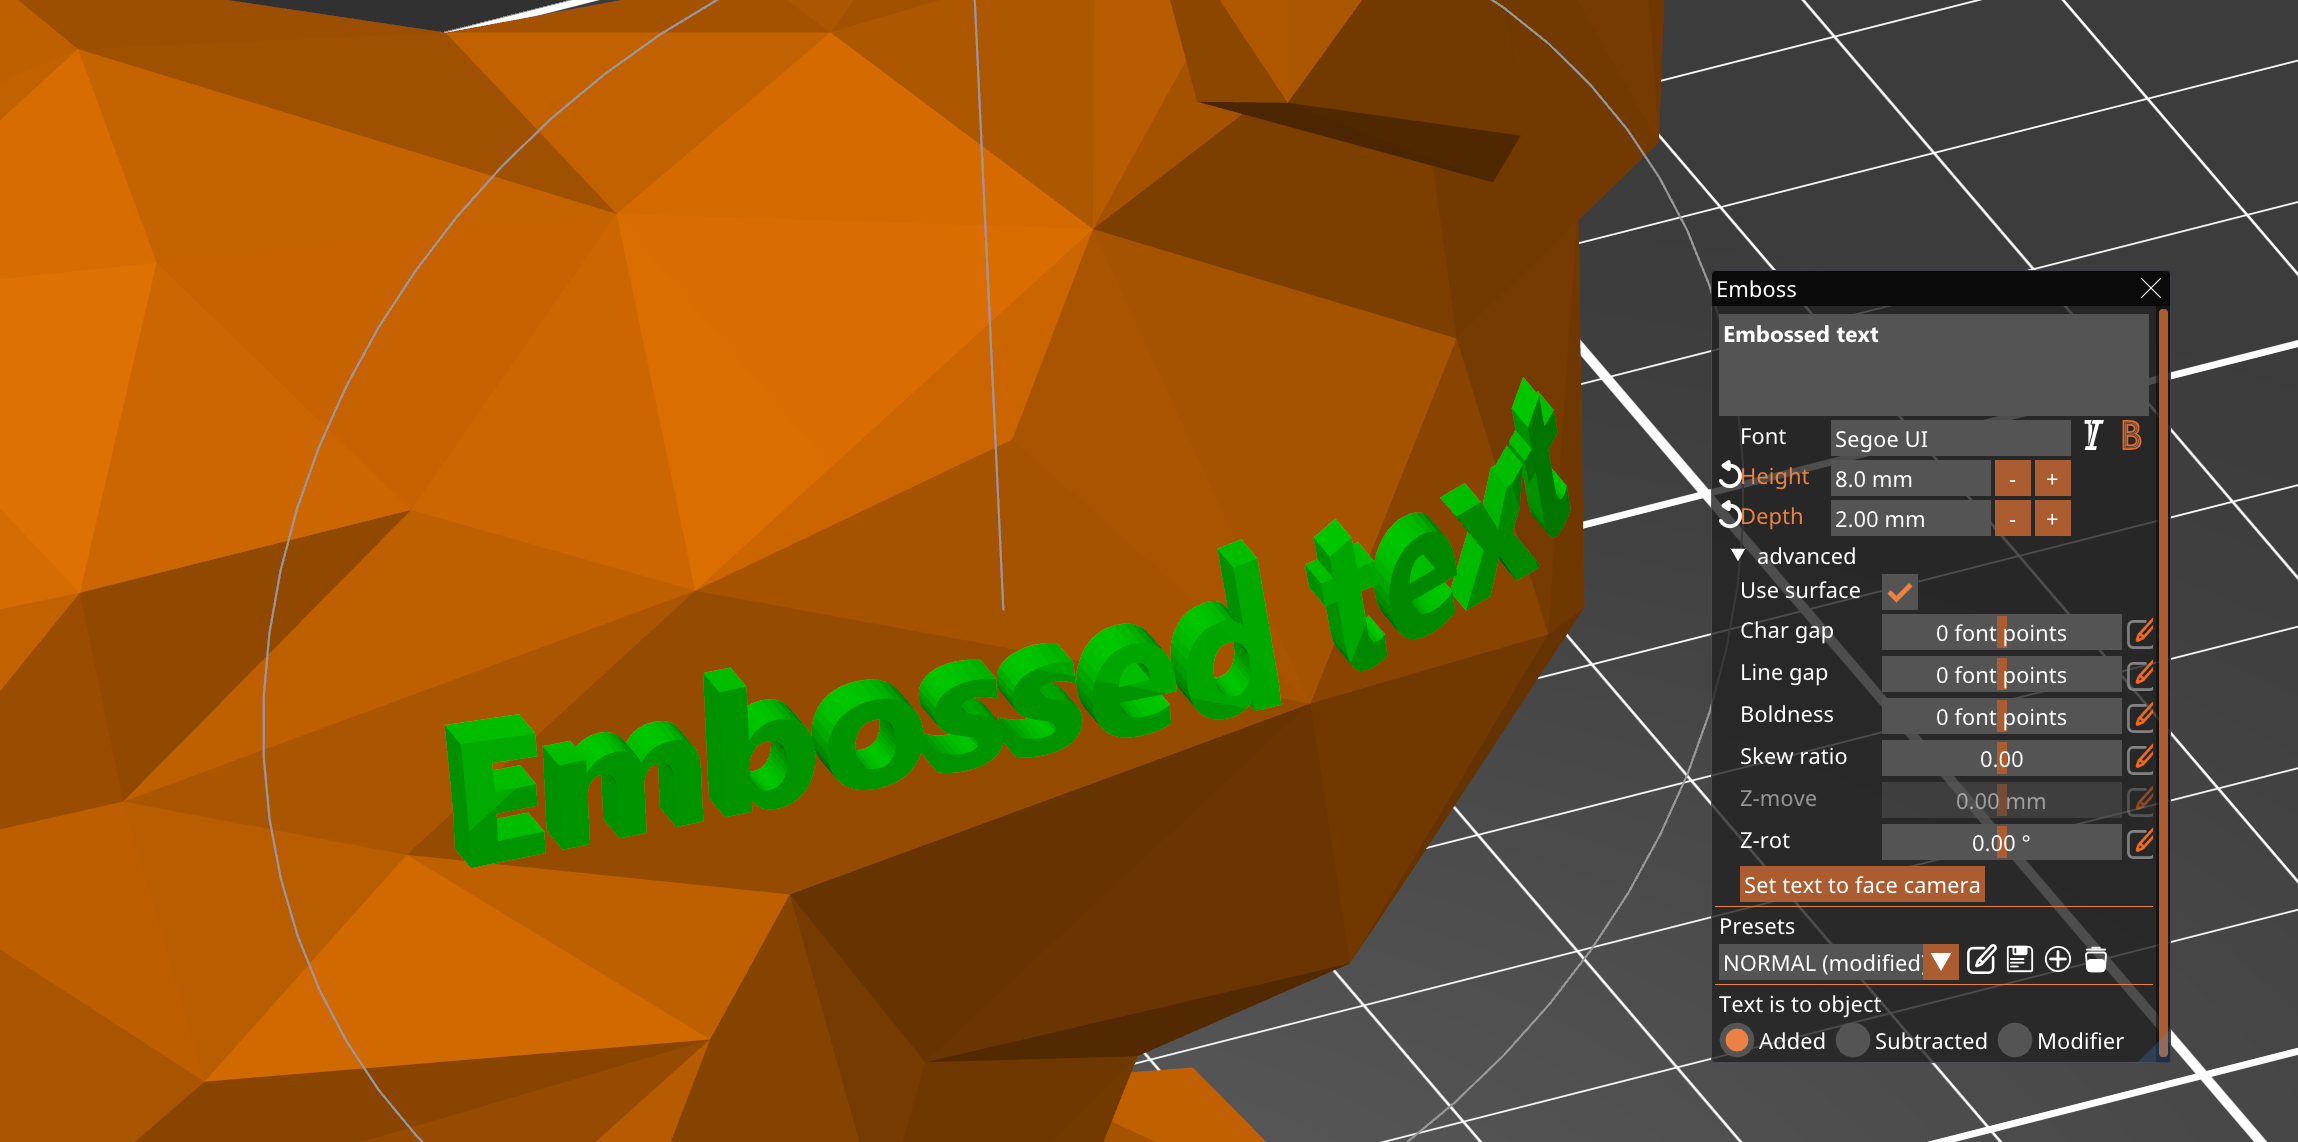
If you expand the advanced text menu, you have the option to enable the Use surface option. The text will curve along the surface beneath it.
However, the limit is 90 degrees. As you approach this angle, the text will become more and more deformed.
