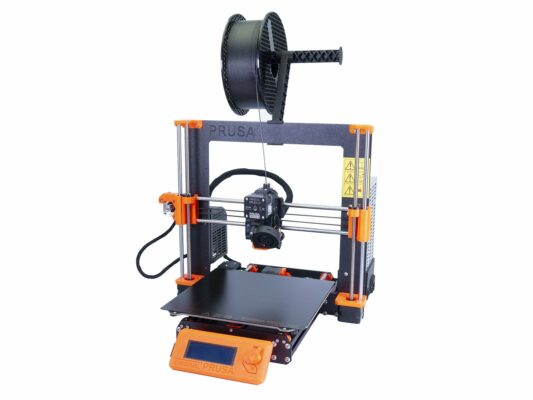
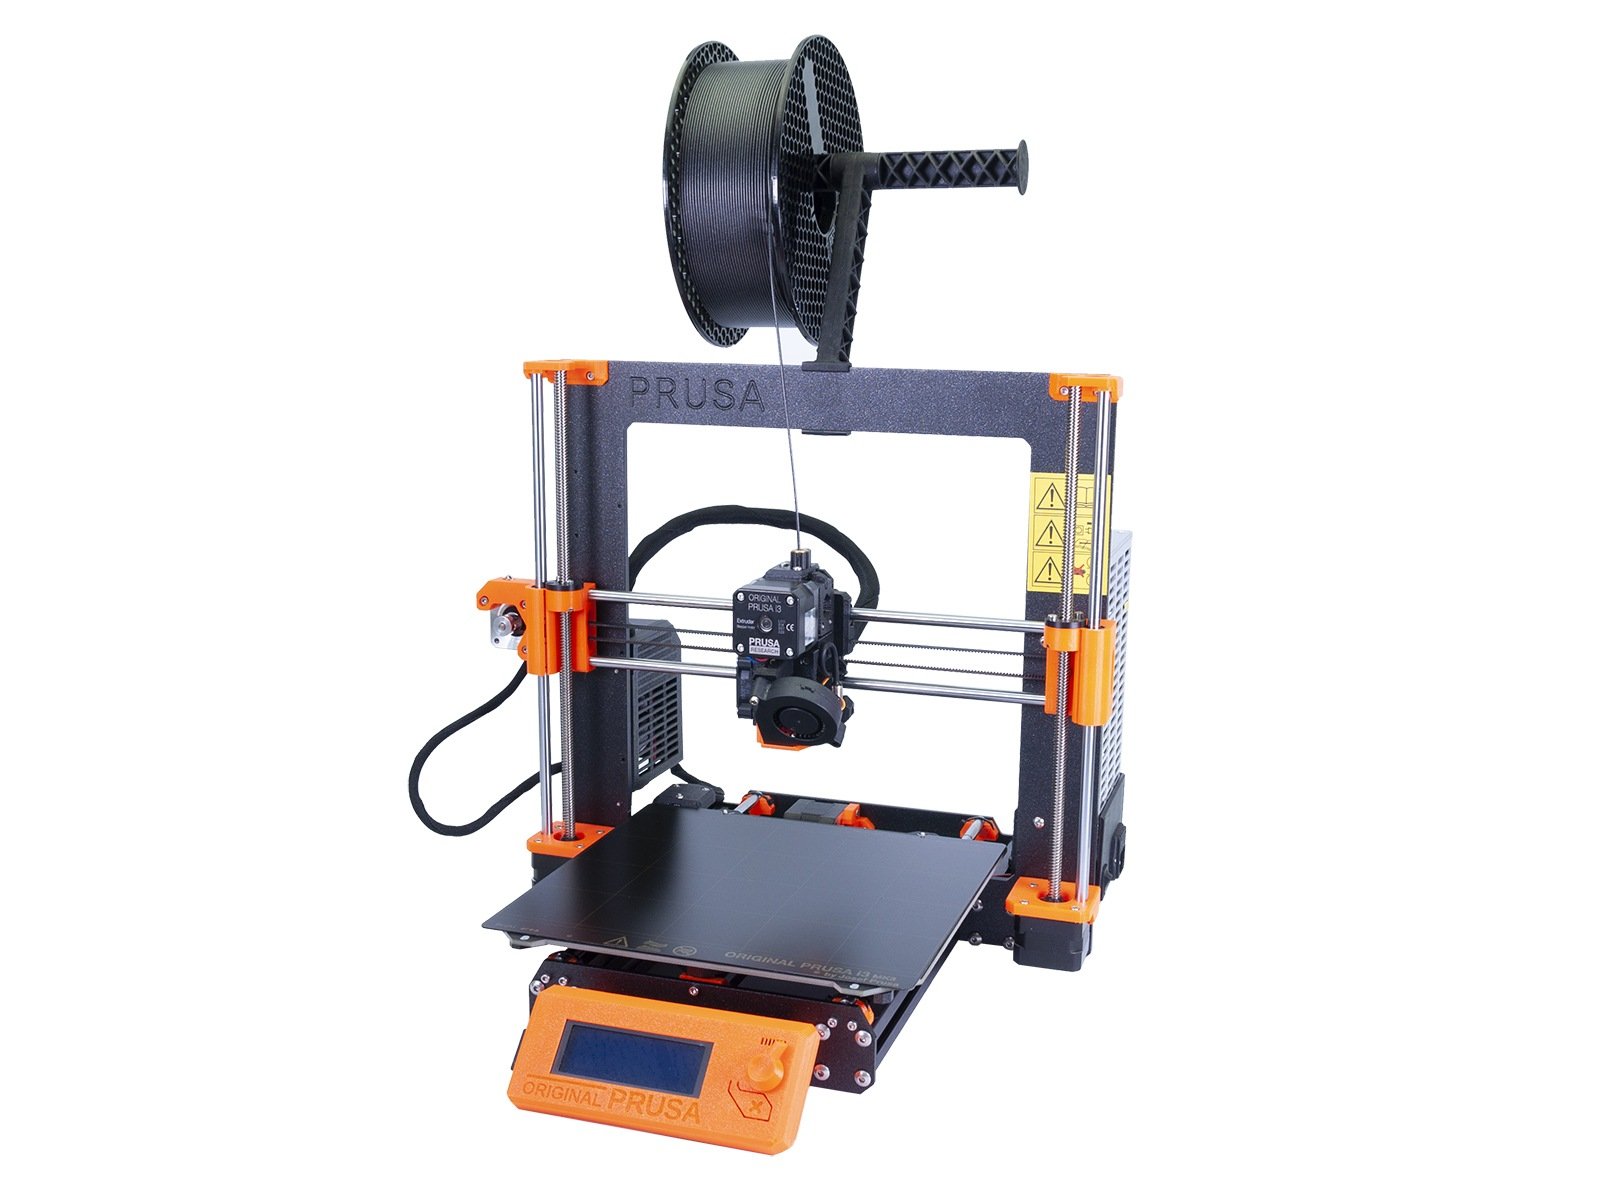
⬢This guide will take you through the maintenance of your printer. Most of the steps are shown on the model MK3S but can be used at almost any Original Prusa i3 printer.
First, let's clean the printer axes. We will use X-axis as an example, but you can apply a similar approach to the remaining axes. Keep in mind that the Z-axis should be moved using the printer's menu.
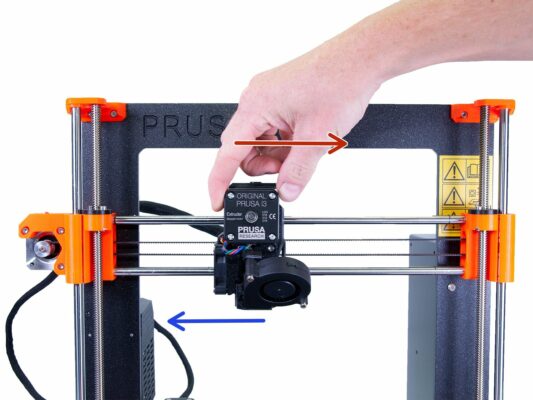
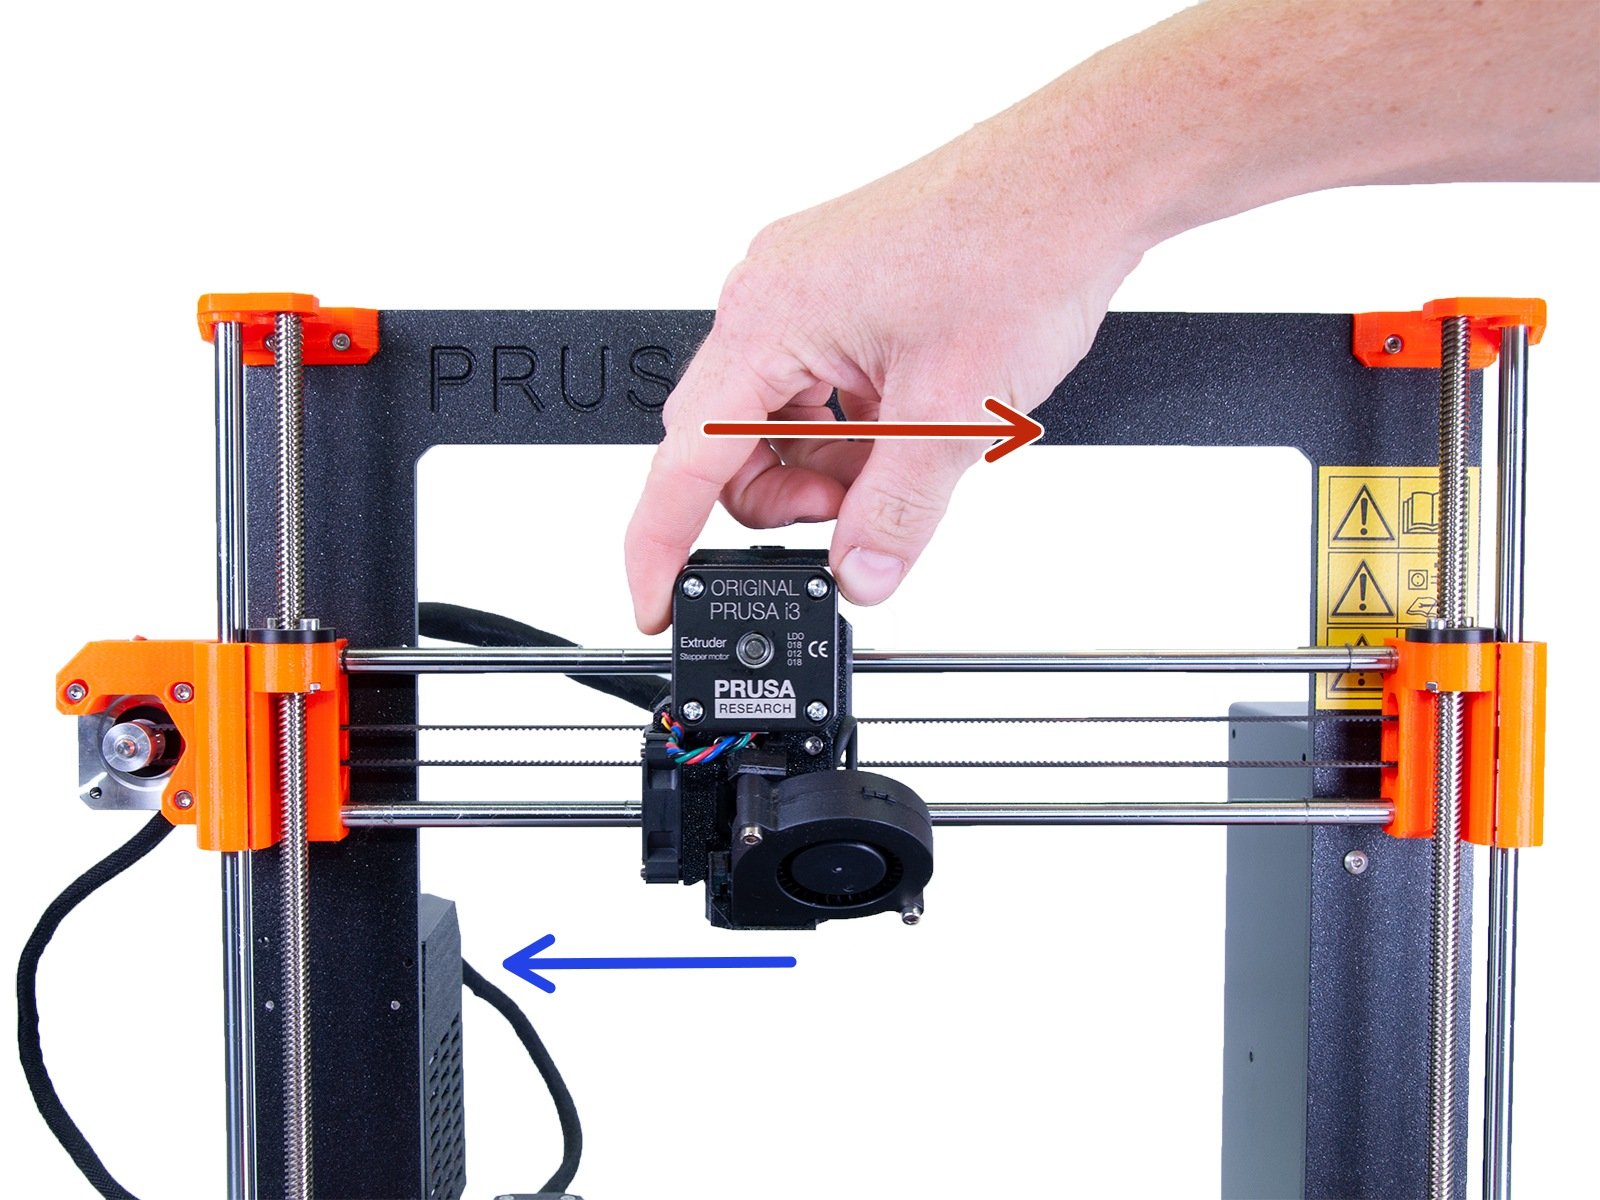
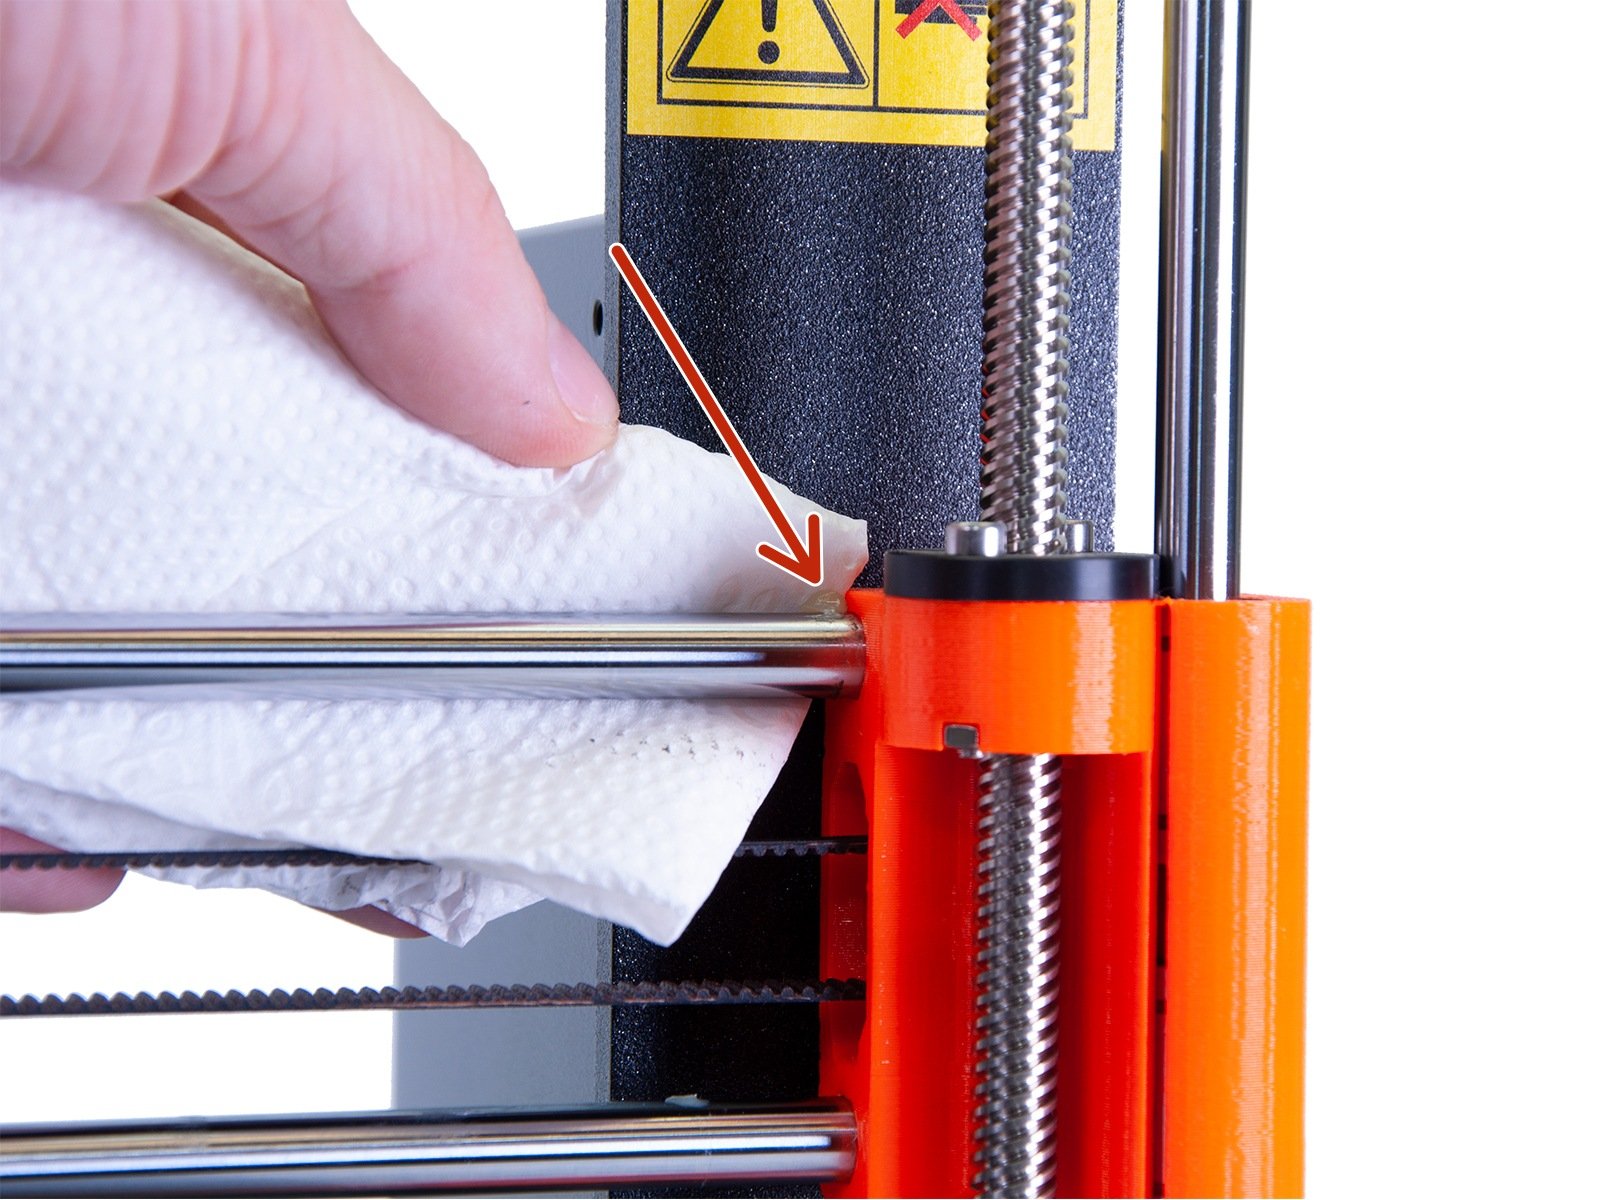
⬢Move the extruder head all the way to the left. This way you will expose most of the smooth rod.
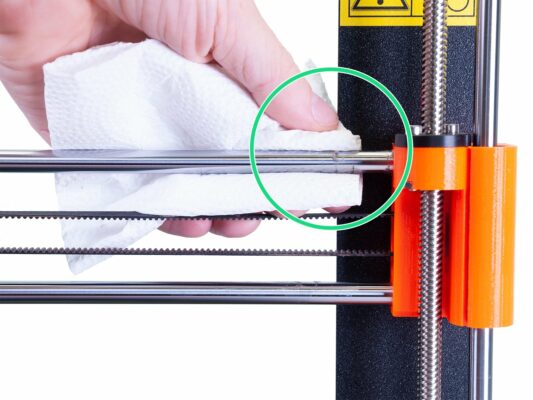
⬢Clean the entire exposed rod and focus on the edge, where most of the dust is accumulated.
⬢Use a paper towel or any soft fabric cloth. Apply IPA or similar degreaser to remove any unwanted grease.
Use the same technique for the Y and Z axes. Don't forget to use different piece (part) of the towel or you might spread the dust from the previously cleaned axis.
⬢Continue in the next step(s) with the lubrication.
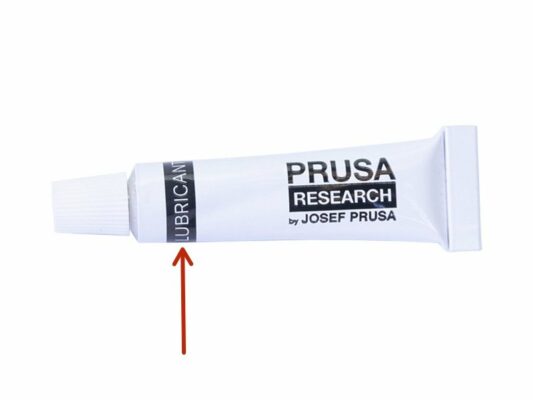
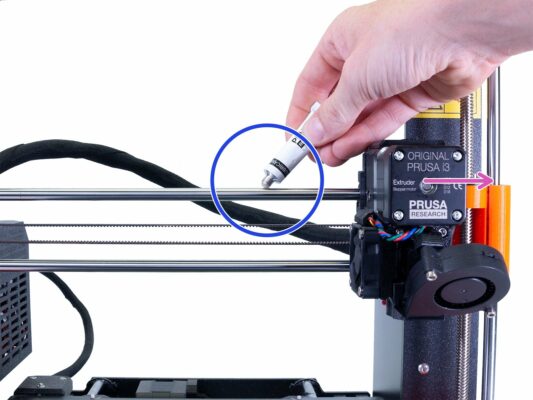
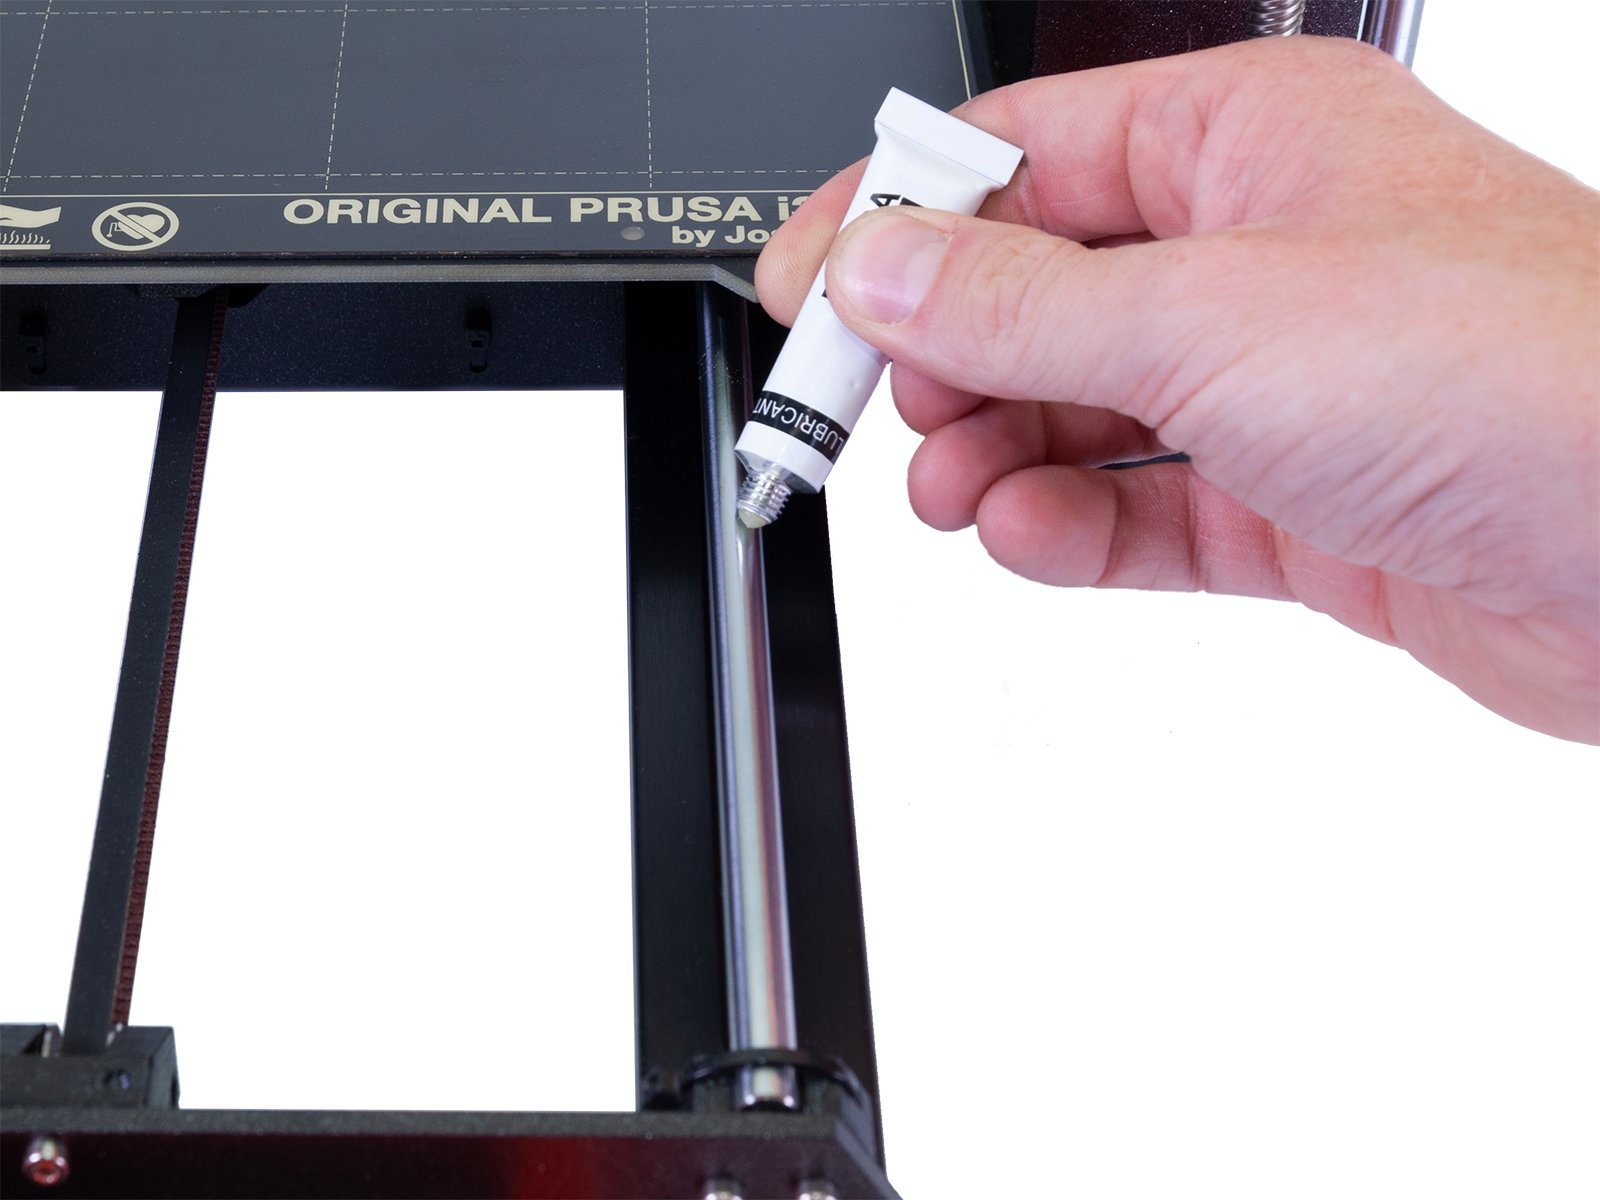
Assuming the X-axis is cleaned, let's move to the lubrication process. Open the tube and if needed perforate its protective cover.
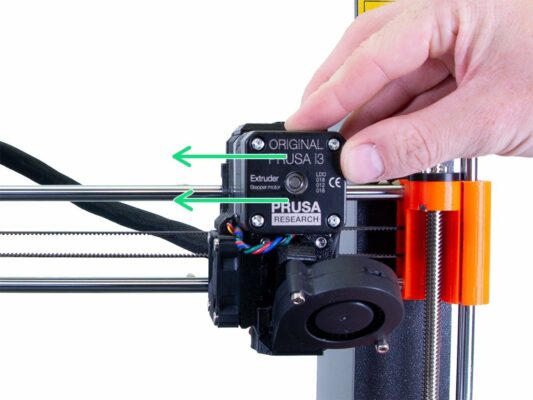
⬢Ensure the extruder is moved all the way to the side.
⬢Apply a small drop of the lubricant on both smooth rods. Using your finger or the towel spread the paste around the circumference of each rod. Don't apply too much of the paste, it will have the opposite effect.
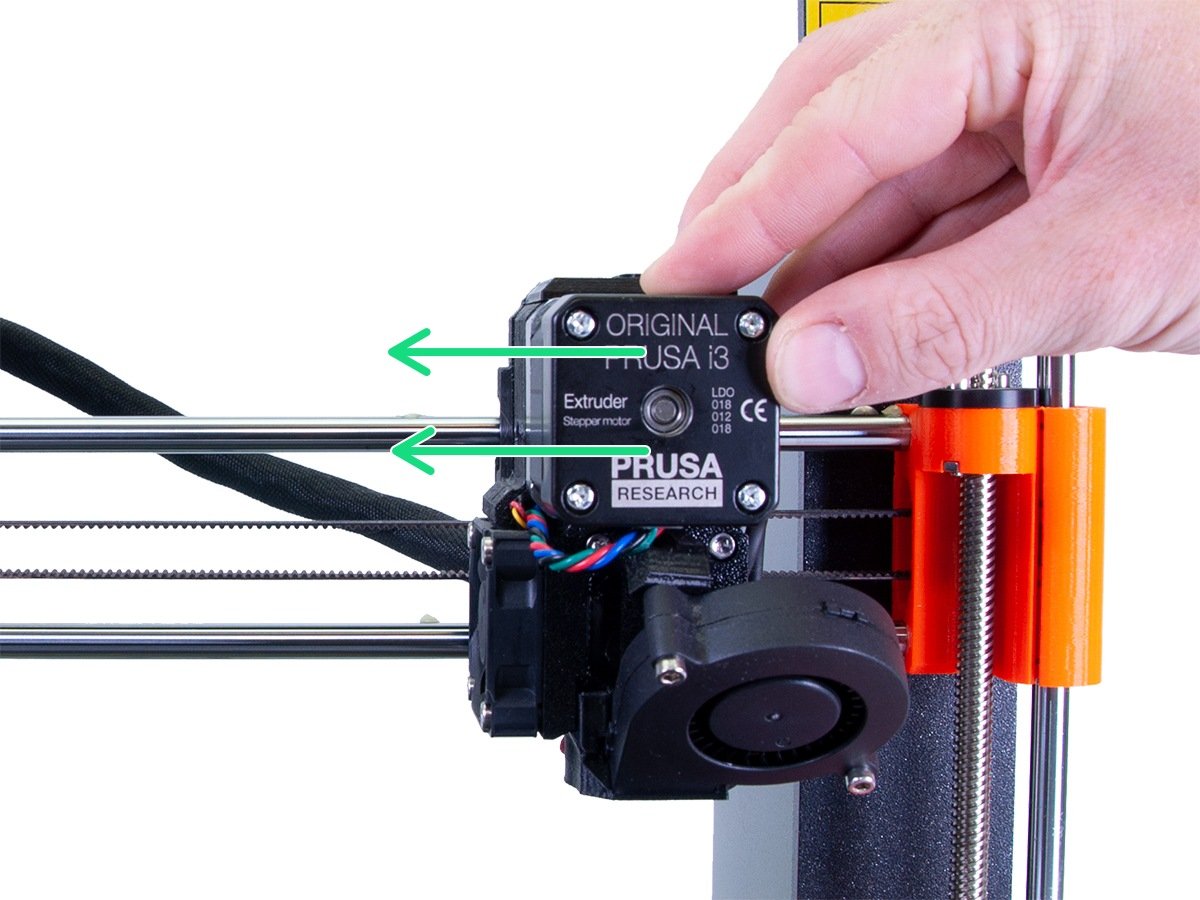
⬢Move the extruder all the way to the other side.
⬢Apply an even smaller drop on the parts of the rods, which were previously covered with the extruder and move the extruder all the way back.
⬢You should create a very thin layer of the lubricant on both rods, check for any significant excess of the paste and clean it, as it will catch a lot of dust over time.
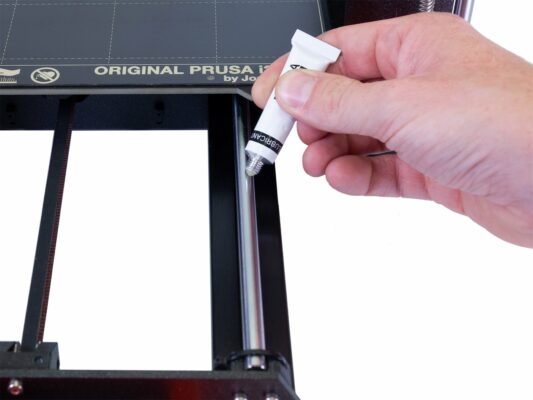
Assuming the Y-axis is cleaned, let's move to the lubrication process. Open the tube and if needed perforate its protective cover.
⬢Ensure the heatbed is moved all the way to the side.
⬢Apply a small drop of the lubricant on both smooth rods. Using your finger or the towel spread the paste around the diameter of each rod. Don't apply too much of the paste, it will have the opposite effect.
⬢Move the heatbed all the way to the other side. Then back and forth several times.
⬢You should create a very thin layer of the lubricant on both rods, check for any significant excess of the paste and clean it, as it will catch a lot of dust over time.
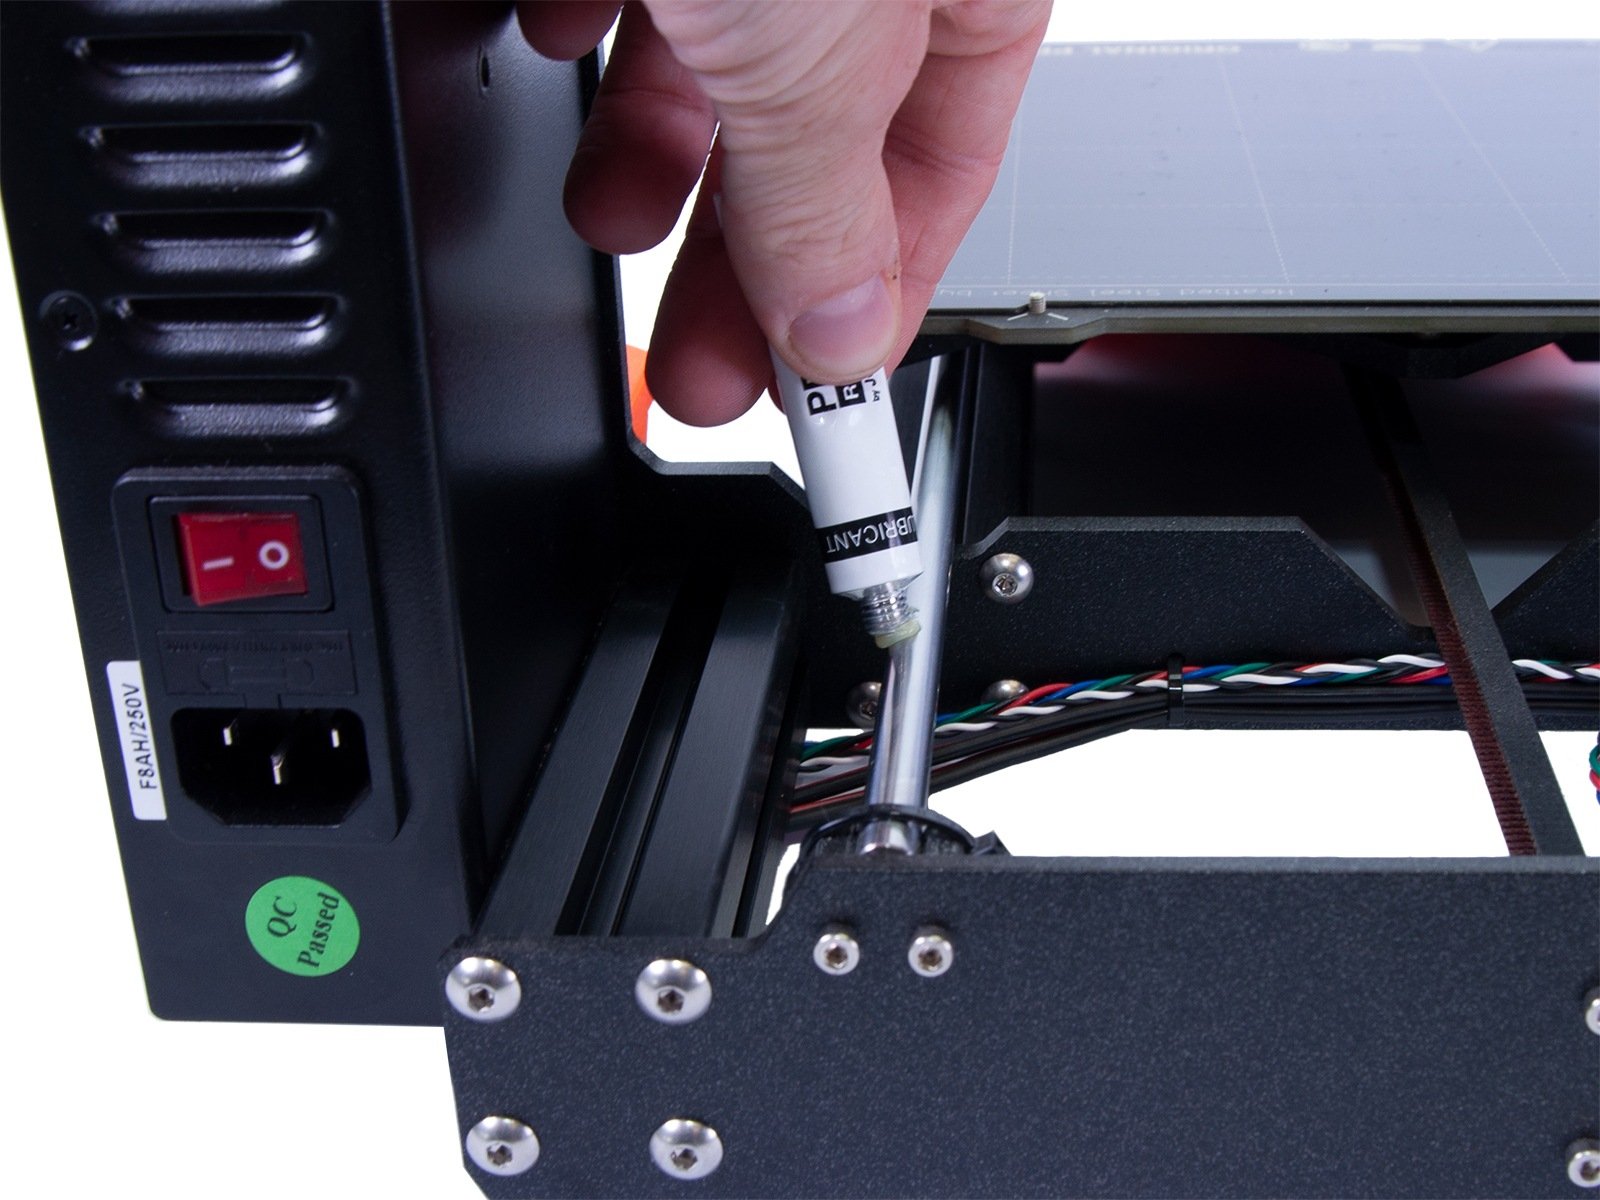
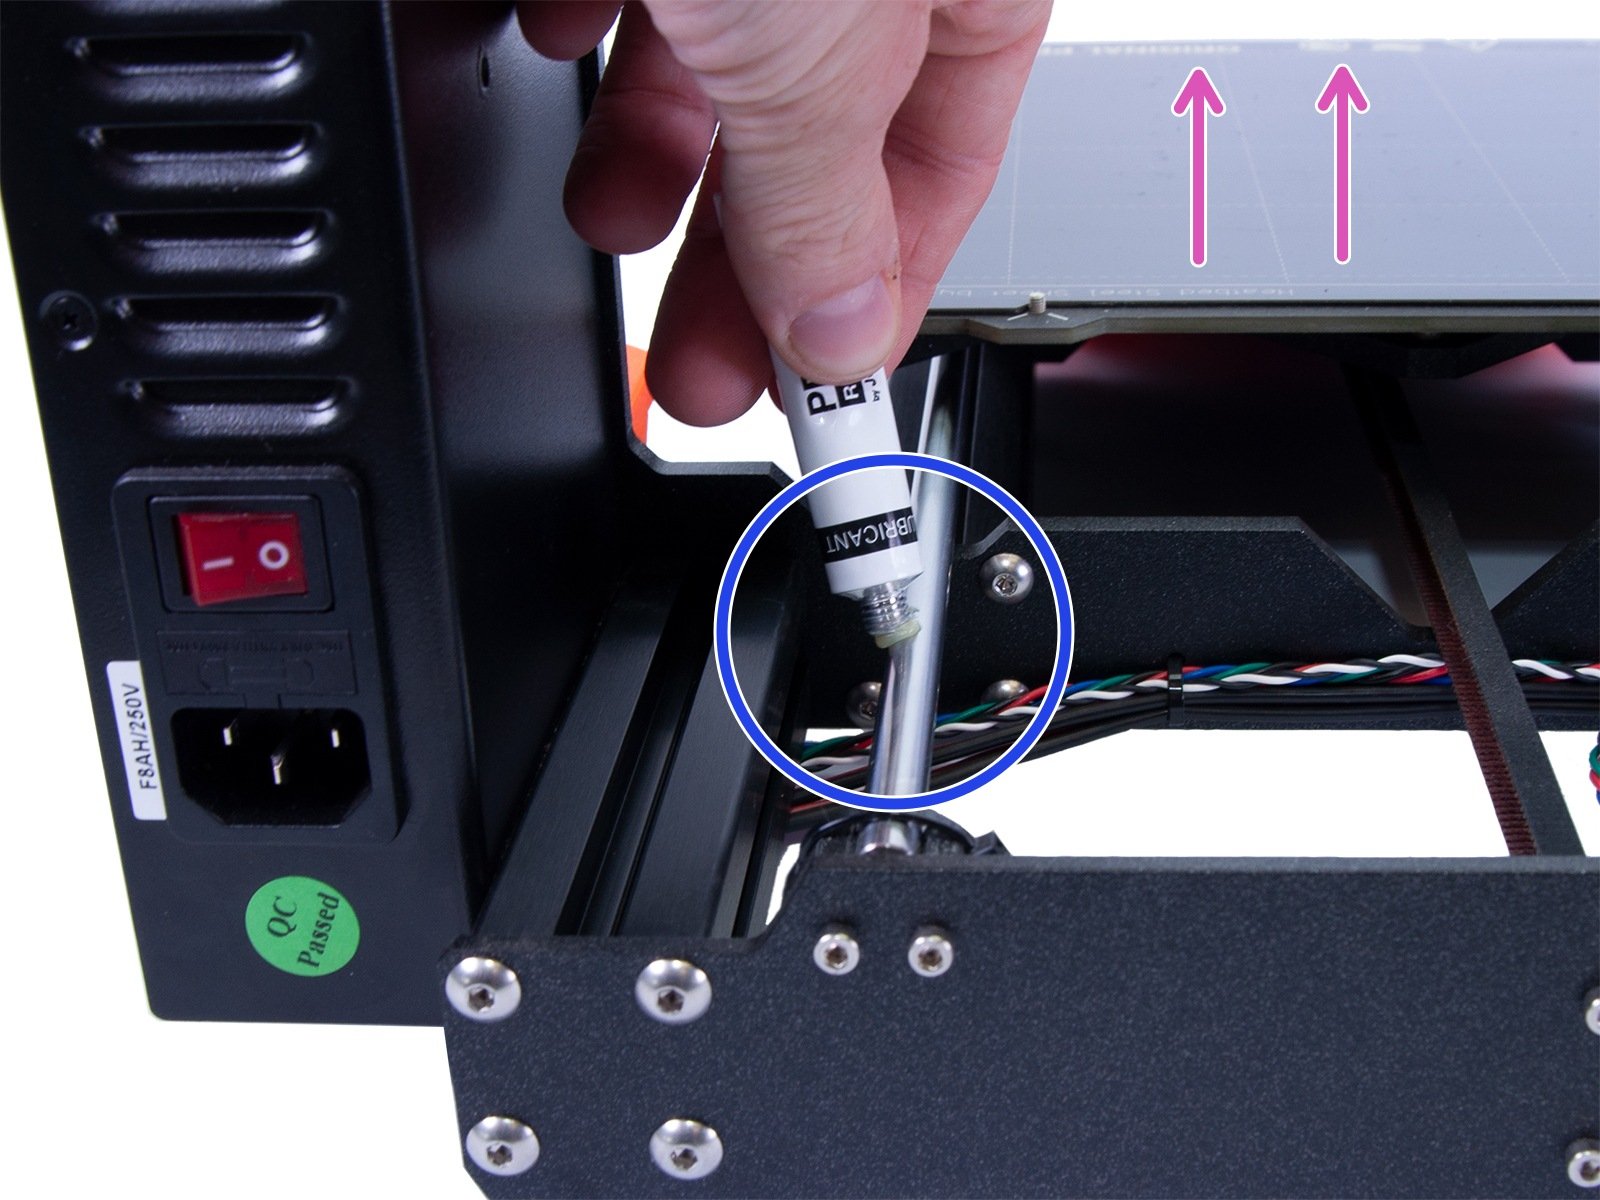
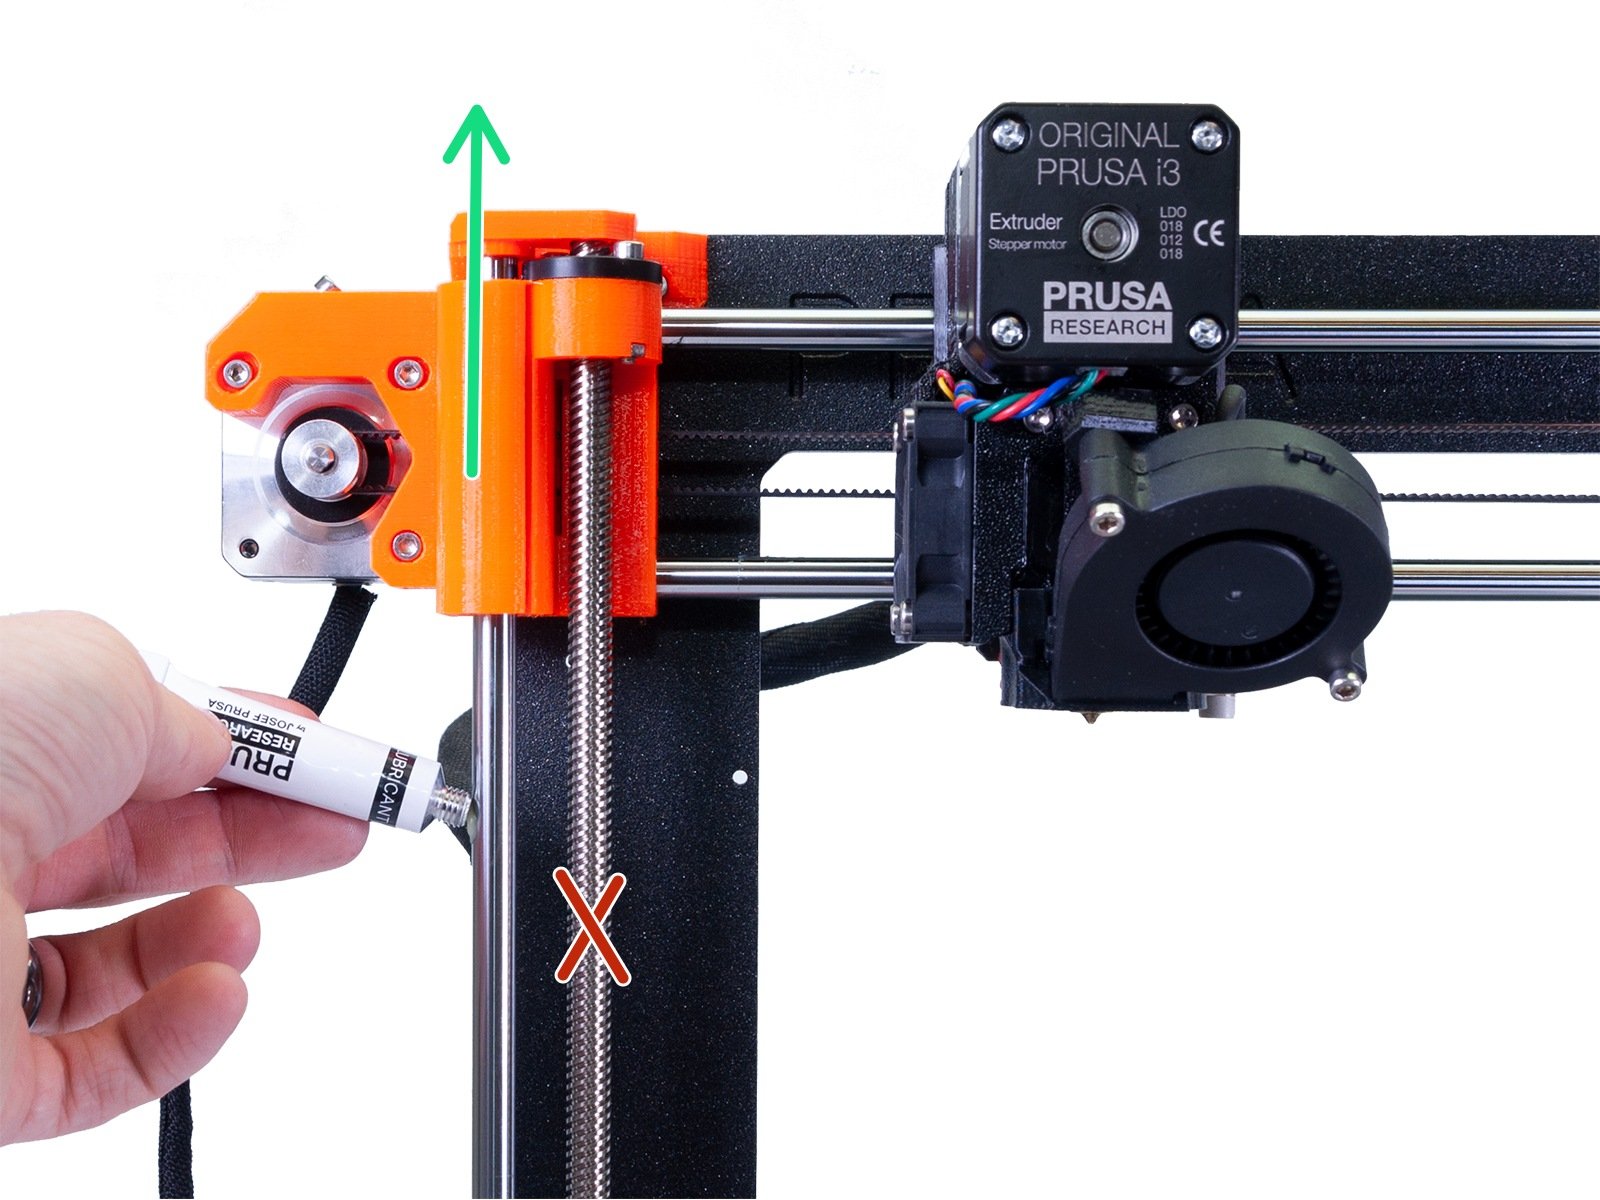
Assuming the Z-axis is cleaned, let's move to the lubrication process. Open the tube and if needed perforate its protective cover.
⬢Turn the printer on and using the printer's menu (press and hold the knob button, then rotate it) move the Z-axis, all the way down. Make sure won't damage the heatbed!
⬢Apply a small drop of the lubricant on both smooth rods. Using your finger or the towel spread the paste around the diameter of each rod. Don't apply too much of the paste, it will have the opposite effect.
⬢Move the Z-axis all the way up. Use again the menu.
⬢Apply an even smaller drop on the parts of the rods, which were previously covered with the X-ends and move the Z-axis all the way down.
⬢You should create a very thin layer of the lubricant on both rods, check for any significant excess of the paste and clean it, as it will catch a lot of dust over time.
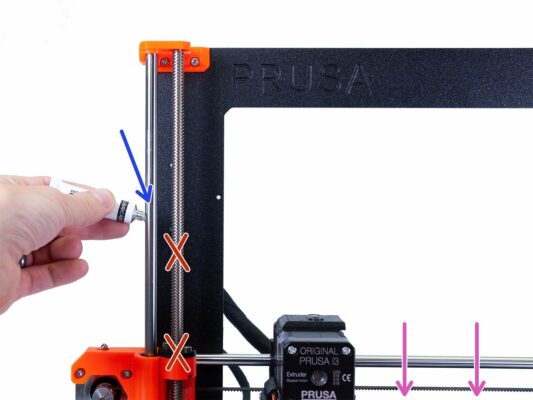
DON'T APPLY THE LUBRICANT ON THE LEADSCREWS OR TR. NUTS!!!
注油する部分は以上です。
Was this guide helpful?
Comments
Still have questions?
If you have a question about something that isn't covered here, check out our additional resources. And if that doesn't do the trick, you can send an inquiry to [email protected] or through the button below.