日本語
Login
3Dプリンター
マテリアル
部品 & アクセサリー
法人向け
ソフトウェア
3Dモデル
コミュニティ
ヘルプ
コース一覧
ブログ
会社概要
サポート
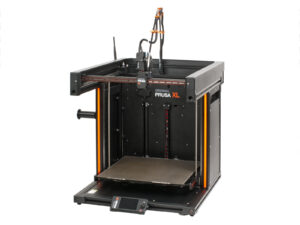
Original Prusa XL
Original Prusa XL semi-kit assembly INTERNAL [進行中の翻訳] (1.07)
6. First run | Before you start with Single-Tool
1. Before you start with Single-Tool
ステップ 1 / 16 (章 6 / 7)
内容
コメント
この章では、ウィザードの簡単な説明を示します。ご注意ください:スクリーンショットは参考用であり、ファームウェア内のものとは異なる場合があります。
ファームウェア 5.1.2 以降
を使用していることを確認します。
Loading...
次
内容
Original Prusa XL semi-kit assembly INTERNAL [進行中の翻訳]
1. はじめに
2. ベースとサイドフレームの組み立て
3.CoreXY部と背面の組み立て
4.ヒートベッドとサイドパネルの組み立て
5. Nextruder & accessories assembly
6. First run [進行中の翻訳]
Before you start with Single-Tool
Preparing the printer
Firmware update
プリントシートの取り付け
Wizard
Wizard - Test Loadcell
Wizard - Calibrate the filament sensor
Wizard - Calibrate the filament sensor
Wizard: Phase stepping
It's done
Prusa Nextruder sock (Optional)
セミアッセンブリのみ - ヒートベッド取り付けの確認
最初のプリントに向けたクイックガイド
Printable 3D models
Prusa knowledge base
Join Printables!
Manual changelog
コメント
ログイン
してコメントを投稿する
コメントなし