Polski
Login
Drukarki 3D
Materiały
Części i akcesoria
Dla biznesu
Oprogramowanie
Modele 3D
Społeczność
Pomoc
Kursy
Blog
Firma
Wsparcie
Original Prusa i3 Plus 1.75 mm
Montaż zestawu Original Prusa i3 Plus 1.75 mm
First print i3 Plus LCD/SD | Plug in the printer
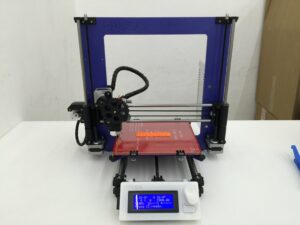
1. Plug in the printer
Krok 1 z 7 (Rozdział 3 z 3)
Spis treści
Komentarze
⬢
Plug-in the printer. If display is on, everything is fine ;-)
⬢
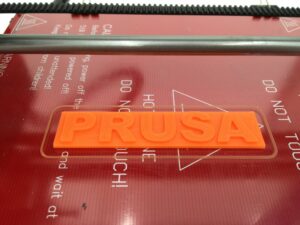
Notice the squished filament line around the PRUSA logo. This is the right amount of compression for the first layer.
⬢
Calibrate your printer.
⬢
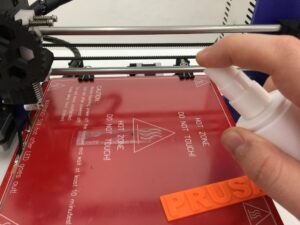
Prepare the printbed.
Loading...
Dalej
Spis treści
Montaż zestawu Original Prusa i3 Plus 1.75 mm
Calibrate i3 Plus LCD/SD
Introduction
First print i3 Plus LCD/SD [Tłumaczenie w toku]
Plug in the printer
Spool holder
Preheat the printer
Filament change
Clean the nozzle
Start the print
Check the first layer
Komentarze
Zaloguj się
, aby dodać komentarz
Brak komentarzy