EN
  • Čeština
  • Español
  • Italiano
  • Deutsch
  • Polski
  • Français
Login

4. First run

4. First run
Relevant for:
Last updated a month ago
4. First run
 Difficulty
Easy
 Steps
12
 Available languages
CSPLDEESITFR
Before you start with Single-Tool
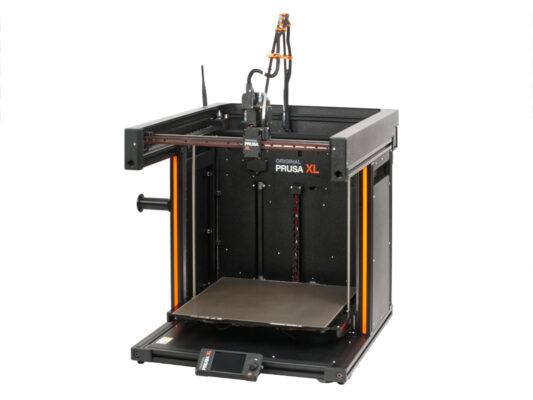
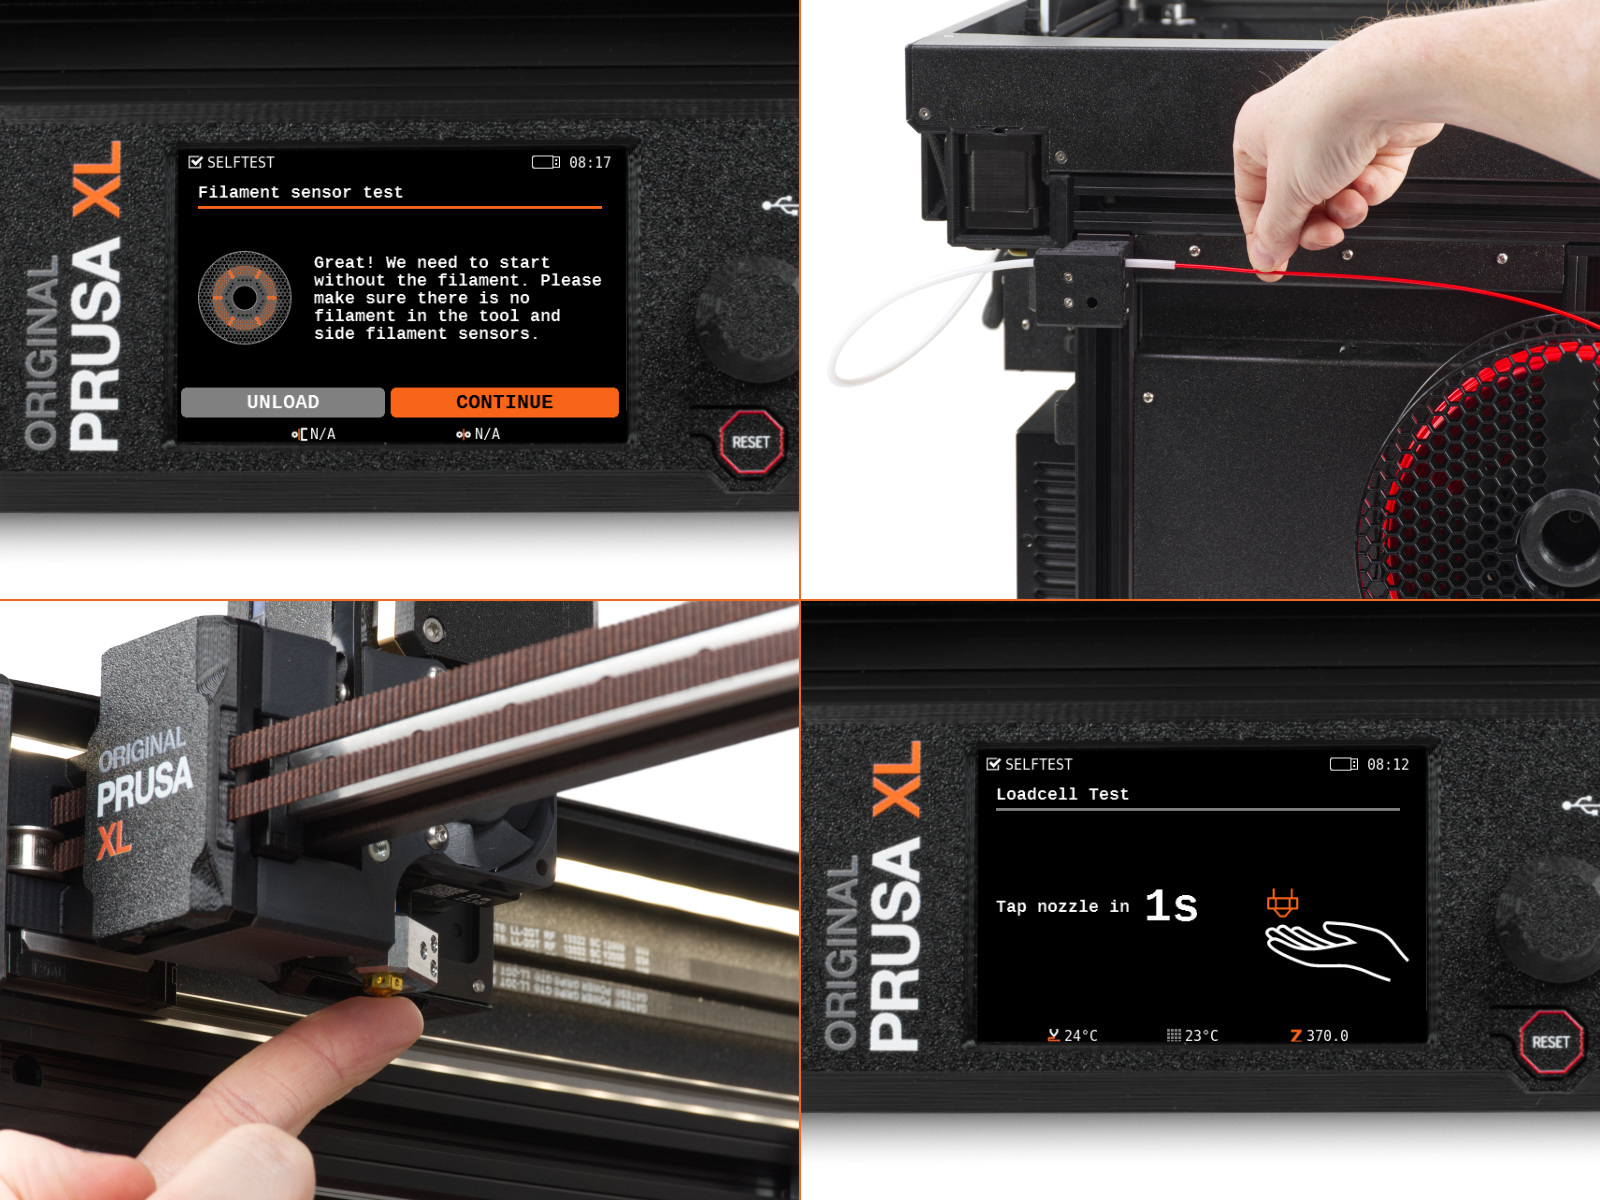
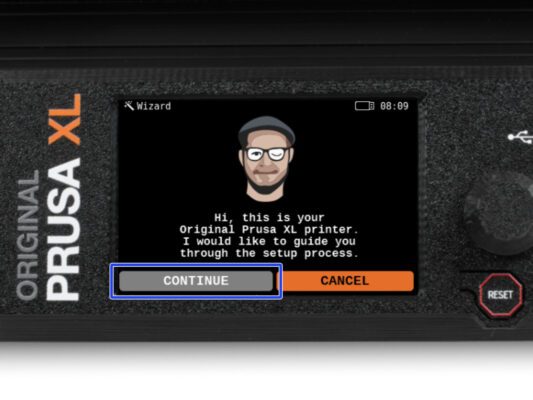
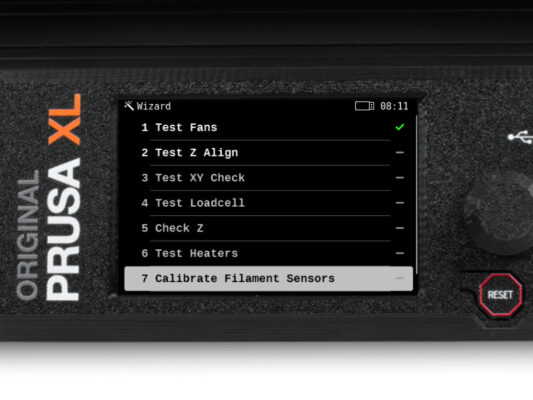
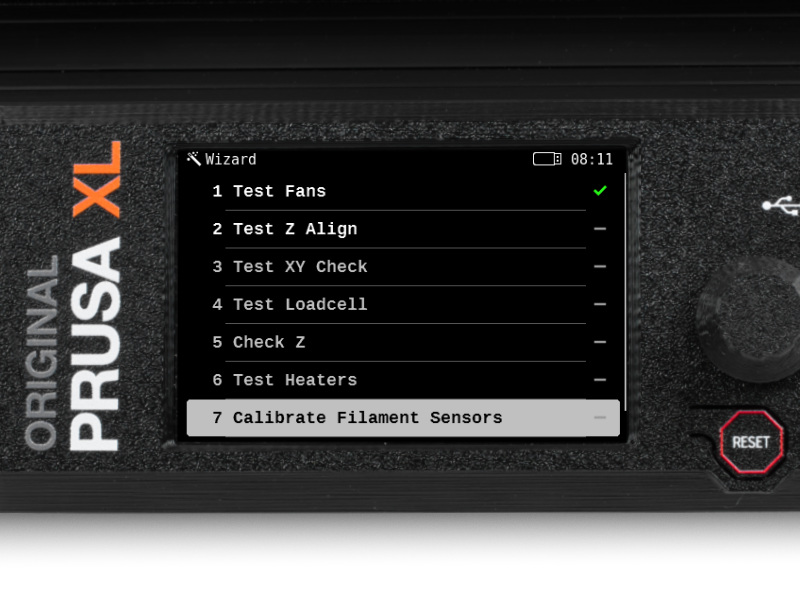
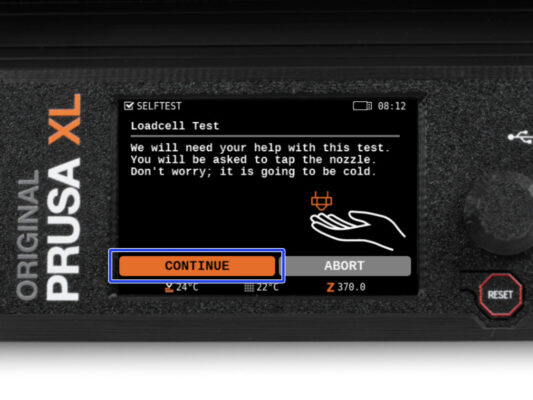
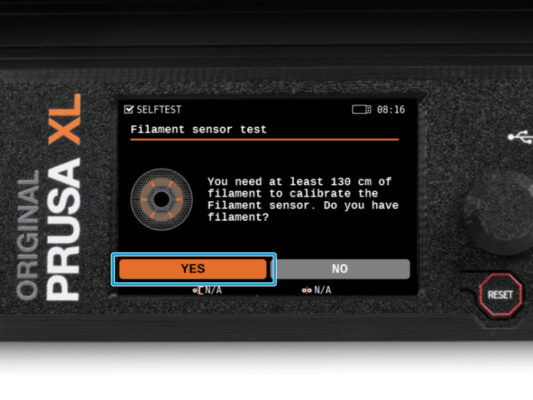
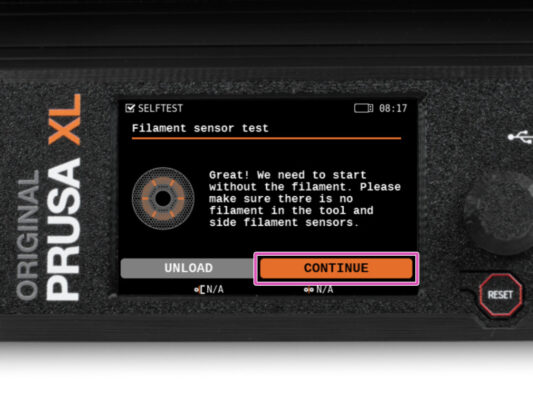
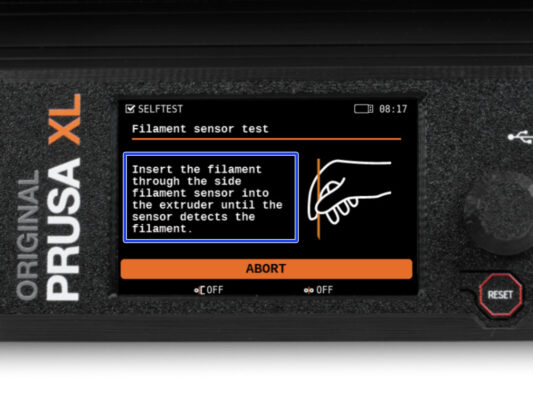
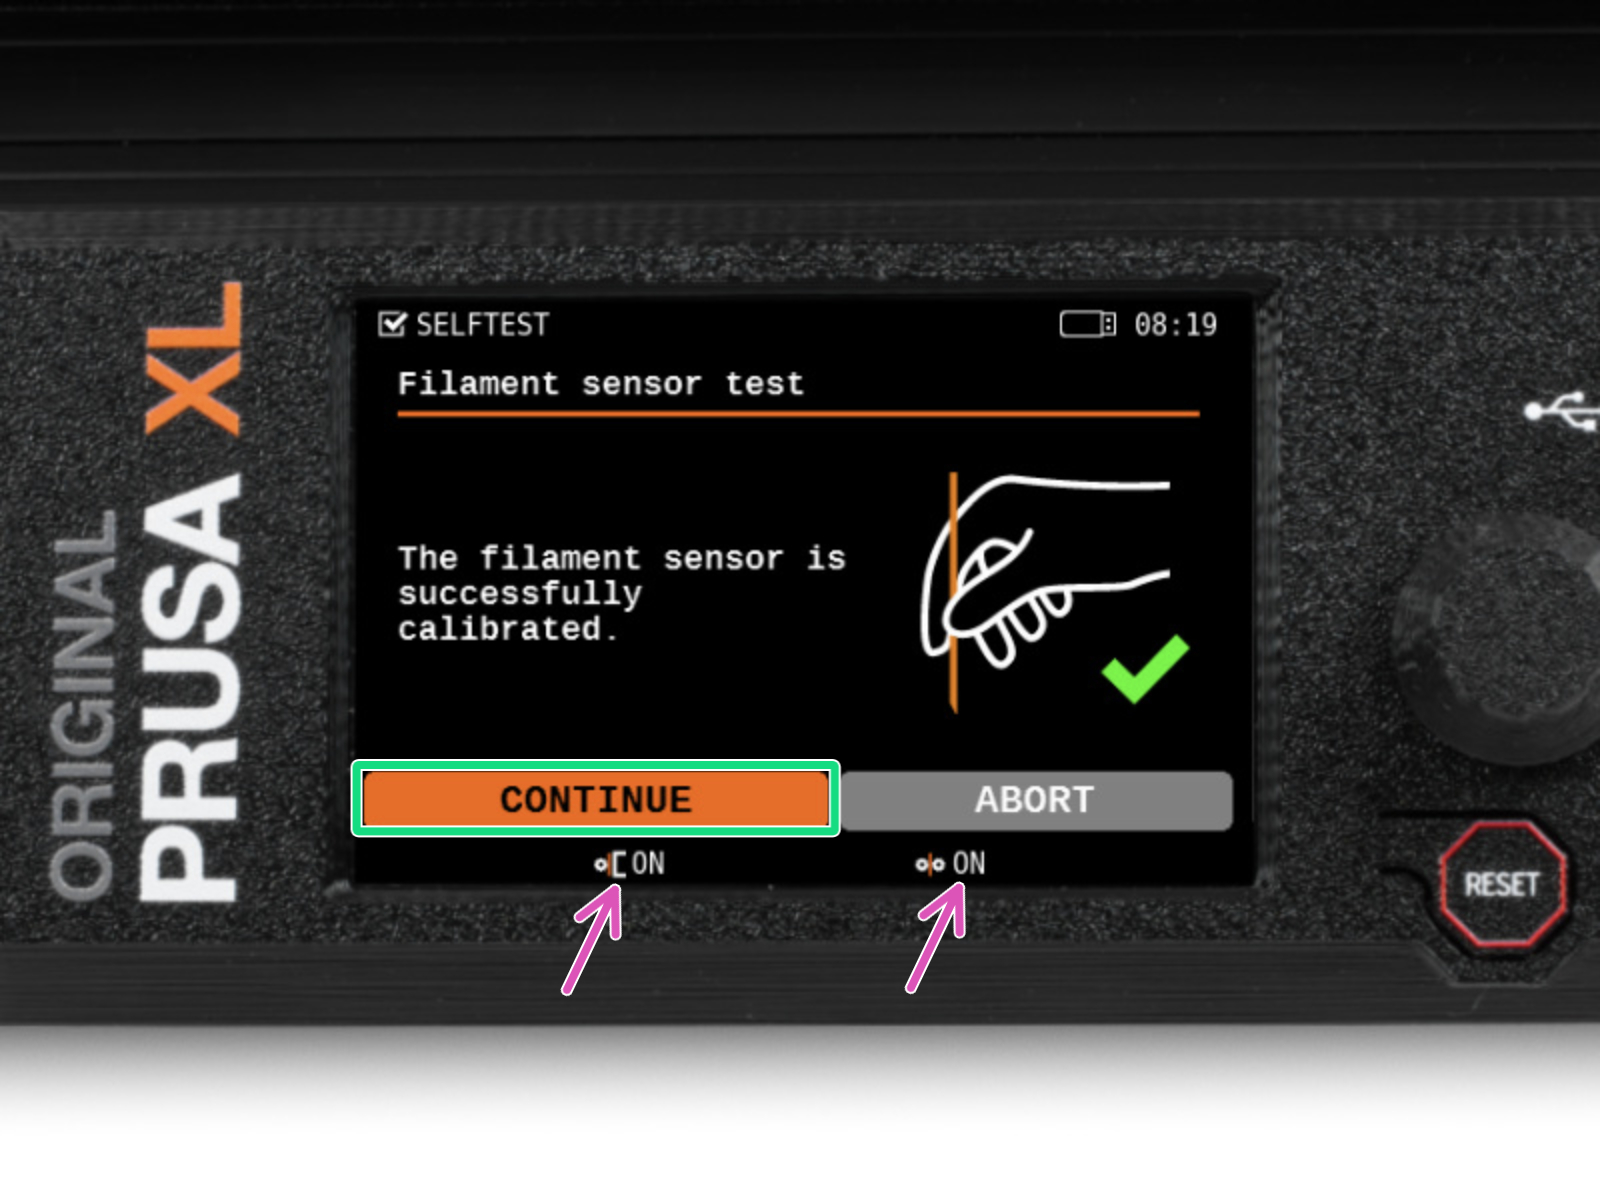
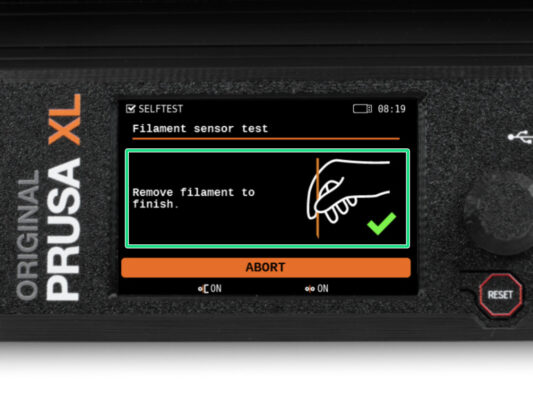
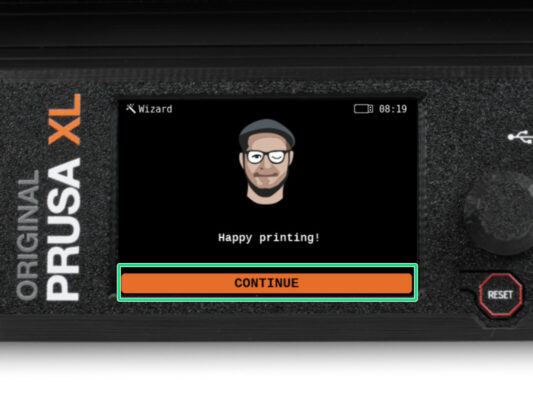
This chapter shows a brief description of the wizard. Please note that the screenshots are illustrative and might differ from those in the firmware.
Make sure you are running Firmware 5.1.2 or newer
Preparing the printer
Make sure that the printer is placed in a stable place where no ambient vibrations are transmitted (for example, where other printers are printing).
From the rear side of the printer, plug in the PSU cable.
Turn the power switch ON (symbol "I").
Wizard
Wizard
Wizard
After the printer starts up, the screen prompts for the printer test and setup wizard.
Although we inspect and test every printer before shipping, it is recommended to repeat the process once the printer is assembled.
Using the knob, click on CONTINUE.
The wizard will test all important components of the printer. The whole process takes a few minutes. Some parts of the wizard require direct user interaction. Follow the instruction on the screen.
NOTE: While testing the axes, make sure that there is nothing in the printer that is obstructing the movement of the axes.
WARNING: Do not touch the printer during the wizard unless prompted! Some parts of the printer may be HOT and moving at high speed.
The wizard starts with the fan check, Z-axis alignment and the test of the XY axes, which is fully automatic.
Wizard - Test Loadcell
The next step of the wizard will prompt you to touch the nozzle to test and calibrate the Loadcell. During this procedure, the parts of the printer are not heated, you can touch the parts of the printer. Click on Continue.
Do not touch the nozzle yet, wait until prompted with the message: Tap the nozzle NOW.
Slightly tap the nozzle. No need to use extra force. In case the Loadcell does not detect enough touch, you will be prompted to repeat the step. Otherwise, you will see Loadcell test passed OK when it succeeds.
Wizard - Calibrate Filament Sensors
During the calibration of the filament sensors, you will be prompted to use at least 130 cm of filament. Hint: Use the Prusament shipped with your printer and hang it directly on the spool holder.
When you have prepared the filament, click on YES.
Do not insert the filament into the side filament sensor and the tool head. If the side filament sensor is empty, click on CONTINUE.
Wizard - Calibrate Filament Sensors
Now, insert the filament into the side filament sensor and push it until it reaches the filament sensor in the extruder (you will feel a slight resistance).
You can check the side filament sensor (left) and extruder filament sensor (right) status on the bottom bar on the screen.
Both filament sensors are successfully calibrated and tested. Click on CONTINUE.
It's done
It's done
It's done
Manually remove the filament from the printer. And click on CONTINUE.
That's all, the printer is ready to print. But still, follow the instructions in this manual to the end.
Quick guide for your first prints
Now, please read the 3D Printing Handbook, which is tailor-made for your printer and follow the instructions to set up the printer properly. The latest version is always available at this link.
Read the chapters Disclaimer and Safety instructions.
Printable 3D models
Printable 3D models
Congratulations! You should be ready to print by now ;-)
You can start by printing some of our test objects bundled on the included USB stick - you can check them out in this collection.
Join Printables!
Join Printables!
Join Printables!
Join Printables!
Don't forget to join the biggest Prusa community! Download the latest models in STL or G-code tailored for your printer. Register at Printables.com
Looking for inspiration on new projects? Check our blog for weekly updates.
If you need help with the build, check out our forum with a great community :-)
All services share one account.
Was this guide helpful?

Comments

Still have questions?

Still have questions?

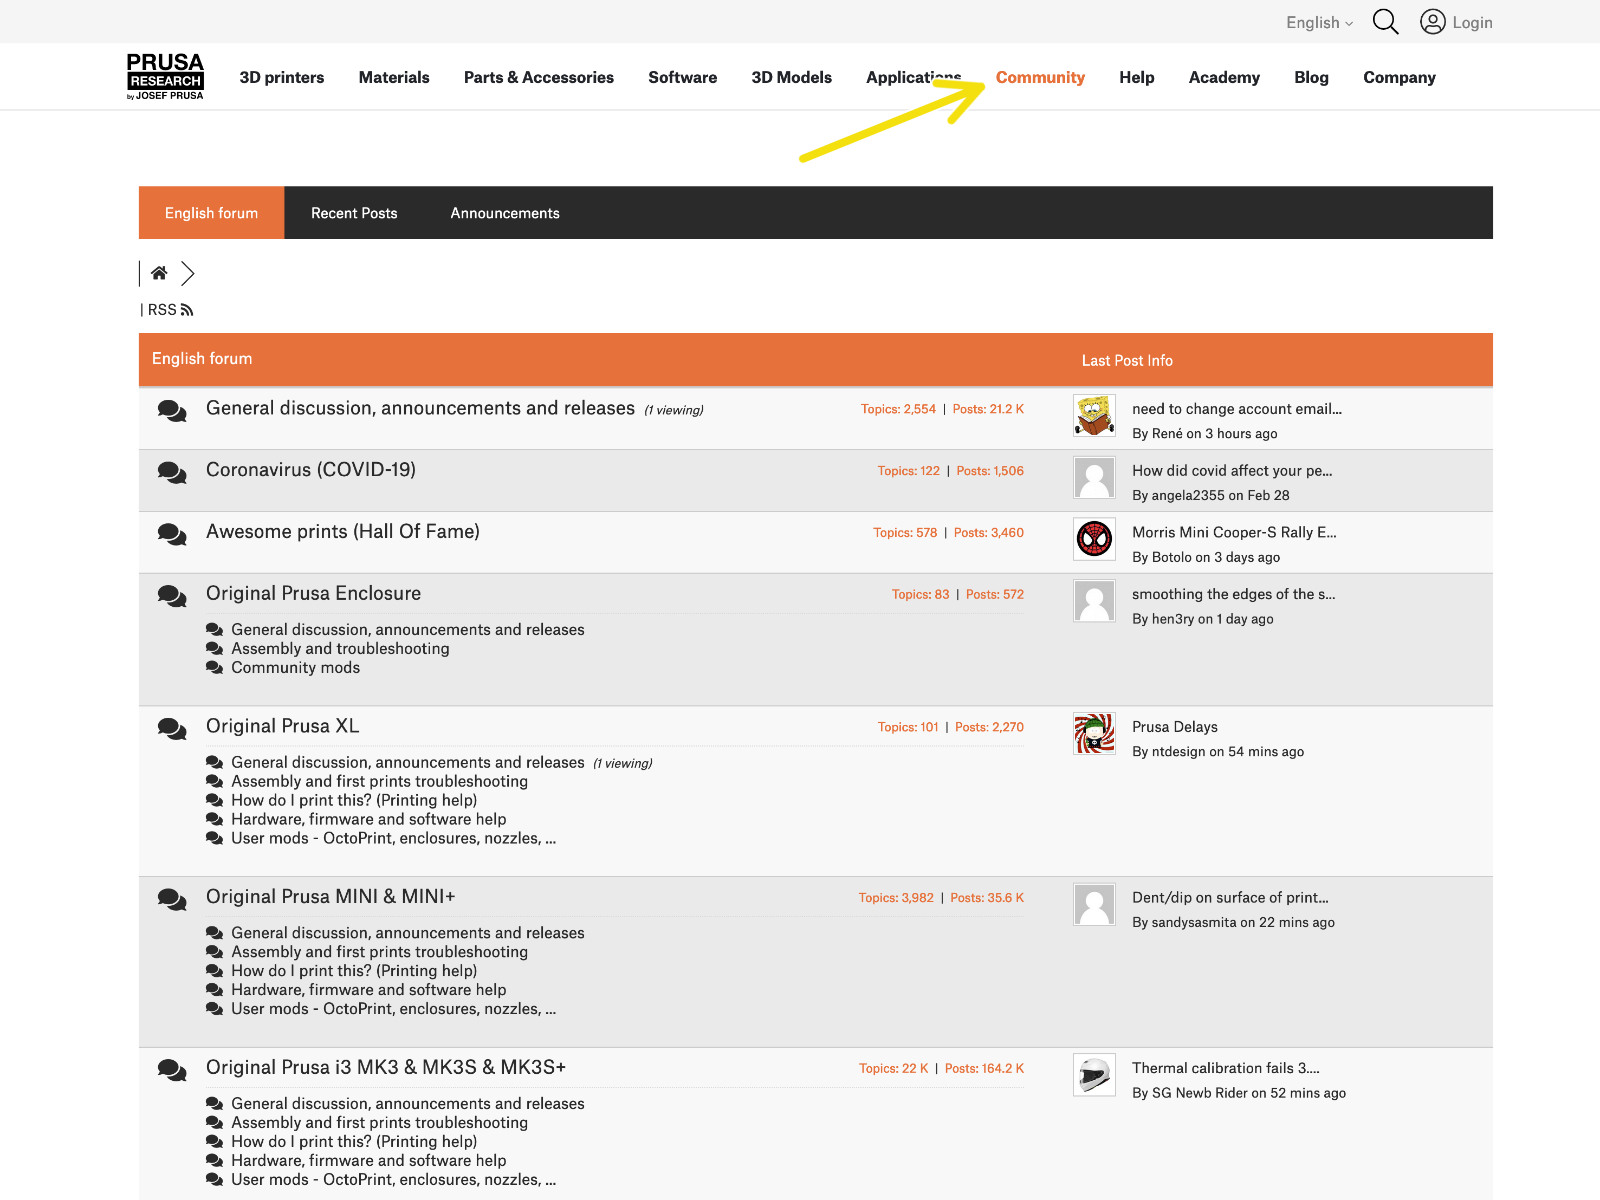
If you have a question about something that isn't covered here, check out our additional resources.
And if that doesn't do the trick, you can send an inquiry to [email protected] or through the button below.

Contact us