While printing on the multi-tool version of the Original Prusa XL, an issue with the tool-changer mechanism might occur. For example, the tool-changer might attempt parking a tool in a wrong position, causing it to collide with another parked tool.
In this situation, the printer pauses the printer, and displays the following message: "Toolchanger problem has been detected. Park all tools to docks, leave the carriage free".
Error name: Crash recovery tool pickup
Error code: #17813
Preliminary steps
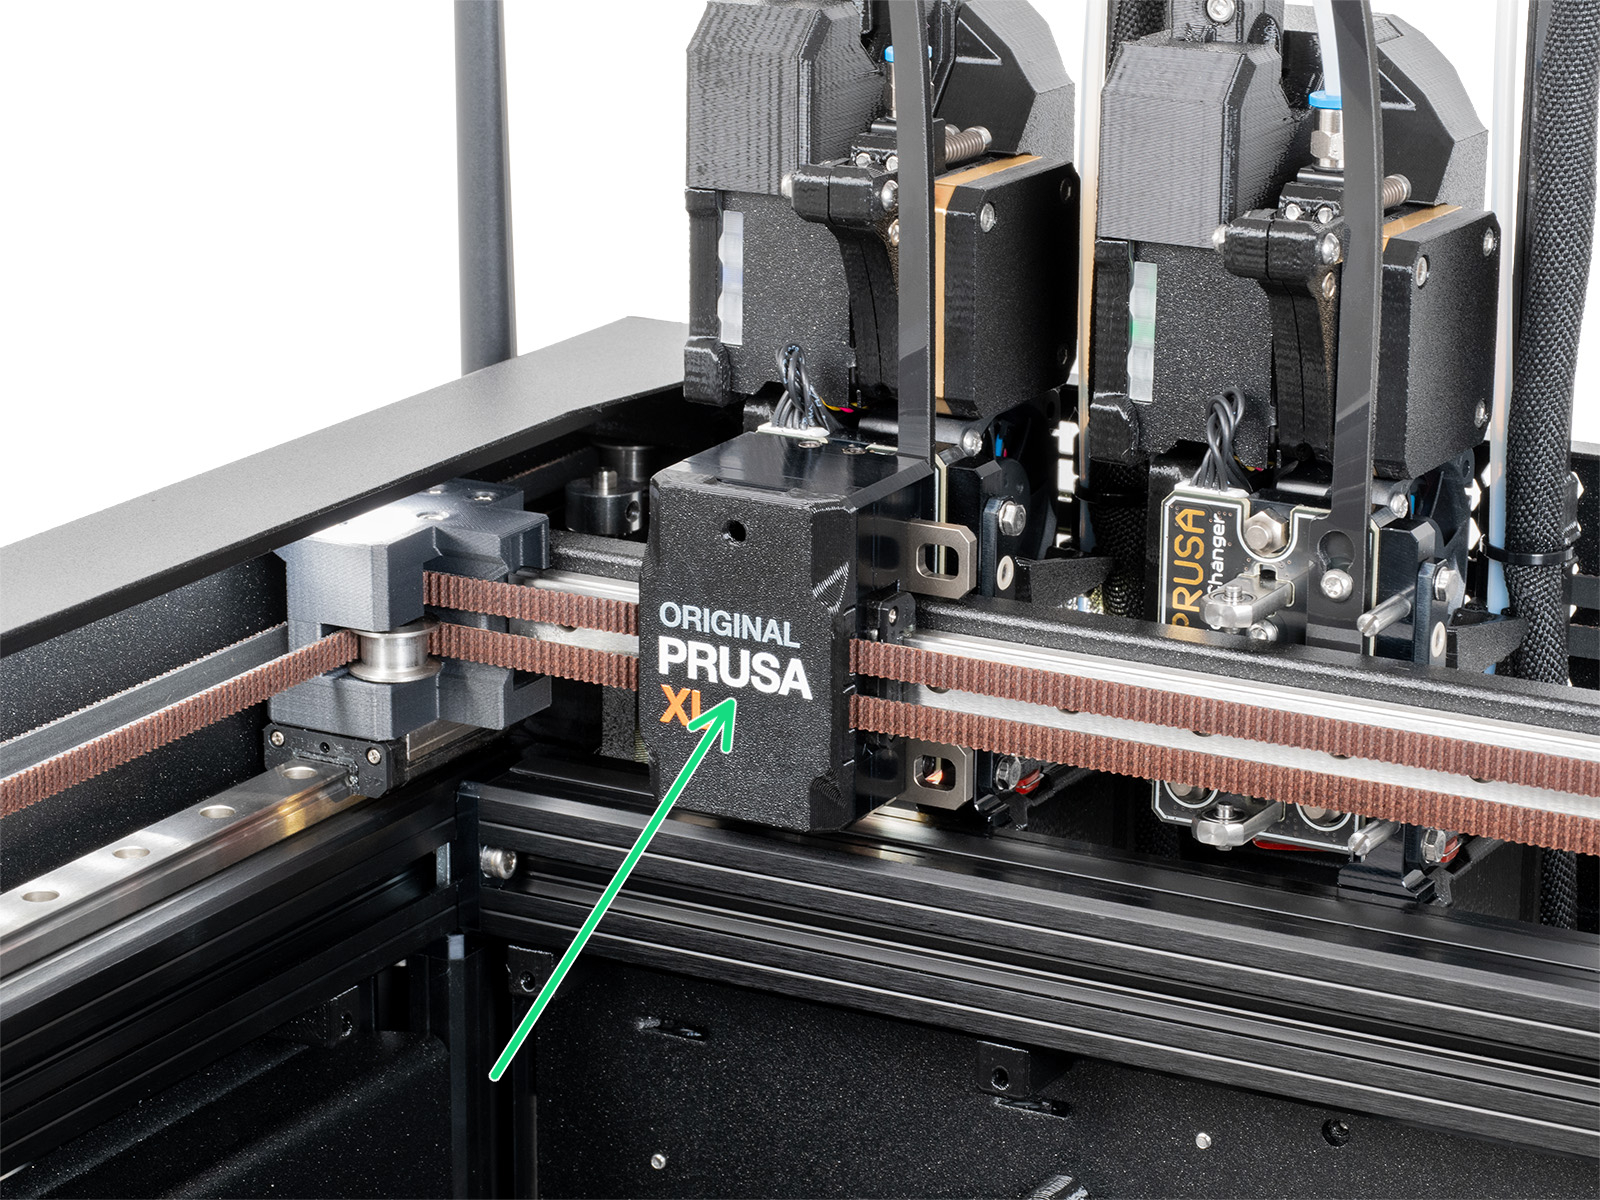
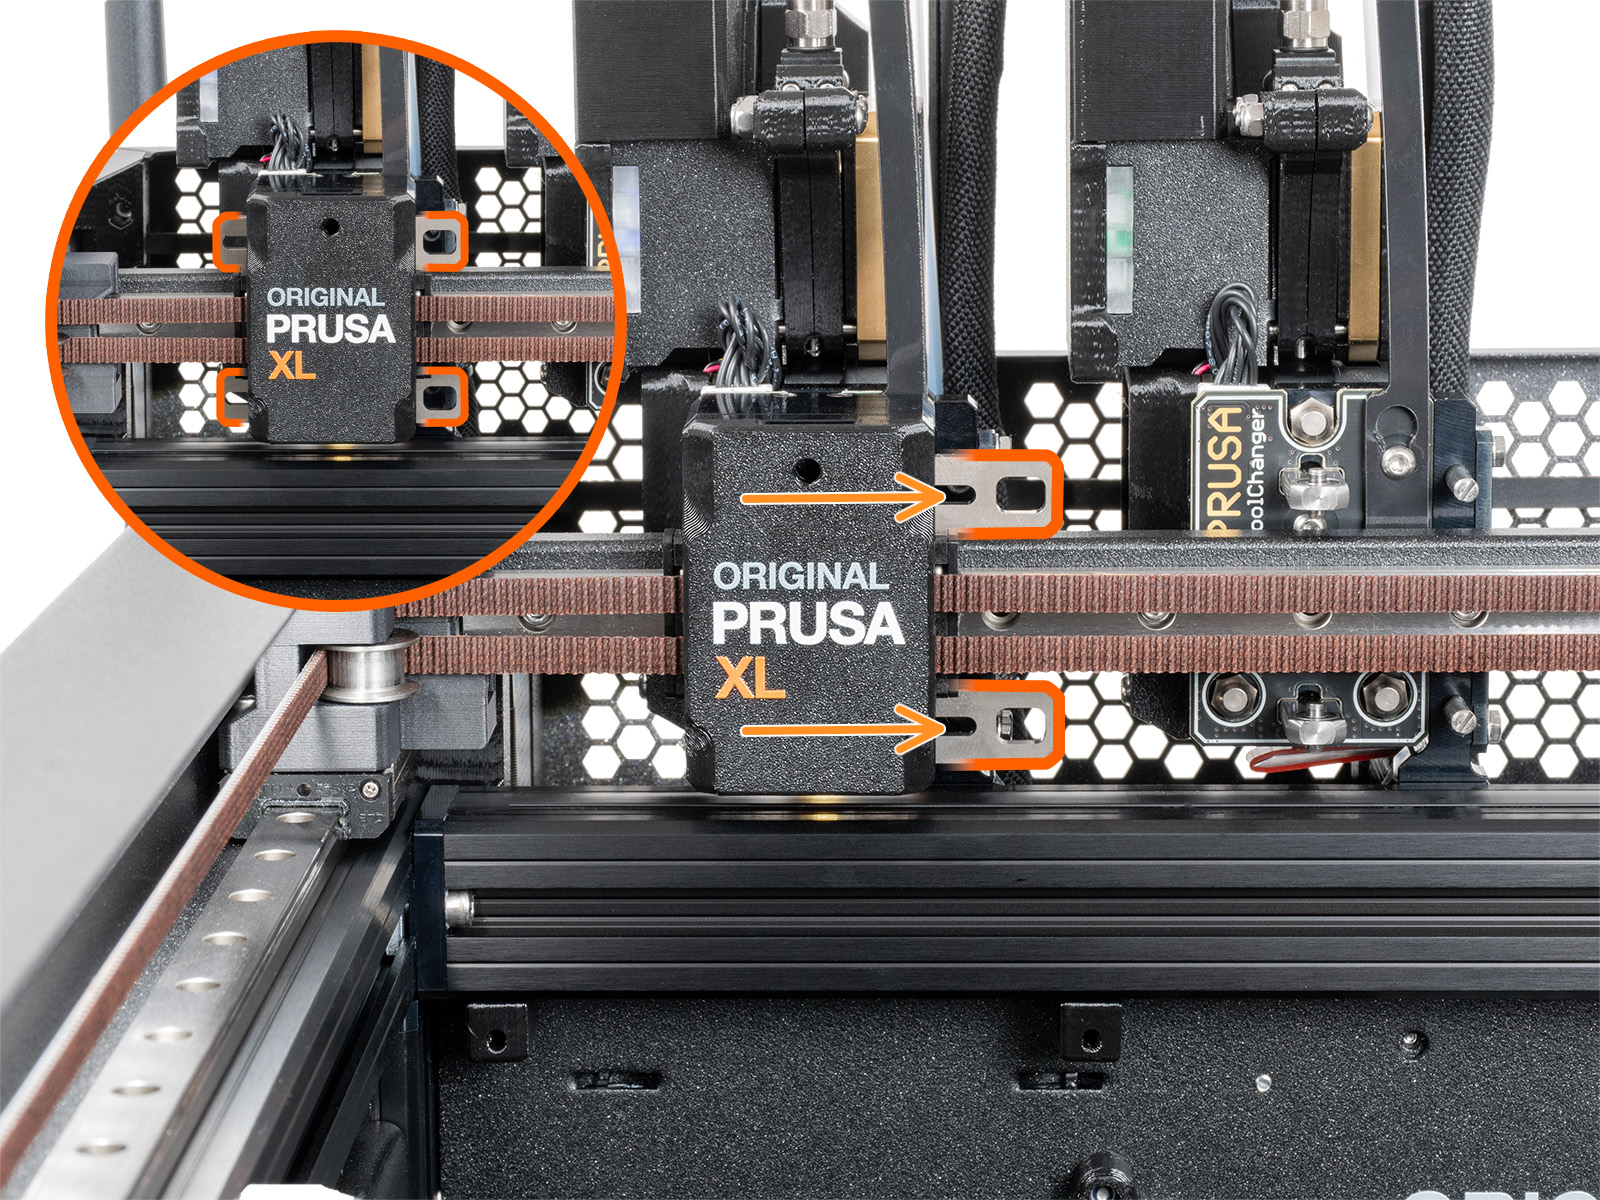
Manually park the picked tool in its dock position. Bring the tool to its dock position, and slide the toolchanger to the right. This disengages the tool from the toolchanger. After the toolchanger is disengaged from the tool, move the toolchanger away from the docks.
Ensure the other tools are also in their dock position.
 |  |
Dock assembly
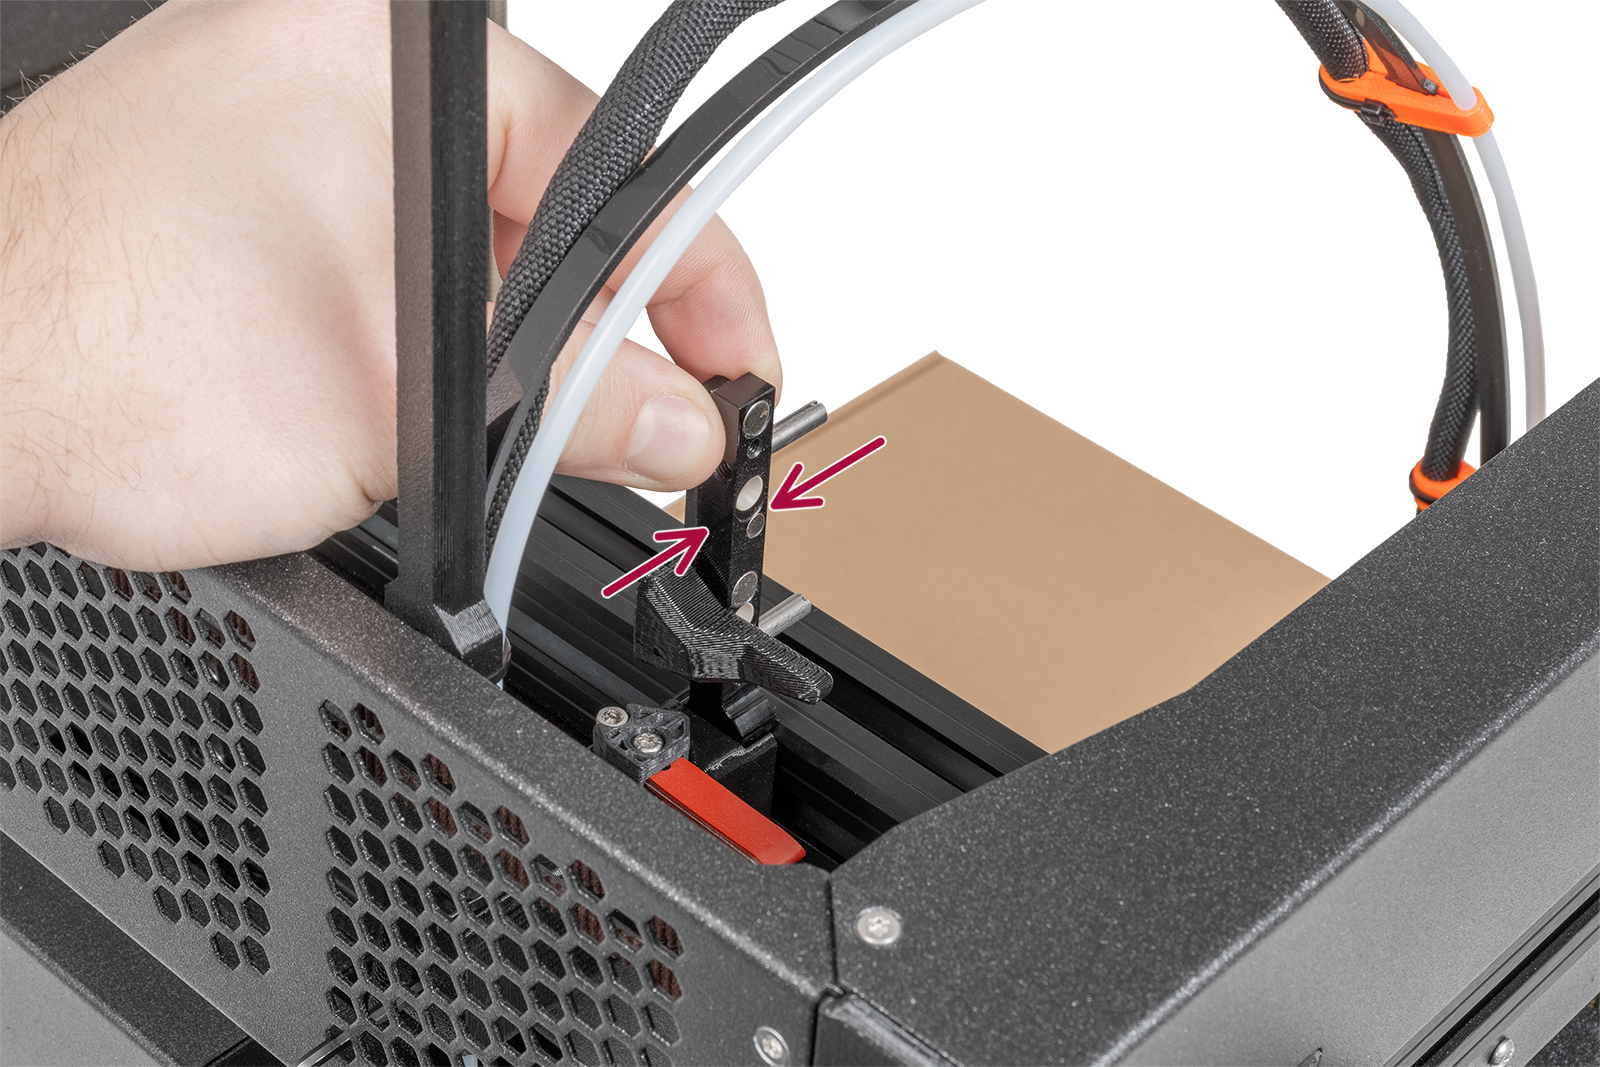
Attempt moving the dock, and see if it is properly tightened. The dock should not move at all.

To tighten the dock, follow the procedure shown in the video below. Push a 2.5mm Allen key all the way through the hole in the rear metal sheet, until you reach the middle screw in the xl-dock-cable-router, and tighten the screw very firmly.
Dock calibration
To recalibrate the dock position, navigate to LCD Menu -> Control -> Calibrations & Tests -> 5 Dock Position Calibration. Select the tool number of the affected tool, and follow the steps shown on the printer display.
Loose or over-tightened belts
In case the belts are too loose or overtightened, the gantry movement, and by consequence the attached toolhead, is not optimal. This can cause a toolchanger crash, or an error during printing, such as skipped steps or layer shifts, that can cause in turn more erroneous movements.
To adjust the belt tension, follow the dedicated article.
Coupler pins
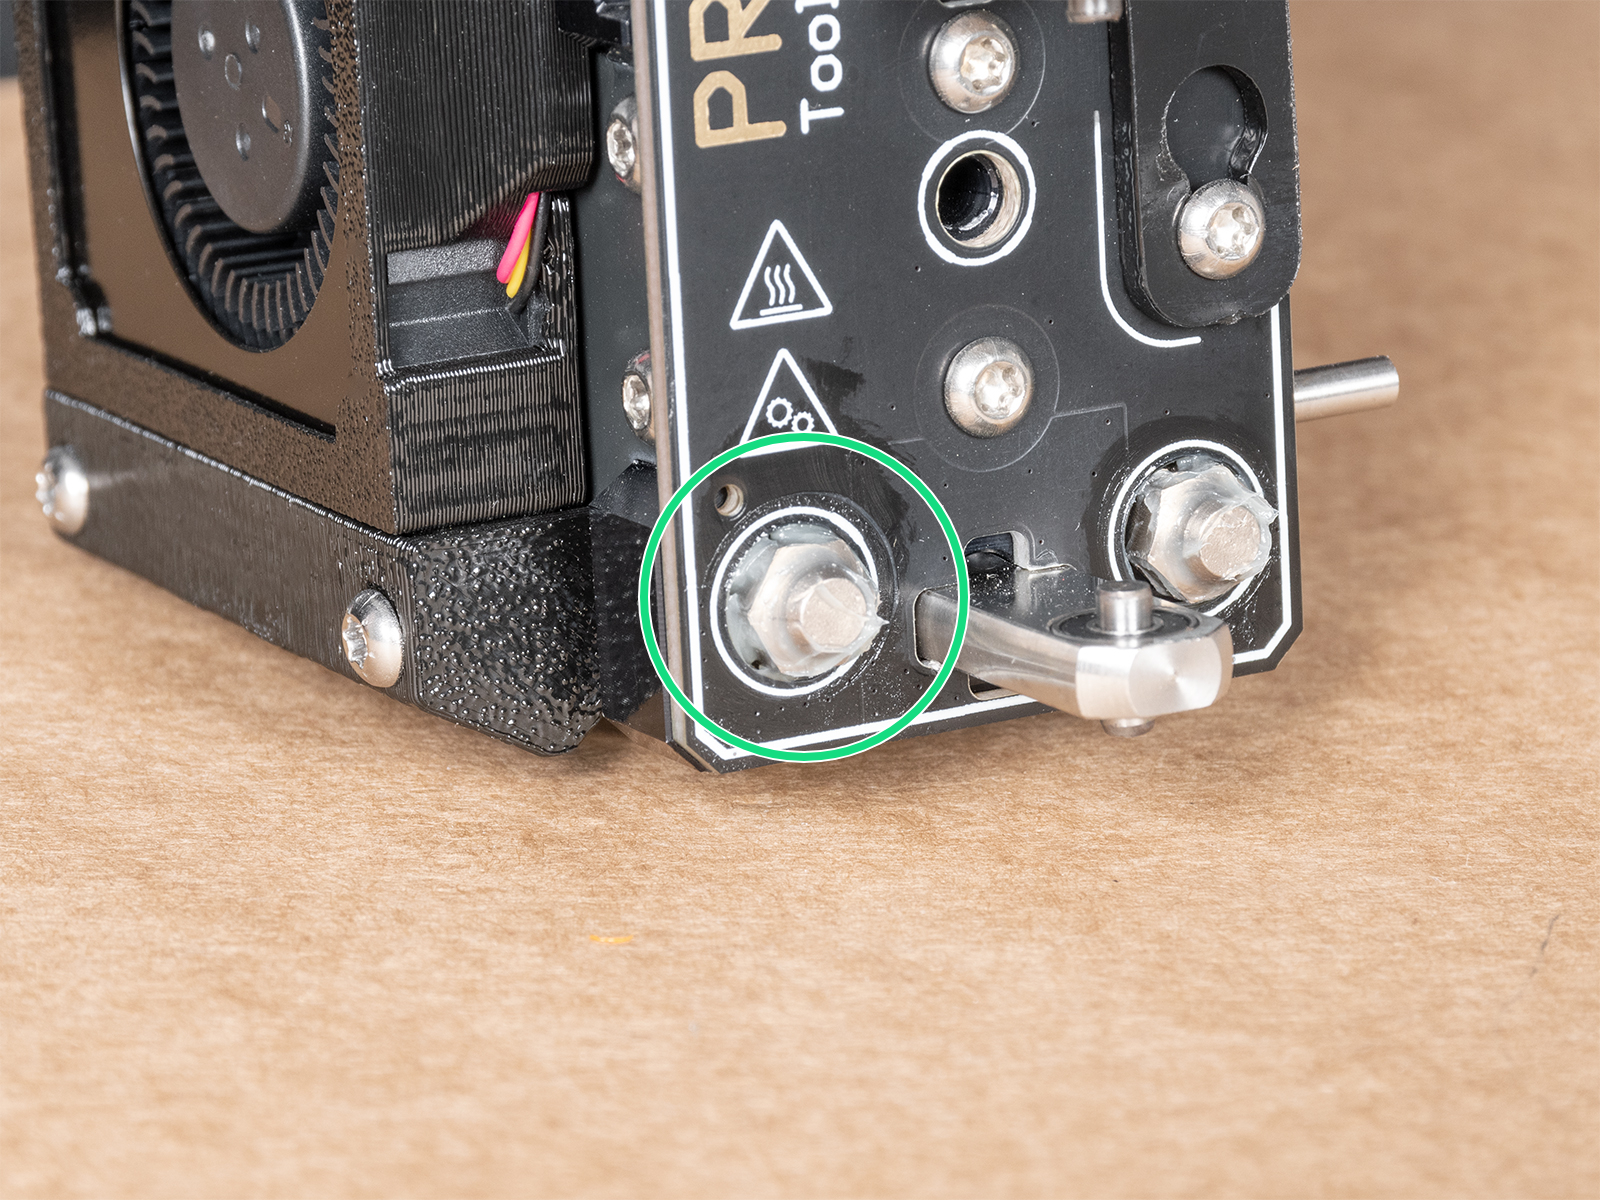
It is possible that a dry, or badly lubricated coupler pin can cause an issue in picking or parking the tool. Each tool includes three coupler pins. To lubricate them, follow the dedicated step-by-step guide.

Cheese board
Each tool is equipped with an electromechanical component that can be picked by the locking mechanism of the Tool-changer, the Cheese board. Each Cheese board is connected to its respective Dwarf board.
A Cheese board includes a circuit board, 3 hexagonal positioning pins, 2 carrying pins, and 2 nozzle LEDs.
If none of the above causes were found, it is possible that the Cheese board might be at fault.
