If the print does not appear on the printing platform, nor at the bottom of the resin tank, there are a couple of possible causes:
- Highly insufficient exposure times
- Old or separated resin
- A large amount of Isopropyl alcohol (IPA) in the resin/on platform
- Faulty UV LED panel,
- Faulty print display
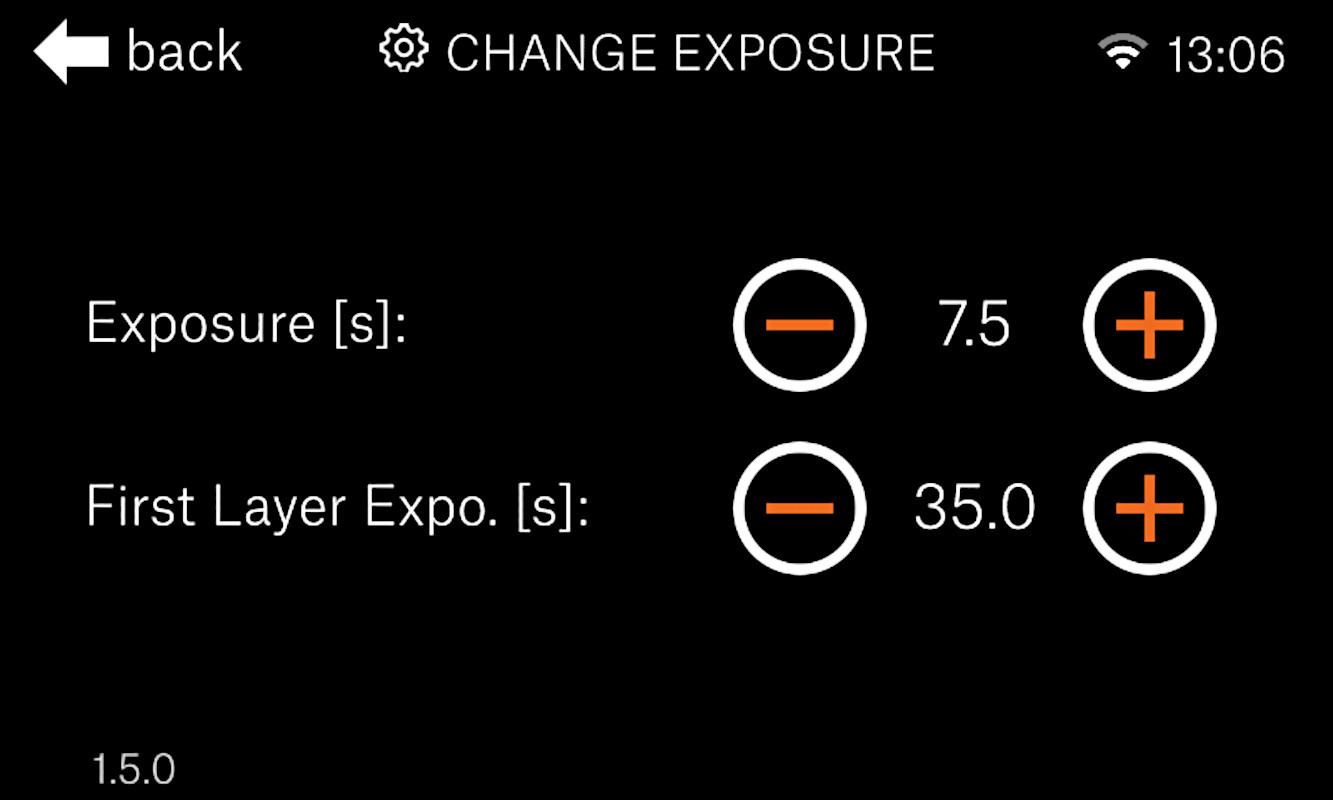
Insufficient/Incorrect exposure times
Make sure you are using the correct preset with the recommended exposure times for your resin, in PrusaSlicer. If your resin does not have a dedicated preset, use the Resin Calibration (SL1/SL1S) to determine the correct values.
Old or separated resin
If the resin is not stored correctly, or you use the same batch, again and again, it can lose its original properties and won’t solidify anymore. Try a new batch of resin if you kept re-using one batch several times.
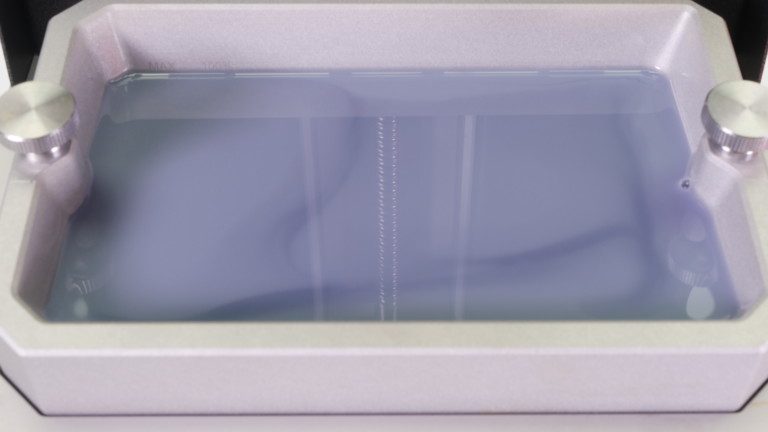
If the resin remains in the vat for too long it can start separating its reactive components and its oil solution (notice the lines of color difference in the picture below). Even though the printer will stir the resin using its tilt platform it may not be sufficient. With a gloved finger or a spatula, carefully stir the resin until its color is uniform.
A large amount of Isopropyl alcohol (IPA) in the resin/on the platform
If the platform is still wet of IPA after cleaning when the print begins, the IPA will repel the resin and the print will not stick to the platform upon exposure. Make sure you wipe the platform dry before starting your print.
If a lot of IPA has dripped into the resin tank it can dilute the resin to the point where it will lose some of its properties. Empty the tank and try a new batch of resin.
Faulty print display or UV LED panel
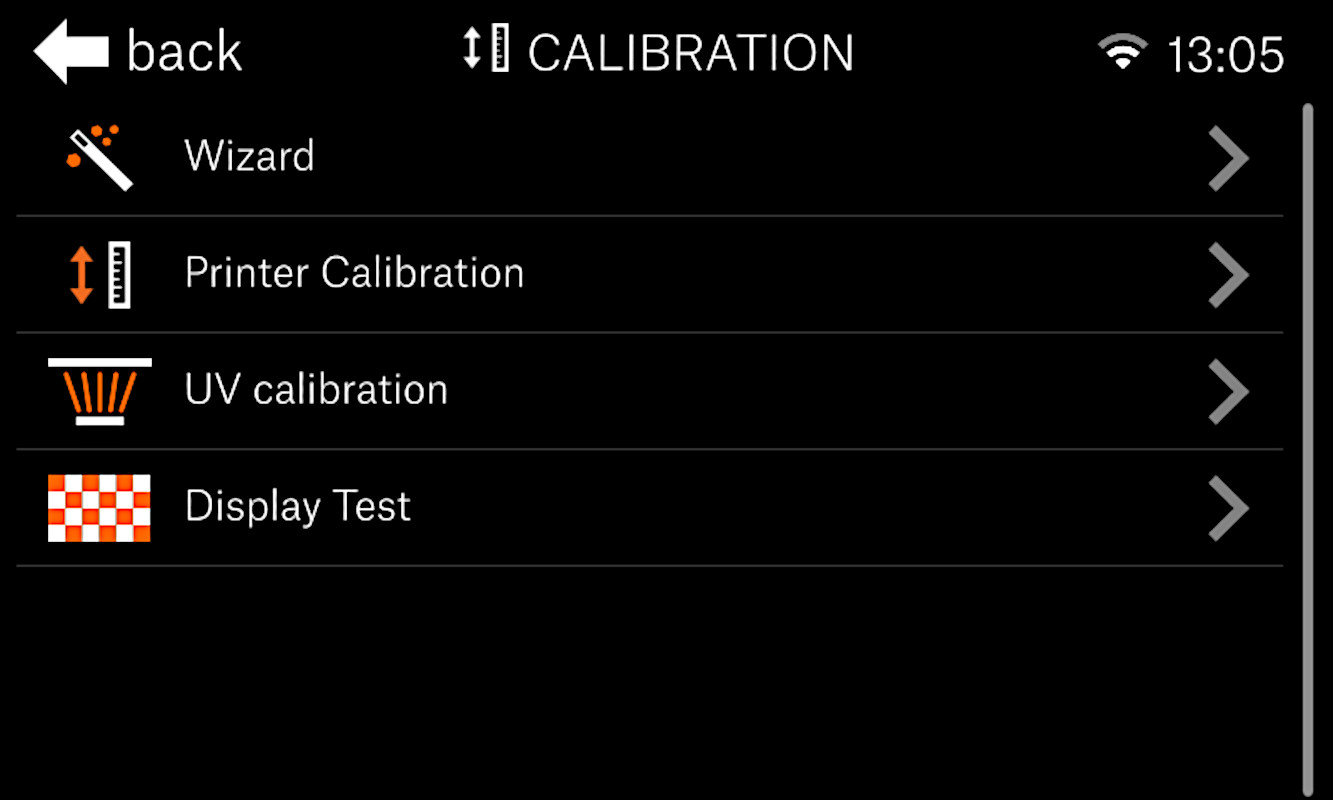
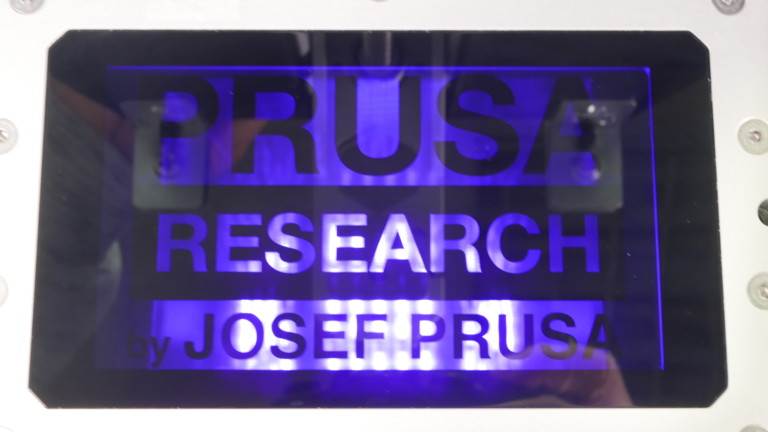
Check whether the UV panel and LCD screen work as intended – Run the Display test, found at Settings -> Calibration-> Display test. Follow the onscreen instructions.
If the logo does not appear on the display, but it is lit from the back, check the display’s wiring. To do so, remove the black cover secured by eight screws, then inspect the cable leading from the exposition (print) display. You can carefully disconnect and reconnect the cable header from the mainboard to ensure that it is seated correctly.
If it remains completely dark may be due to a faulty UV LED panel. Check its wiring by unplugging it and plugging it back in, making sure the connector is seated properly. Test the display again and if it still does not work it will have to be replaced.
1 comment