La técnica del "tirón en frío" te permite limpiar la boquilla y el hotend de tu impresora de cualquier material que pueda estar atascado o quemado en su interior. También puedes utilizarlo para limpiar el hotend durante tu rutina de mantenimiento habitual. A partir del firmware 6.0.0, la impresora realizará el proceso automáticamente. Ten en cuenta que este proceso solo está disponible para las impresoras MK3.9 y MK4.
La extracción en frío debe realizarse si la boquilla solo está parcialmente obstruida y aún se extruye algo de filamento. Si la boquilla está completamente obstruida, comprueba el artículo de hotend atascado de la MK4.
Nuestras pruebas han descubierto que el PLA funciona mejor para un tirón en frío, ya que otros filamentos no retienen la punta como lo hace el PLA y se rasgarán o derretirán demasiado. Sin embargo, hay filamentos fabricados específicamente para limpiar hotends.
Tirón en frío
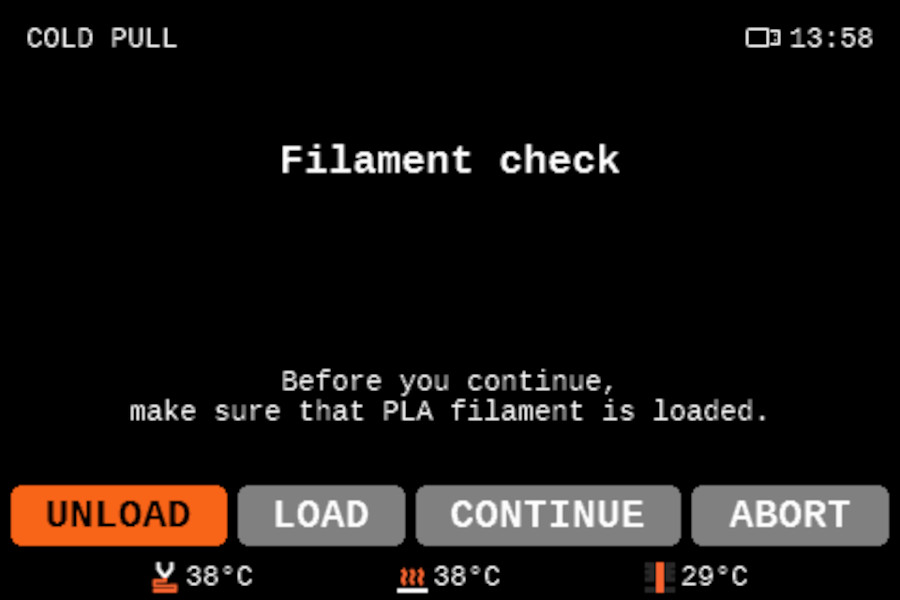
Ten a mano al menos 30cm de PLA cuando realices este procedimiento. Ve al menú de la impresora en Control -> Tirón en Frío.Verás las opciones: descargar el filamento actual (recomendado en caso de que tengas cargado cualquier filamento que no sea PLA), Cargar filamento PLA, y continuar con el filamento cargado (solo úsalo si el filamento cargado es PLA).
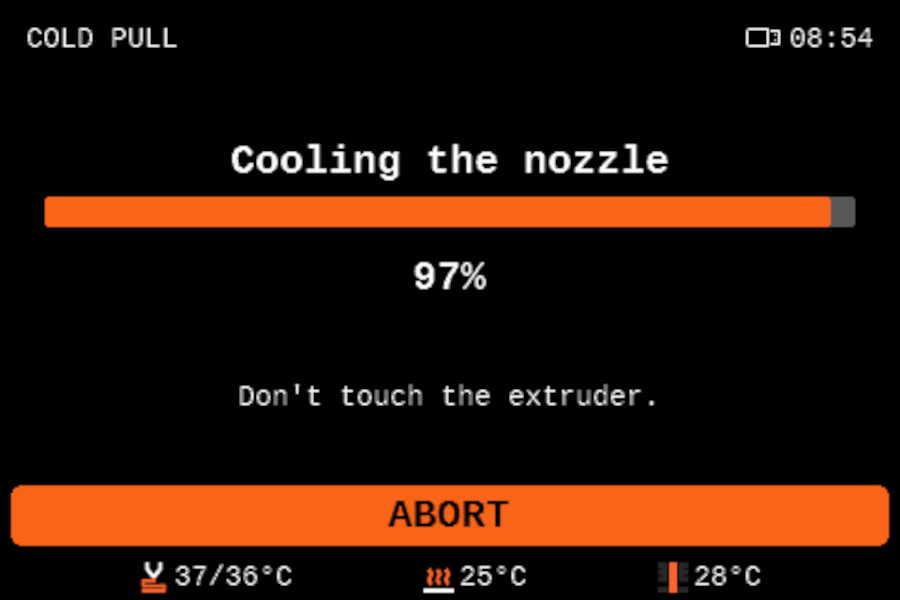
Si la boquilla esta caliente, la impresora esperará hasta que se enfríe a 36 ºC. Entonces calentará la impresora a 80 ºC. Después de eso, la impresora descargará el filamento automáticamente a esa temperatura, finalizando la extracción en frío.
 |  |
Tirón en frío manual (anterior al firmware 5.1.3)
- Carga un trozo de filamento de PLA en el extrusor, introduciéndolo desde la parte superior del extrusor. La impresora solicitará una selección de material: selecciona PLA y completa el procedimiento de carga.
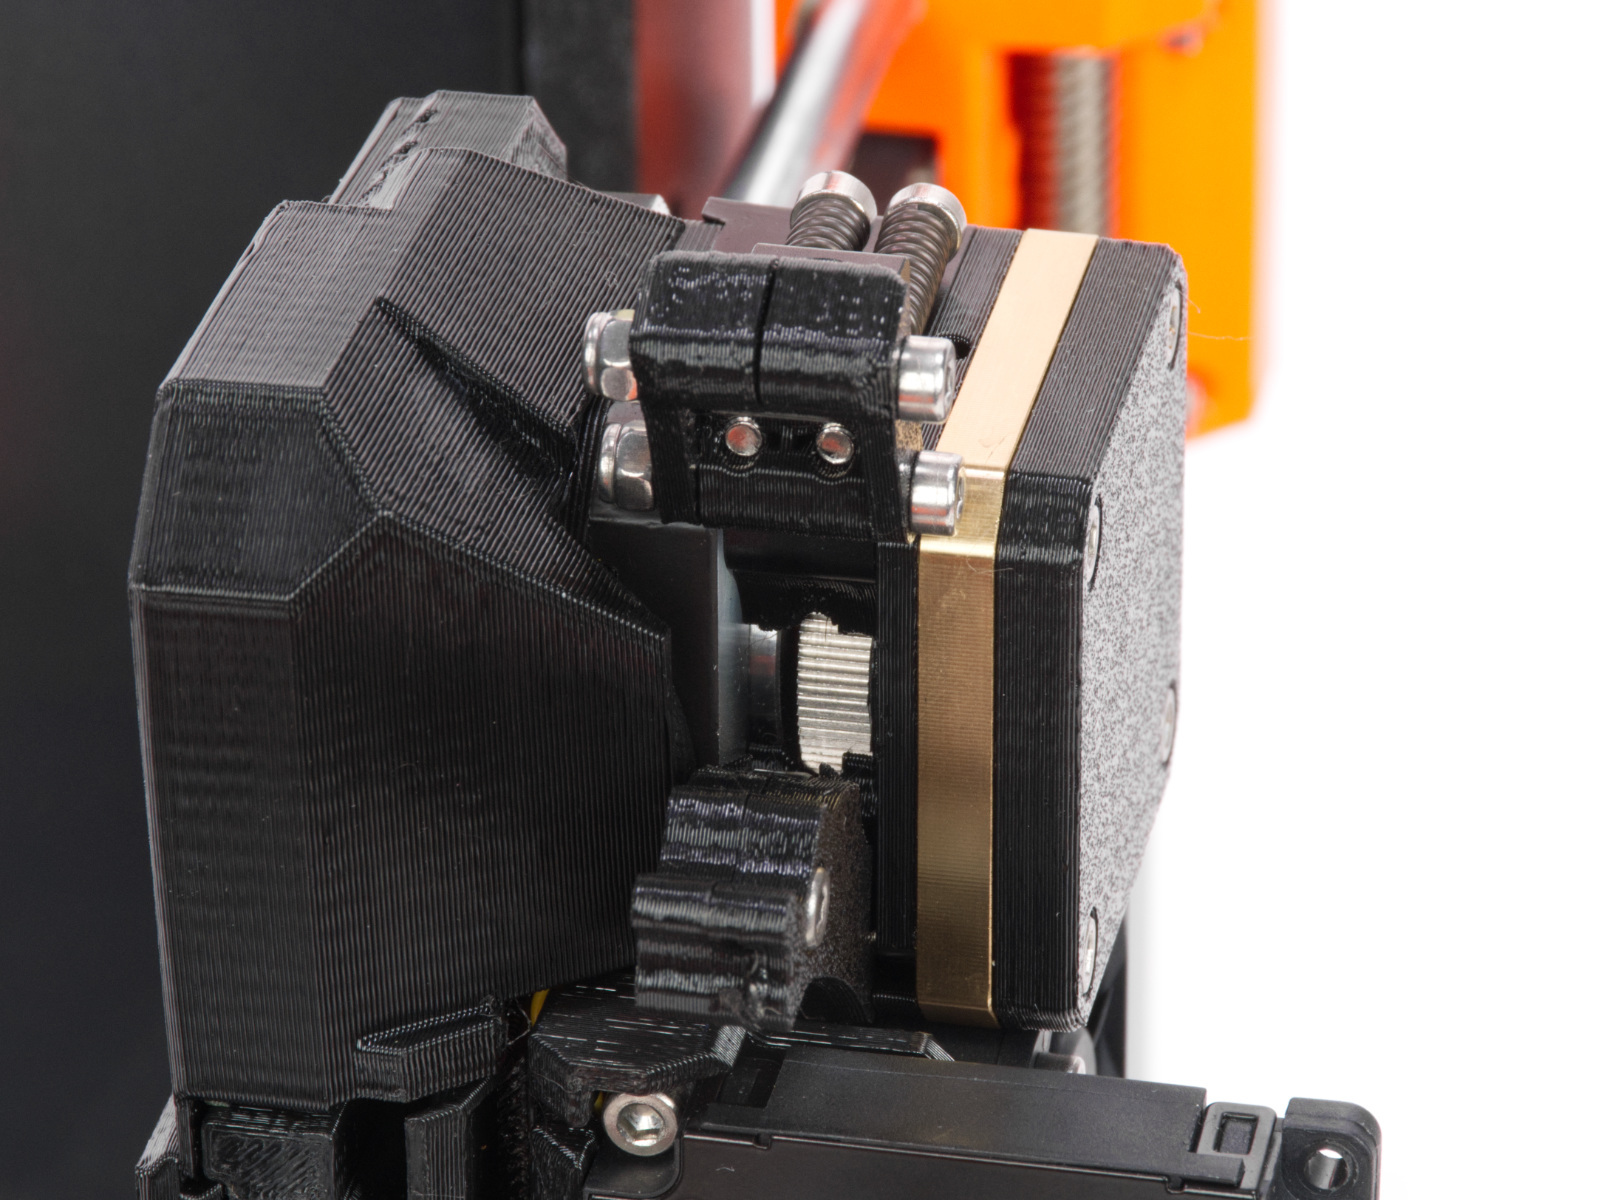
- Abre el Idler Swivel.
- Ve al menú LCD -> Control -> Temperatura -> Temperatura de la boquilla y ajústala la temperatura a 270 °C.
- Una vez que hayas alcanzado los 270 °C, empuja el filamento de PLA hasta que empiece a salir por la boquilla.
- Detén el calentamiento pulsando Enfriar en el Menú LCD -> Control -> Temperatura -> Enfriar, o pulsando el botón de reinicio.
- Continúa empujando manualmente el filamento hacia abajo hasta que la temperatura sea demasiado baja para que se derrita y salga (alrededor de 170 °C para PLA). La boquilla tiene que estar llena para que el tirón en frío tenga éxito.
- Recoge el material extruído de la boquilla para que nada obstruya el tirón posterior.
- Espera a que la temperatura alcance los 100 °C. En cuanto alcance los 100 °C, agarra el filamento con unas pinzas y tira de él lenta pero firmemente para sacarlo del extrusor. Asegúrate de tirar recto hacia arriba, no hacia los lados, o el filamento podría romperse dentro. Sujeta el extrusor con la otra mano.
- No te detengas hasta que el filamento salga completamente del extrusor.
- Cierra el Idler y el Idler Swivel.
Resultados
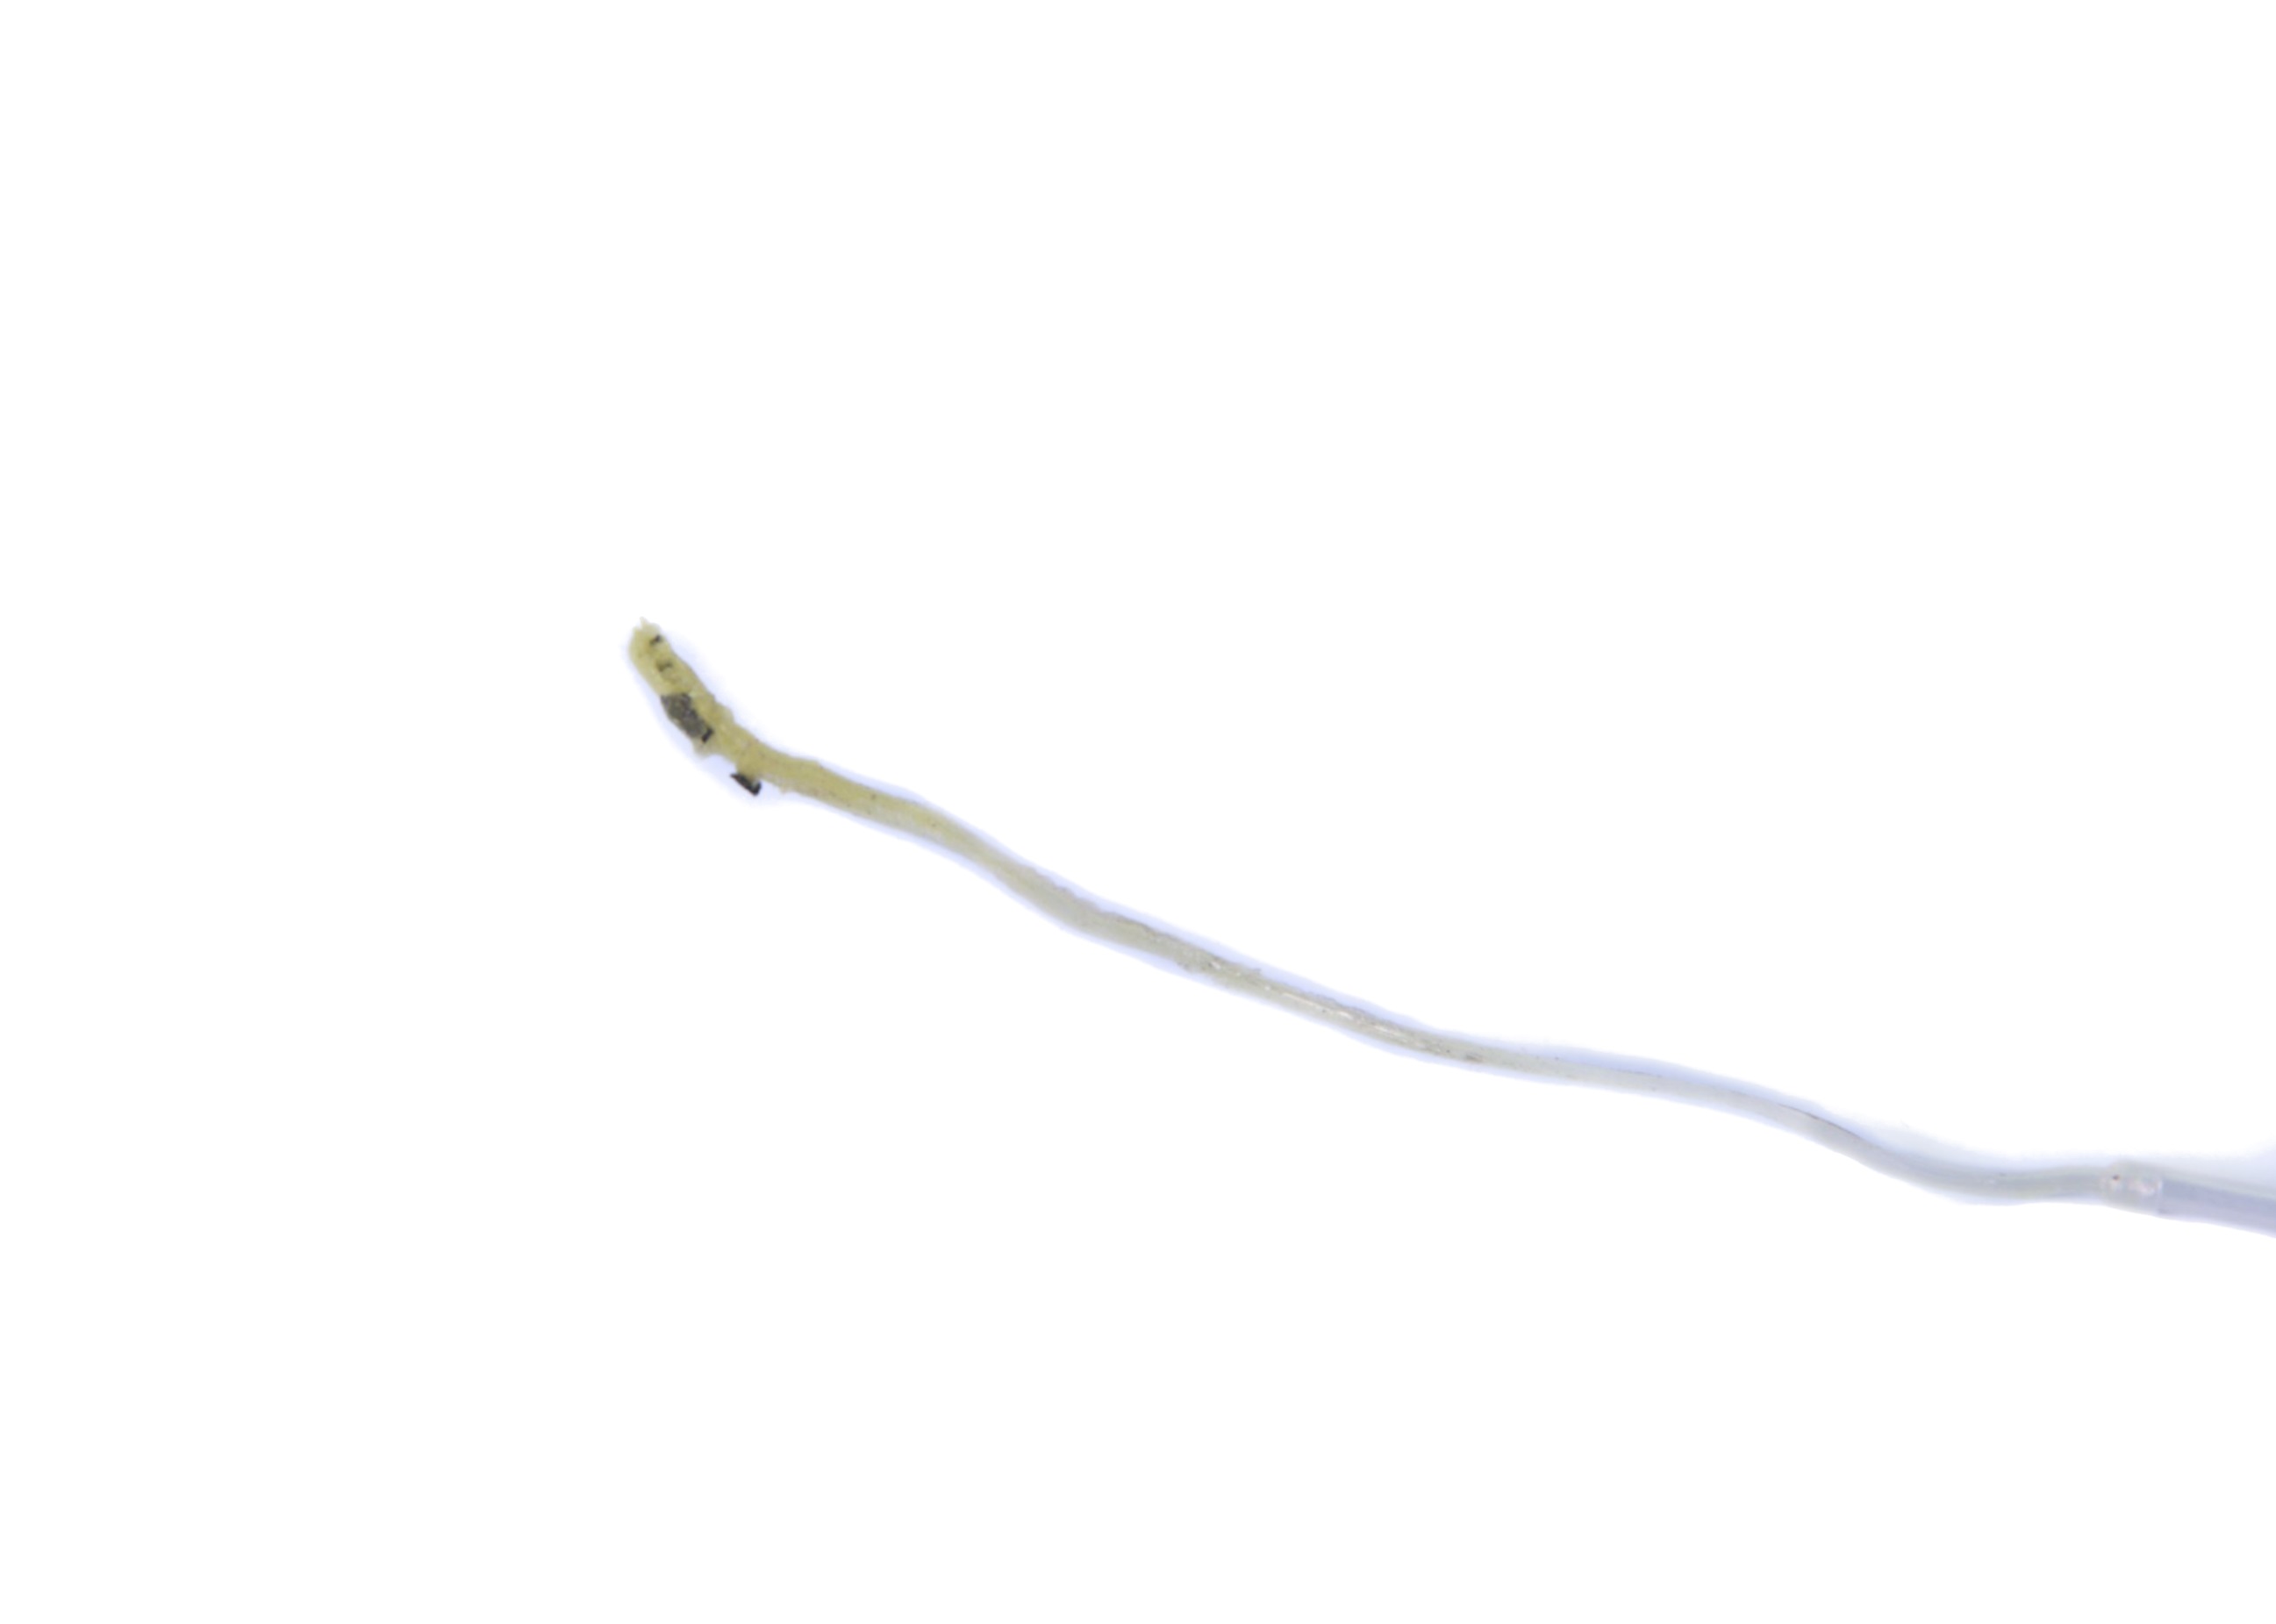
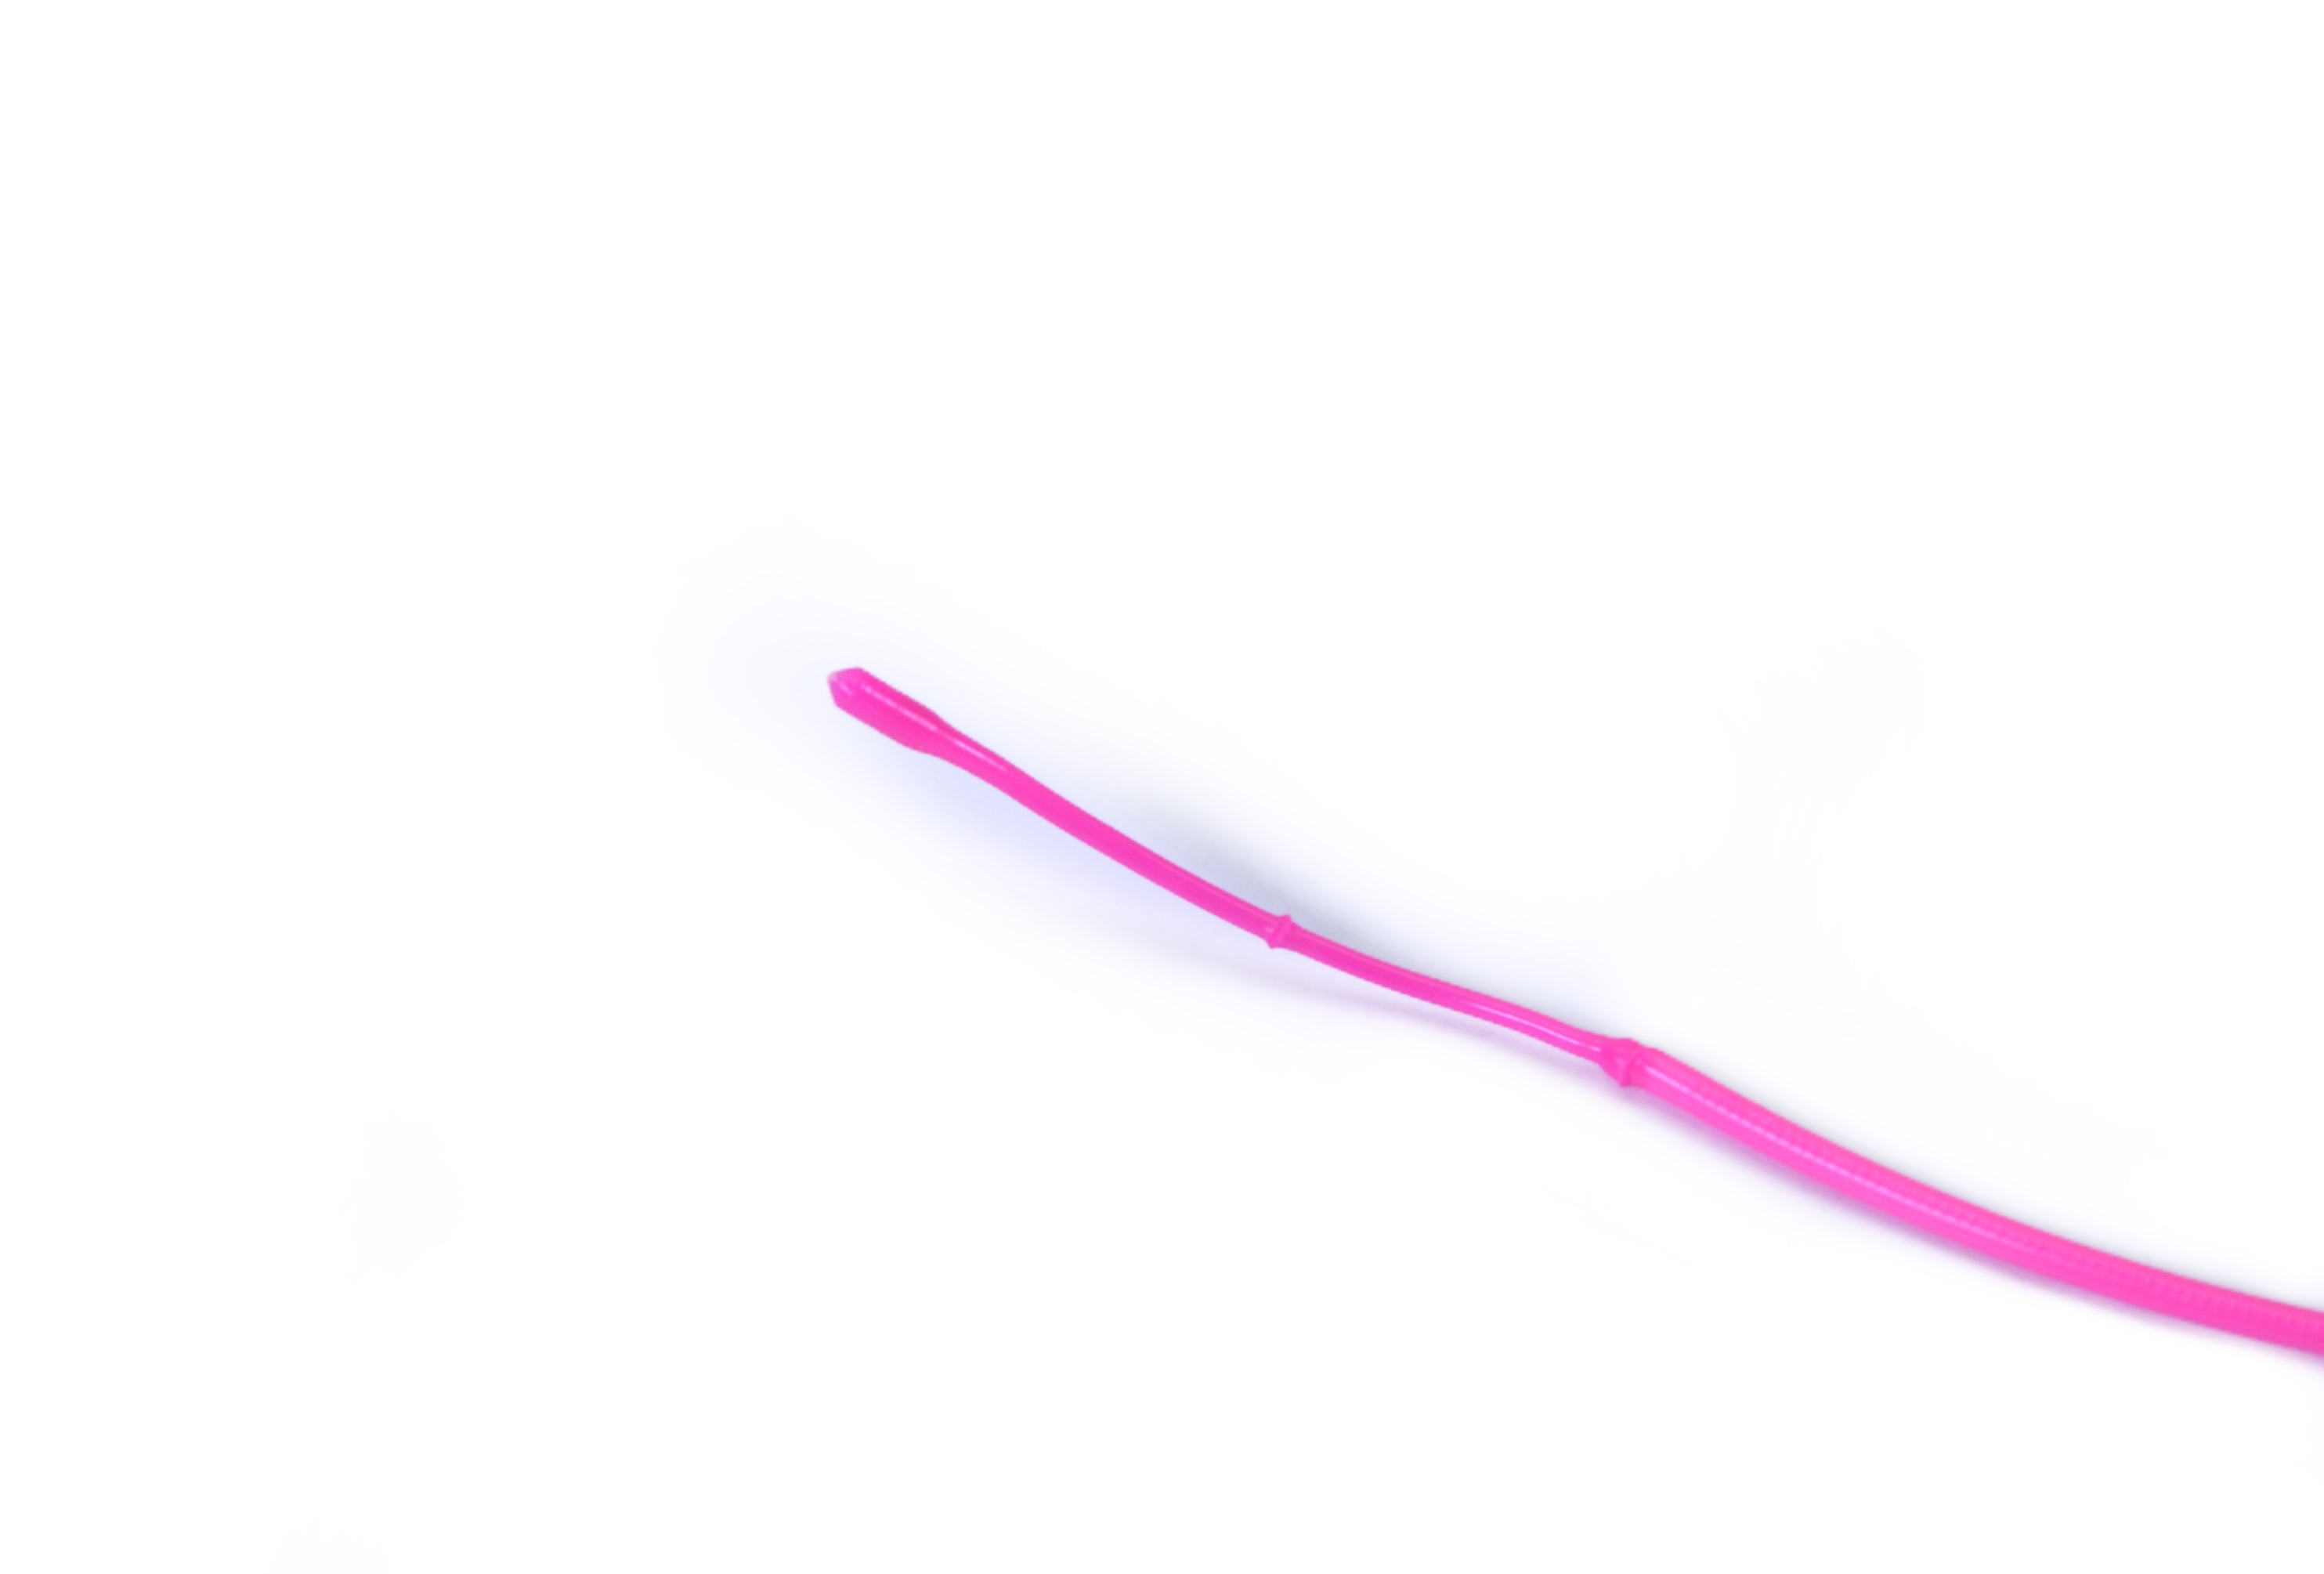
En la punta del filamento que ha salido, puede que veas restos del material o materiales anteriores que has estado utilizando o algo de suciedad quemada que se ha depositado en la boquilla (imagen de la izquierda). Es posible que quieras repetir este procedimiento varias veces hasta que el filamento salga limpio.
La imagen de la derecha muestra el aspecto que debe tener un filamento limpio extraído en frío. Es importante que tenga la huella de la boquilla, de esta forma estarás seguro de que la boquilla se llenó y no quedó nada dentro. Además, el color no está mezclado con el que has estado usando anteriormente o tiene marcas oscuras.
 |  |