English
Login
3D printers
Materials
Parts & Accessories
For Business
Software
3D Models
Community
Help
Courses
Blog
Company
Support
Original Prusa SL1S SPEED
Original Prusa SL1 to SL1S SPEED upgrade (v1.00)
4. Firmware upgrading | External PSU: parts preparation
1. External PSU: parts preparation
Step 1 of 16 (Chapter 4 of 7)
Contents
Comments
⬢
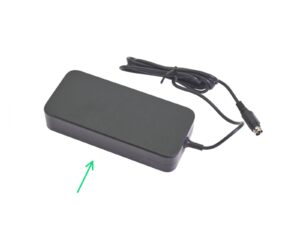
For the following steps, please prepare:
⬢
External PSU (1x)
Loading...
Next
Contents
Original Prusa SL1 to SL1S SPEED upgrade
1. Introduction
2. Disassembling the SL1
3. Upgrading to SL1S SPEED
4. Firmware upgrading
External PSU: parts preparation
Preparing the printer
Downloading the firmware
OTA firmware upgrading
USB firmware upgrading
USB firmware upgrading
Language and time zone setting
Removing old SL1 projects
Erasing old settings
Using the upgraded resin tank
Using the upgraded print platform
Finalizing the hardware upgrade
Gluing the SL1S SPEED sticker: parts preparation
Gluing the "S" logo sticker
Gluing the "SPEED" logo sticker
Upgrading is done!
5. Calibrating the printer
6. First print
7. Manual changelog
Comments
Log in
to post a comment
No comments