English
Login
3D printers
Materials
Parts & Accessories
For Business
Software
3D Models
Community
Help
Courses
Blog
Company
Support
Original Prusa SL1
Printer maintenance
How to replace a filter (SL1/SL1S) | Begin assembly
1. Begin assembly
Step 1 of 10 (Chapter 9 of 9)
Contents
Comments
Available languages
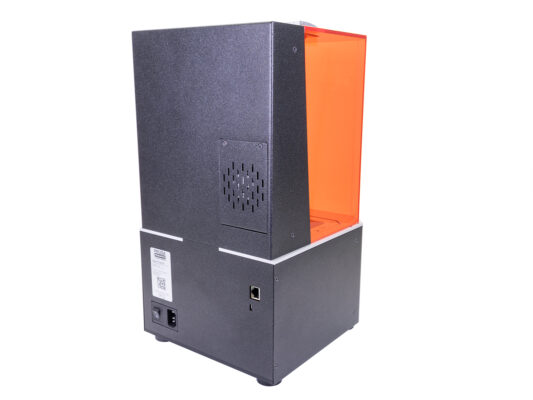
Begin assembly
Contents
Printer maintenance
How to replace a blower fan (SL1)
How to replace an optical sensor (SL1)
How to replace the print display (SL1)
How to replace the power button (SL1/SL1S)
How to replace the A64 board (SL1)
How to replace the USB connector (SL1/SL1S)
How to post-process the printed parts
How to replace a UV LED assembly (SL1)
How to replace a filter (SL1/SL1S)
Begin assembly
Introduction
Tools necessary for this guide
Removing the filtration
Removing the filtration
Disassembling the filtration
New filter - parts preparation
Reassembling the filtration
Mounting the filtration assembly
It´s done!
Comments
Log in
to post a comment
No comments