日本語
Login
3Dプリンター
マテリアル
部品 & アクセサリー
法人向け
ソフトウェア
3Dモデル
コミュニティ
ヘルプ
コース一覧
ブログ
会社概要
サポート
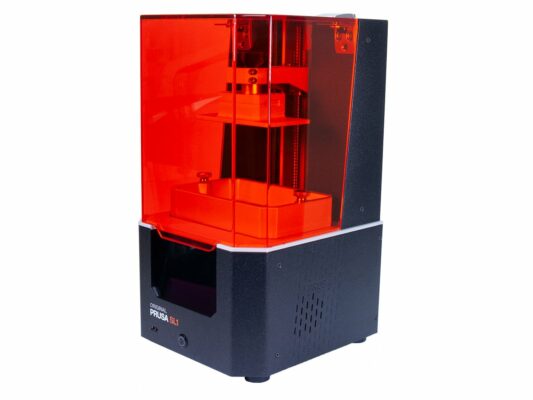
Original Prusa SL1
プリンターメンテナンス
How to replace an optical sensor (SL1) | 組み立てを始める
1. 組み立てを始める
ステップ 1 / 28 (章 2 / 9)
内容
コメント
難易度
ほどほど
利用可能な言語
組み立てを始める
内容
プリンターメンテナンス
How to replace a blower fan (SL1)
How to replace an optical sensor (SL1) [進行中の翻訳]
組み立てを始める
Introduction
Tools necessary for this chapter
プリンタの準備
Removing the cover
New vs old version of the optical sensor mount
Removing the touchscreen (new version)
Removing the optical sensor (new version)
Optical sensor parts preparation (new version)
New optical sensor installation (new version)
Optical sensor alignment (new version)
Mounting the touchscreen (new version)
Removing the touchscreen (old version)
Removing the optical sensor (old version)
Disconnecting the optical sensor cable (old design)
Removing the optical sensor (old version)
Removing the tilt motor assembly (old version)
Optical sensor parts preparation (old version)
ティルトモータの準備(以前のバージョン)
New connecting rod installation (old version)
The tilt motor assembly (old version)
The tilt motor assembly (old version)
Aligning the optical sensor (old version)
Connecting the optical sensor cable (old version)
Mounting the touchscreen (old version)
Assembling the cover
Assembling the cover
完了です!
How to replace the print display (SL1)
How to replace the power button (SL1/SL1S)
How to replace the A64 board (SL1)
How to replace the USB connector (SL1/SL1S)
プリントパーツの後処理方法
How to replace a UV LED assembly (SL1)
How to replace a filter (SL1/SL1S)
コメント
ログイン
してコメントを投稿する
コメントなし