日本語
Login
3Dプリンター
マテリアル
部品 & アクセサリー
法人向け
ソフトウェア
3Dモデル
コミュニティ
ヘルプ
コース一覧
ブログ
会社概要
サポート
Original Prusa i3 MK2S
プリンターメンテナンス
Replacing the PEI sheet on the MK2/S | 組み立てを始める
1. 組み立てを始める
ステップ 1 / 19 (章 5 / 5)
内容
コメント
難易度
ほどほど
利用可能な言語
組み立てを始める
内容
プリンターメンテナンス
PTFEチューブのトリミング方法 - マルチマテリアル
プリントパーツの後処理方法
ヒートベッドサーミスターの交換方法 (MK3S+/MK3S/MK2.5S/MK2S)
PTFEチューブのトリミング方法 - Original Prusa プリンター
Replacing the PEI sheet on the MK2/S [進行中の翻訳]
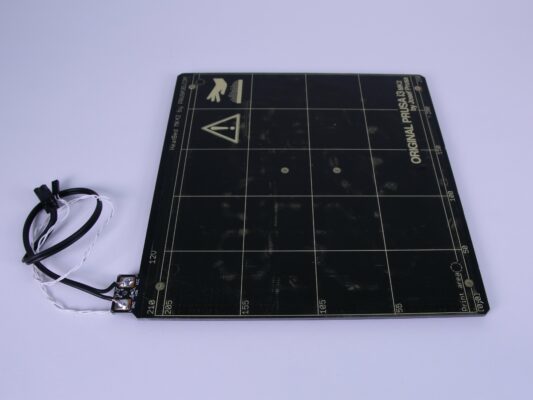
組み立てを始める
冷凍庫の準備
凍結
PEIシートの剥離
安全が第一です!
ペーパータオルを置く
接着剤の溶解準備
接着剤の溶解
接着剤を取り除く準備
接着剤をスクレーパーで取り除きます
仕上げ
水拭き
IPAで粘着剤除去
PEIシートの準備
PEIシートの貼りつけ
接着の仕上げ
端の切り落とし
完了!
再校正
コメント
ログイン
してコメントを投稿する
コメントなし