On the Prusa CORE One, adjusting the belt to the optimal tension is crucial to achieving good quality on the prints. A loose belt can cause Layer shifting, Ghosting, or other print abnormalities, like getting an irregular shape instead of a perfect circle. An over-tightened belt can cause an irregular movement in the X and Y axes.
Alignment
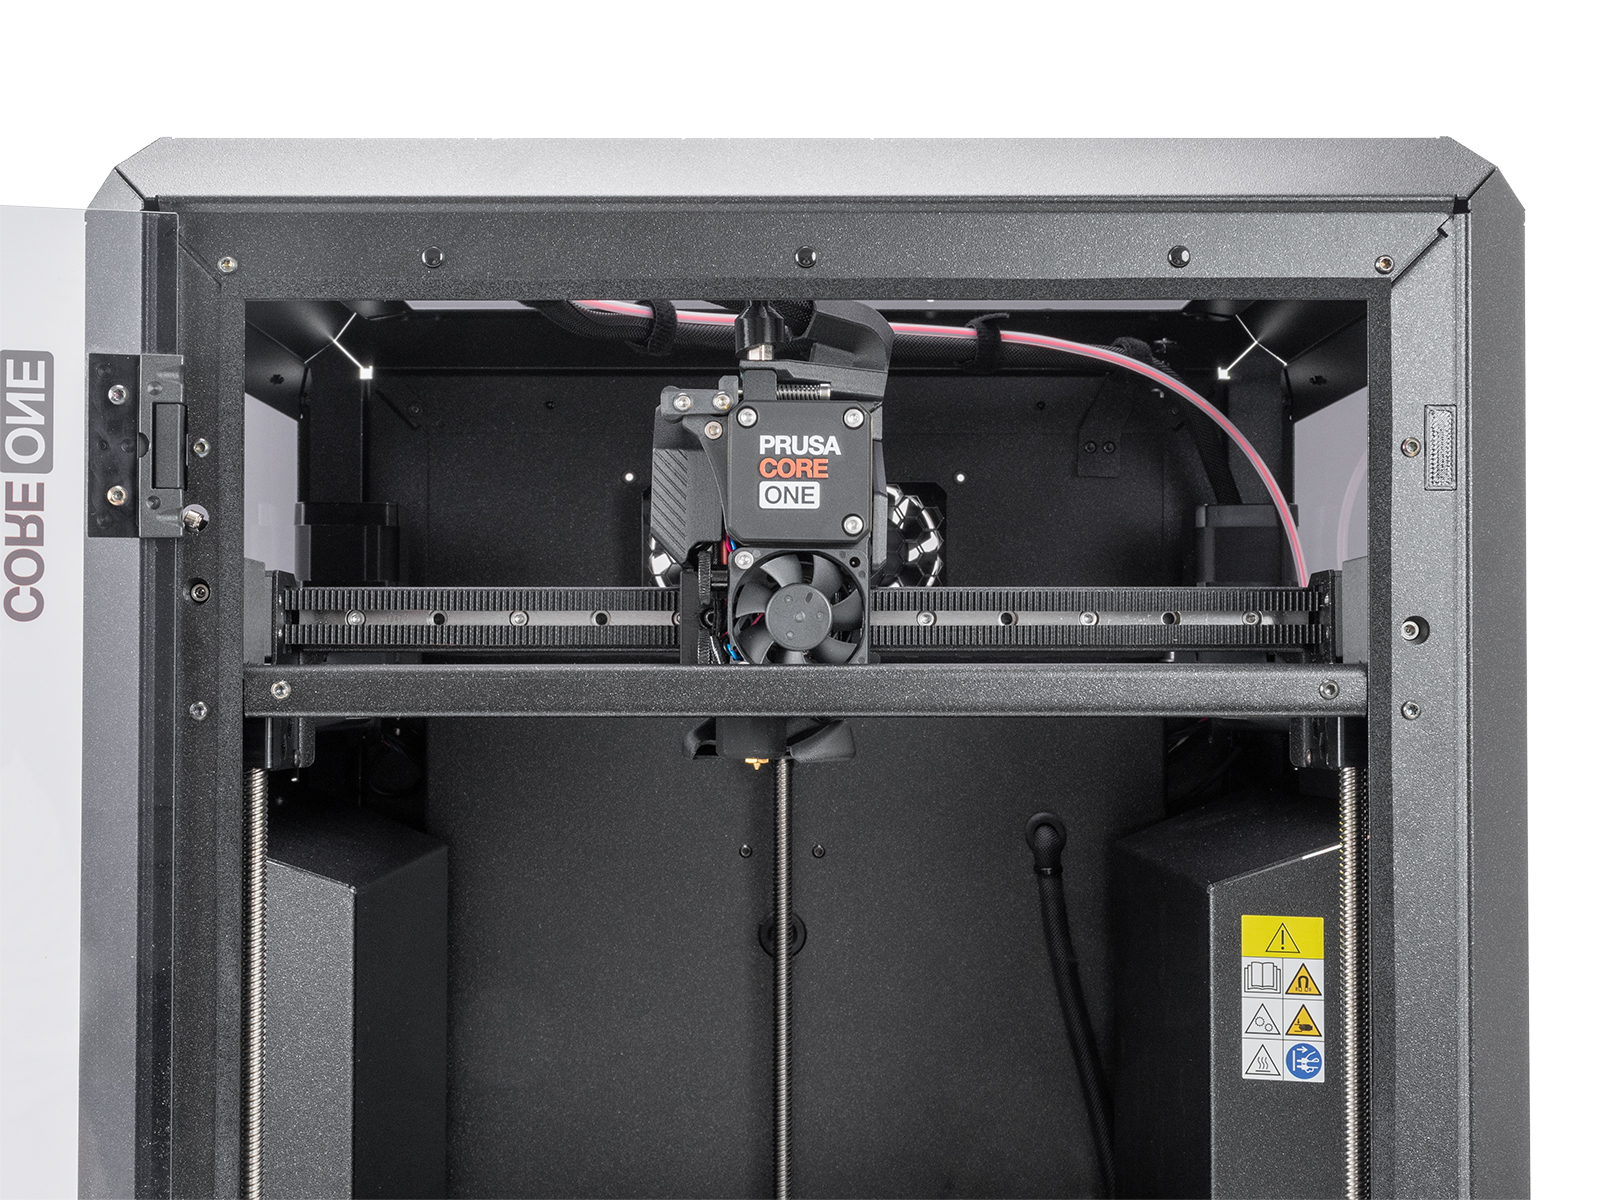
Before adjusting the belt, ensure the proper alignment of the CoreXY structure.
- Ensure the stepper motors are disabled. This can be done by switching the printer off, or through the LCD Menu -> Control -> Disable Motors.
- By hand, move the Nextruder to the frontmost Y-axis position, and to the center of the X-axis.
- Press the gantry corner against the front of the CoreXY, and make sure there is no play. Do this procedure on both sides. If there is any play in either side, perfect alignment is not achieved yet.
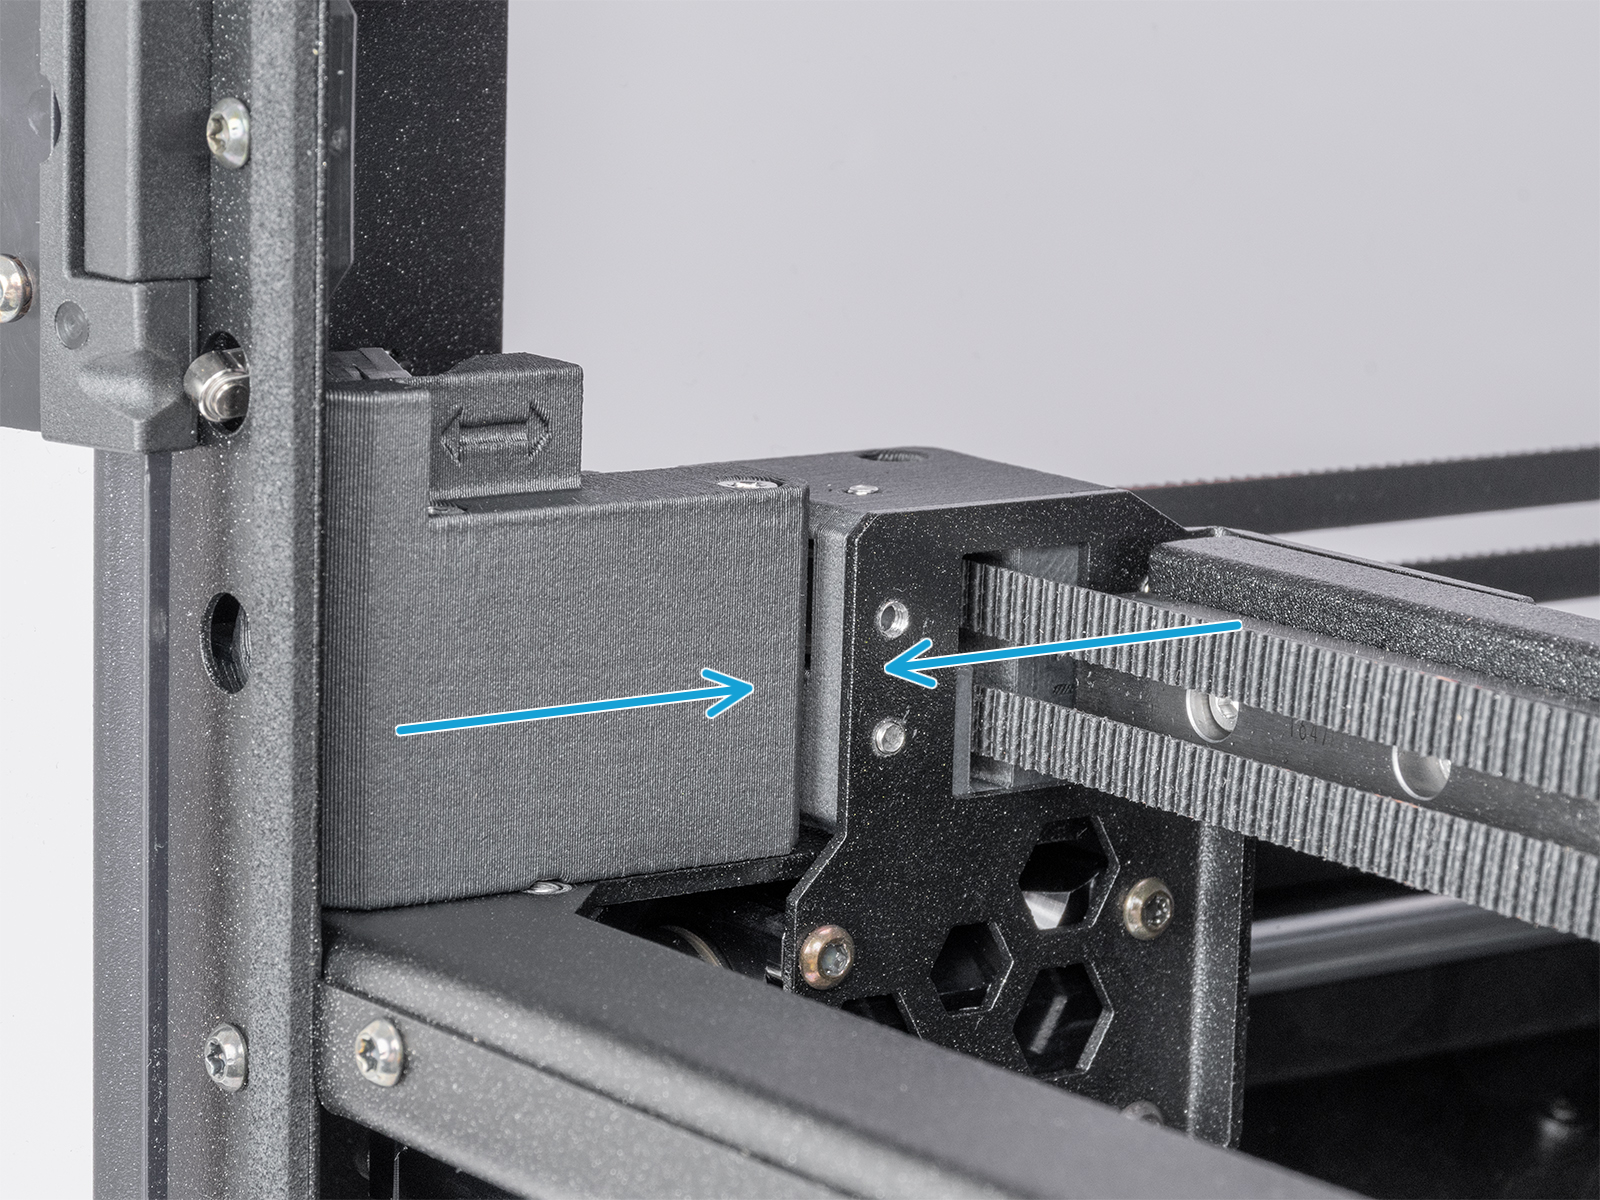
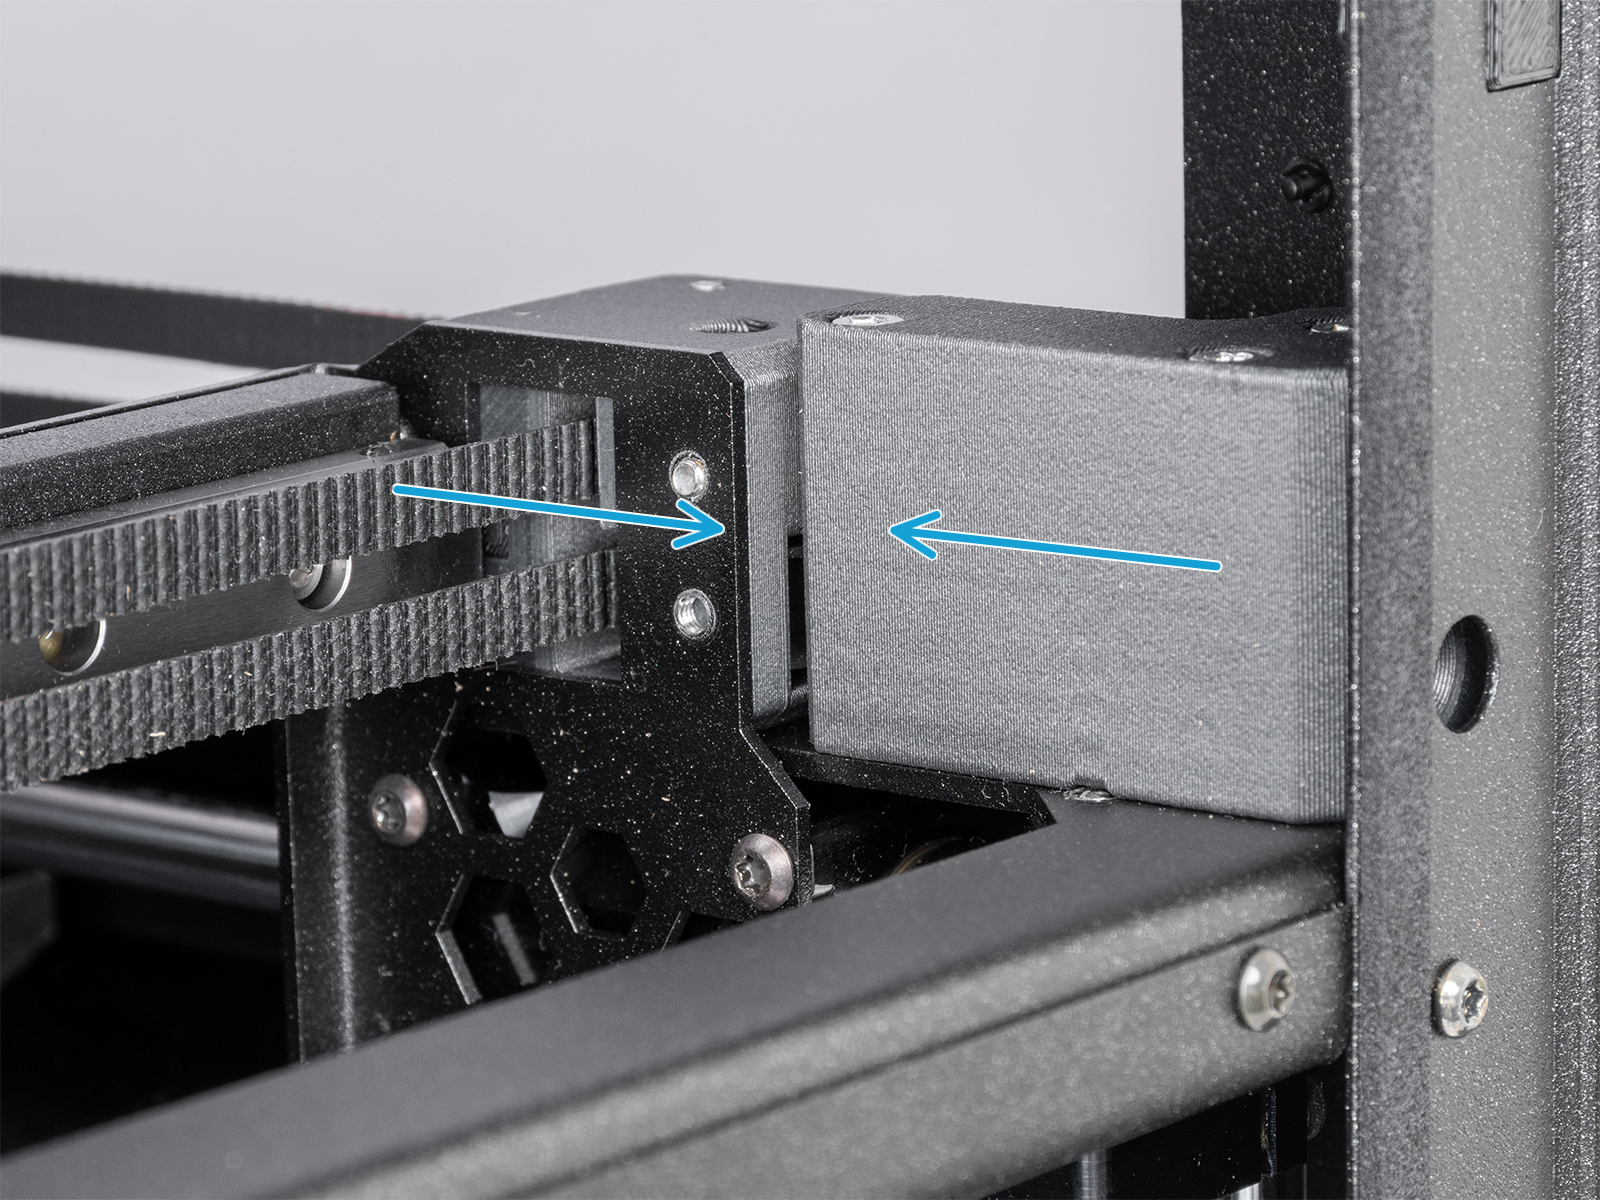
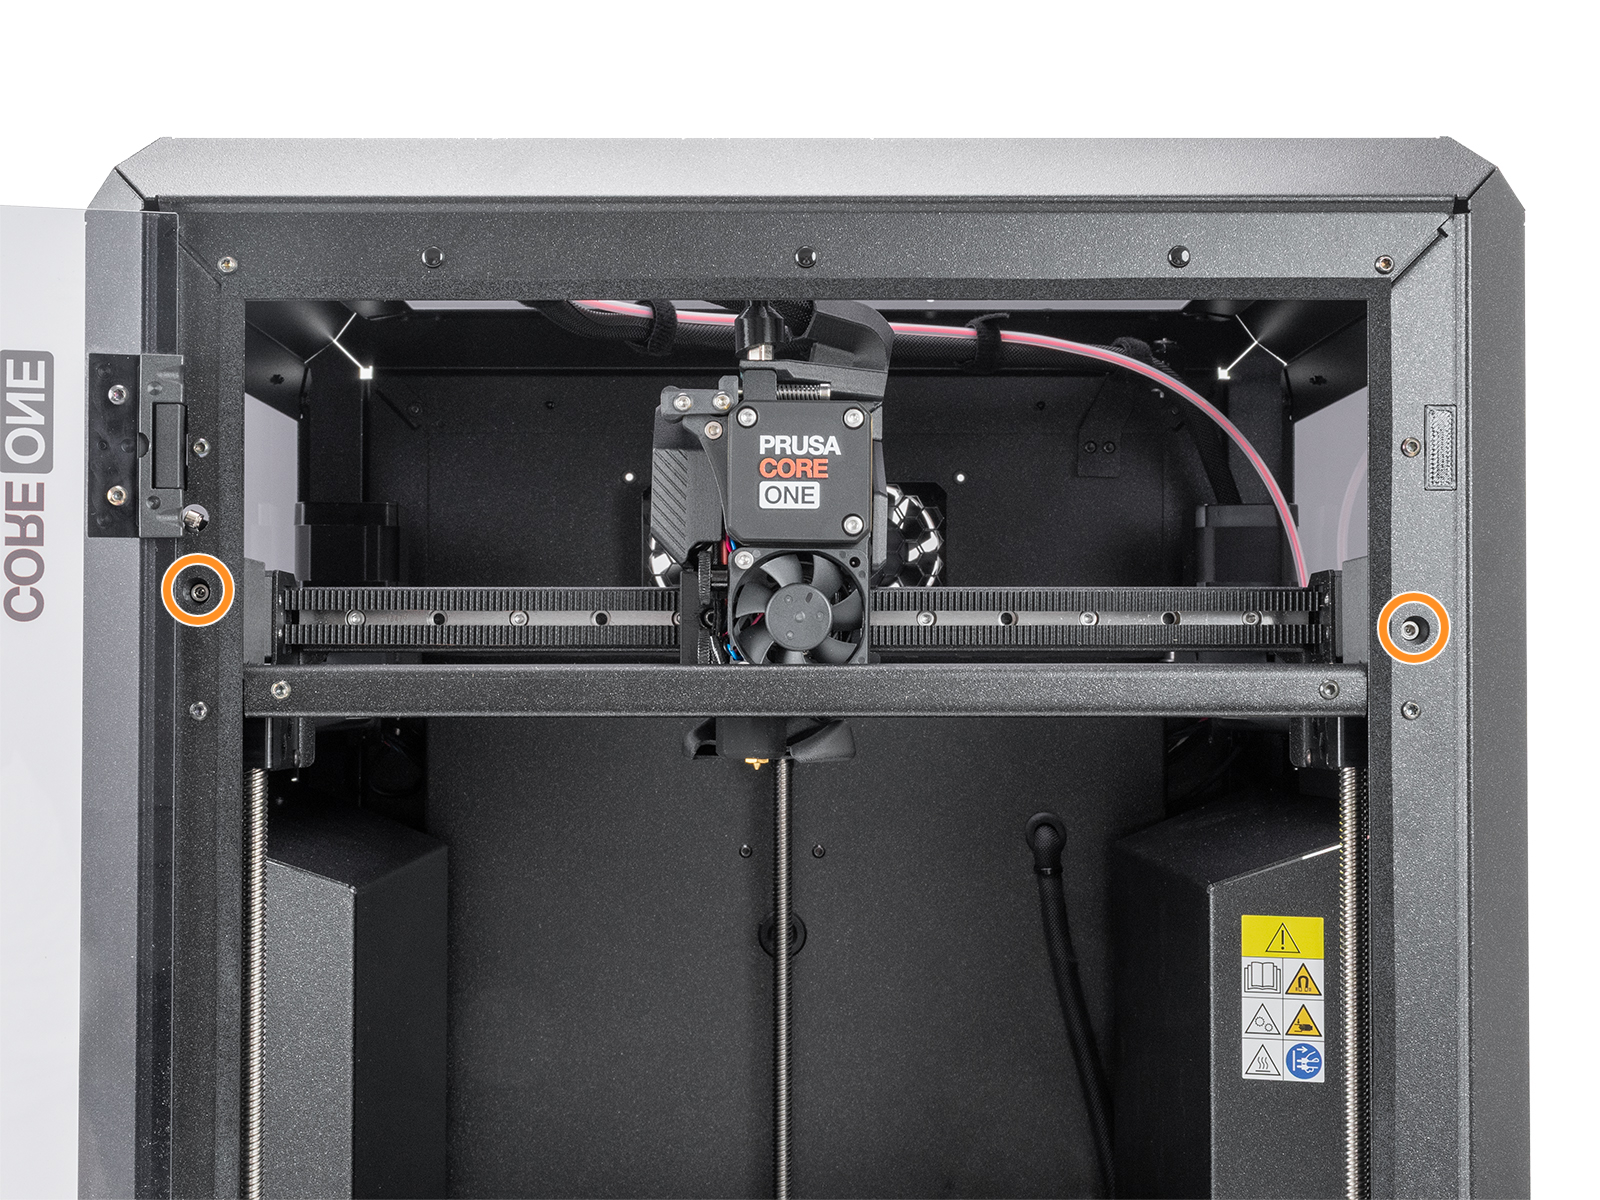
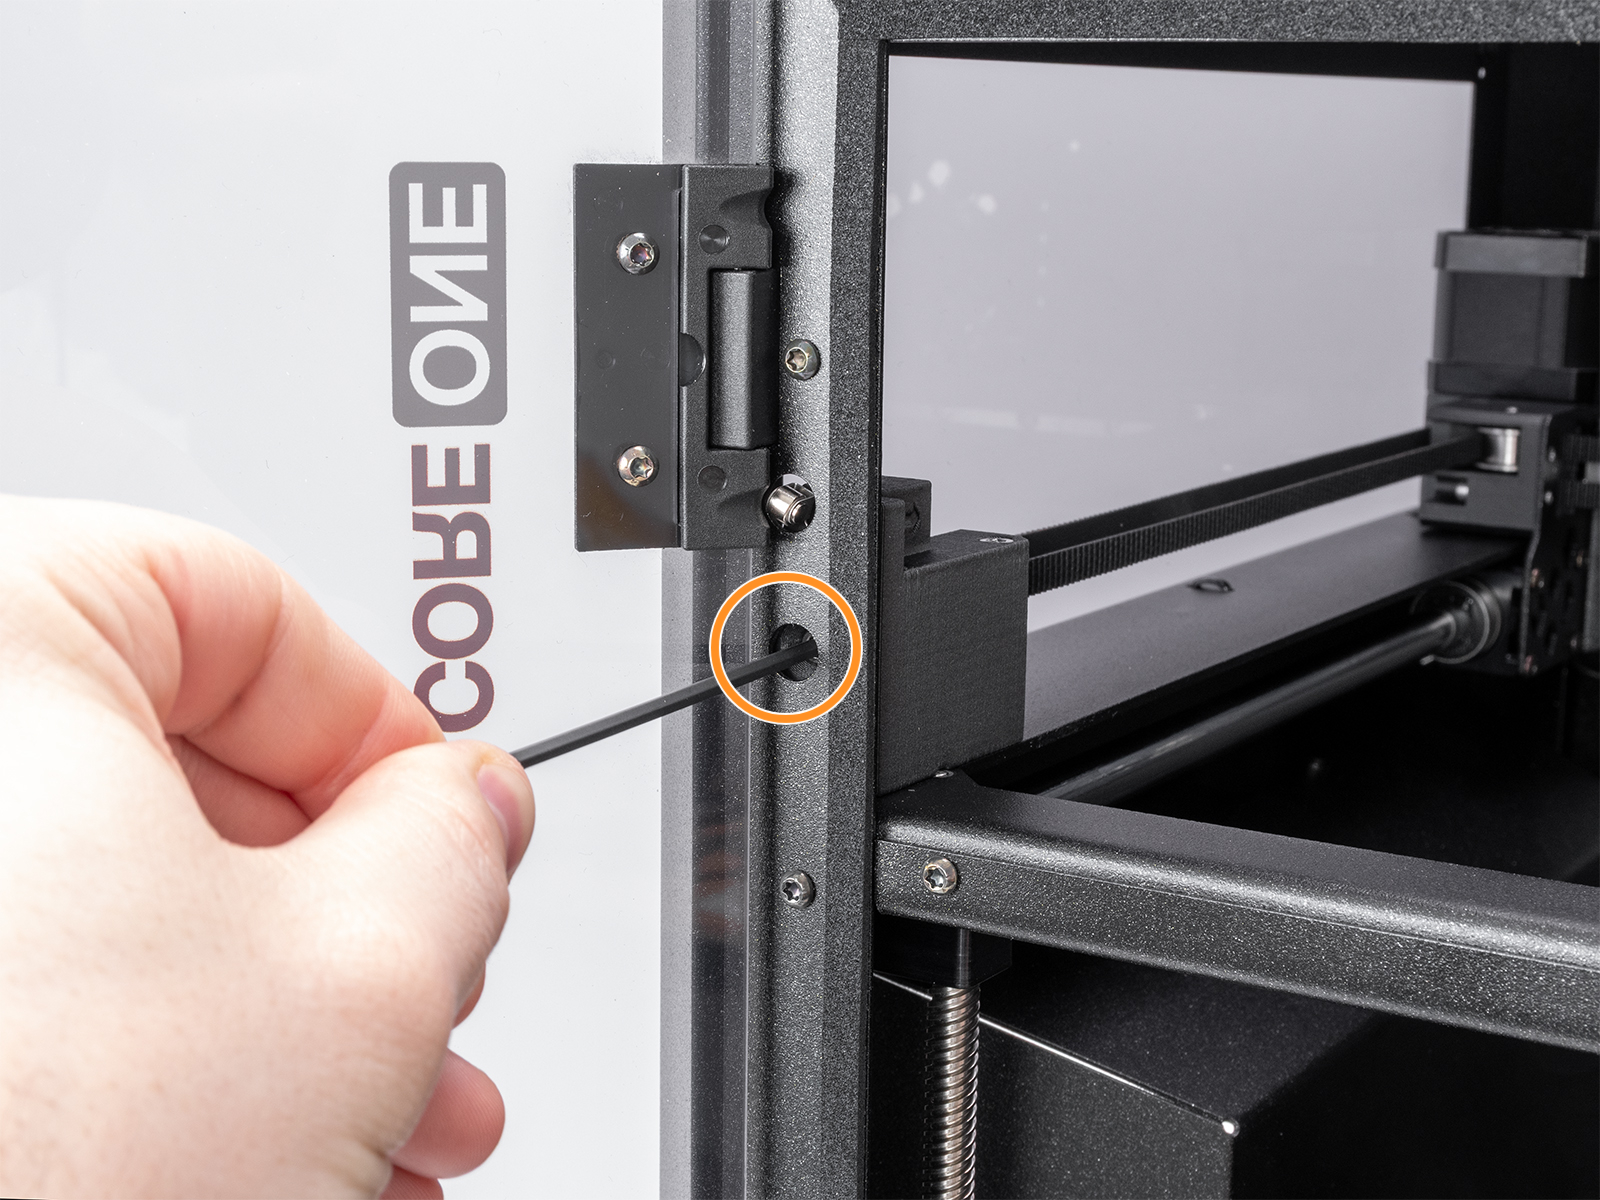
- Slightly loosen both the belt tensioner bolts. Loosen the bolt on the corner with play less than the other.
- Repeat steps 3 and 4 until a perfect alignment is reached. Do not worry if the belt is loose at this stage, adjusting the belt tension is done at a later step.
Belt tuner
We have our own belt tuner, incorporated in our Prusa App, or available on our belt tuner webpage.
The application uses your device's microphone and determines the belt tension by measuring the frequency of the vibration generated by strumming it.
Using a mobile device, open the Prusa App, and navigate to Menu >Belt Tuner. Select CORE One, then select XY-belt, and follow the in-app instructions. When ready to measure the belt frequency, tap on Start listening to use your device's microphone.
Adjusting the belt
- Ensure the stepper motors are disabled. This can be done by switching the printer off, or through the LCD Menu -> Control -> Disable Motors.
- By hand, move the Nextruder to the rearmost Y-axis position, and to the center of the X-axis.
- On the left and the right sides, strum the belts in the middle. Place your device next to the belts during this step, to measure the frequency in Hz of the belt sound.
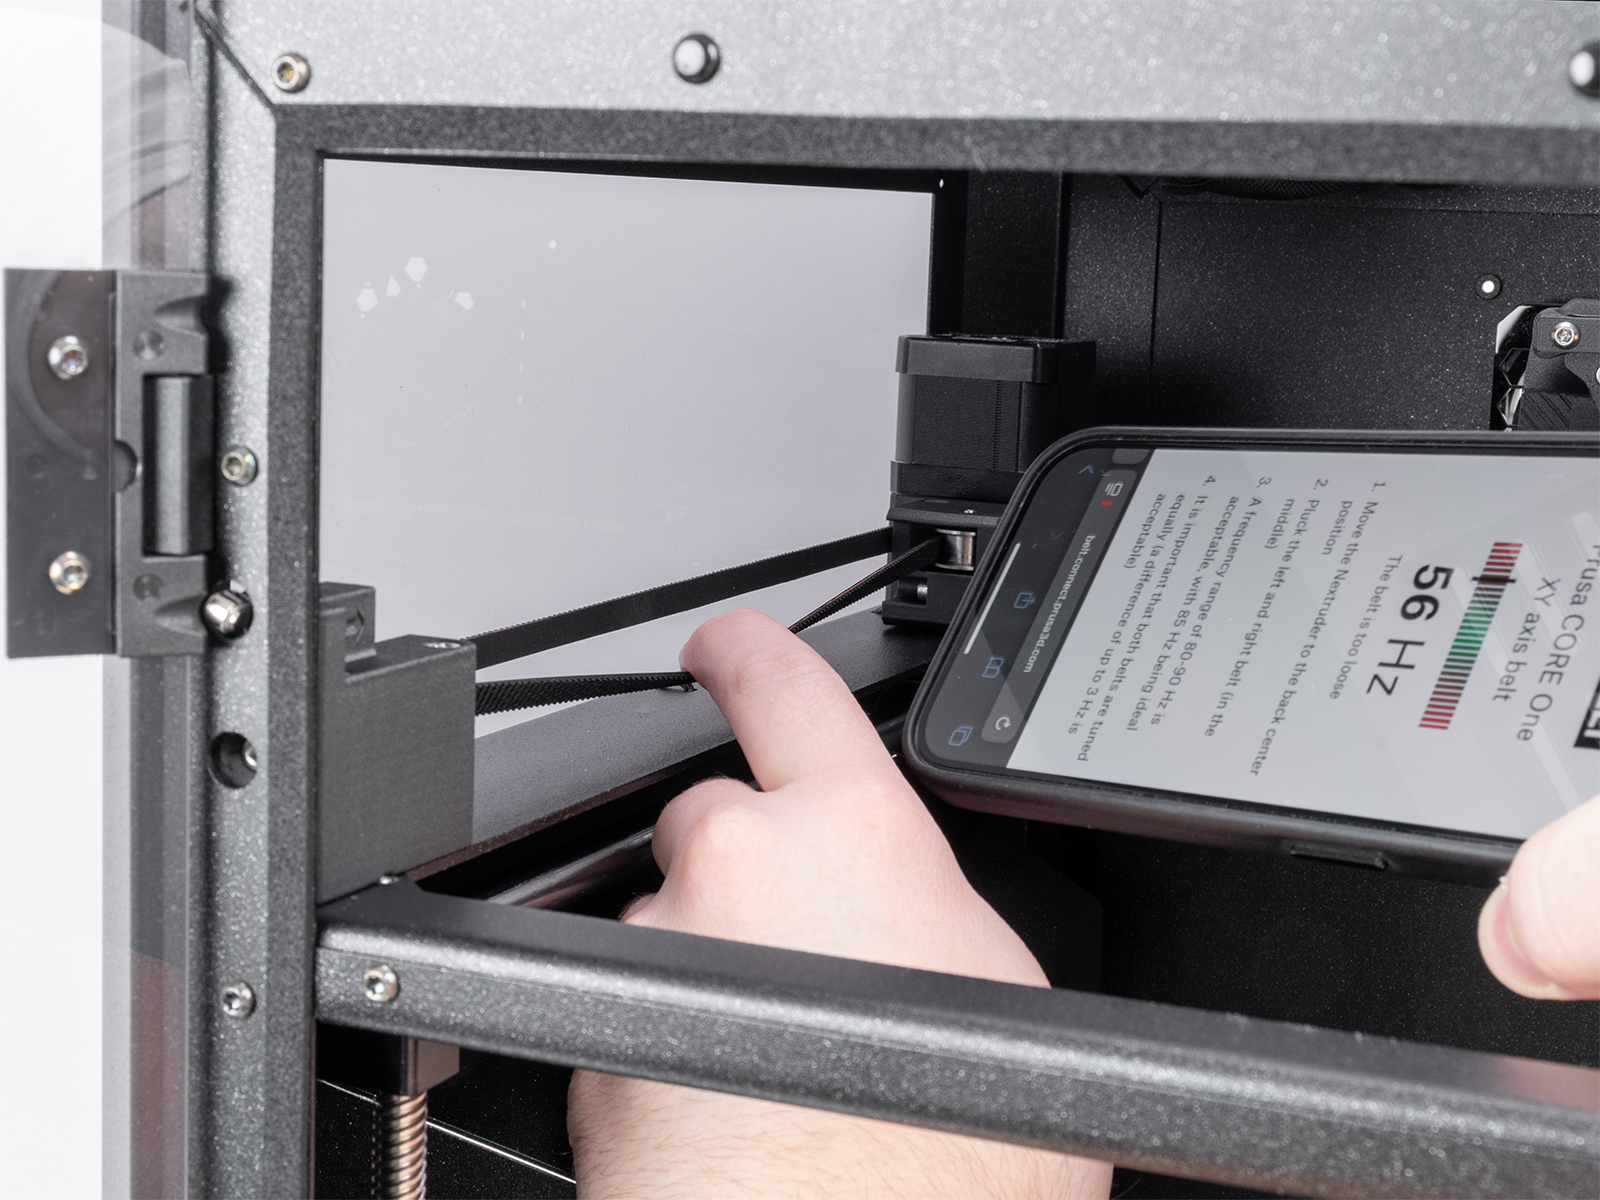
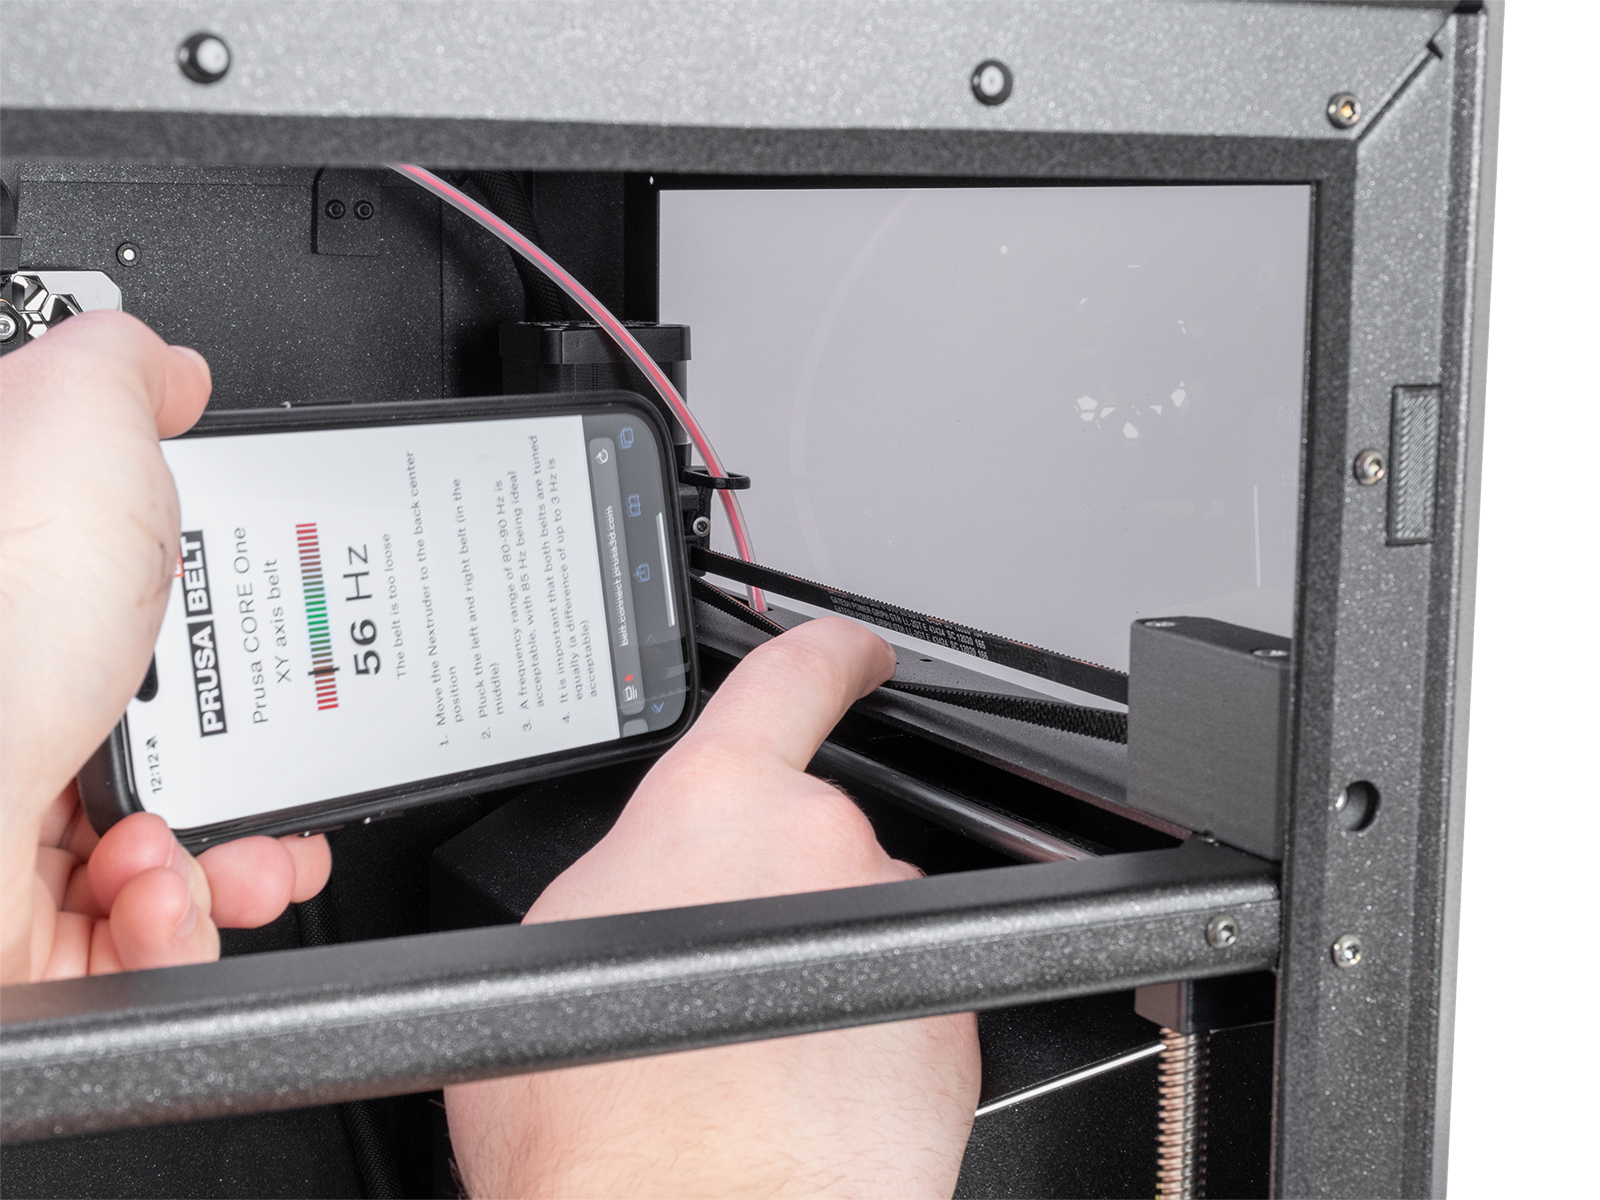
- The strumming sound frequency is typically between 80-90 Hz, with the ideal value at 85 Hz.
- Adjust the belts by tightening or loosening the belt tensioner screws. A tighter bolt causes a higher frequency, and vice versa.
It is fundamental for belts to have ideally the same frequency, or at most a very small difference, up to 3 Hz.

6 comments
The app picks up much more resonant higher frequencies, making it hard to find the desired dominant frequency, since the display will mostly show the resonances instead of the belt frequency. (Same location and surrounding noise floor as with my MK4S.)
IMHO another clear advantage of the website is, that the display will rotate and always be readable, opposed to the app which will always be hard to read since it forces portrait orientation. To get the microphone as close as possible to the belt I need to rotate the phone though., meaning I'm holding it in landscape orientation. The website also has a much larger font size, or can be adjusted easily.
Of course, if there are still issues with your printer, do not hesitate to contact our Technical Support, ideally with a video, we'll check it in more detail and help you solve it! https://help.prusa3d.com/article/customer-support_2287
2. But if we do that, then the belts won't have the same frequency. It's either the alignment or equal belt tension.
2. Pull out the left and right belts on the sides (in the middle of the left and right)
3. A frequency range of 80-90 Hz is acceptable, 85 Hz is ideal
4. It is important that both belts are tuned the same (acceptable difference of up to 3 Hz)
I attempted to adjust my belts and am now failing both X and Y calibration. This is quite frustrating without proper photos and possibly video.
In case of more issues on the calibration or belt adjustments, do not hesitate to contact our support, we'll help you solve it! https://help.prusa3d.com/article/customer-support_2287