A clogged nozzle or hotend is a common issue for FFF/FDM printers. If there are no issues, the filament is pushed in the hotend, melted, and then extruded through the nozzle. However, if the nozzle is damaged or there are impurities in the filament it might get stuck in the hotend, clogging the printer.
How to spot clogged nozzle/hotend?
Visual check
- Is the filament reaching the nozzle? Check if the filament goes past the Nextruder gear.
- Is the filament coming out of the nozzle? Pay attention when loading the filament.
- Partial clog - gaps and missing layers
- Partial clog - filament curling up and sticking to the nozzle
Soundcheck
Check if there are clicking noises from the extruder
- If there is a loud clicking noise, this most likely suggests the nozzle is clogged or deformed
- If there is a light clicking noise, this can most likely point to the gearing
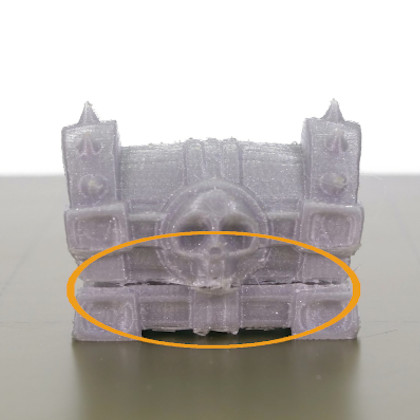
Partial clog
Sometimes the clog is partial, meaning that the printer is able to push some filament through, but it is not enough to print the object properly, leading to visible gaps and missing layers. An early sign of a clogged nozzle is that the filament is not extruded consistently, curls up, and sticks to the nozzle.
Extruder clicking
The hotend or the nozzle is partially or fully clogged and the internal resistance against the flow of the filament is greater than what the gears are able to push. As a result, the gears are skipping leading to the “clicking” noise and in most scenarios also to the grinding of the filament.
How to fix the clogged printer?
Choosing the right method depends on whether you are able to at least partially load/unload the filament or whether the printer is fully jammed and refusing the move the filament even a little.
Before you start fixing the printer, try unloading the filament and removing it completely. If you are unable to do it, it might indicate a more serious problem, but we will deal with this one as well.
Also, move the extruder upwards from LCD Menu - Settings - Move Axis - Z-axis or by long-pressing the control knob, this way you will get better access to the parts that are clogged.
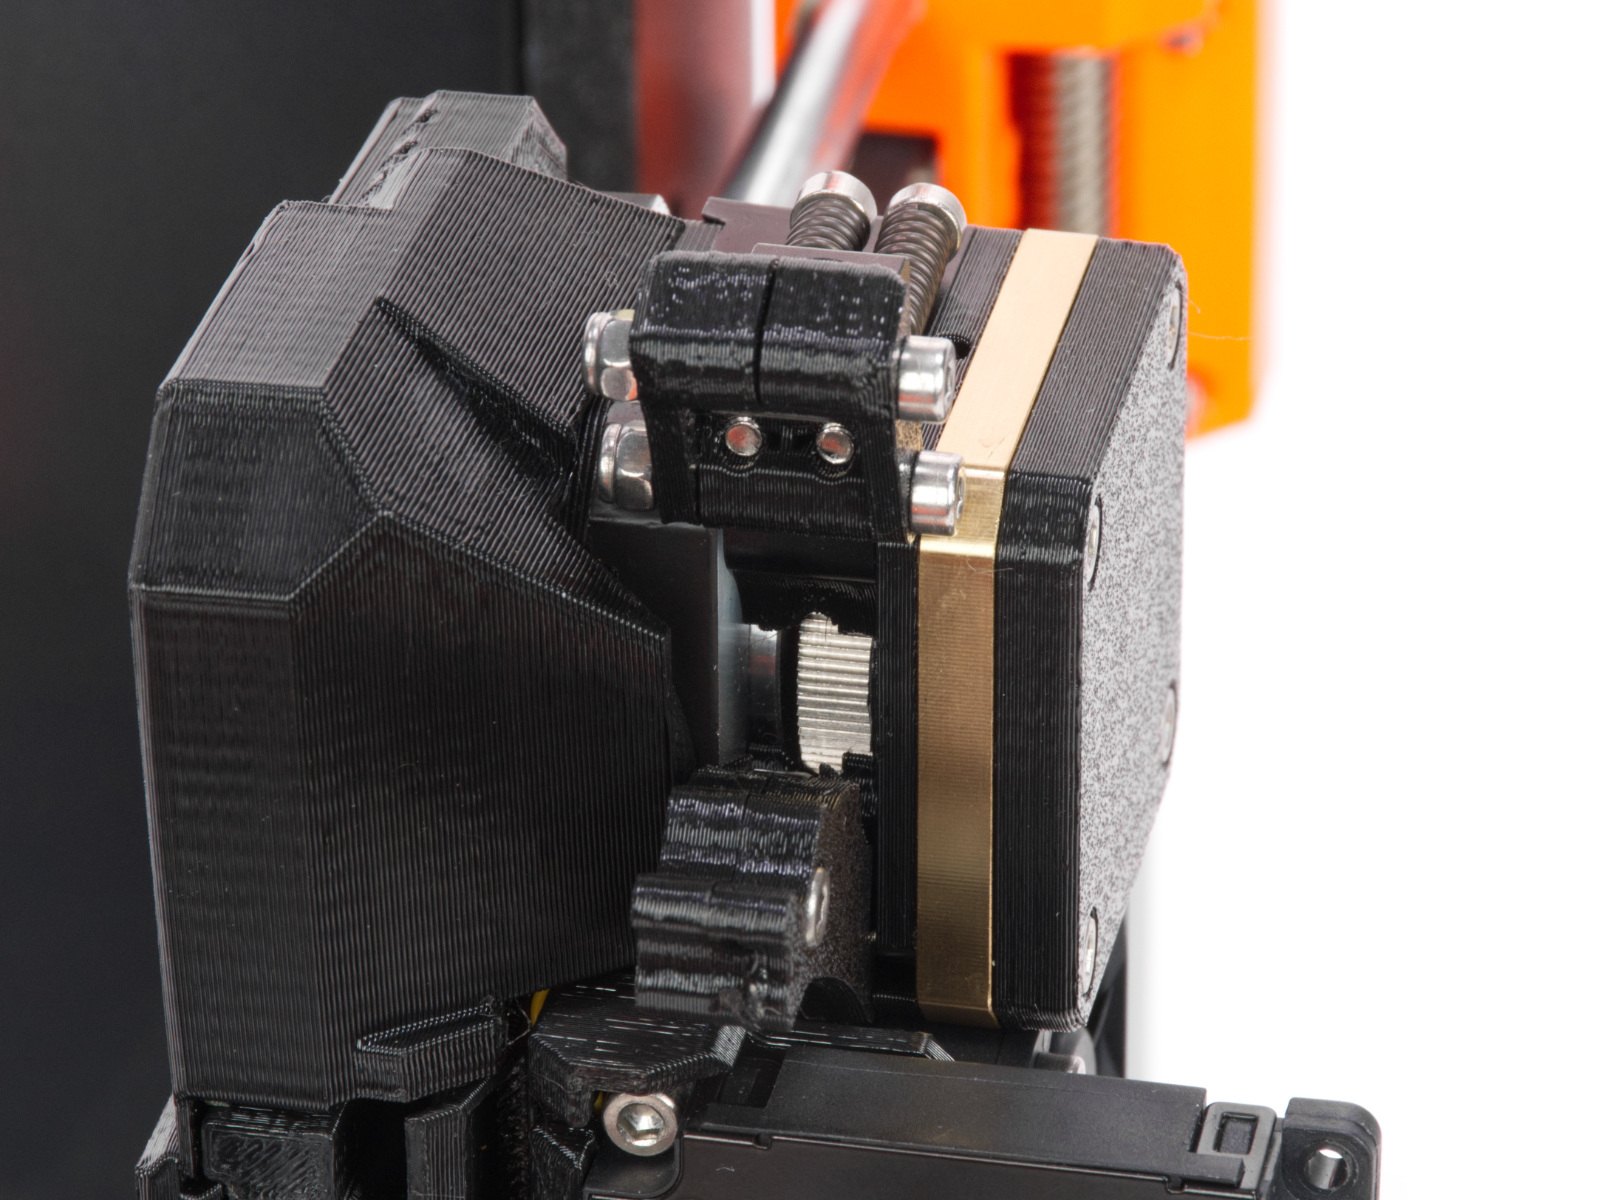
Extruder idler screws
The extruder includes two idler tension screws, to set the correct distance between the drive gear and the two driven gears. These are set to the optimal position at the factory. In case of an intervention on that part, you can adjust the idler tension screws to their optimal position: the tips of the screws must be aligned with the front surface of the Idler Nut. After that, close the Idler Block.
Gears
Over time, a deposit of filament debris can form in the grooves of the feeding gear, which then causes insufficient filament extrusion. Access the extruder by lifting the Idler Nut, and then moving the Idle Shaft. You can blow away the dirt with compressed air, or use a brass brush or an ordinary toothpick. Use the access hole on the side of the extruder.
Nozzle
- Heat the nozzle to the appropriate temperature according to the filament material you will be printing from. First, introduce the filament, then insert an acupuncture needle (included in the package) or a thin wire (0.3-0.35 mm) into the nozzle from below to a depth of approximately 1-2 cm. Use protective gloves if material suddenly starts to flow from the nozzle.
- Select the Load Filament option from the LCD menu and check that the nozzle is actually pushing the filament.
- Insert the wire or acupuncture needle into the nozzle again and repeat the whole procedure several times. If the filament is extruded correctly, the nozzle is clean.
14 comments
I tried all the knowledge db suggestions and all of the above. I removed the hot end, replugged it on the printer with max temp, and pushed stuff from the top and bottom. The needle goes through but the filament does not. I removed it completely, used a torch lamp and pushed some pressured air with a compressor until no more filament went out and air was coming out from the bottom. But once on the printer, the filament never reaches the little brass part.It seems like something solid that's not melting above 290° is stuck there. A piece of metal maybe?This is driving me nuts because now I have to order a new nozzle (at least one) and I agree, 22€ might not be much, but with the 8€ for delivery, that's 30 bucks and how-don't-know-how-long I'll wait for the package to come.And 22 bucks every 6 months is even more than I spent on prusament (I don't even print so much !!!)I wish we could have a better answer from support than "sometimes, to replace the nozzle is the only solution". I never had to change the nozzle for every 2kg of printed PLA on my MK3S, I don't see why I should on a brand-new printer!If I was sure it would not happen with a high-flow ObXidian nozzle, I would give it a try, but if I have to change it in 6 months, I will throw the printer through the windows to see if it flies better than it prints...Come on, @support, tell us what investigation and solution you have for that issue, pleeeeeeeeeaaaaassseeeeee....
Hello. Yes, it is safe to use it, but watch out, as there are 3 to 4 canals inside the nozzle.