When you launch PrusaSlicer for the first time, a Configuration Wizard window opens automatically.
Configuration Wizard can also be launched manually from the top menu by selecting Menu -> Configuration -> Configuration Wizard.
Opening PrusaSlicer for the first time
The following screen is shown when opening PrusaSlicer for the first time. The program needs a way to download the configuration files. This can be done by logging in to your Prusa Account or selecting configuration sources.
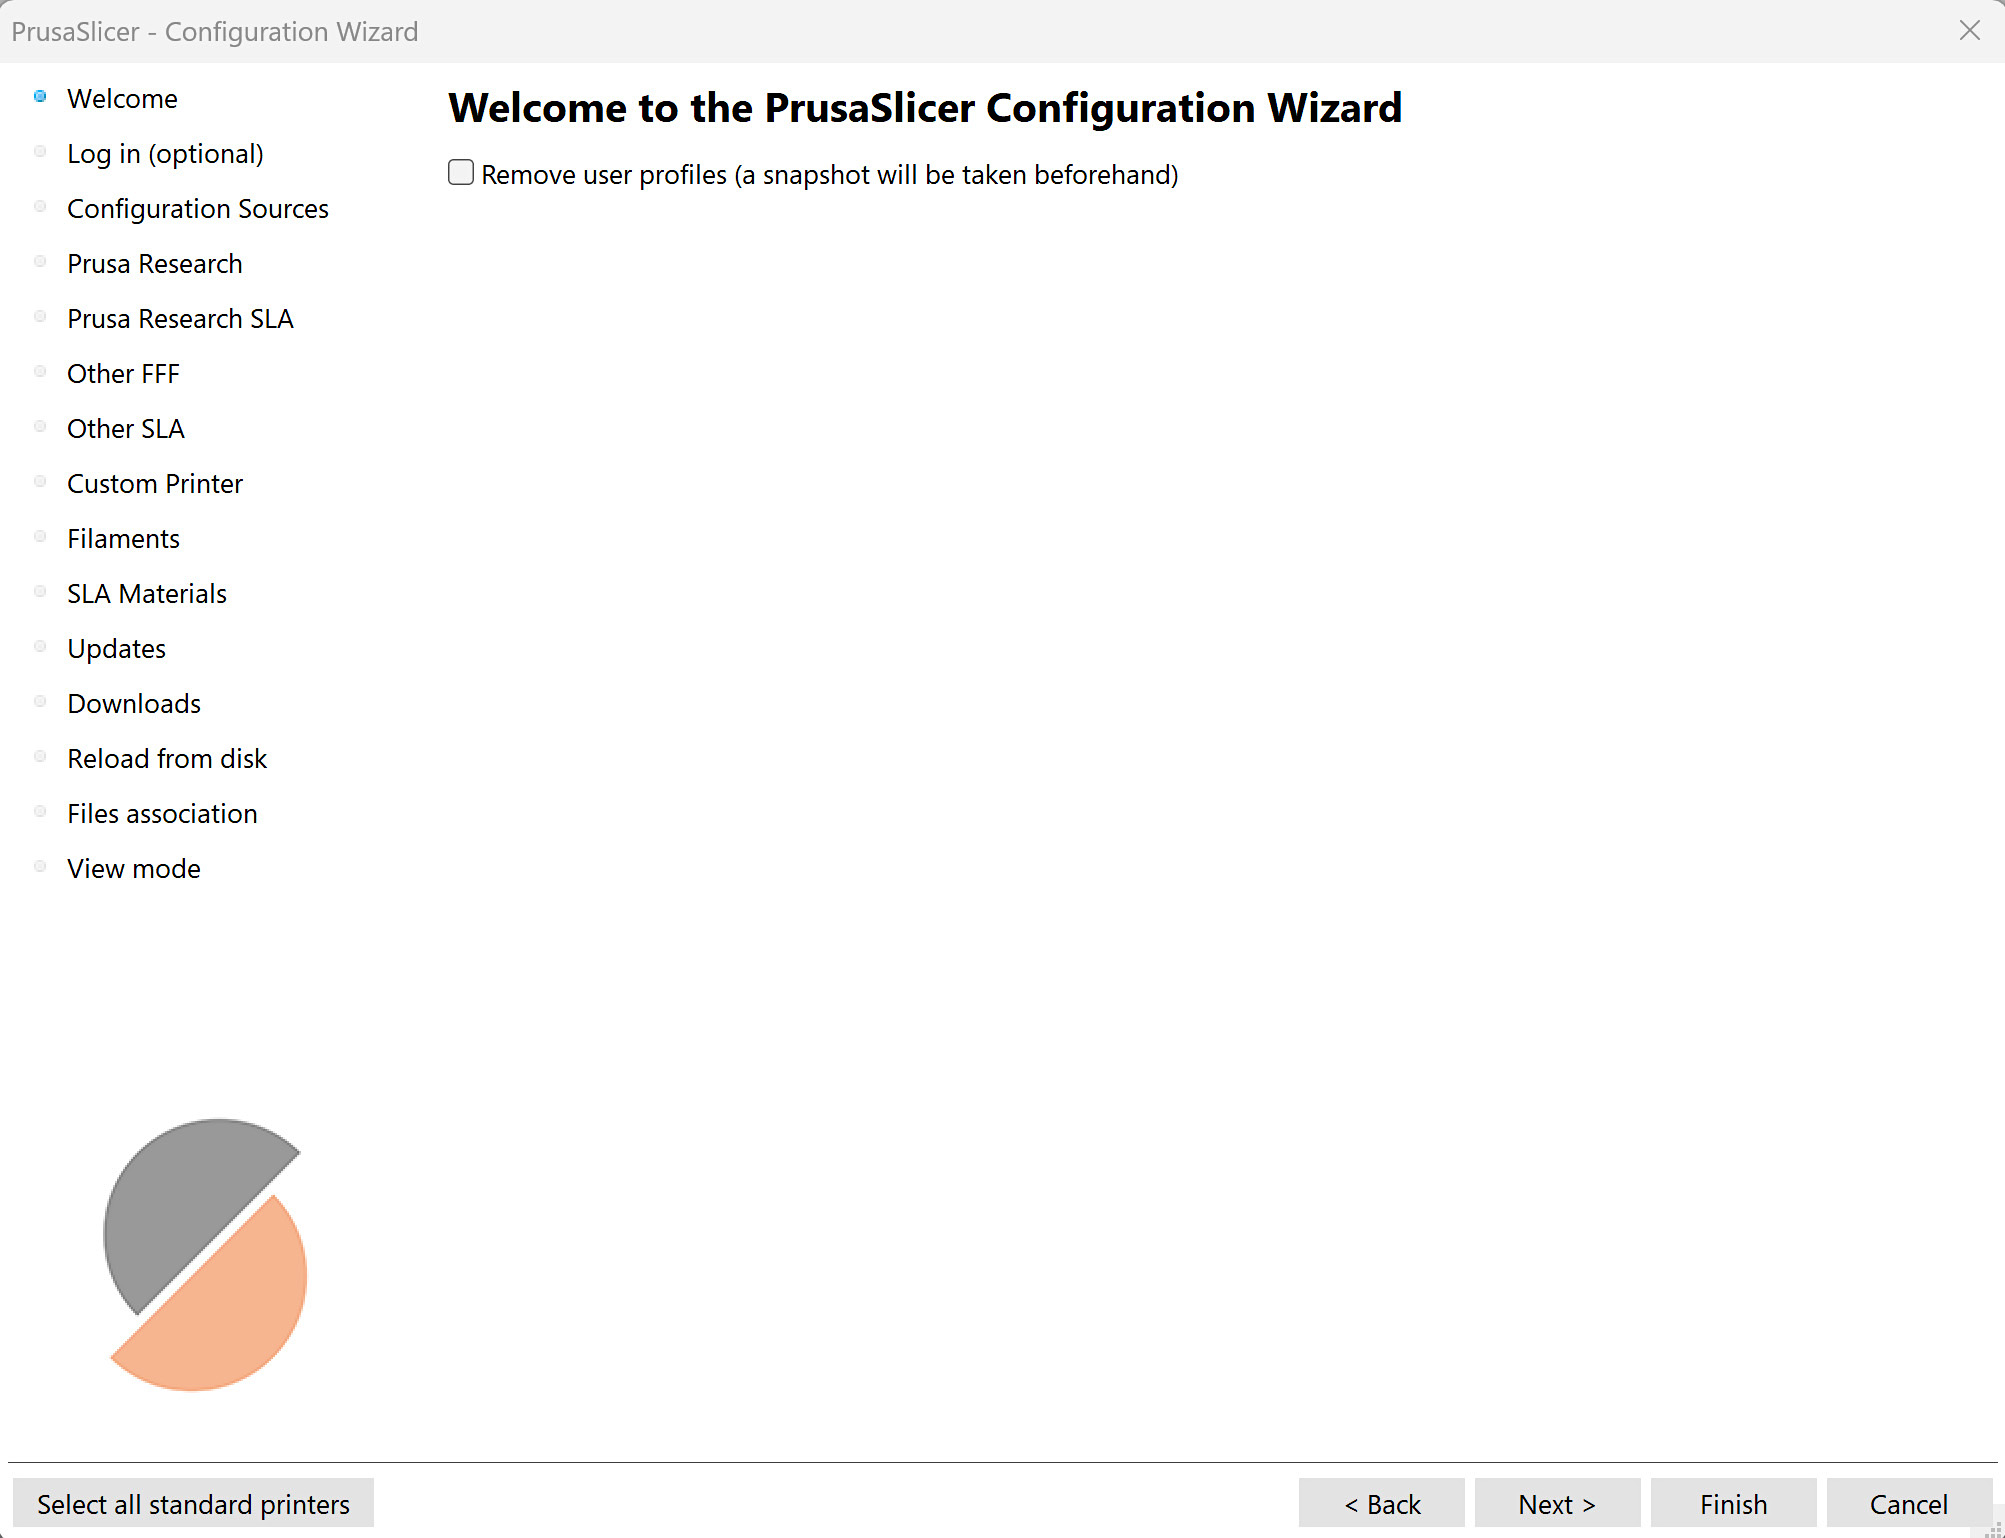
Welcome (remove user profiles)
The first welcome tab offers the option to remove all user profiles.
Log in with your Prusa Account (optional)
It is possible to control your printer through the built-in Prusa Connect in PrusaSlicer, if logged in to your Prusa Account.
By logging in with your Prusa Account, the profiles are automatically downloaded, with no need to download them from the configuration sources.

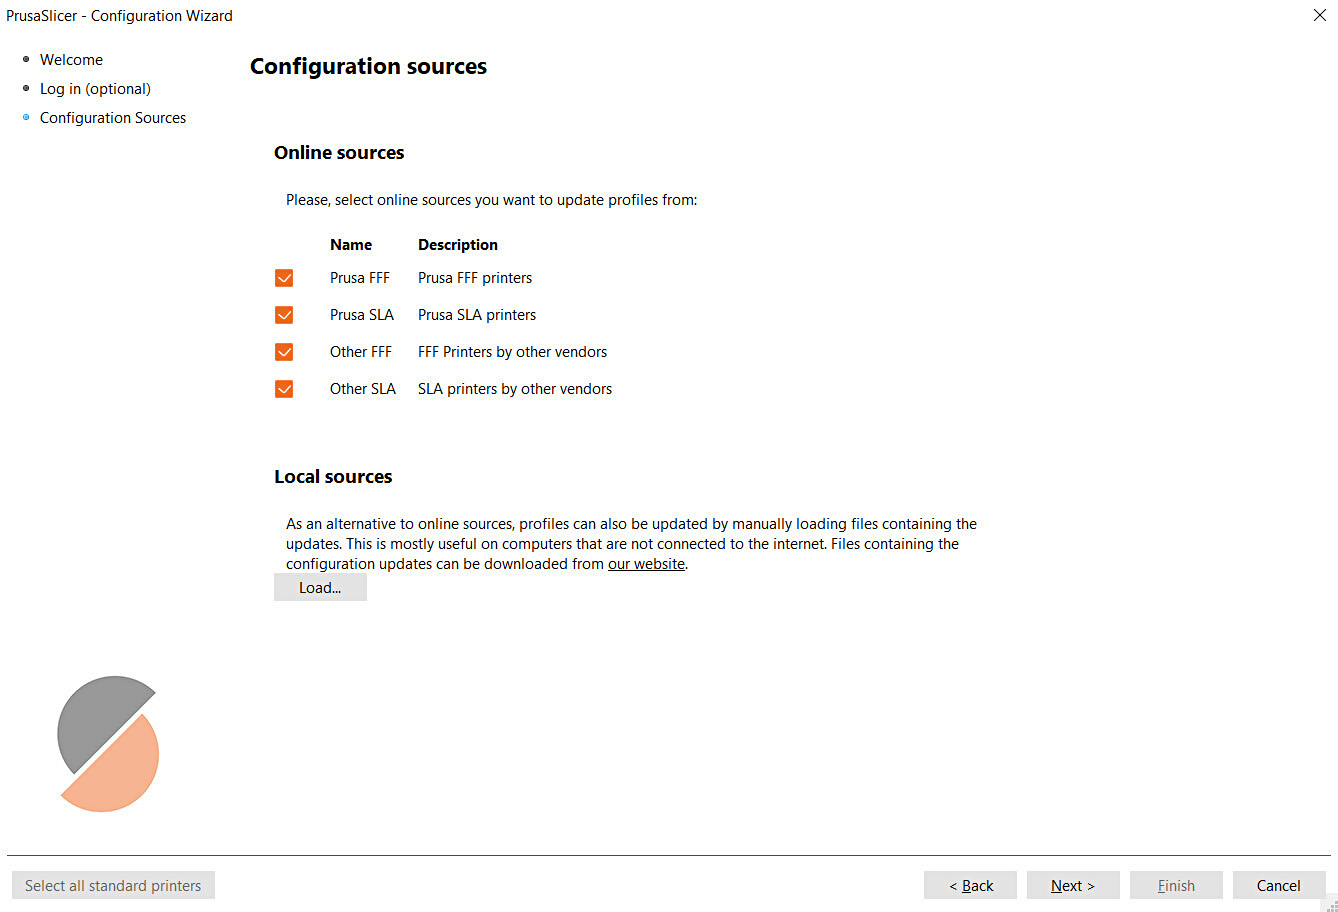
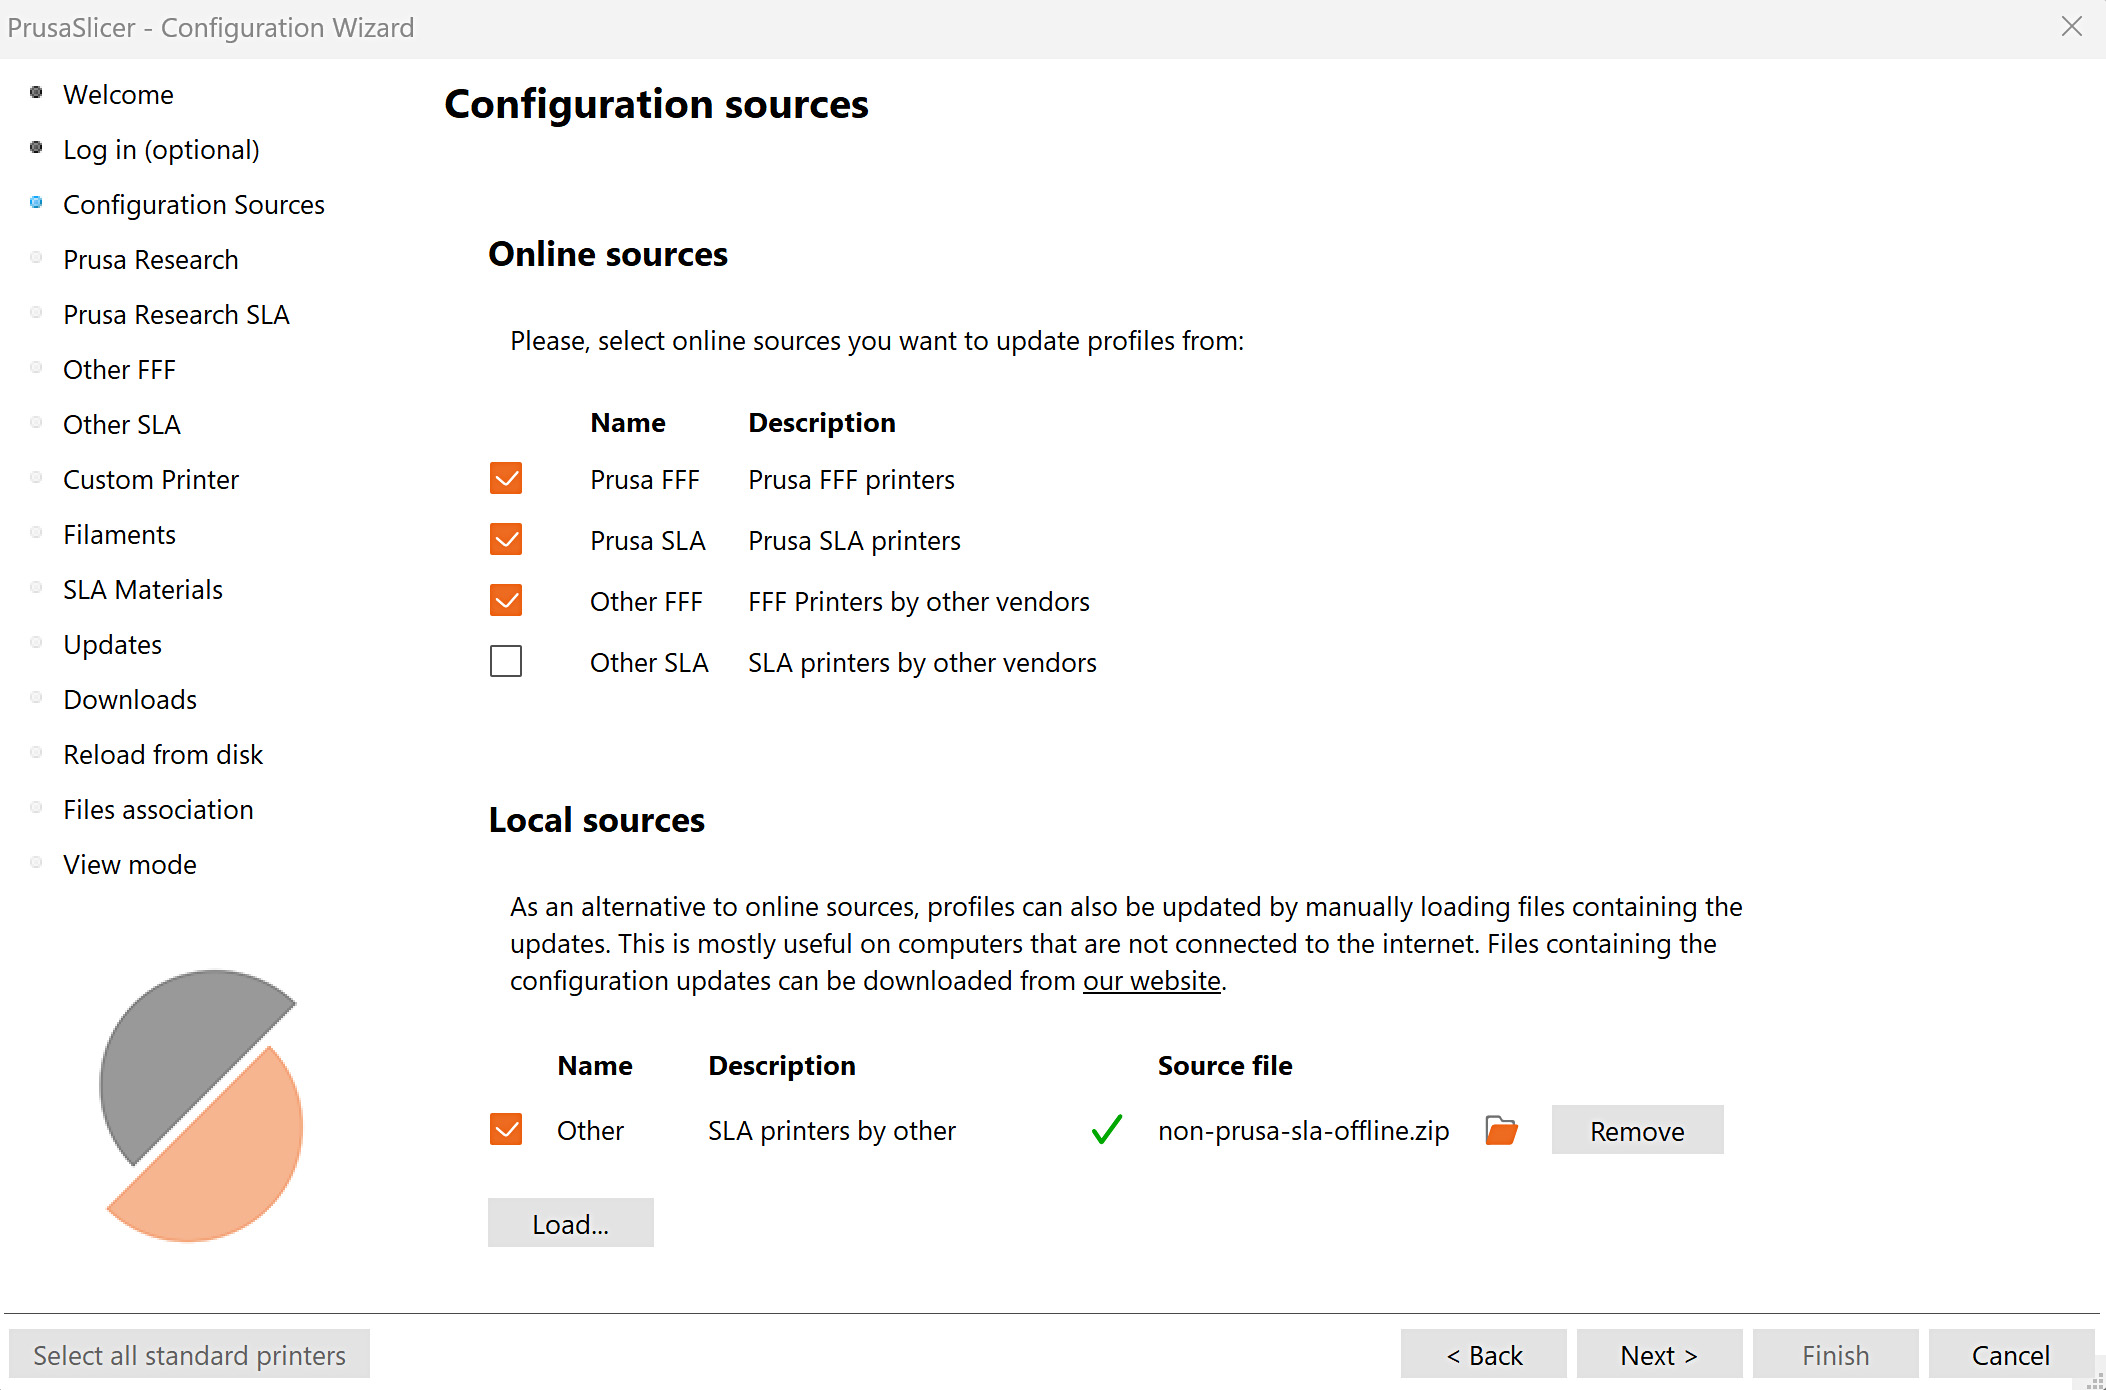
Configuration sources
This function is necessary when not logged in with a Prusa Account. There is an option to enable our online sources, that way the program automatically uses the source files from our webpage.
Alternatively, it is possible to load your local sources for configuration files. We have our profiles on this dedicated page. The download button downloads a zip file that can be directly uploaded as a local source.
Profiles
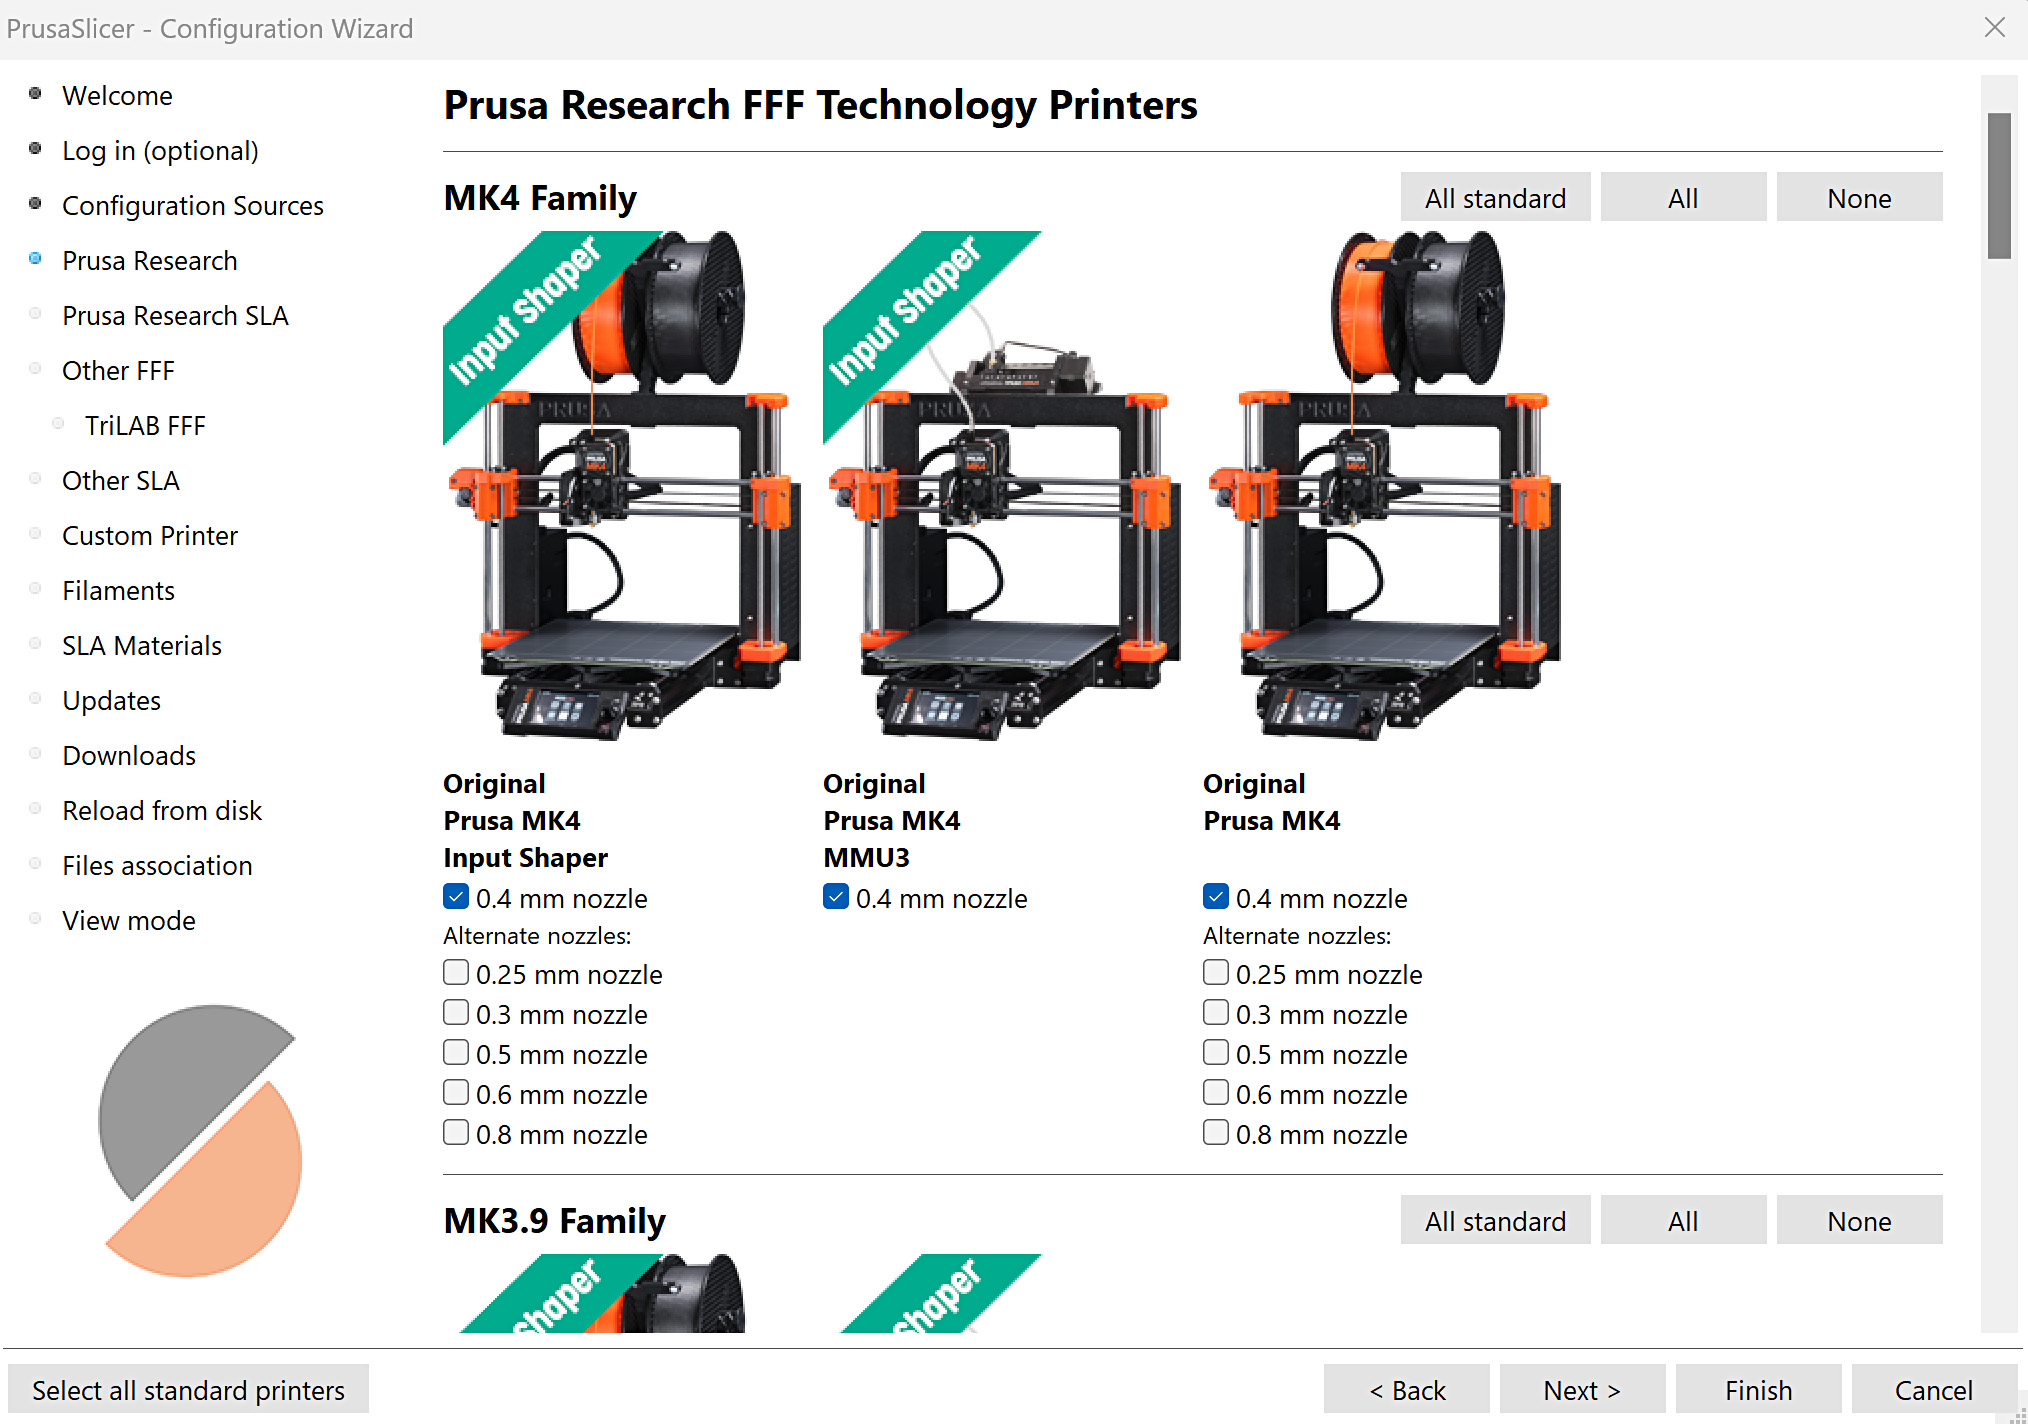
Prusa Research
The section shows a list of Original Prusa FFF printers, with different nozzle sizes.
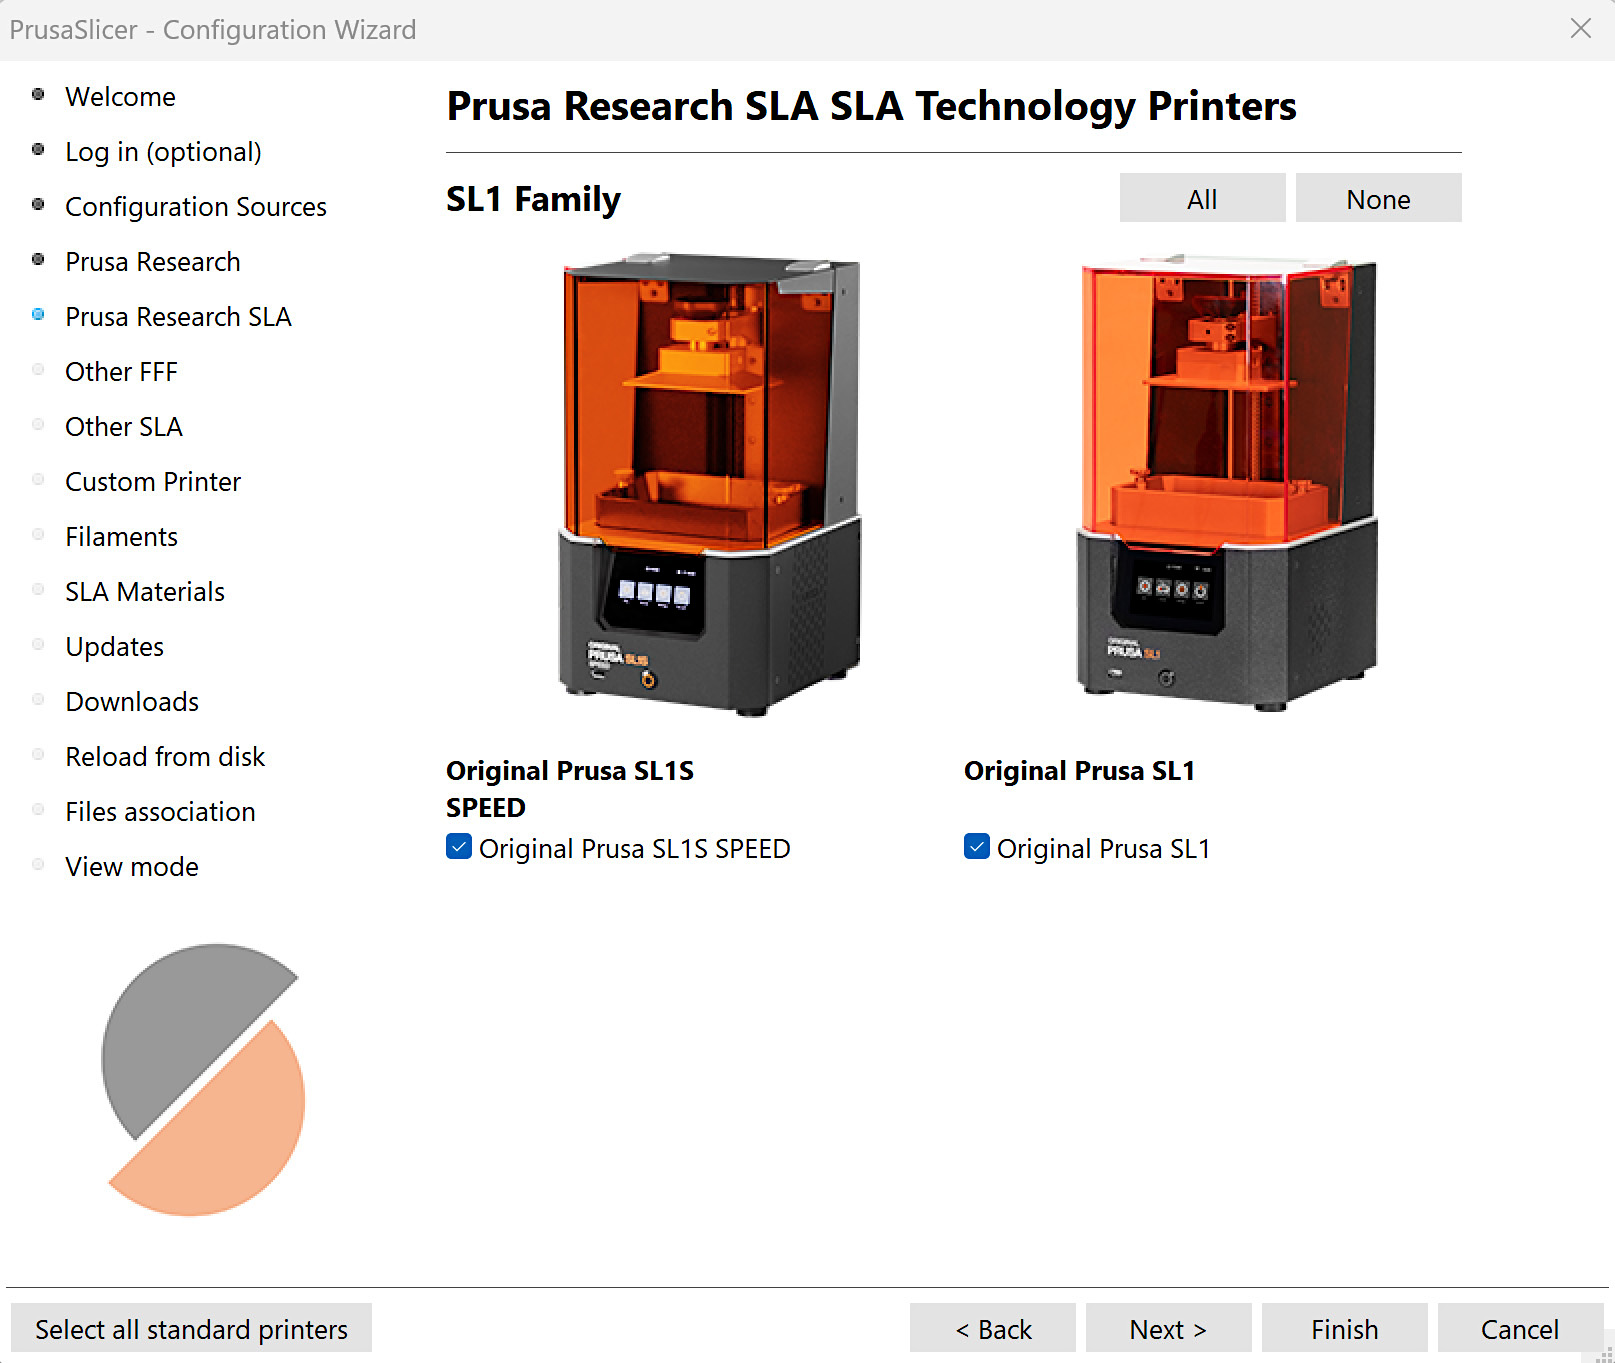
Prusa Research SLA
The section shows our Original Prusa SLA printers.
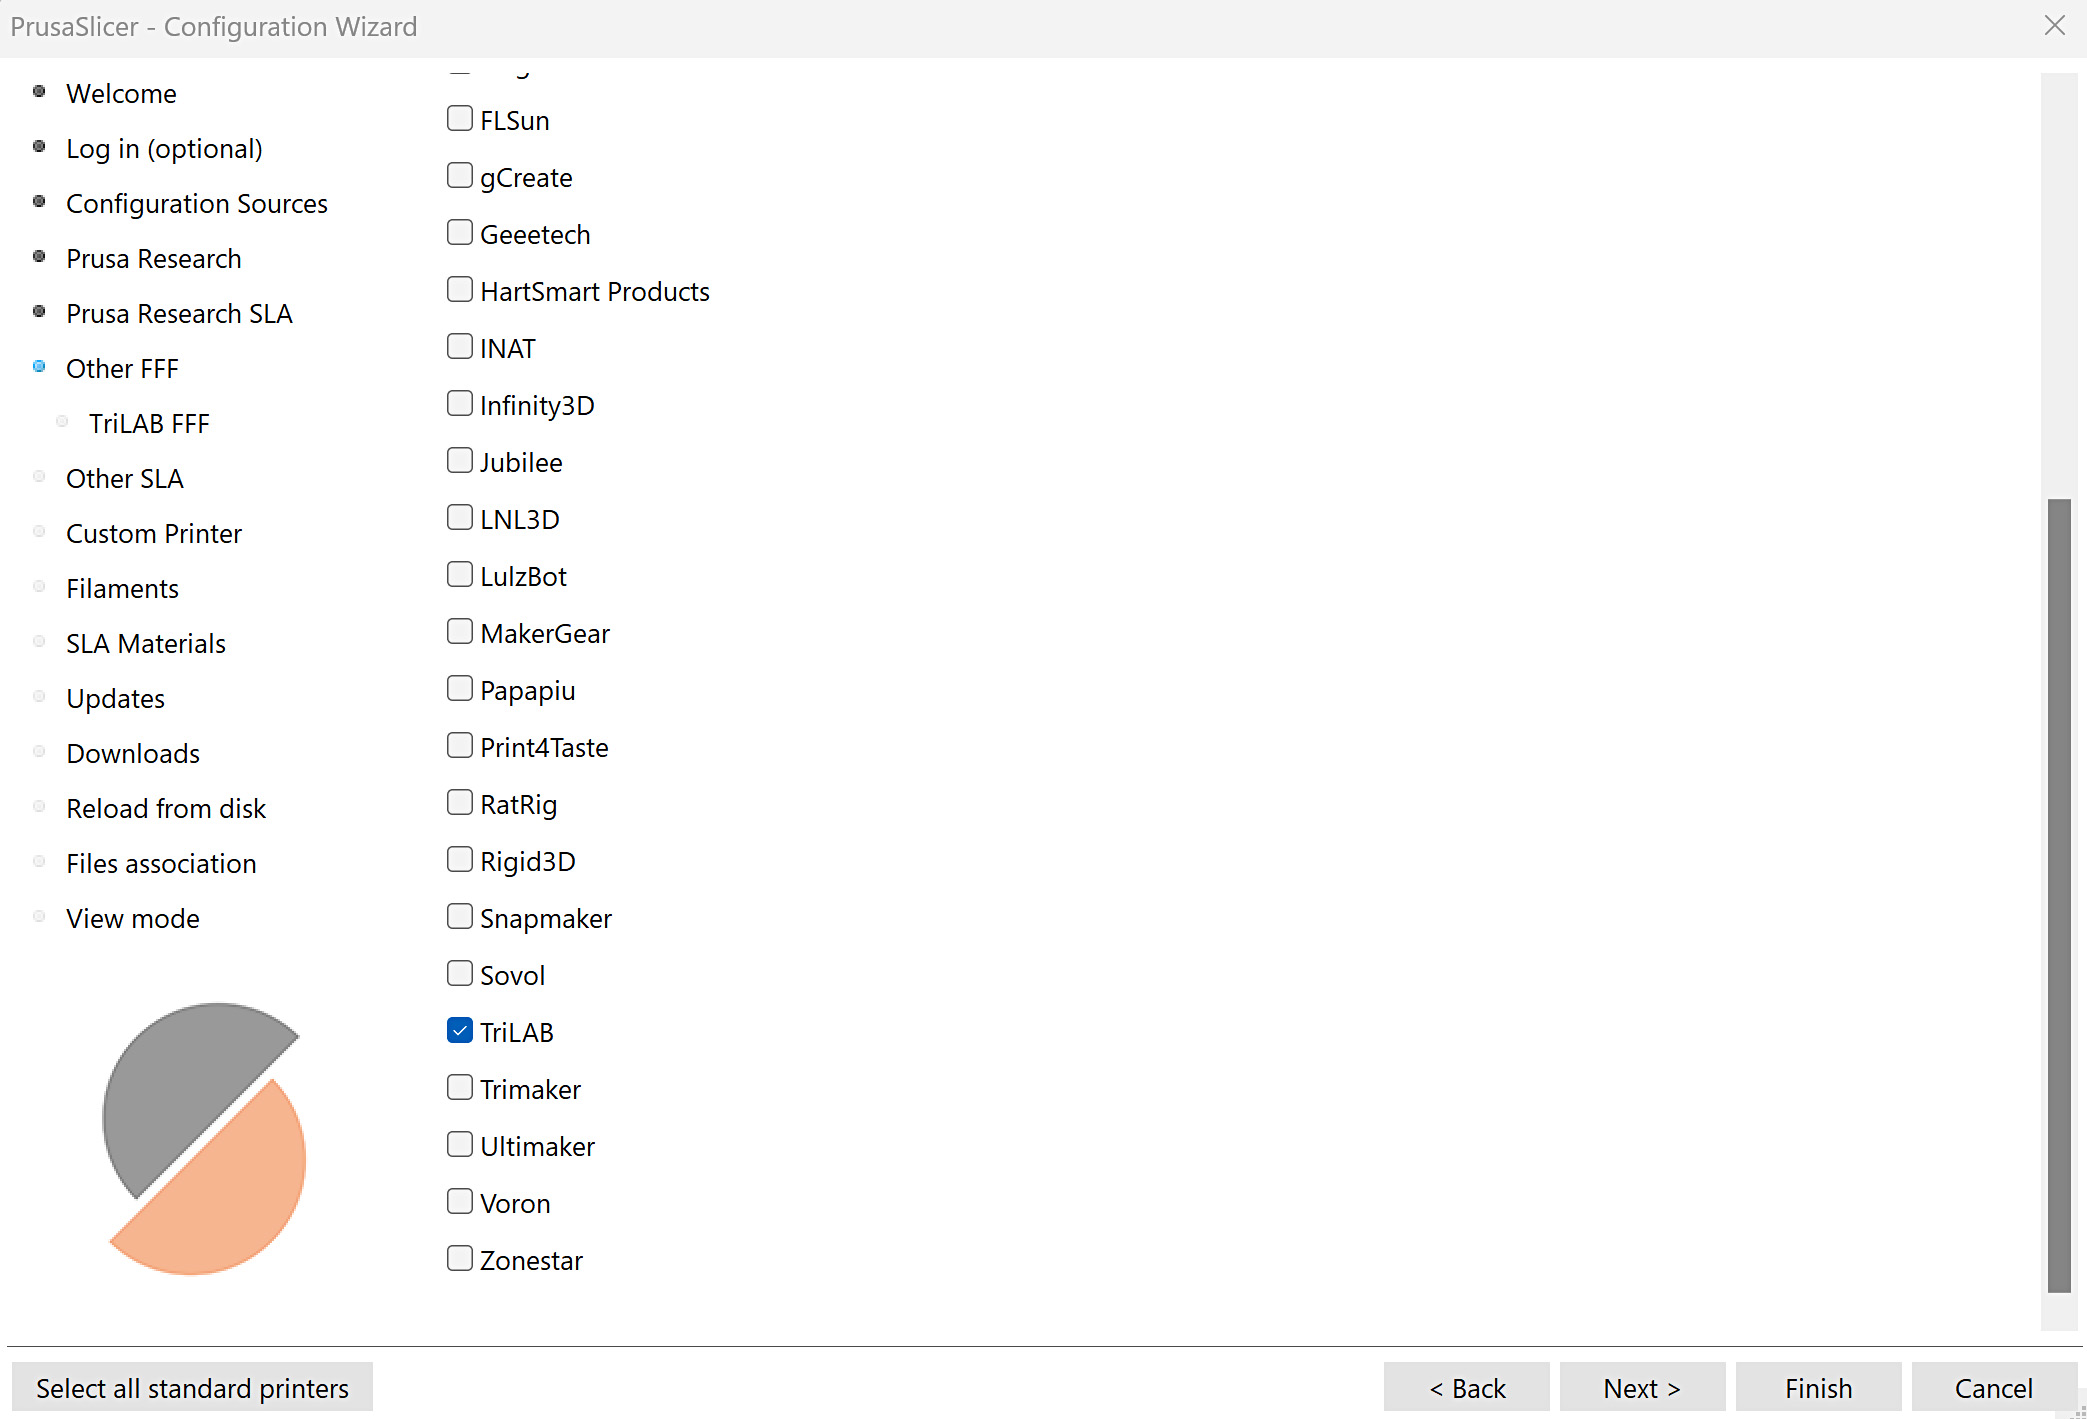
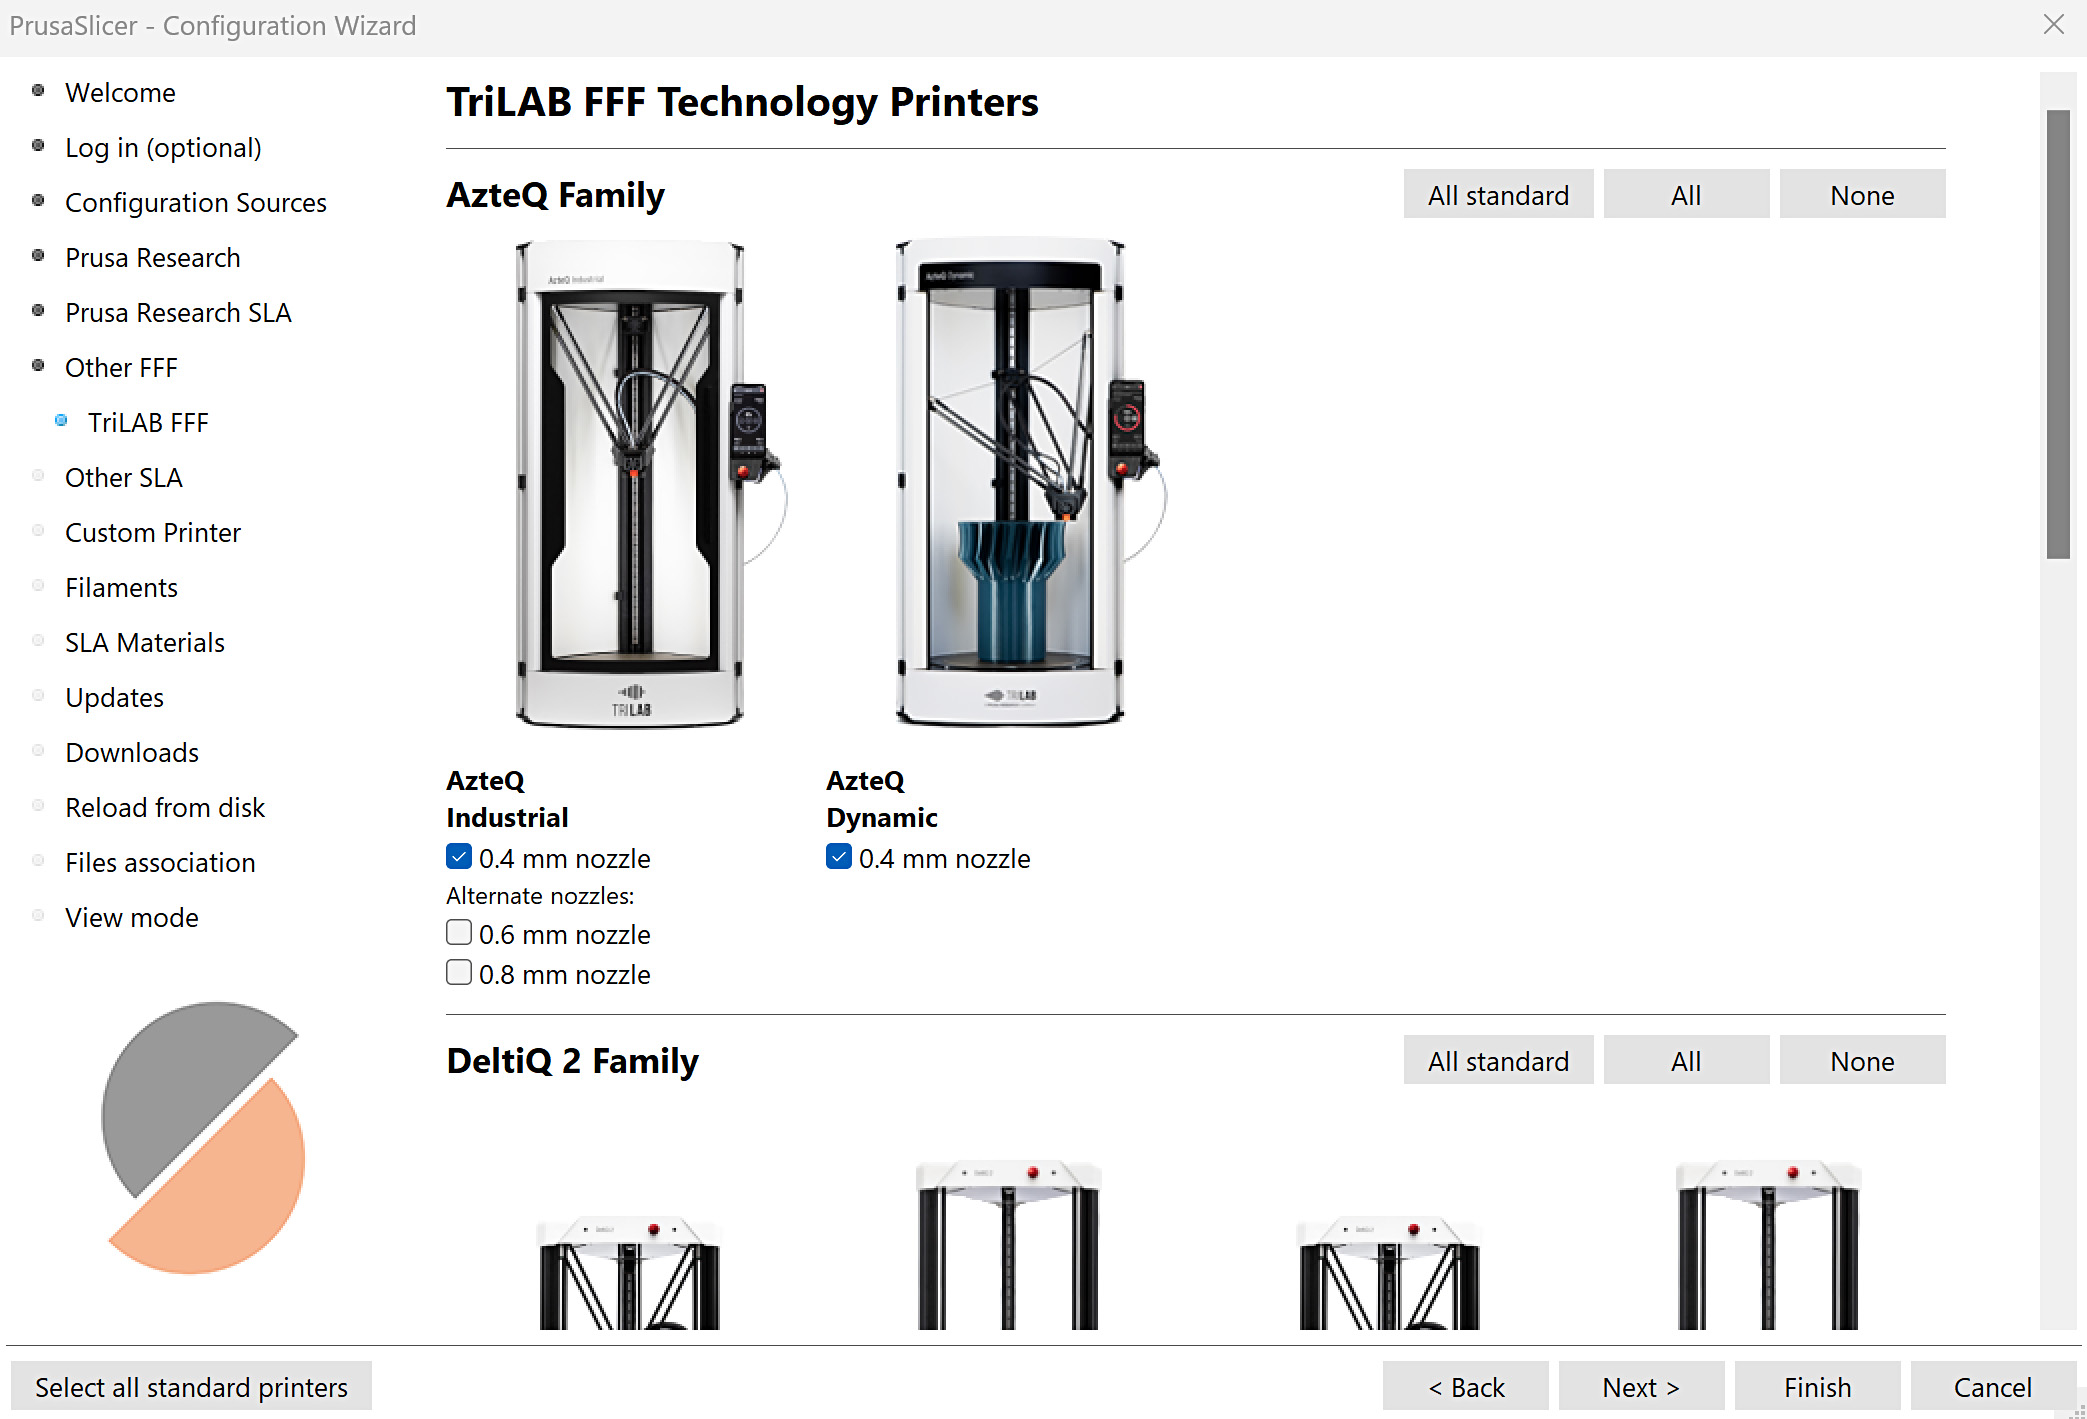
Other FFF, Other SLA
PrusaSlicer includes profiles for 3rd party vendors. Select the 3rd party vendor, this opens a new indented tab. Enter the indented tab and select the printer(s). More info is in a dedicated article on profiles for 3rd party printers.
 |  |
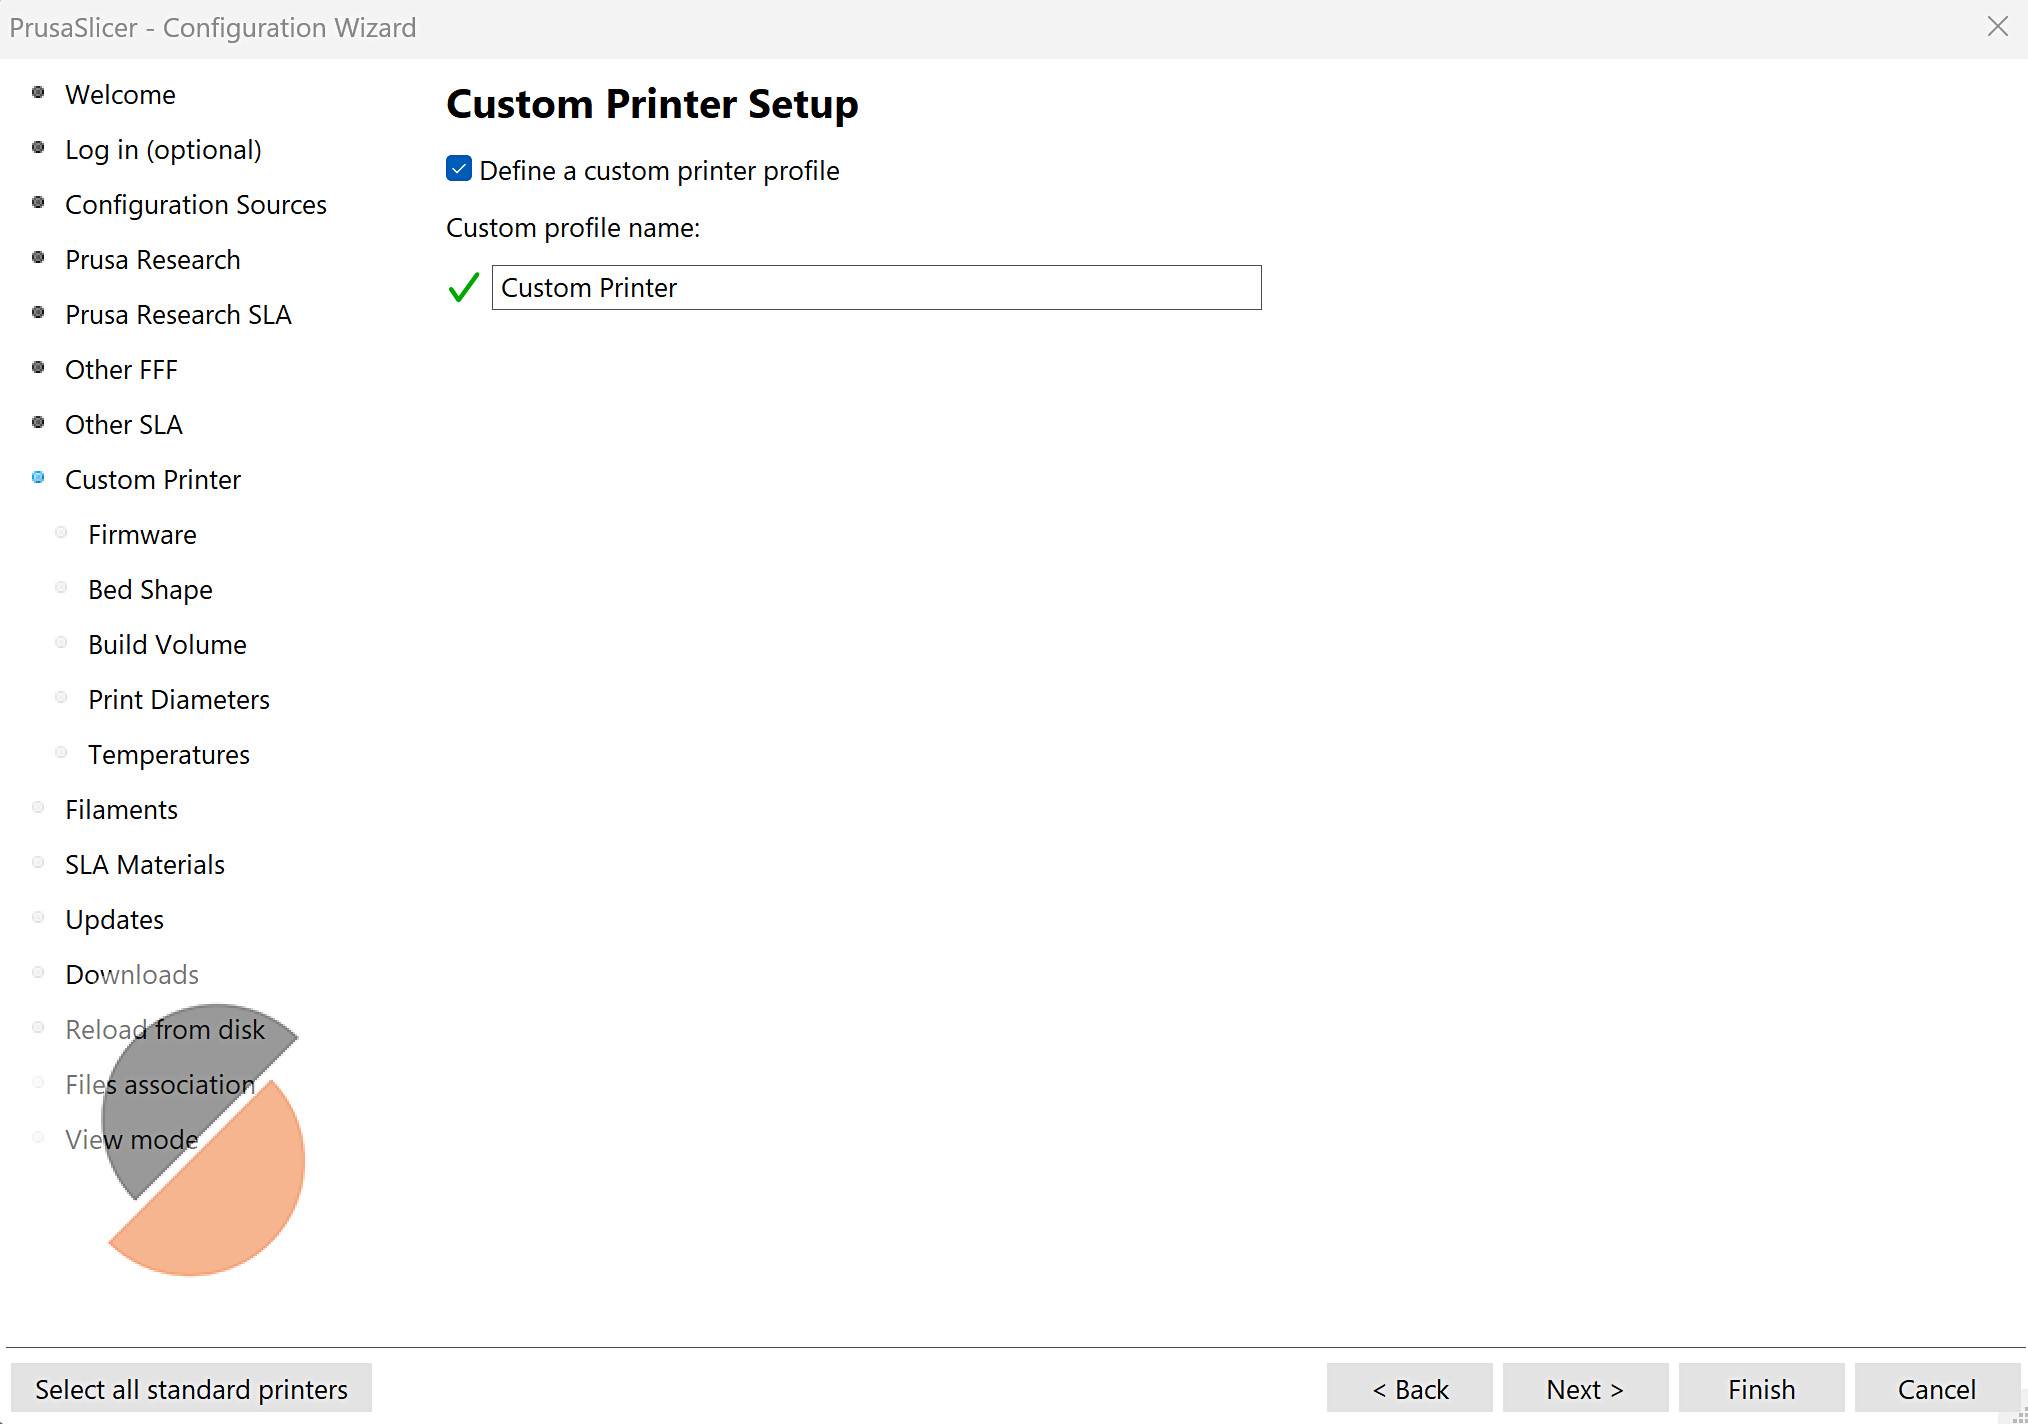
Custom printer
It is possible to define a custom printer profile. Ticking on the define a custom printer profile box opens new tabs under the Custom Printer tab, where it is possible to set the main parameters of the custom printer.
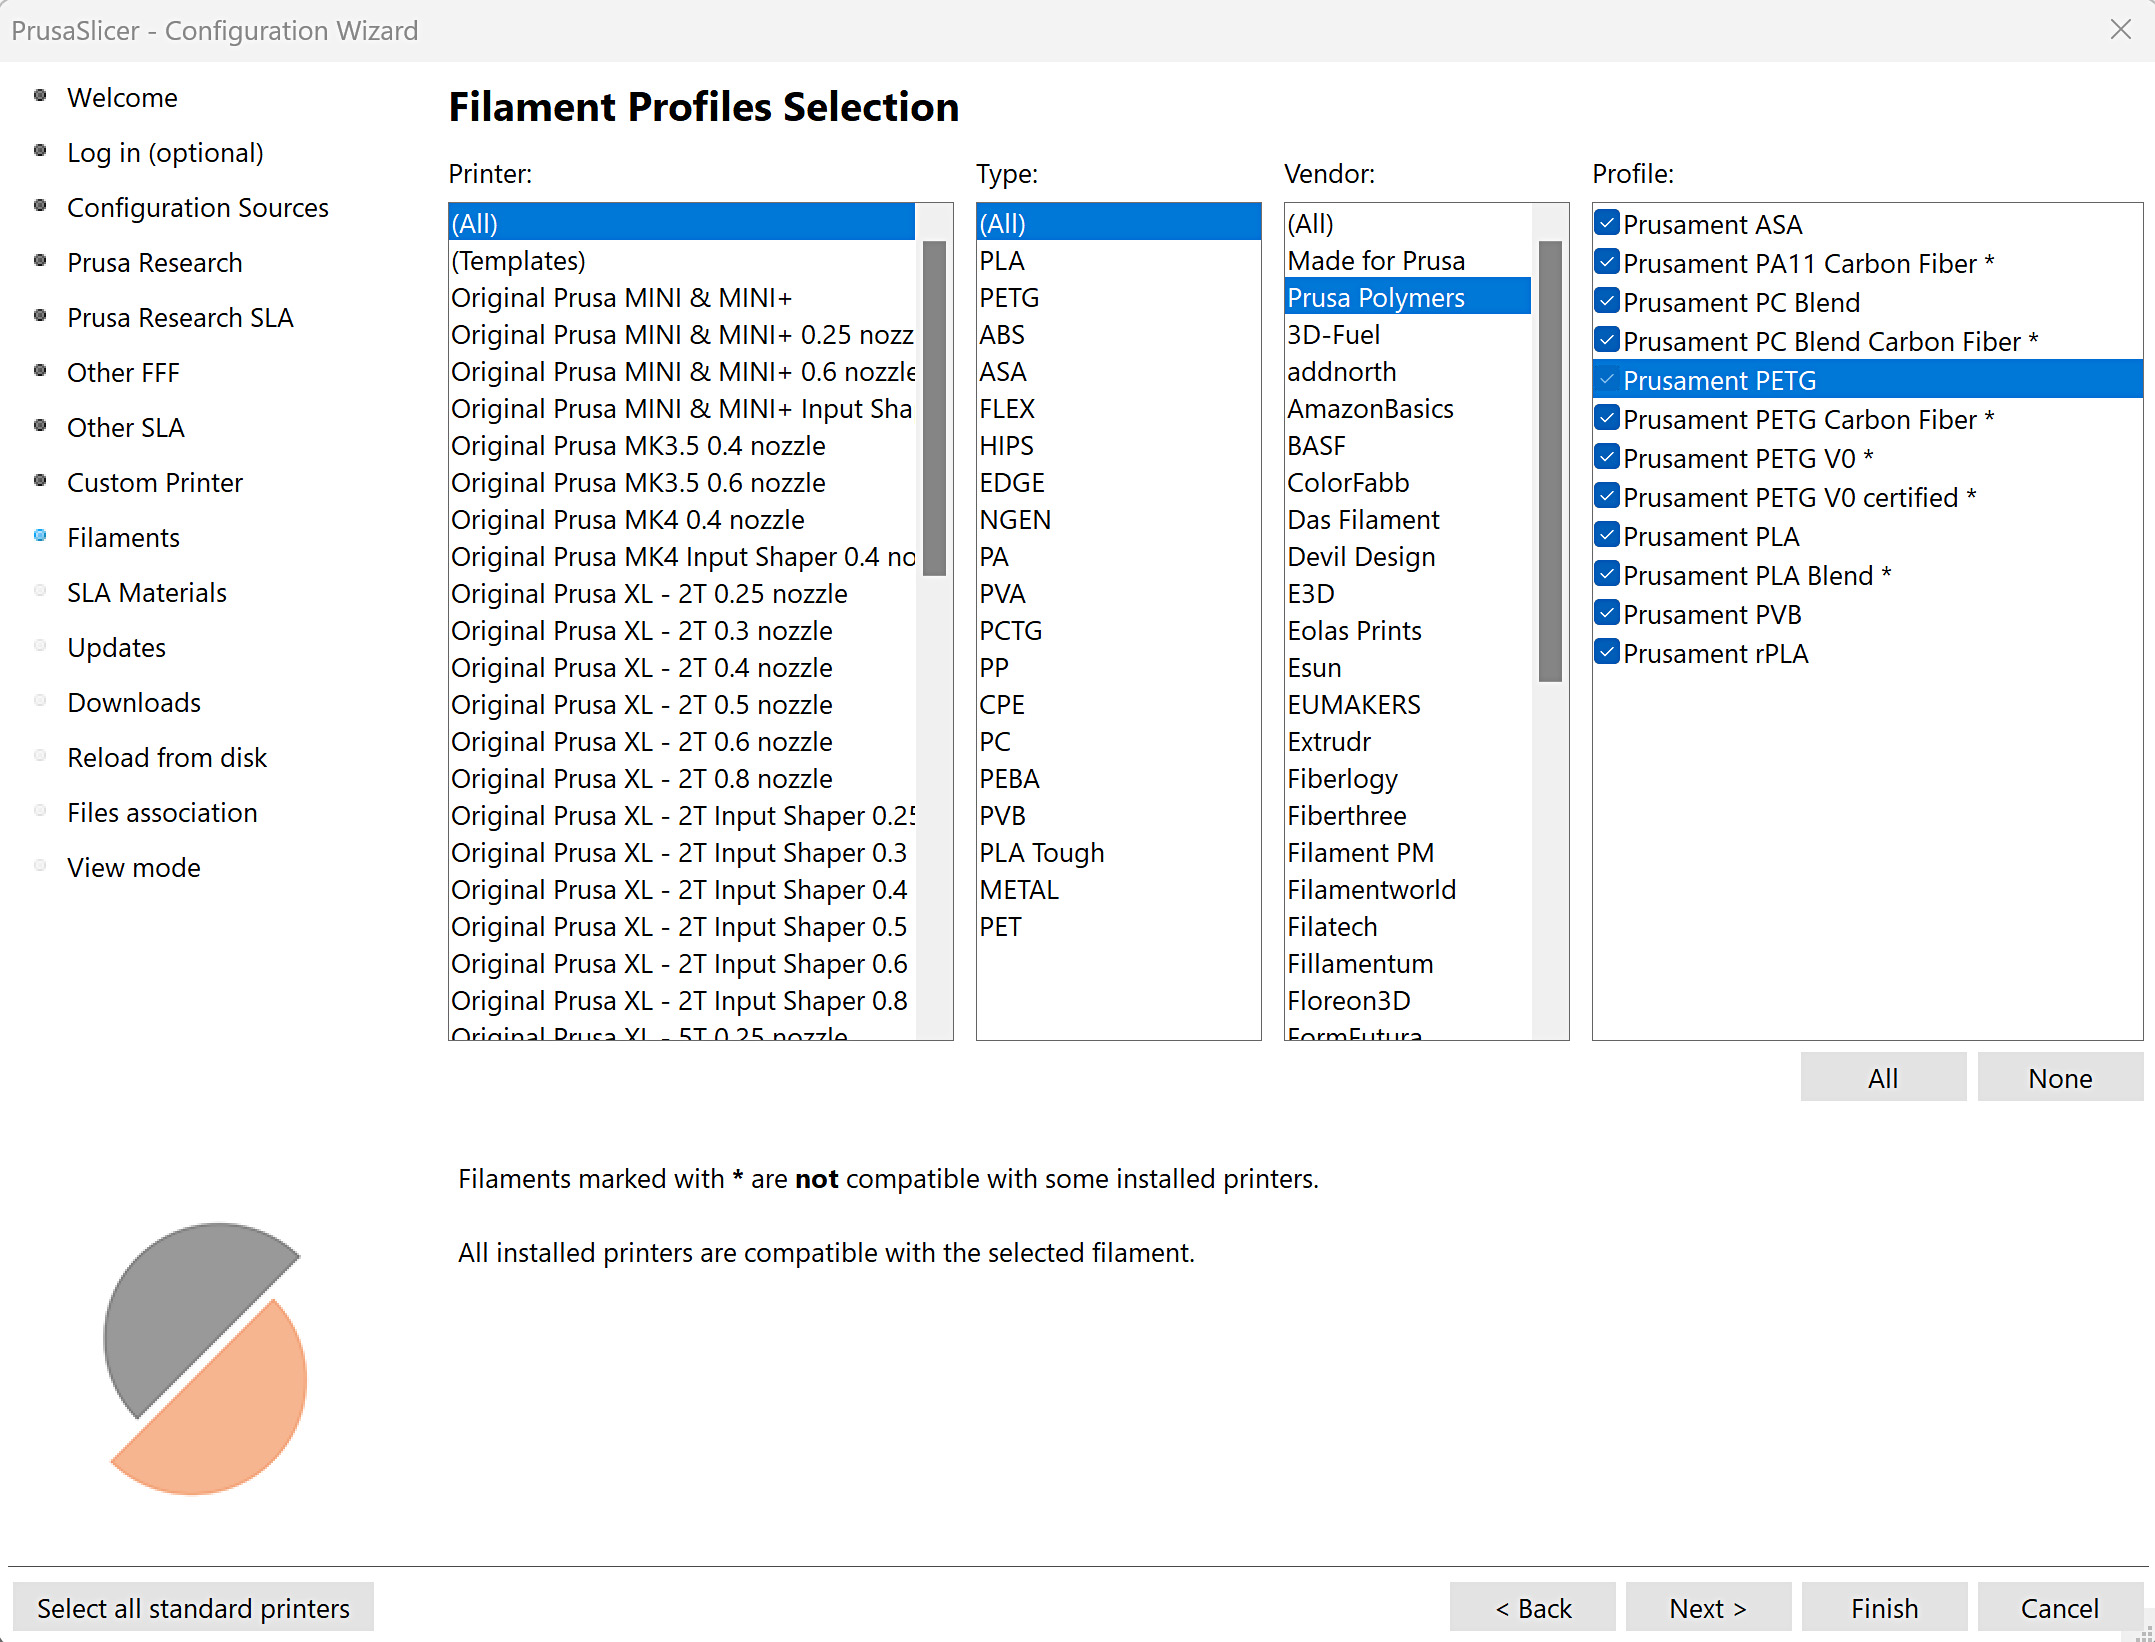
Filaments, SLA materials
The section displays a list of selectable filaments or SLA materials, categorized by compatible printers, materials, and vendors. Materials marked with * are not compatible with one or more installed printers.
 |  |
Other options
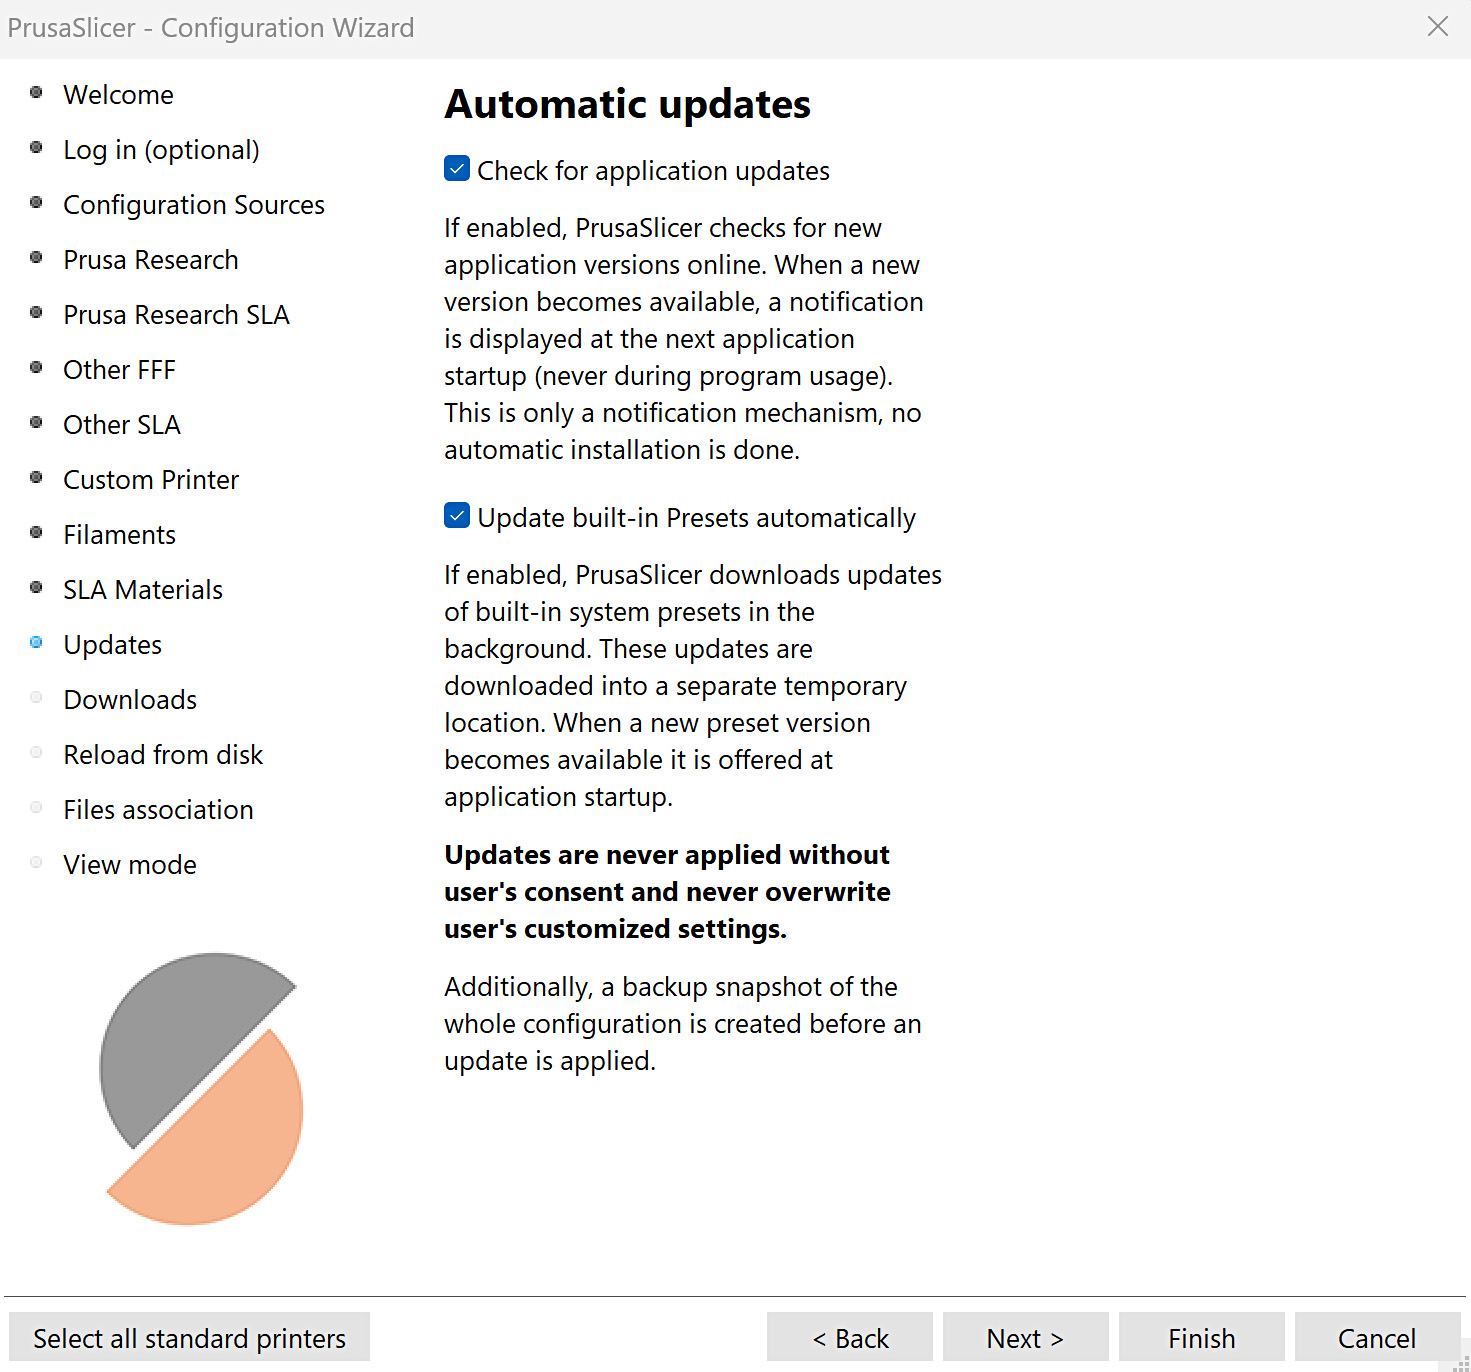
Updates
PrusaSlicer can be set to automatically check for application updates and to automatically update the built-in profiles.
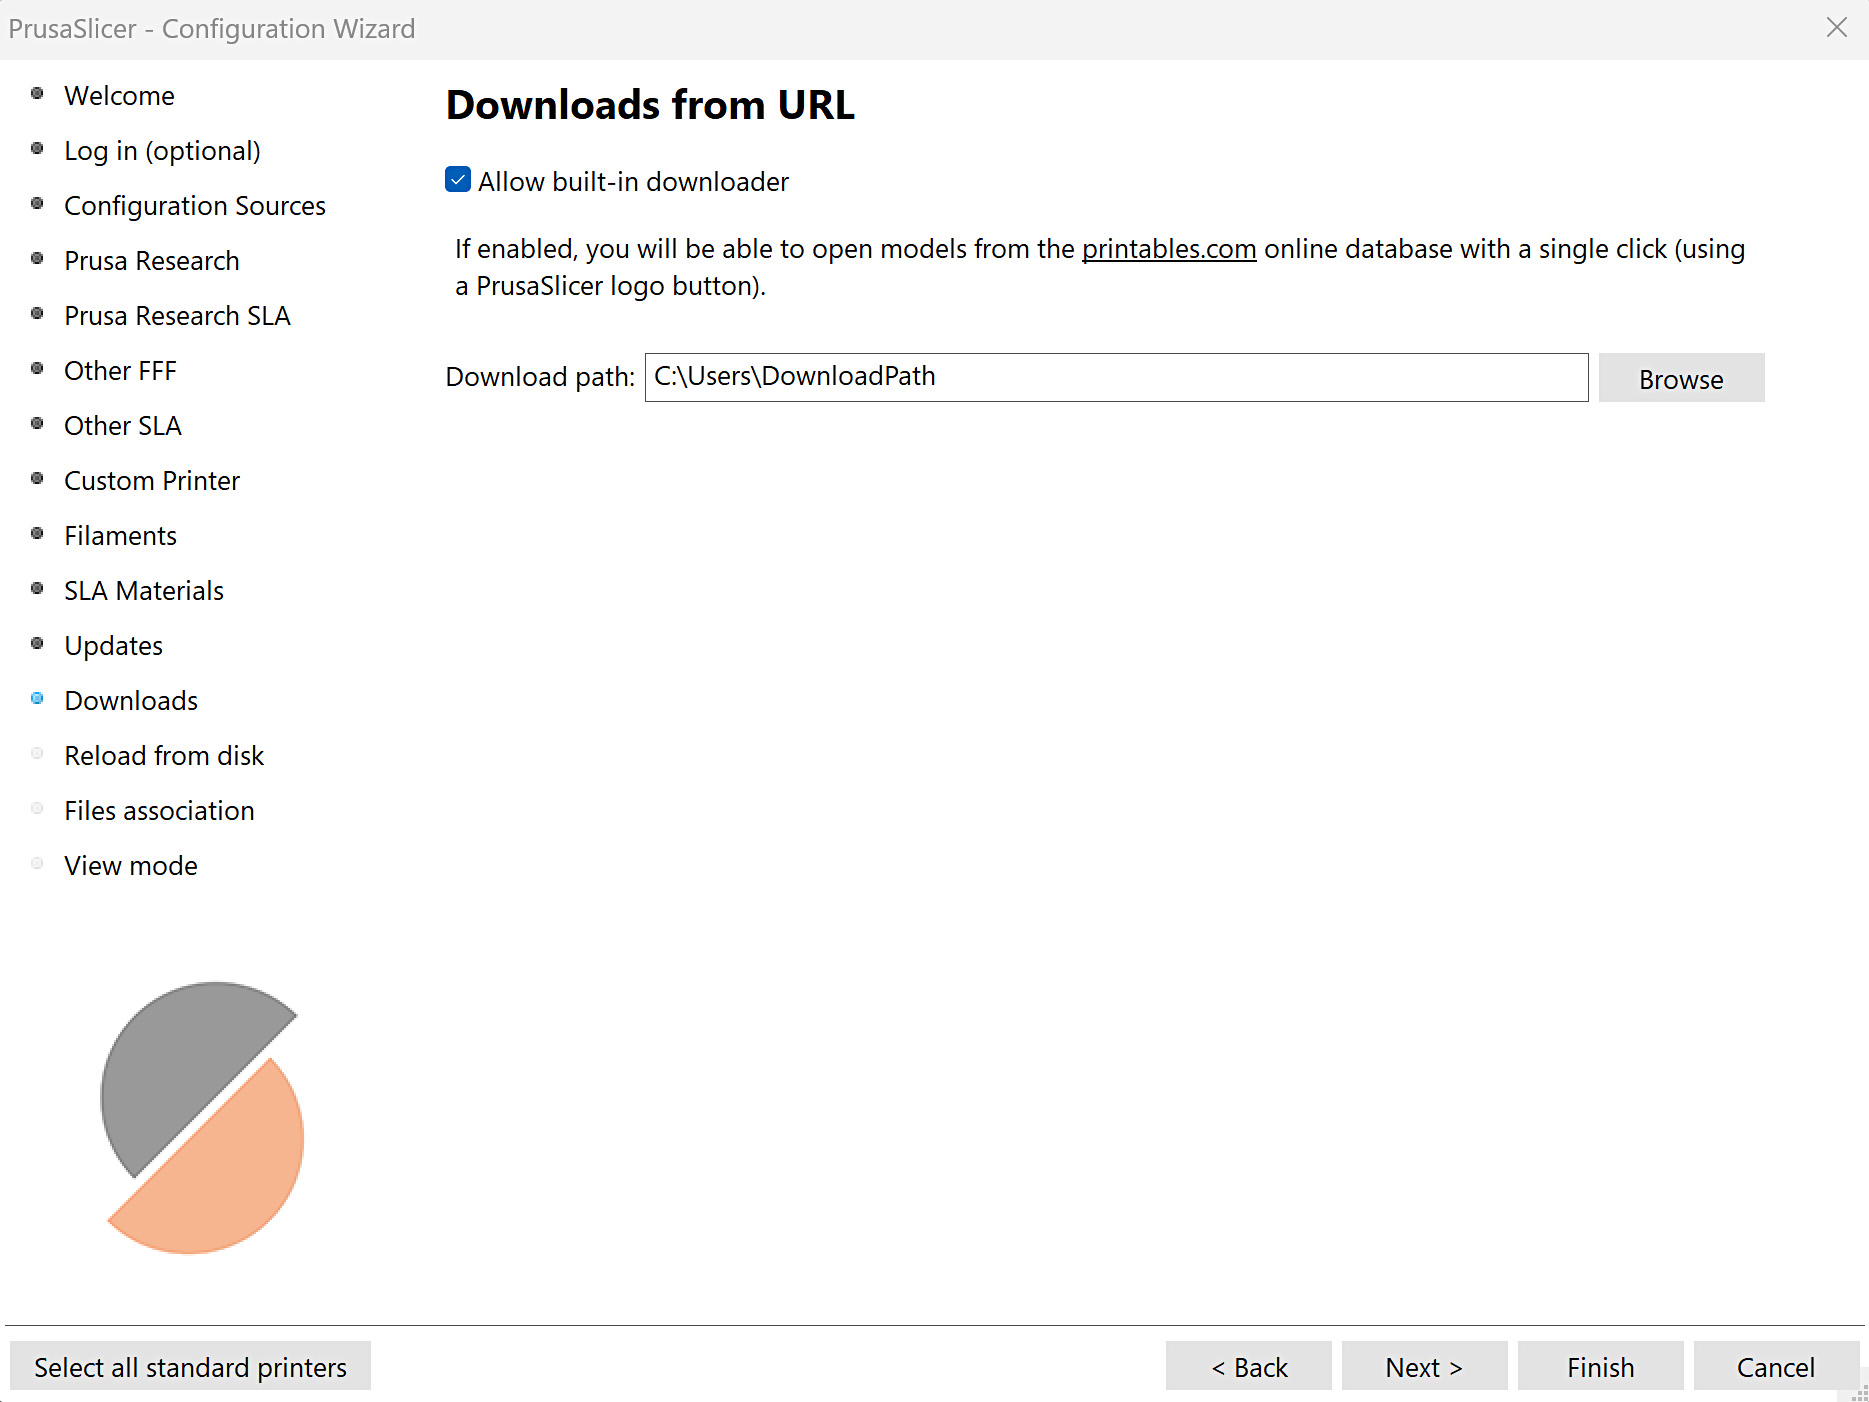
Downloads
Selection for allowing built-in downloader. Enabling it makes it possible to open models from our online database Printables.com with a single click, using a PrusaSlicer logo button visible on the Printables.com model page.
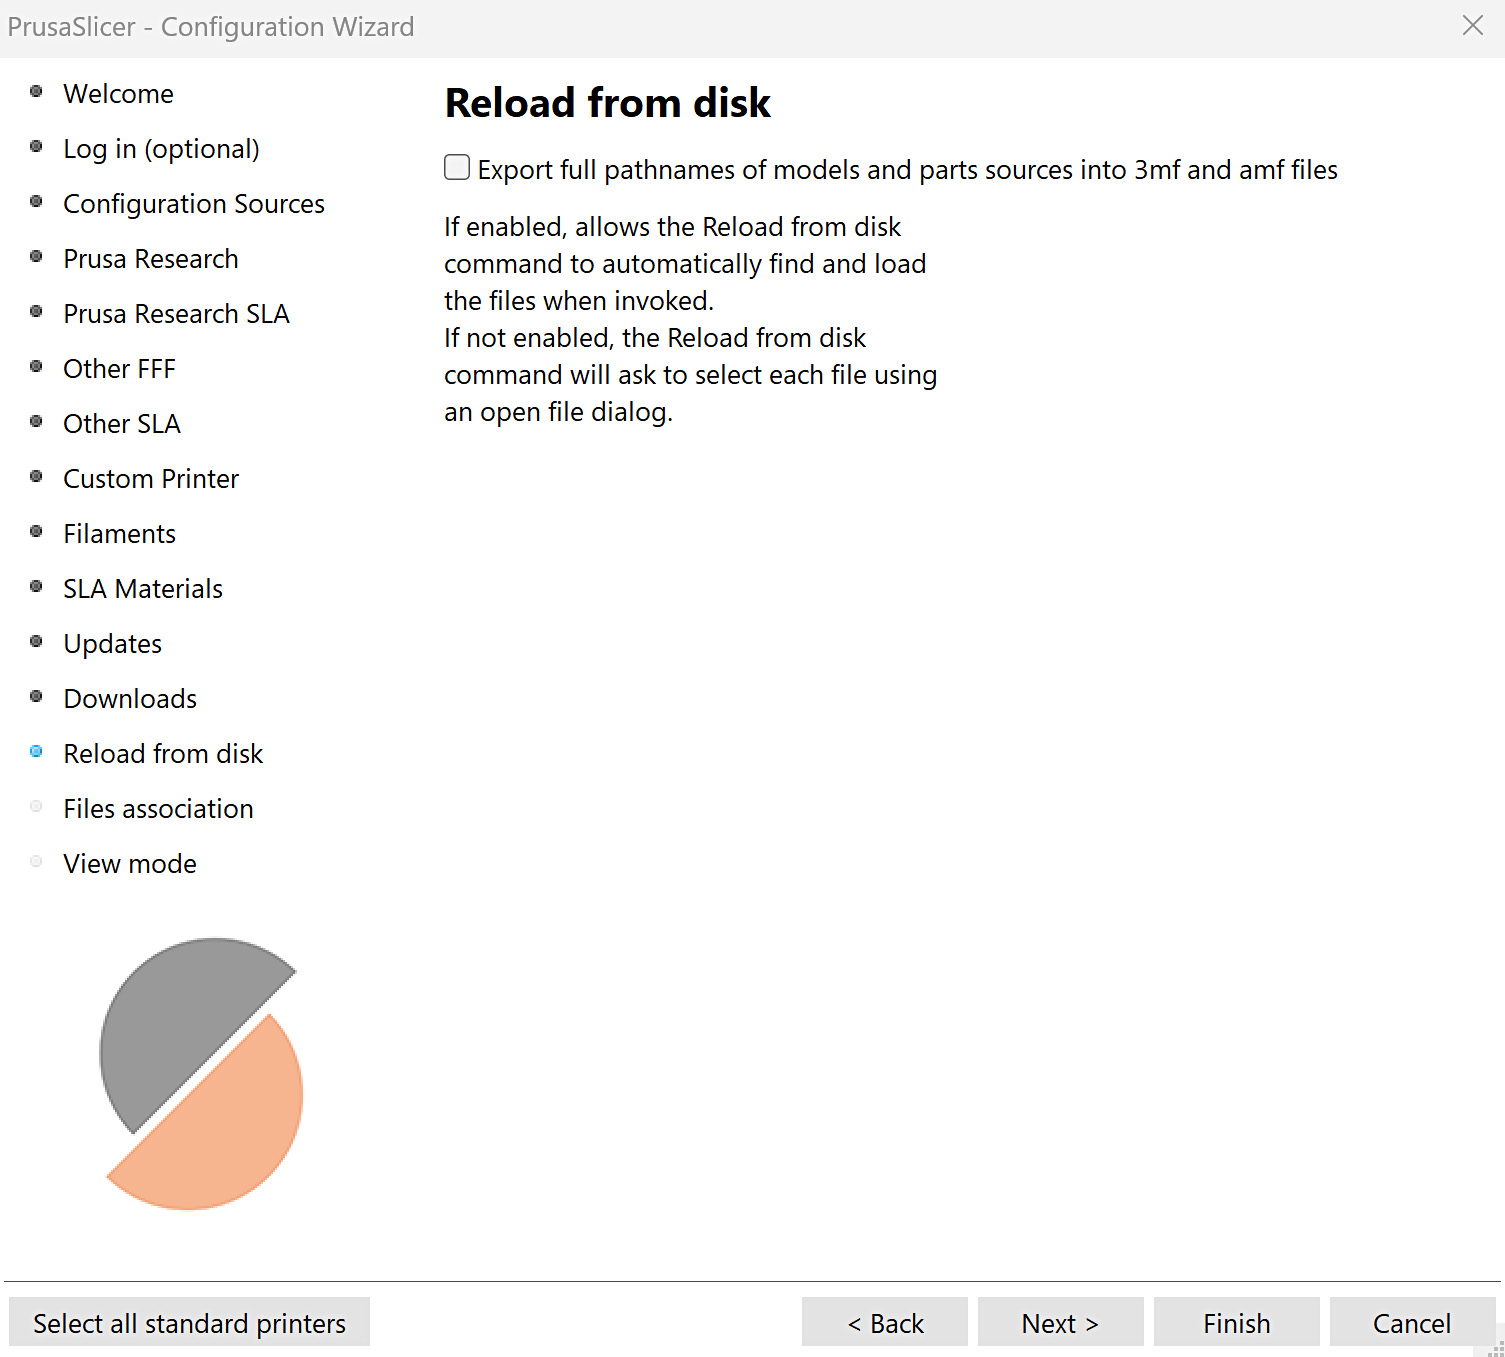
Reload from disk
By default, 3MF project files are configured to not save the full path to the source models, as this can pose a security risk when sharing such a file. If the full path is not saved and Reload from disk is requested, PrusaSlicer will ask for the location of the source file.
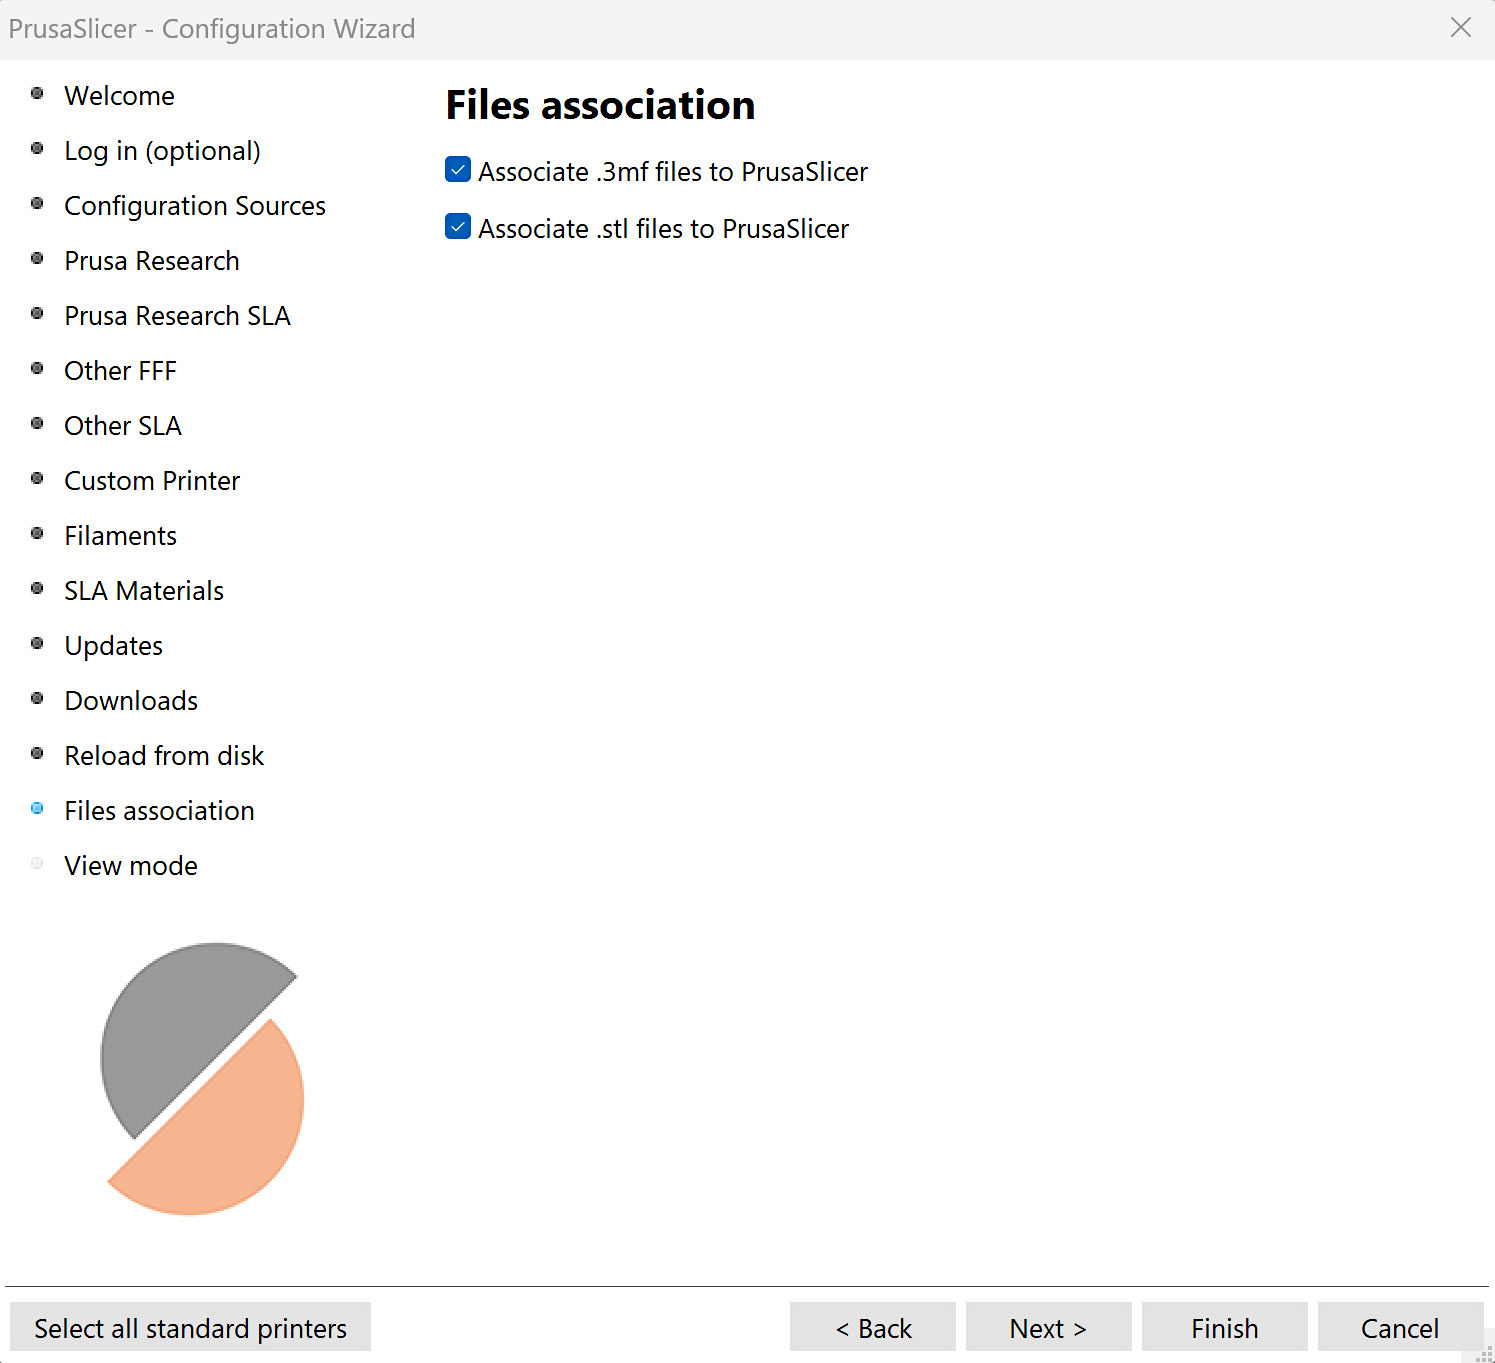
Files association
Associate 3mf and/or stl files with PrusaSlicer. If enabled, PrusaSlicer is set as the default program to open these formats.
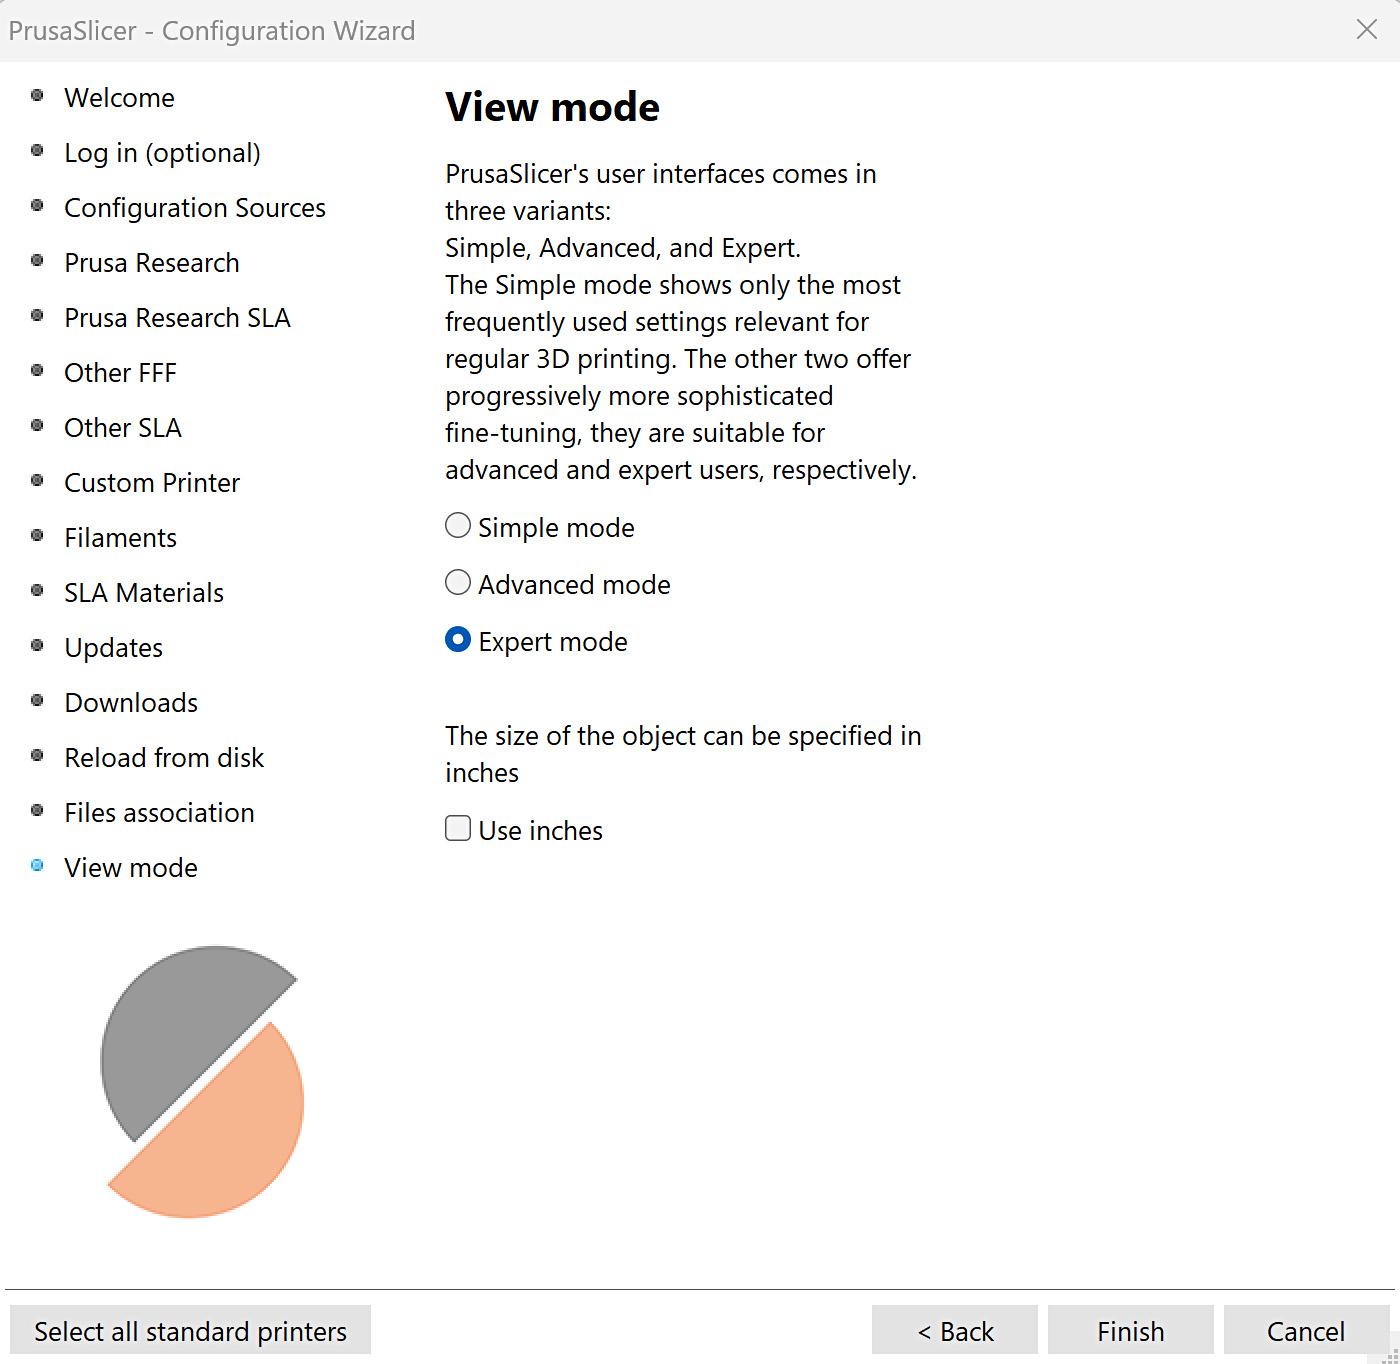
View mode
Select the view mode, between simple, advanced, and expert modes. Select a preference between metric or imperial measurements.
10 comments
How can I make the config permanent so it does not start the config assistant anymore ?
Could you please tell me if there is something else I can try?
Thanks!
In 2.8.1 this will not work if PrusaSlicer is already open. The window for PrusaSlicer appears, but the object is not on the build plate. Very weird.
However, if PrusaSlicer is not open and I use Print Utility>PrusaSlicer>select object>OK then PrusaSlicer is loaded up and the object appears on the build plate! However, any additional objects I then try to add to the build plate do not appear.