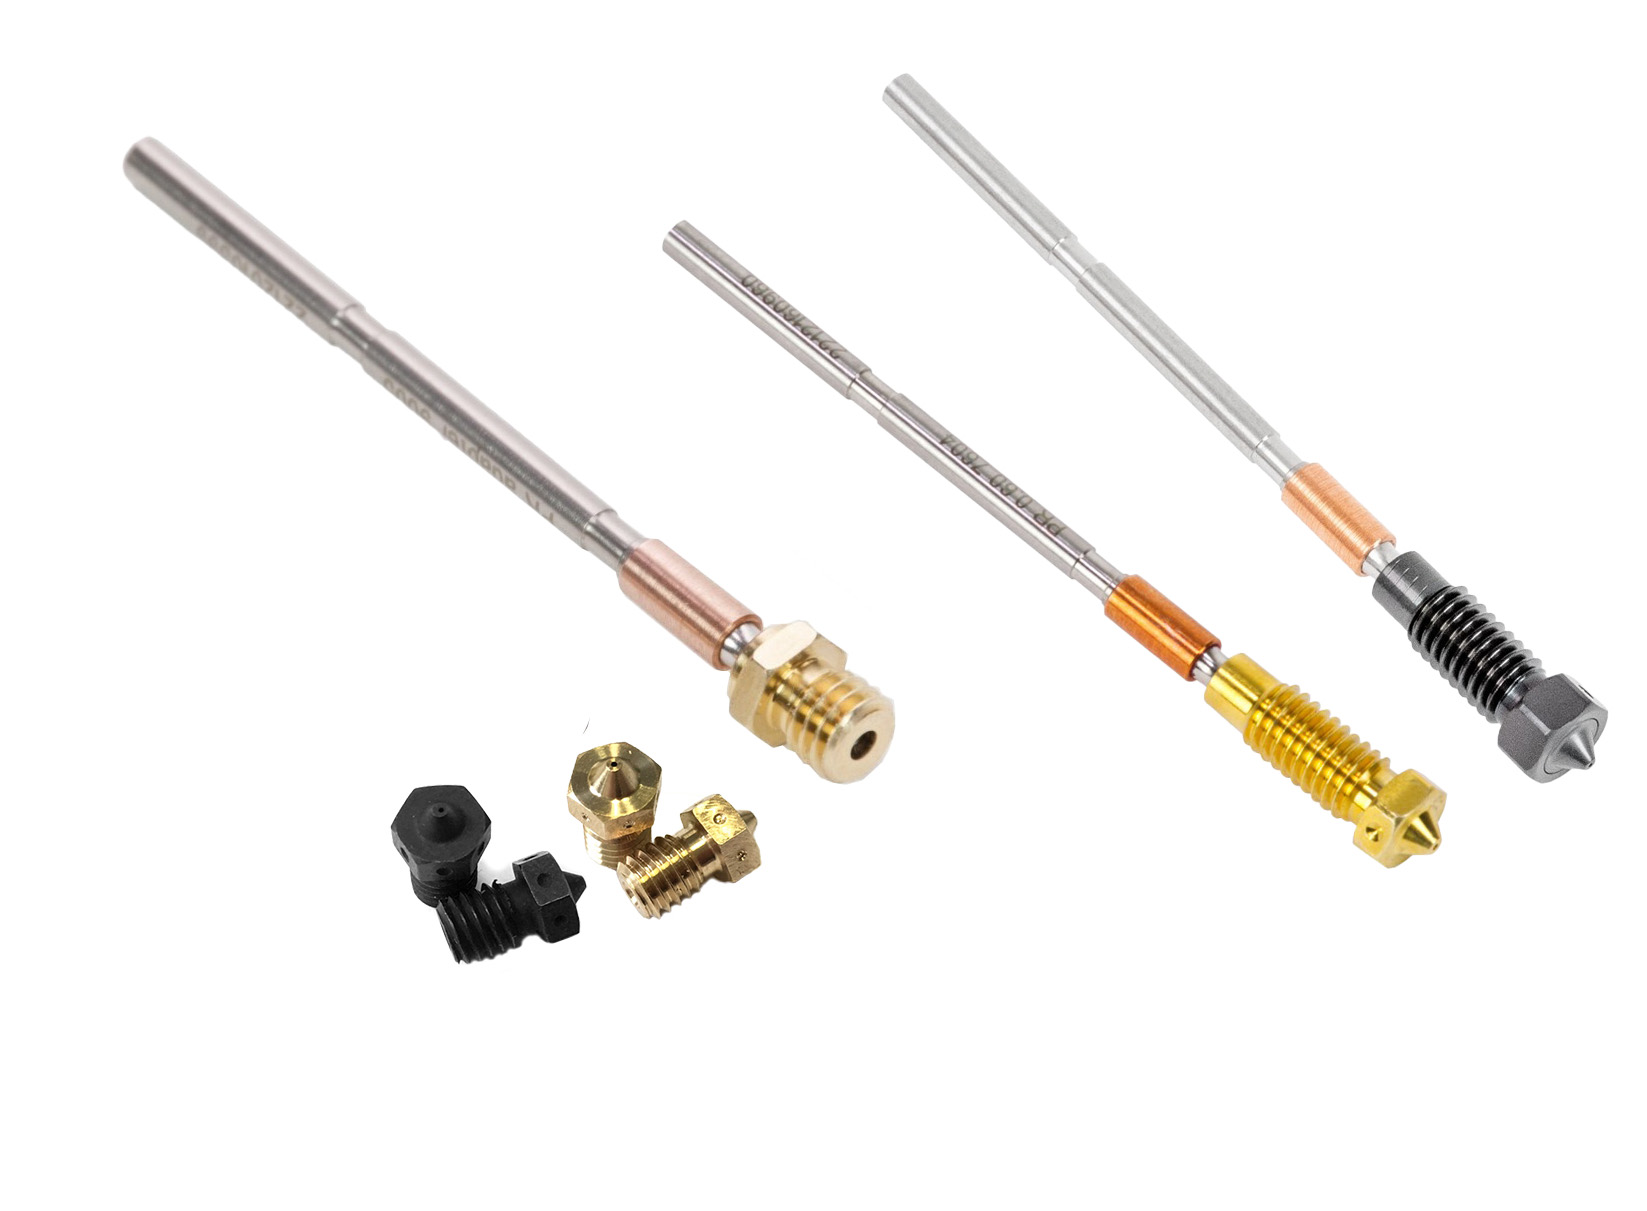
The Prusa FFF printers are equipped with a brass nozzle. Brass has excellent heat conductivity and is tough enough to print most common filaments. However, when using abrasive filaments, the brass nozzle tends to wear too quickly, so abrasion-resistant nozzles are available.
Depending on your printer model, the hotend uses either an E3D V6 nozzle or a Prusa Nozzle. If you want to use E3D V6 nozzles on printers designed for the Prusa Nozzle system, a Nextruder V6 Nozzle Adapter is available.
This article provides an overview of the different nozzle types used across our printers and explains how they fit into each system. For more detailed instructions, recommendations, and compatibility information, please follow the links included in each section.
Prusa Nozzle
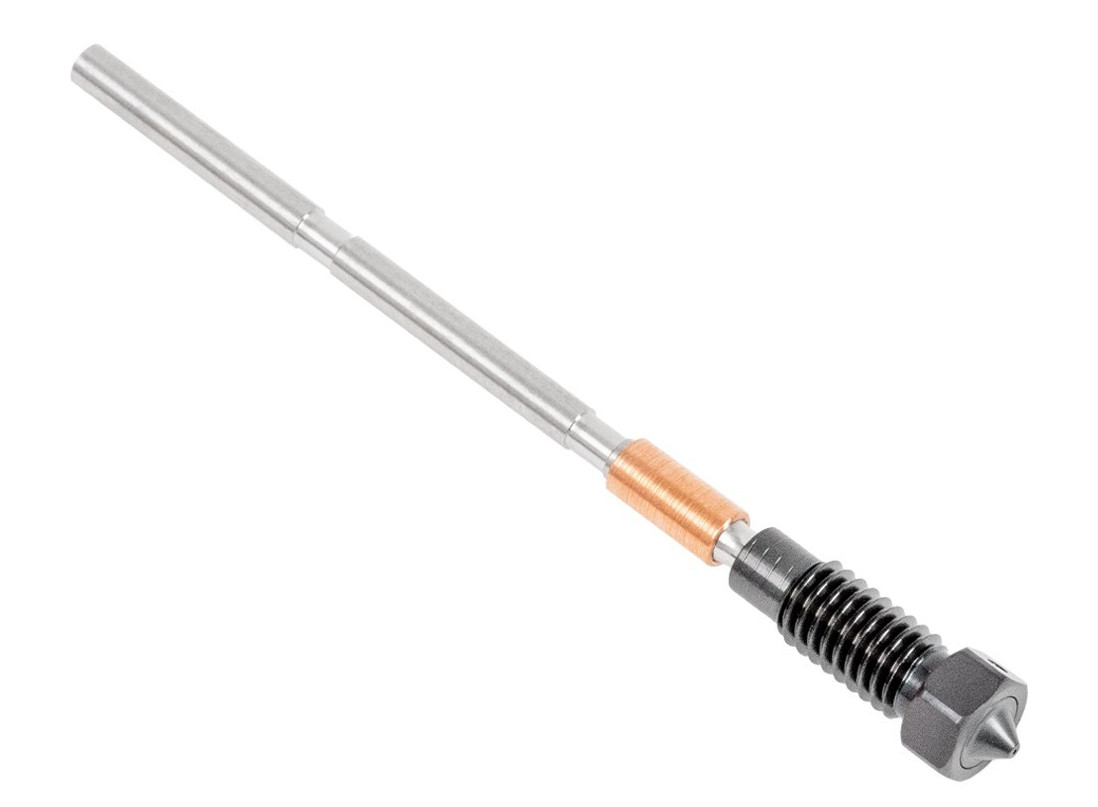
Designed for Nextruder-based printers (CORE One, XL, MK4/S, MK3.9/S), the Prusa Nozzle is built for cold, quick swaps and maximum convenience. It is available in a range of materials and diameters.
Check out the detailed information in the dedicated article for Prusa Nozzle types for Nextruder printers
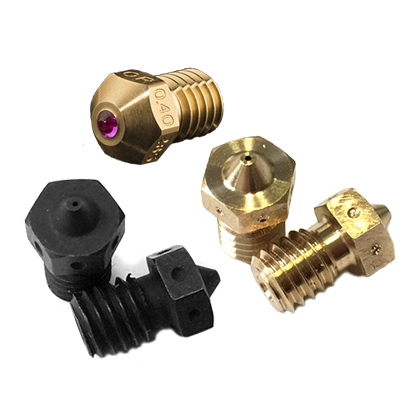
E3D V6 nozzles
The E3D V6 (and E3D V6-compatible) nozzles are used in the MK3.5/S, MK3/S/+, MINI/+, MK2.5/S, MK2/S, and earlier models. They are a widely adopted standard, but they must be tightened while hot to ensure a proper seal and avoid filament leakage. The filament is led into the heatbreak through a PTFE tube.
Find out all the E3D V6 nozzle types and their details in the dedicated article for E3D V6 Nozzles
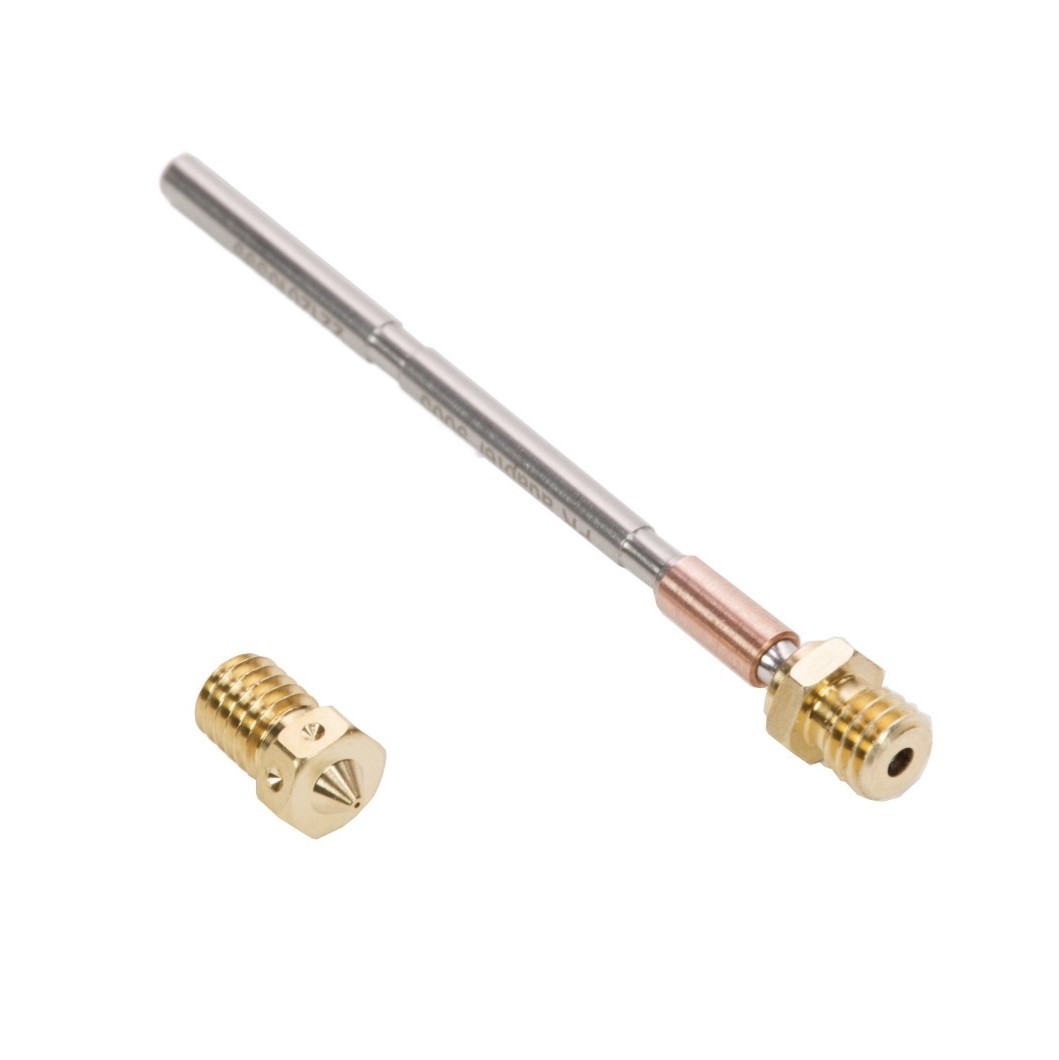
Nextruder V6 Nozzle Adapter
The Nextruder V6 Nozzle Adapter enables your Prusa printer’s Nextruder to accept E3D V6 nozzles.
If you need to install or replace a nozzle with a Nozzle Adapter, please refer to our guides:
- Nozzle adapter for CORE One
- Nozzle adapter for MK4S, MK3.9S
- Nozzle adapter for MK4, MK3.9
- Nozzle adapter for XL Single tool, Nozzle adapter for XL Multi tool
23 comments
The steel nozzle prints Inland Natural PLA just fine, and it seems to purge the black PLA shipped with the printer ok fine as well. But every time I try loading the _orange_ PLA shipped with the printer it angrily refuses to purge. I get the fateful clicking sound as the gears slip, and no filament emerges from the nozzle. Pushing the temperature up to 220 doesn't seem to affect this. If I remove the hardened nozzle and put it over a heat gun then push a piece of Inland Natural PLA into the back end it purges just fine.
I've double-checked that both the "High Flow" and the "Hardened Nozzle" options are set in
Settings->Hardware->Printhead . Is the orange pigment just stickier against steel? Anyone else reporting this?
* Is there any performance difference between the two?
* Is there any way to discuss any differences on the internal geometries or other techniques to enable high flow without violating any NDAs?
* One weakness of CHT nozzles is the difficulty of cleaning jams because of the multi-path internal geometry. Does the E3D nozzle share that weakness or have a similar weakness?
Hello. The standard nozzle has 'PR' printed on it, while the CHT nozzle has 'CHT' printed on it. Additionally, the CHT nozzle has a Bondtech logo on one side of the head (where the dots are).