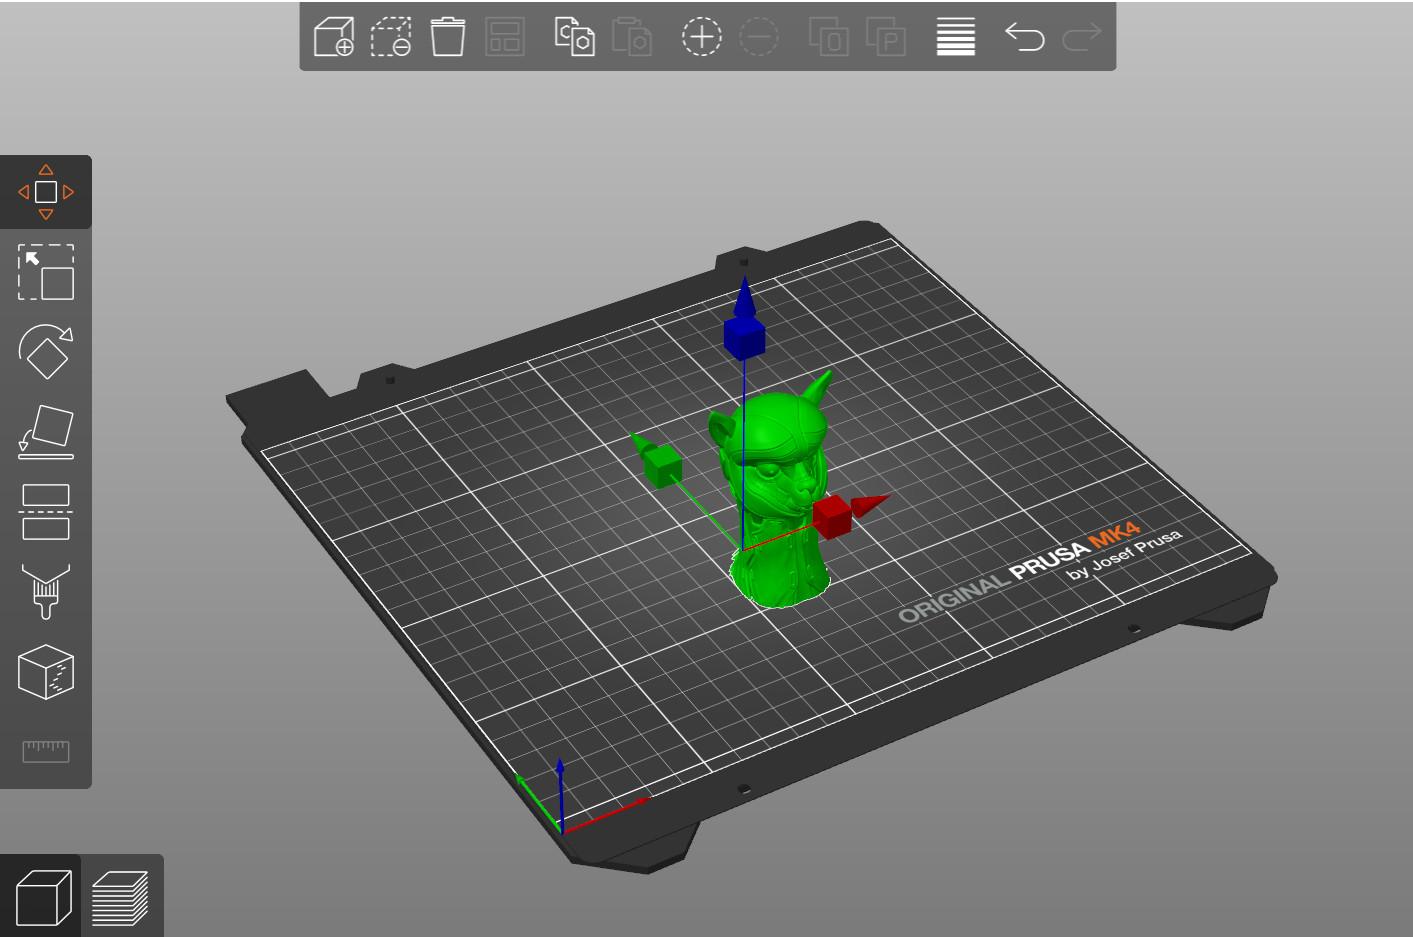
Move
Left-mouse drag can move objects even when the move tool is inactive. Enabling the Move tool M displays a 3D widget, which lets the user adjust the object’s position in the X, Y, or Z-axis.
- 1mm increments Shift
Scale
The Scale tool (S) displays a 3D widget, which lets the user scale the object either uniformly, by clicking one of the corner boxes, or non-uniformly, by clicking the X, Y, or Z-axis handle.
By default, scaling is symmetrical, both sides of the model expand uniformly and the center stays in place. Holding down the Ctrl key before grabbing one of the X, Y, or Z handles switches the mode to non-symmetrical.
- 5% increments Shift
- Scale to fit (maximum size) F
- only with the scale tool selected
- only with the scale tool selected

Rotate
The Rotate tool (R) displays a 3D widget that lets the user rotate the object around the X, Y, or Z-axis. As soon as the user clicks on one of the axes handles, two sets of white circular guidelines appear. Hovering the mouse over these guidelines will change the rotation from smooth to discrete steps.
- Outer circle / short marks 5-degree increments
- Inner circle / long marks 45-degree increments
Moving an object below the print bed
An object can be moved below the print bed to print just the part of the object above the print bed.
You can achieve a similar result with the Cut tool. However, the move tool is arguably simpler, non-destructive, and handy. For example, you can flatten the bottom of an uneven object to be printable without a raft. The “Drop to bed” button in the object manipulation panel can be used to move the object back to the print bed, so it's no longer sinking below it. The intersection of the model with the bed is visualized with a white outline. Moving objects below the print bed is not allowed in SLA mode, as it would make the placement of SLA supports confusing.
 |  |
Moving an object above the print bed
We have a standalone article about how to do this.
10 comments
It is user-friendly and has various tools to do all manner of 3D modeling operations. As a beginner, SelfCAD has got you covered. It has interactive tutorials and videos to guide you step by step in learning 3D modeling.
Check this video on how to move, rotate, scale, and navigate SelfCAD workspace https://www.youtube.com/watch?v=ek8MtIfBr64&list=PLXHTPs03CIrhWHKpKBpncxsA942_VaWlh&index=1
Tutorials https://www.selfcad.com/tutorials
Videos https://www.youtube.com/playlist?list=PLXHTPs03CIrhWHKpKBpncxsA942_VaWlh
1) I drop the enforcer... hold one control key goes to one mode, hold another goes to a different. In that mode you can drag the on-screen controls, but maybe you cannot use the micro adjustment shortcuts. For that you need to press the icon.
2) You just add a toggle control key to rotate between modes and once in that mode you release the keys and you get normal key controls.
Moving your eyes to the left tool box to select a mode requires some re-orientation back to the object after changing modes. Focus is on getting the modifier applied, moved into place and sized properly.