Español
Login
Impresoras 3D
Materiales
Piezas y accesorios
Para Empresas
Software
Modelos 3D
Comunidad
Ayuda
Cursos
Blog
Empresa
Soporte
Prusa CORE One+
Ensamblaje del Kit de Prusa CORE One+ (1.00)
8. Trim, Door & xLCD | Tools necessary for this chapter
1. Tools necessary for this chapter
Paso 1 de 41 (Capítulo 8 de 10)
Contenidos
Comentarios
⬢
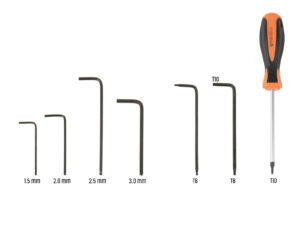
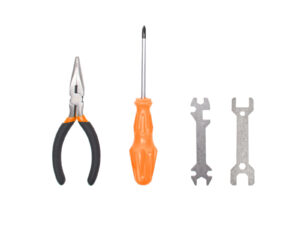
For the following steps, prepare:
⬢
Llave Allen de 2.5mm
⬢
Llave Torx T10
⬢
Alicates de punta fina
Loading...
Siguiente
Contenidos
Ensamblaje del Kit de Prusa CORE One+
1. Introduction
2. Base assembly
3. Back assembly
4. Heatbed assembly
5. CoreXY assembly
6. Nextruder assembly
7. Bodywork & Electronics
8. Trim, Door & xLCD [Traducción en desarrollo]
Tools necessary for this chapter
Top cover: parts preparation
Retirando la película
Test-fitting the top cover
Assembling the top cover I.
Assembling the top cover II.
Probando la ventilación
Installing the top cover
Side covers: parts preparation
Retirando la película
Covering the left side
Covering the right side
xLCD: preparación de las piezas
Assembling the xLCD I.
Assembling the xLCD II.
Installing the FE Faston connector
Installing the LCD knob
xLCD bezel: parts preparation
Mounting the xLCD I.
Mounting the xLCD II.
Installing the xLCD assembly
Securing the xLCD assembly
Door seal: parts preparation
Attaching the top seal
Attaching the side seals
Magnet holders: parts preparation
Assembling the magnet holders
Installing the magnet holders
Bisagras: preparación de las piezas
Installing the door-hinge-in parts
Installing the door-hinge-out I.
Installing the door-hinge-out II.
Door panel: parts preparation
Door panel: removing the protective film
Instalando el panel de la puerta
Assembling the door handle
Securing the door handle
Colocando la pegatina: preparación de las piezas
Colocando la pegatina
Momento Haribo
Listo
9. Calibration & First run
Lista de cambios del manual
Comentarios
Inicia sesión
para publicar un comentario
Sin comentarios