EN
  • Čeština
  • Español
  • Italiano
  • Deutsch
  • Polski
  • Français
  • 日本語
Login

1. Introduction

1. Introduction
Relevant for:
Last updated 3 years ago
1. Introduction
 Difficulty
Very easy
 Steps
6
 Available languages
CSPLESDEITFRJA
Preparing the upgrade kit
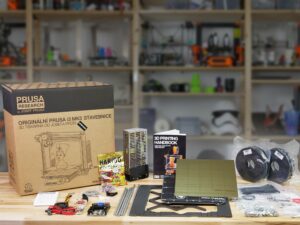
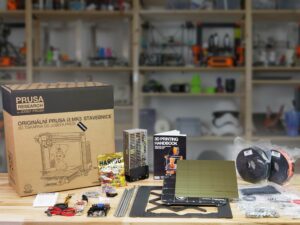
Welcome to the tutorial how to upgrade your Original Prusa i3 MK2/S to Original Prusa i3 MK3S. Please prepare the upgrade kit received from Prusa Research. Your package includes one orange and black PETG spool or two black spools. This depends on your previous order.
The upgrade kit does not include all the parts needed to build MK3S, therefore we must disassemble following from the MK2/S:
All motors (Y-axis, X-axis, Z-axis and Extruder) and trapezoidal nuts
Motor pulleys (2x)
623h bearing housing (2x)
LCD screen, front cover and knob (supports will be different)
Labels guide
Labels guide
All the boxes and bags including parts for the build are labelled.
This bag is used as an example.
Use labels for reference
Most of the labels are scaled 1:1 and can be used to identify the part :-)
For the most common screws, nuts and PTFE tubes. You can also use the enclosed letter, which contains Prusa Cheatsheet on the other side.
You can download Prusa Cheatsheet from our site. Print it at 100 %, don't rescale it, otherwise it won't work.
View high resolution images
When you browse the guide on manual.prusa3d.com, you can view the original images in high resolution for clarity.
Just hover your cursor over the image and click the Magnifier button ("View original") in the top left corner.
Printed parts - versioning
Most of the 3D printed parts on Original Prusa i3 MK3S most are marked with their version.
Cx series (e.g. C1) - those parts are printed on Prusa Research farm and are distributed with the kit.
Rx series (e.g. R4) - those parts are available for download and printing by the user. They are identical to the factory ones.
In case you have issues while assembling the printer with the certain printed part, please try to find this label and tell it to our support team.
Printed parts in the picture are used as an example, yours might be different.
Printed parts - self printing
Before we start disassembly, you need to print all the necessary parts.
For MK2/S to MK3S upgrade you need to print several G-codes, which are separated according to the colour. Use enclosed PETG or similar material. Extruder parts should be always black to avoid issues!
G-codes and STL files are available on our website: prusa3d.com/prusa-i3-printable-parts
For printing individual parts it is recommended to use Slic3r PE with 0.2 mm layer height, GRID infill at 20%, no supports!
Fan-shroud must be printed from ABS only!!! We include this part in the upgrade package.
The pictures are used as examples, there are more G-codes to print.
Let's dive in the MK2/S disassembly! 2. Disassembly
Was this guide helpful?

Comments

Still have questions?

Still have questions?

If you have a question about something that isn't covered here, check out our additional resources.
And if that doesn't do the trick, you can send an inquiry to [email protected] or through the button below.

Contact us