Español
Login
Impresoras 3D
Materiales
Piezas y accesorios
Para Empresas
Software
Modelos 3D
Comunidad
Ayuda
Cursos
Blog
Empresa
Soporte
Original Prusa Enclosure
Información general
Packing the Enclosure for return - Custom Packing material | Comenzar el montaje
1. Comenzar el montaje
Paso 1 de 14 (Capítulo 2 de 2)
Contenidos
Comentarios
Idiomas disponibles
Comenzar el montaje
FAQs y otra información útil en la que puedes estar interesado antes o después de hacer tu compra en la tienda shop.prusa3d.com
Contenidos
Información general
Embalaje de la caja para su devolución - Material de embalaje Original
Embalaje de la caja para su devolución - Material de embalaje Personalizado
Comenzar el montaje
Intro
Before you get started
Custom packing material
What needs to be packed
What needs to be packed Part 2
Packing Part 1
Packing Part 2
Packing Part 3
Packing Part 4
Packing Part 5
Packing Part 6
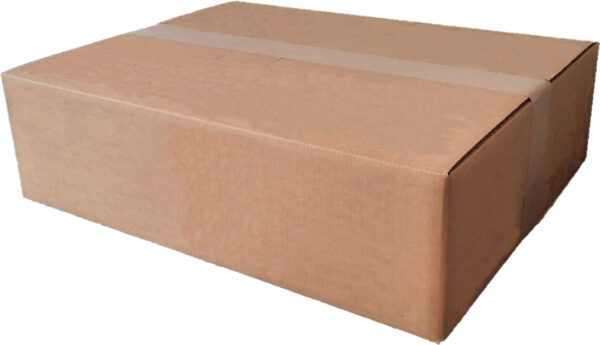
Sealing the box
All done!
Comentarios
Inicia sesión
para publicar un comentario
Sin comentarios