This guide describes how to install the Prusa USS Drybox on Prusa MK-series printers:
|
|
|
|
All supported MK printers use the same Drybox mounting principle with a printed adapter, dual puck system, and direct PTFE routing to the extruder.
This guide covers adapter assembly, Drybox mounting, and PTFE connection to the extruder.
Before starting, make sure the Drybox is fully assembled and loaded with filament. If not, follow the First setup and filament loading (USS Drybox) article.
PTFE tube preparation
For MK-series printers, the PTFE tube must be cut to 50 cm.
Ensure a clean, straight cut to avoid filament friction or misalignment.
Installation on MK series
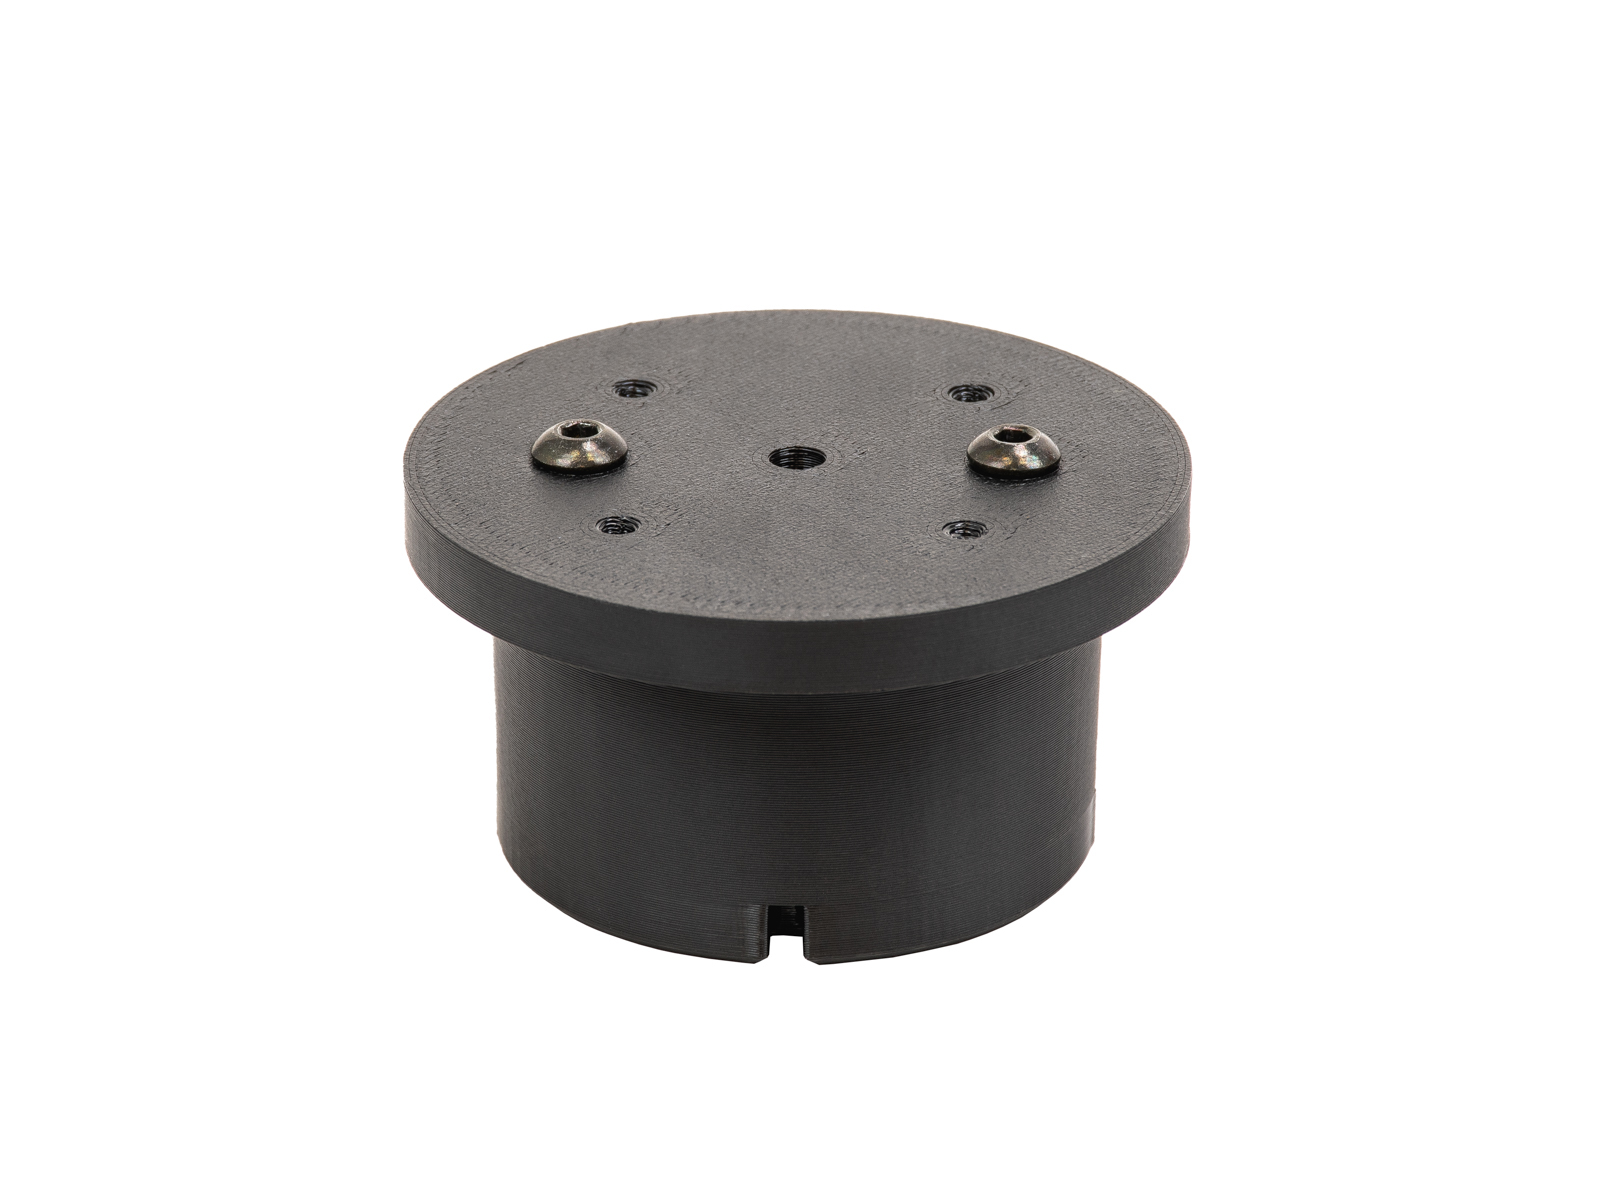
Before starting the Drybox installation, print the required adapter parts available on Printables, including:
- Adapter
- 2x Pucks
- 2x Removable spoolholders
You will need:
- 2.5 mm Allen key
- 4x M4x6 screws
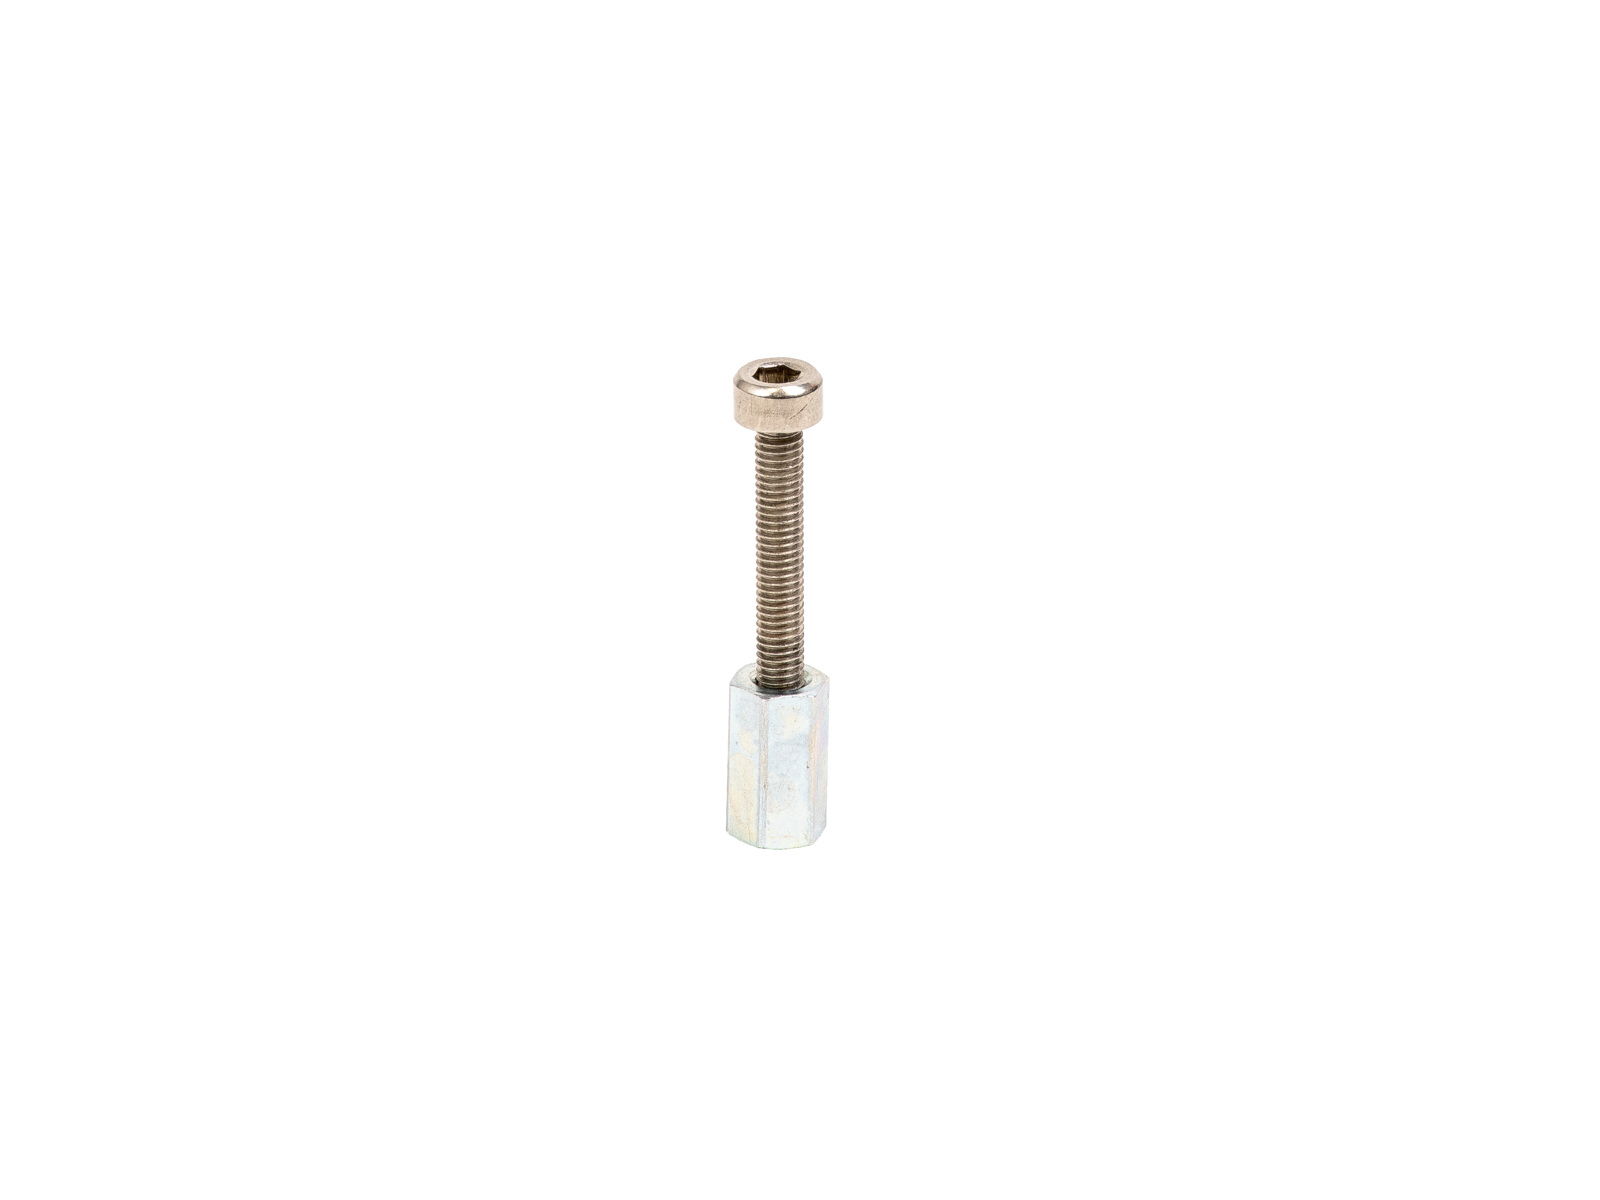
- 2x M3x18 screw
- Hexagonal spacer
- Prepare two pucks by placing two M4x6 screws on their flat part.
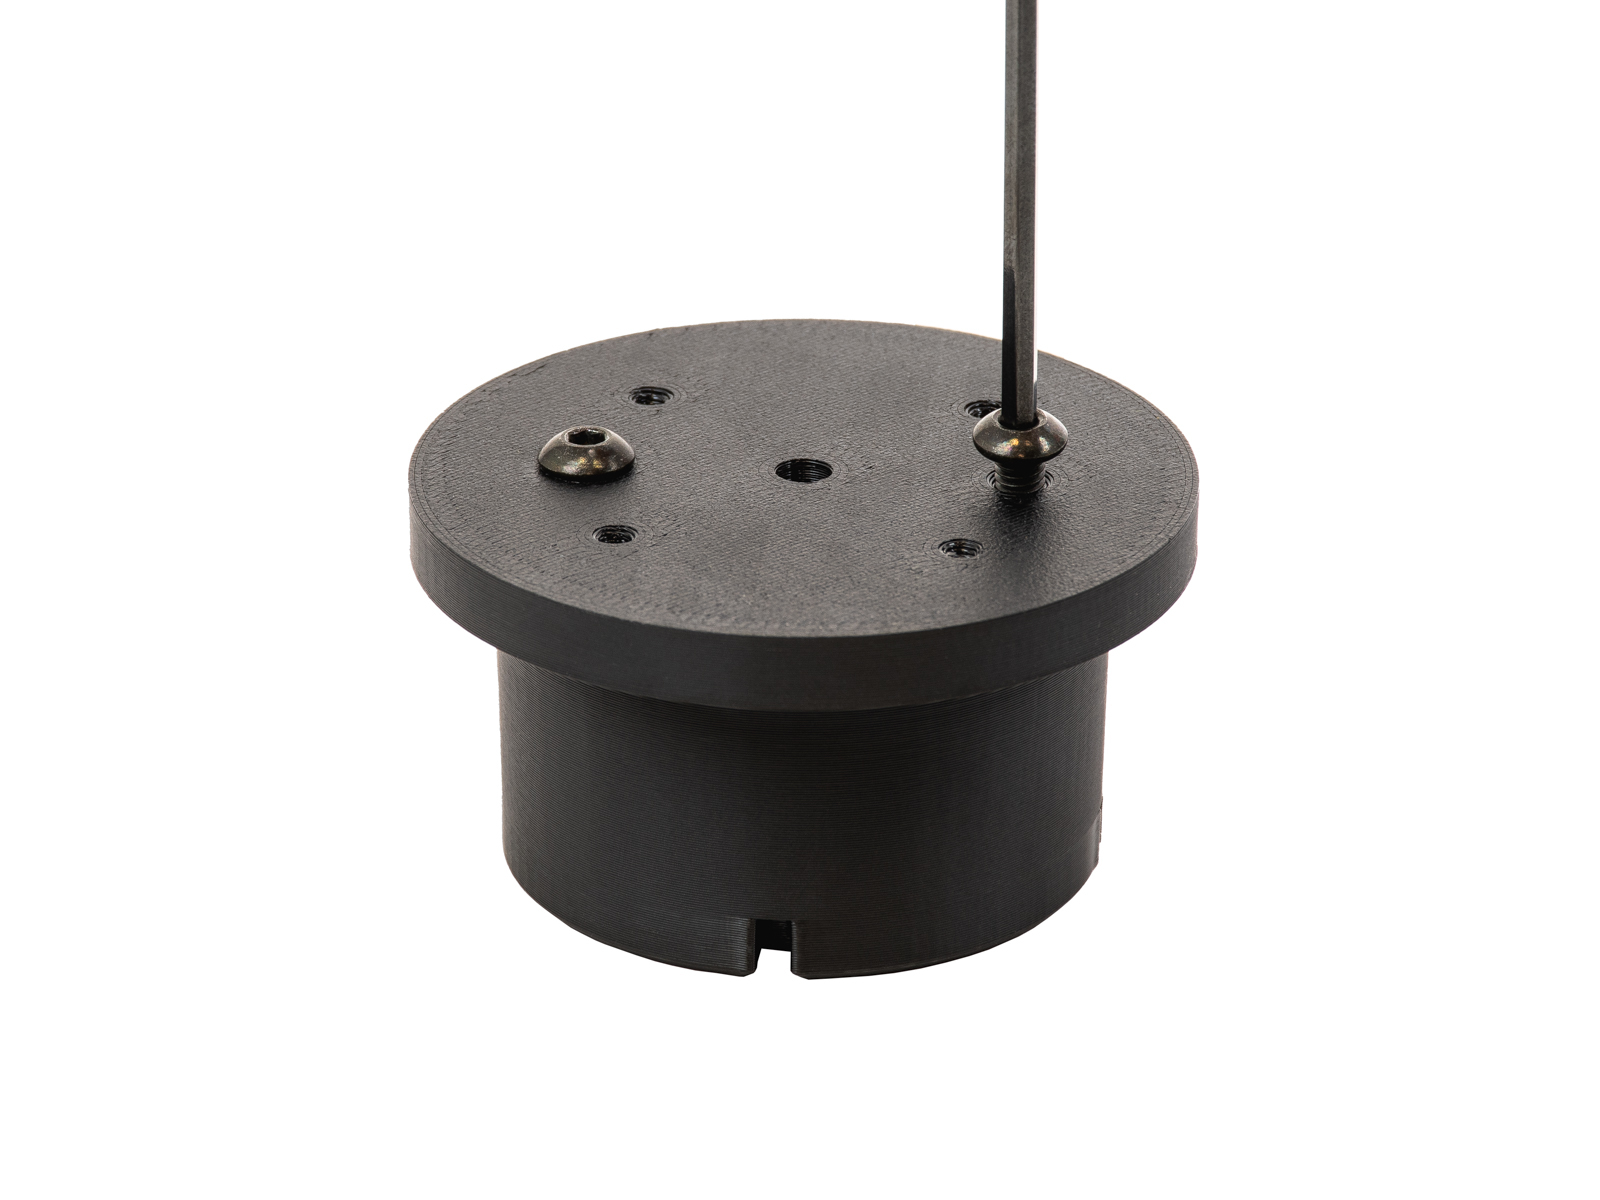 |  |
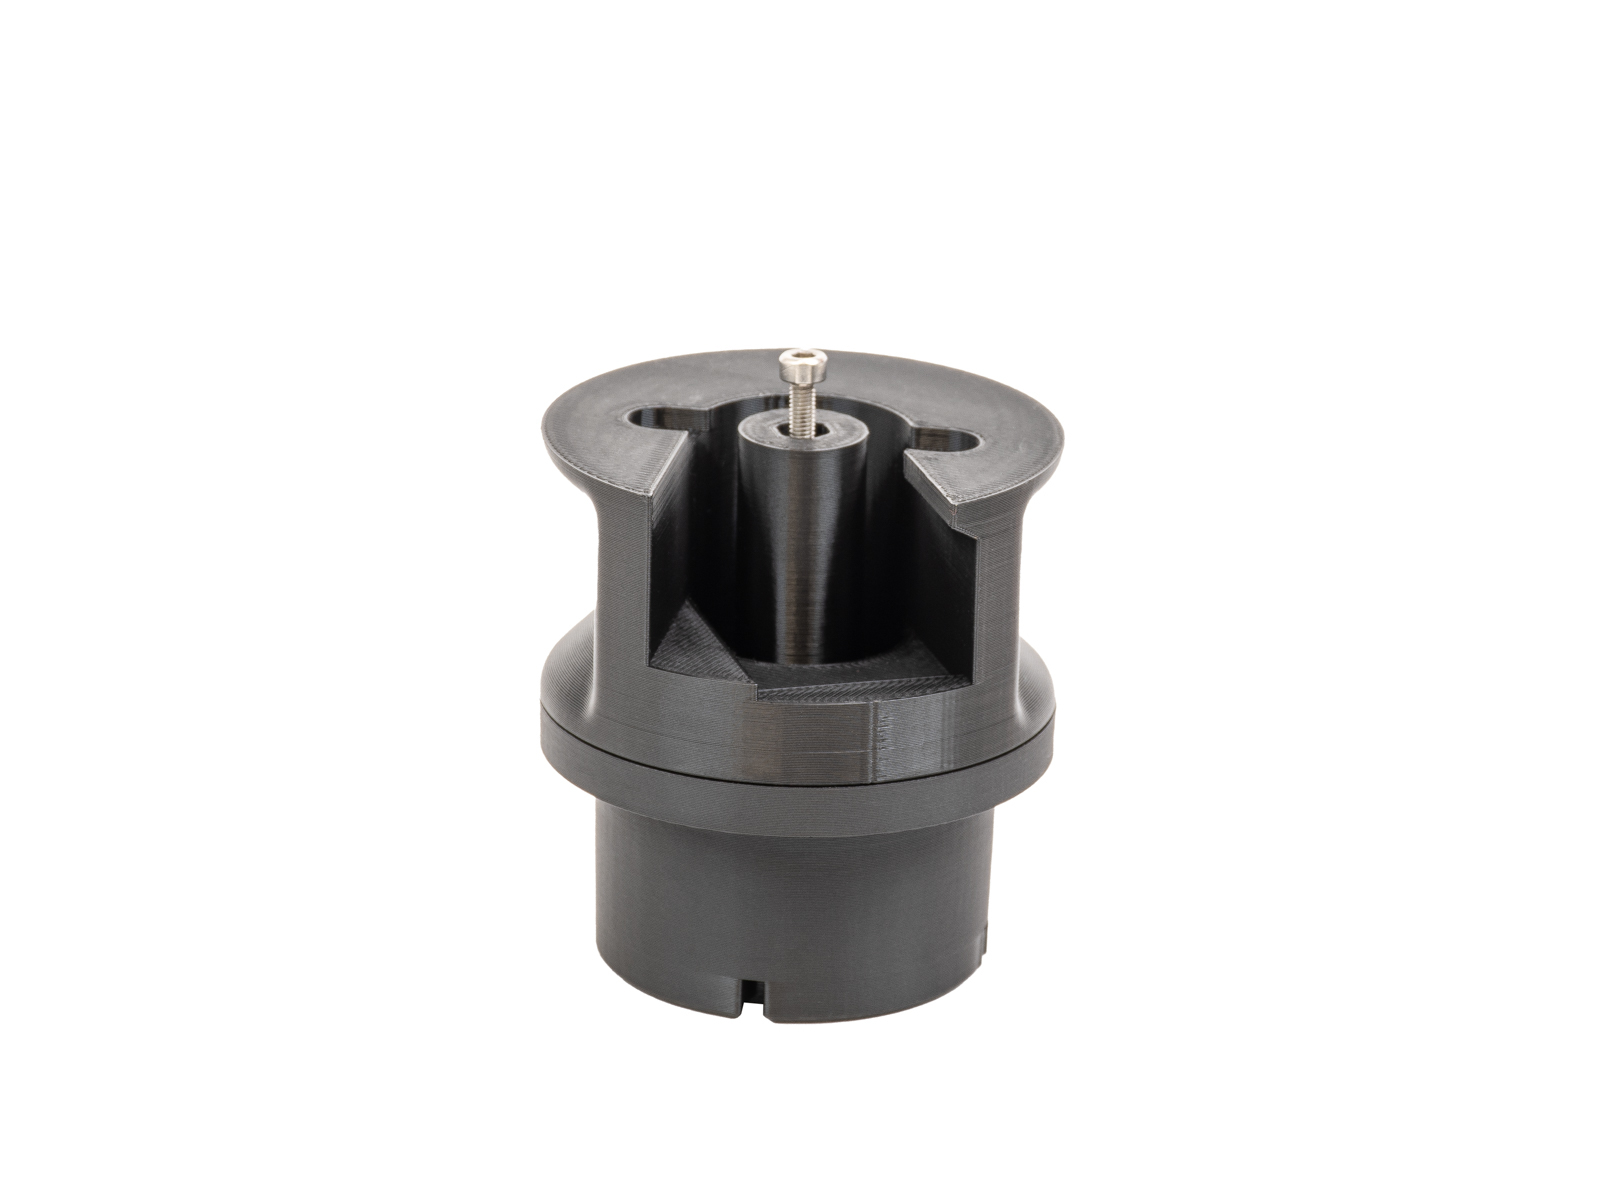
- Thread an M3x18 screw until the middle of the spacer, and insert it in the middle opening of the adapter.
 | 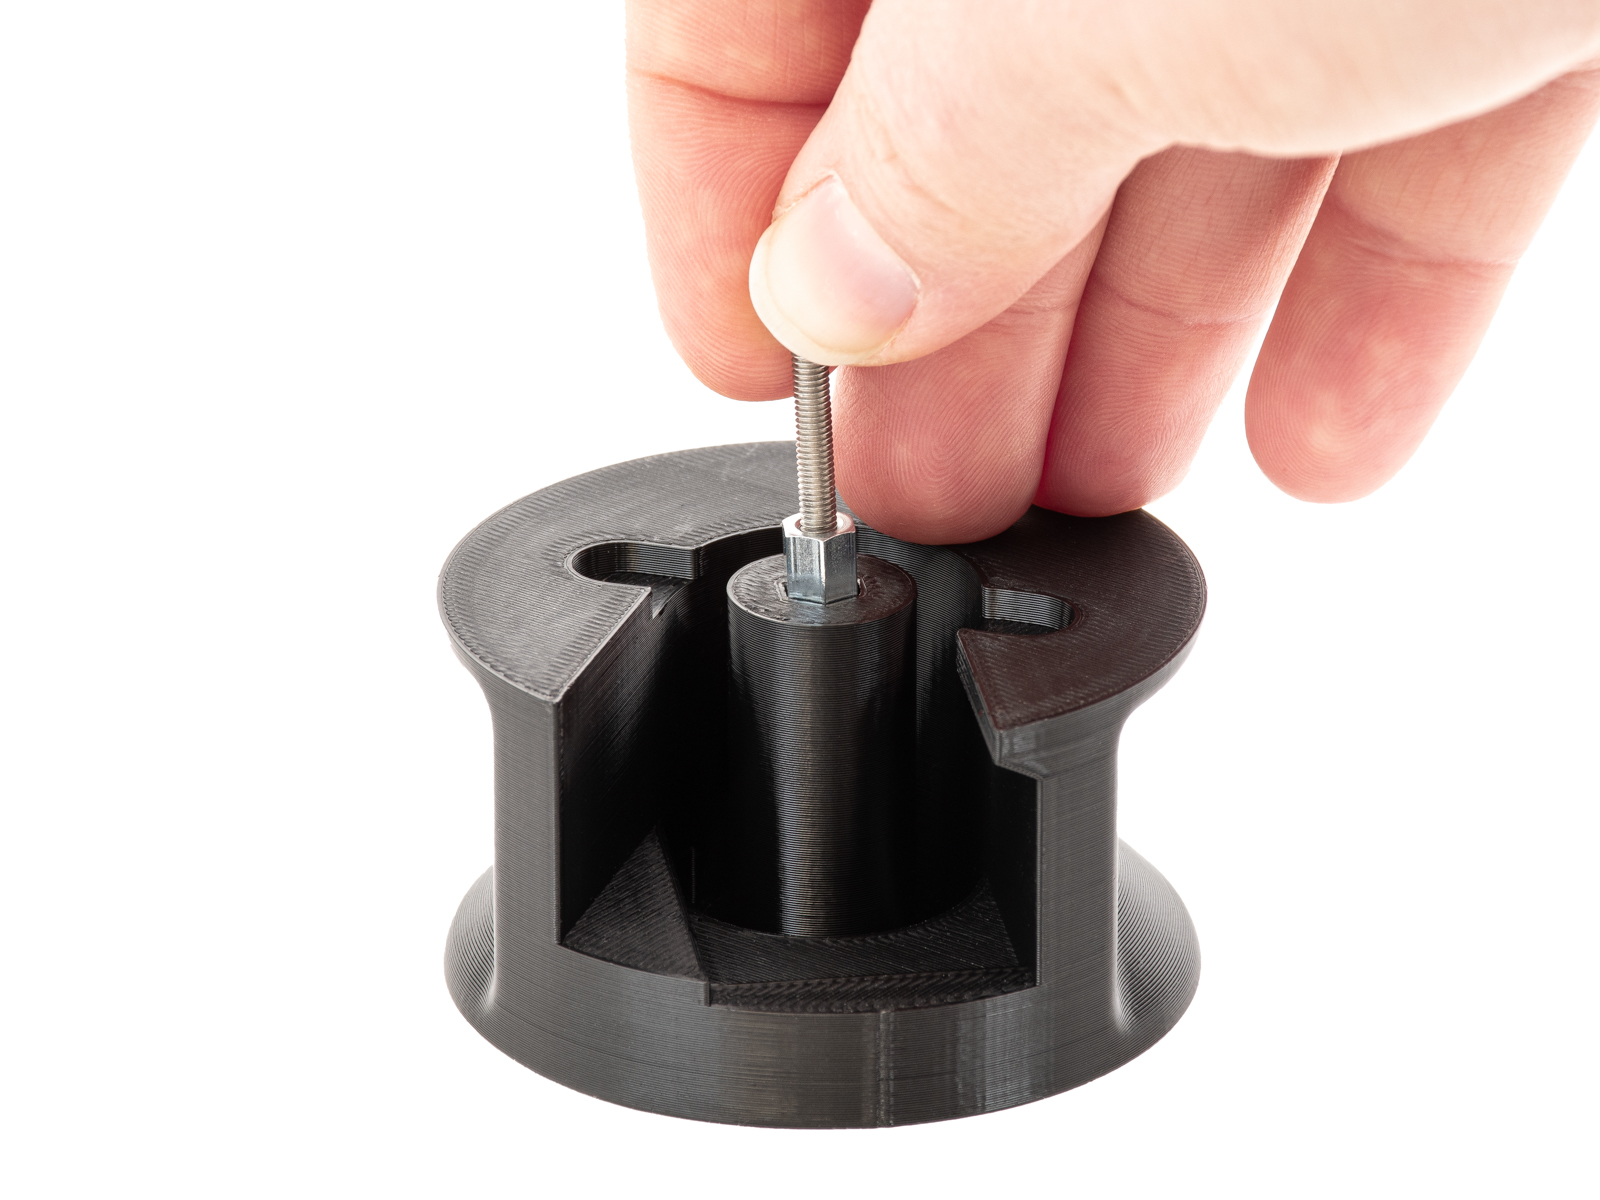 | 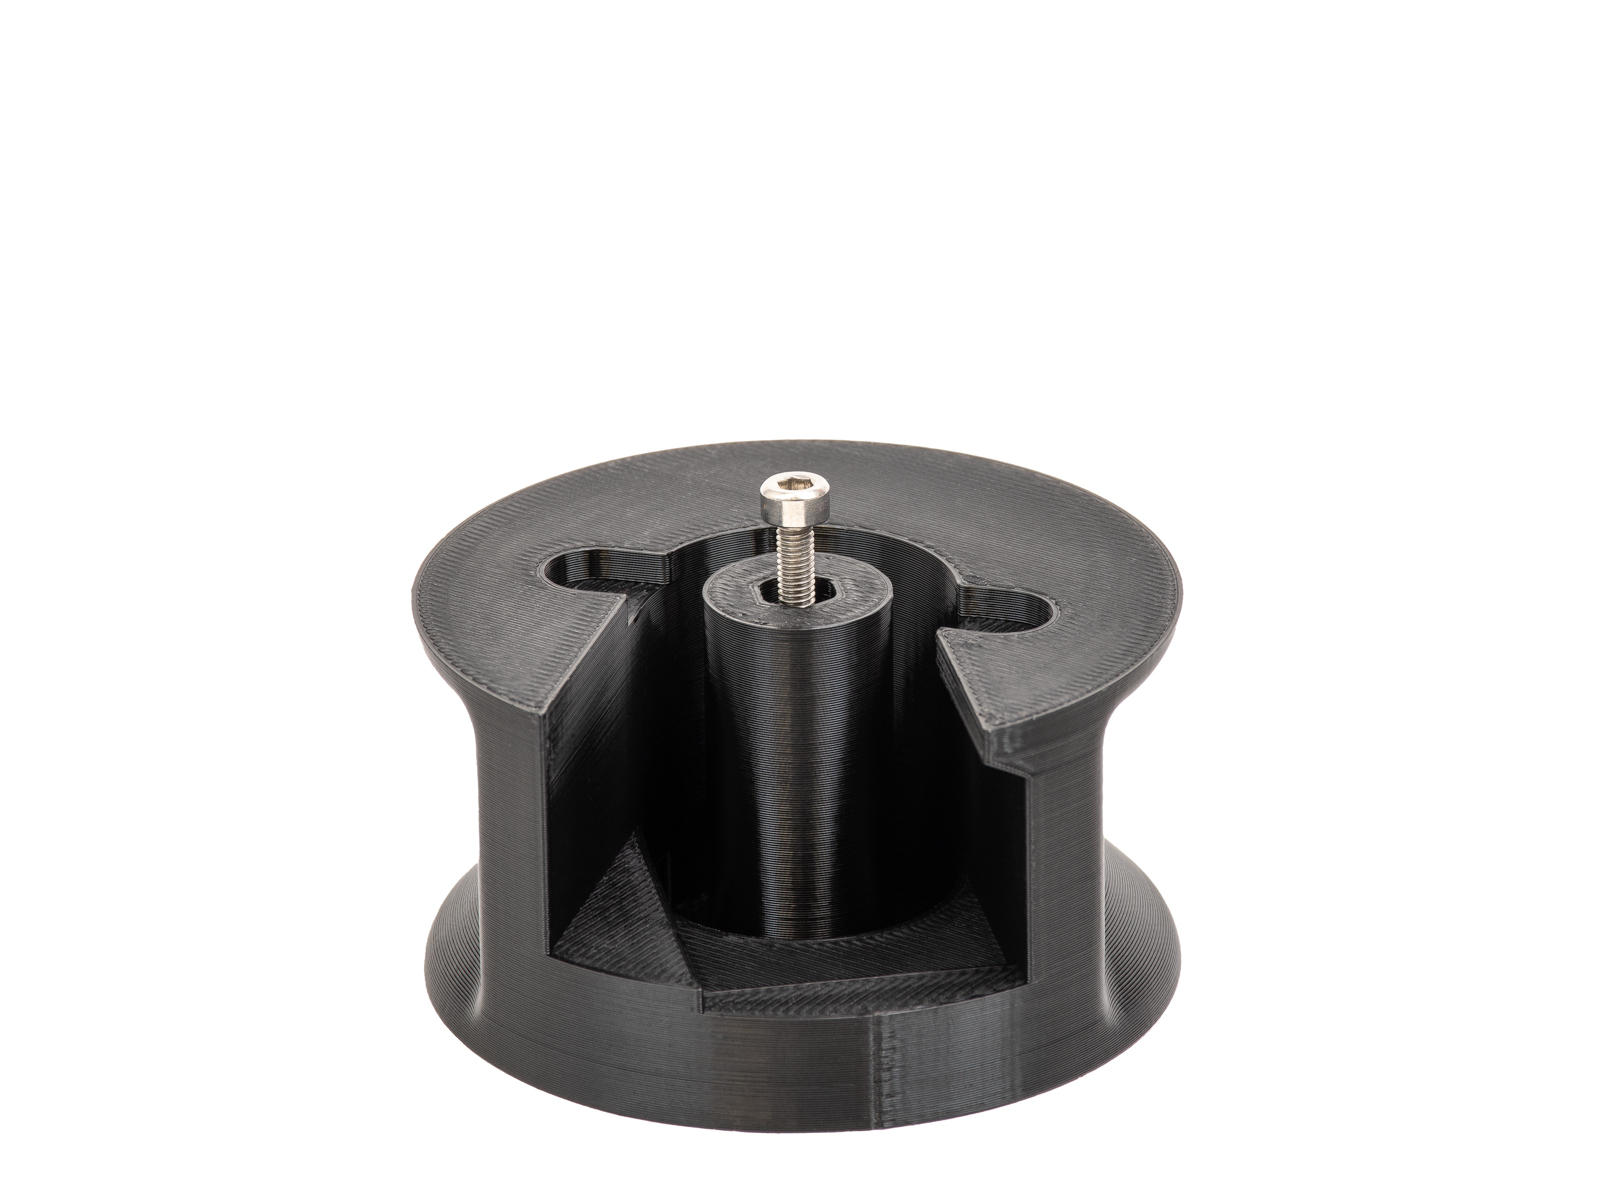 |
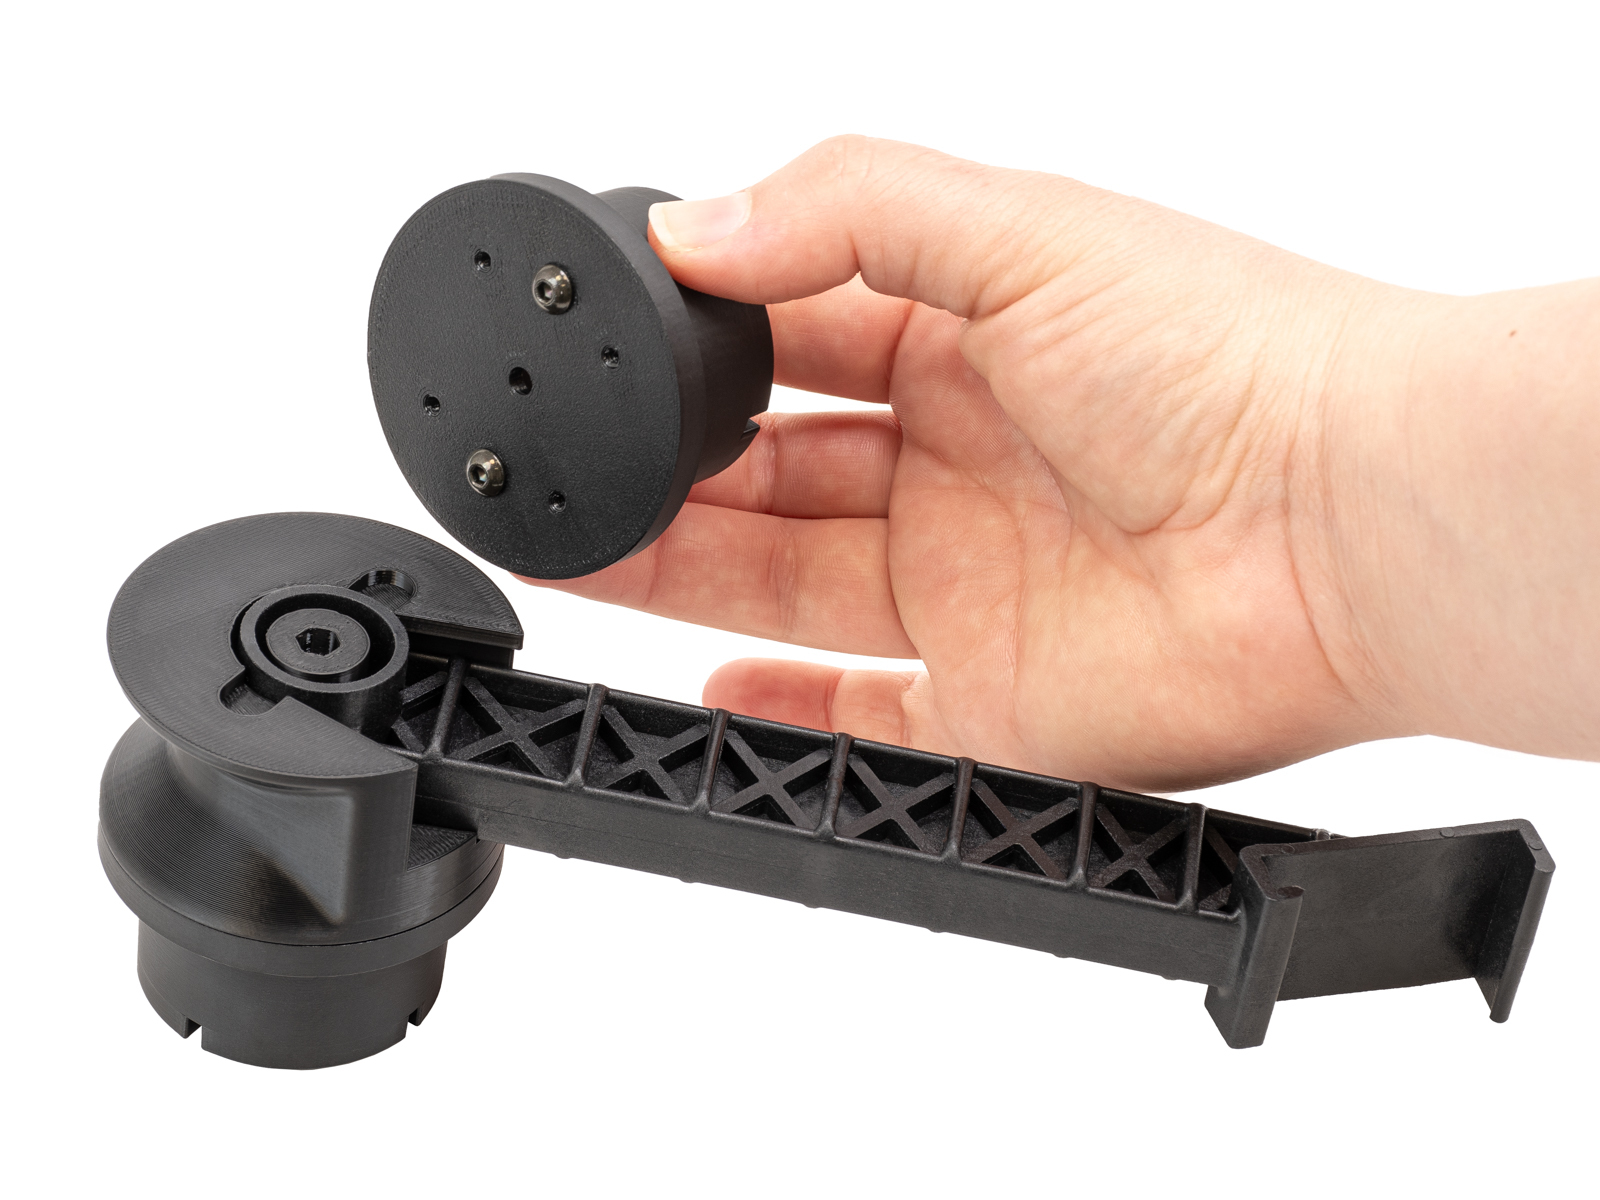
- Join the adapter and the puck as shown below. Use the side of the adapter without the screw.
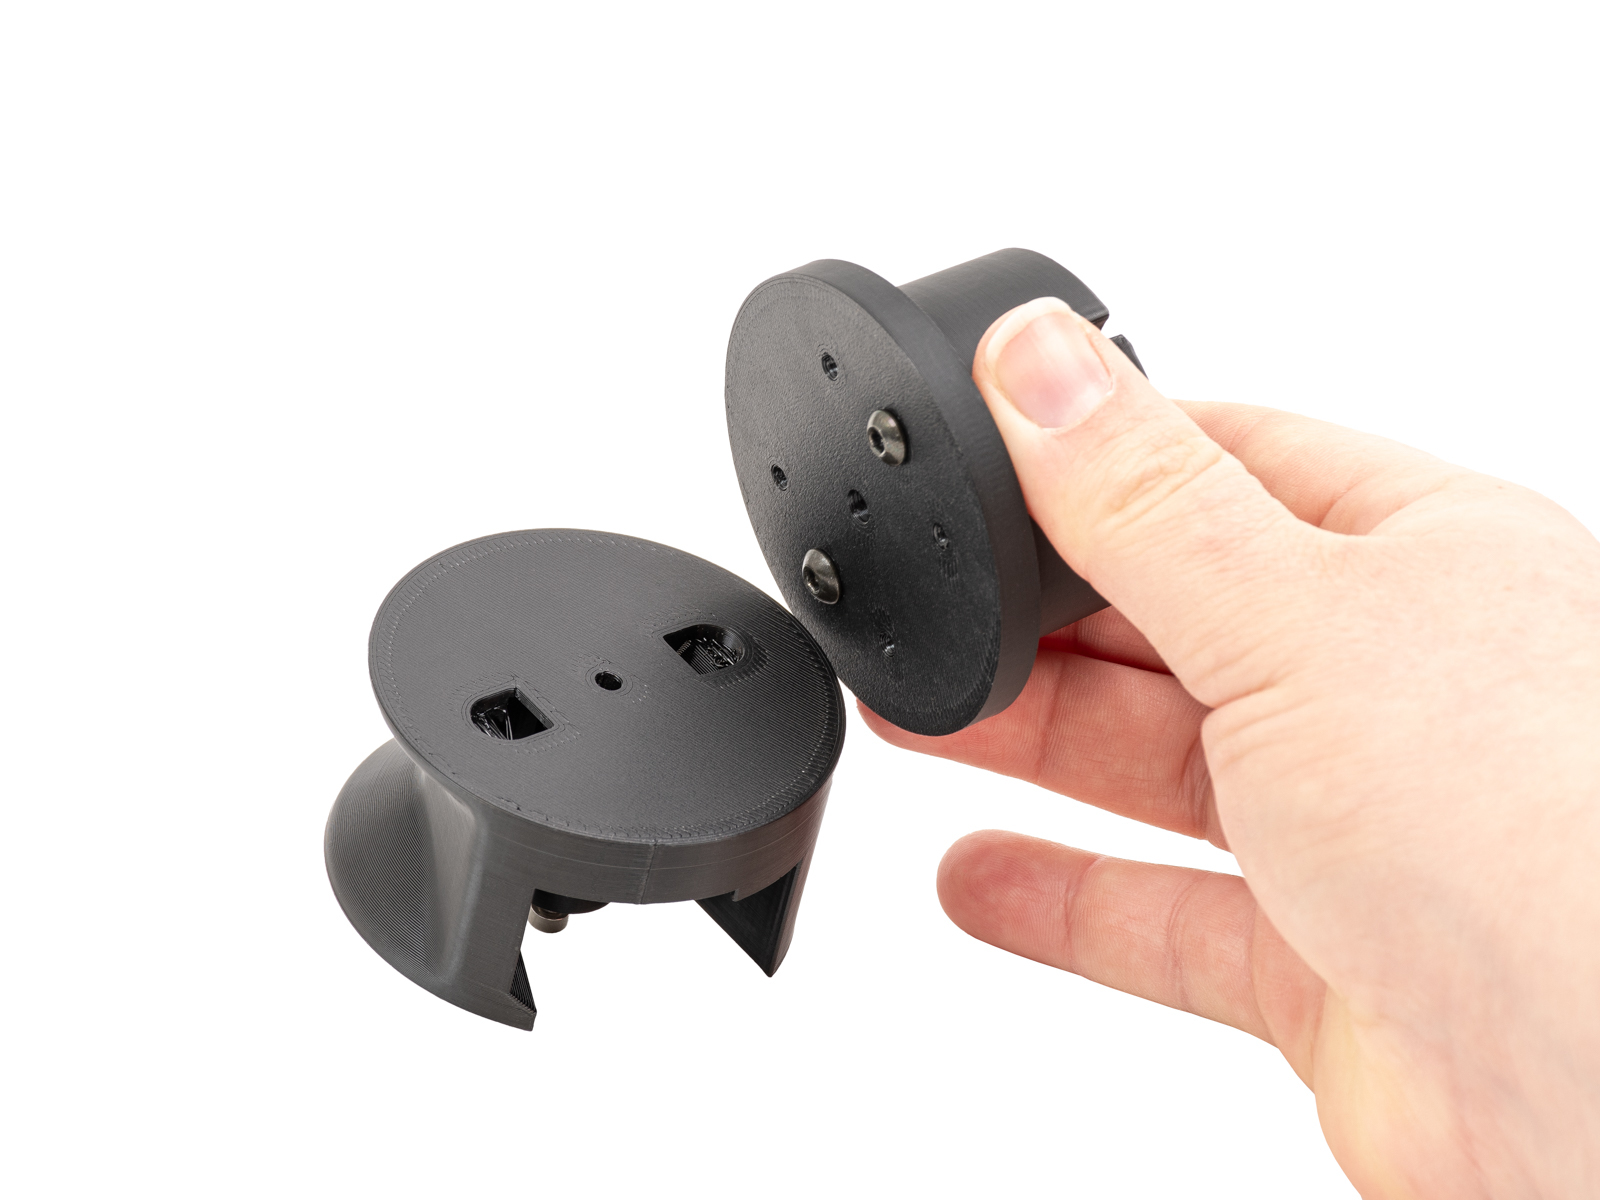 |  |
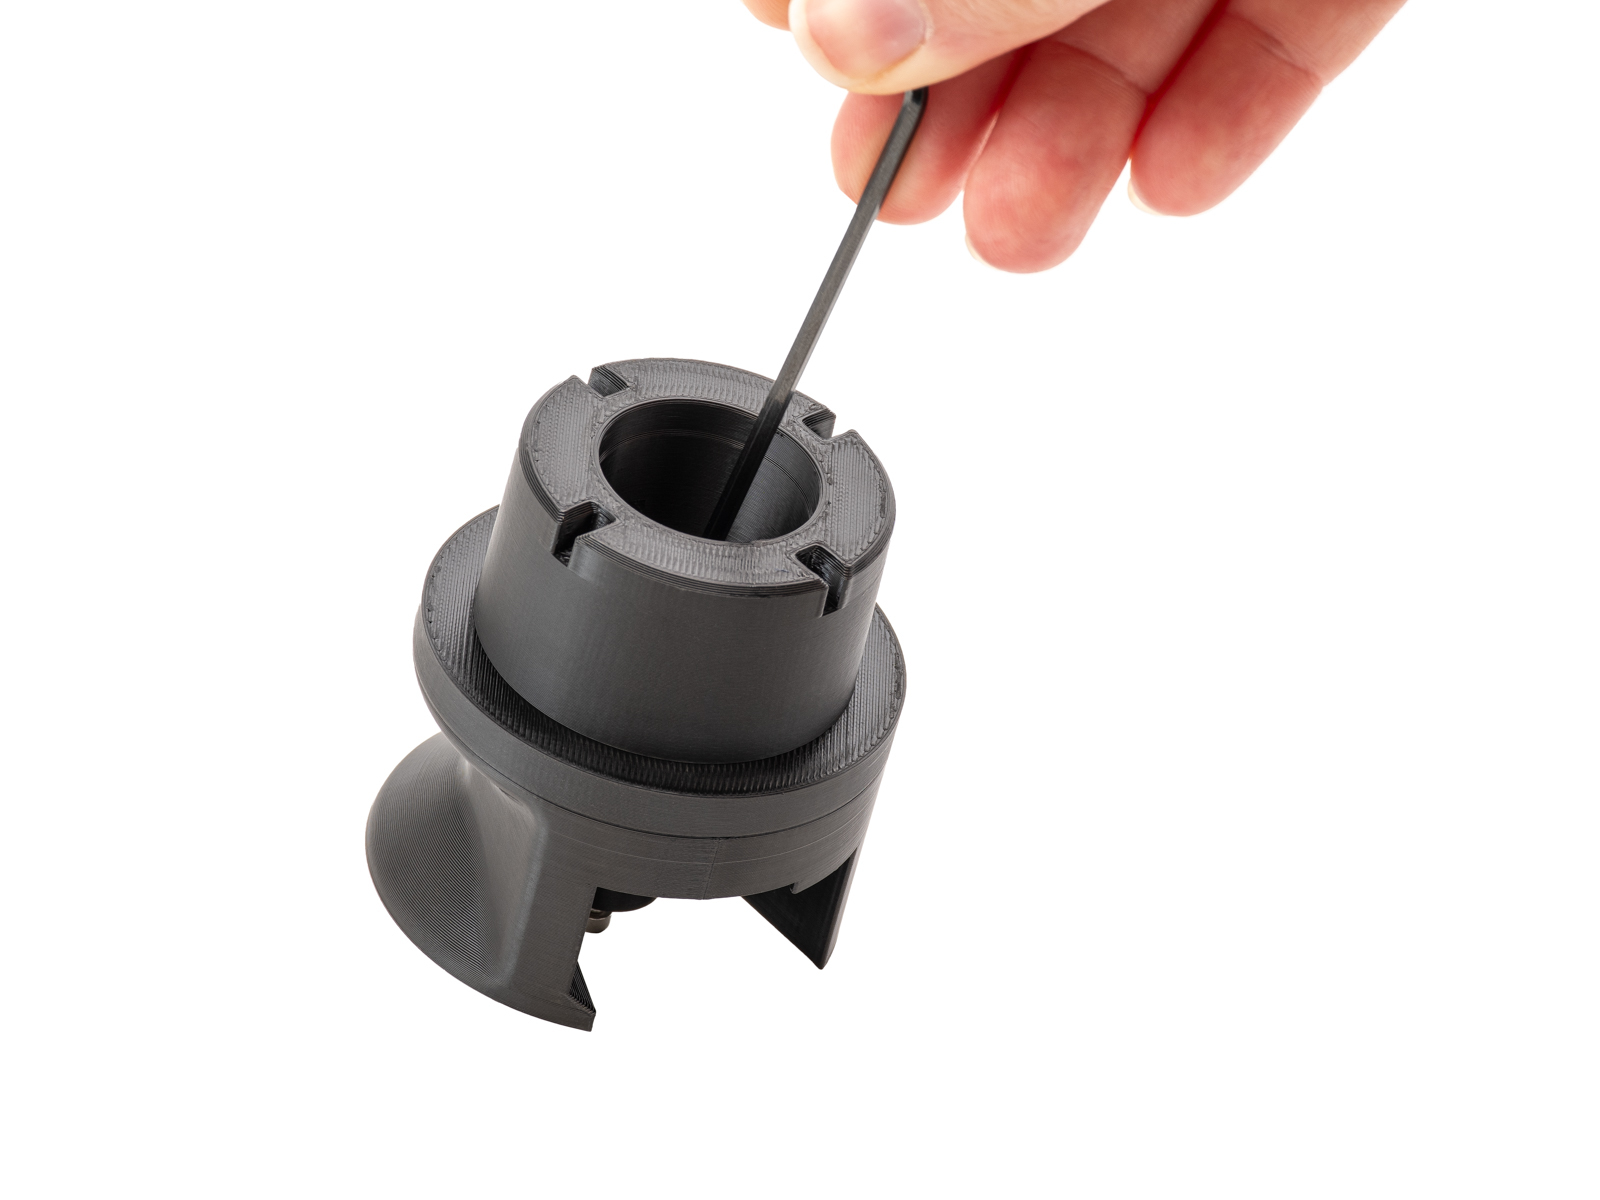 |  |
- Unscrew the screw from the nut in the adapter.
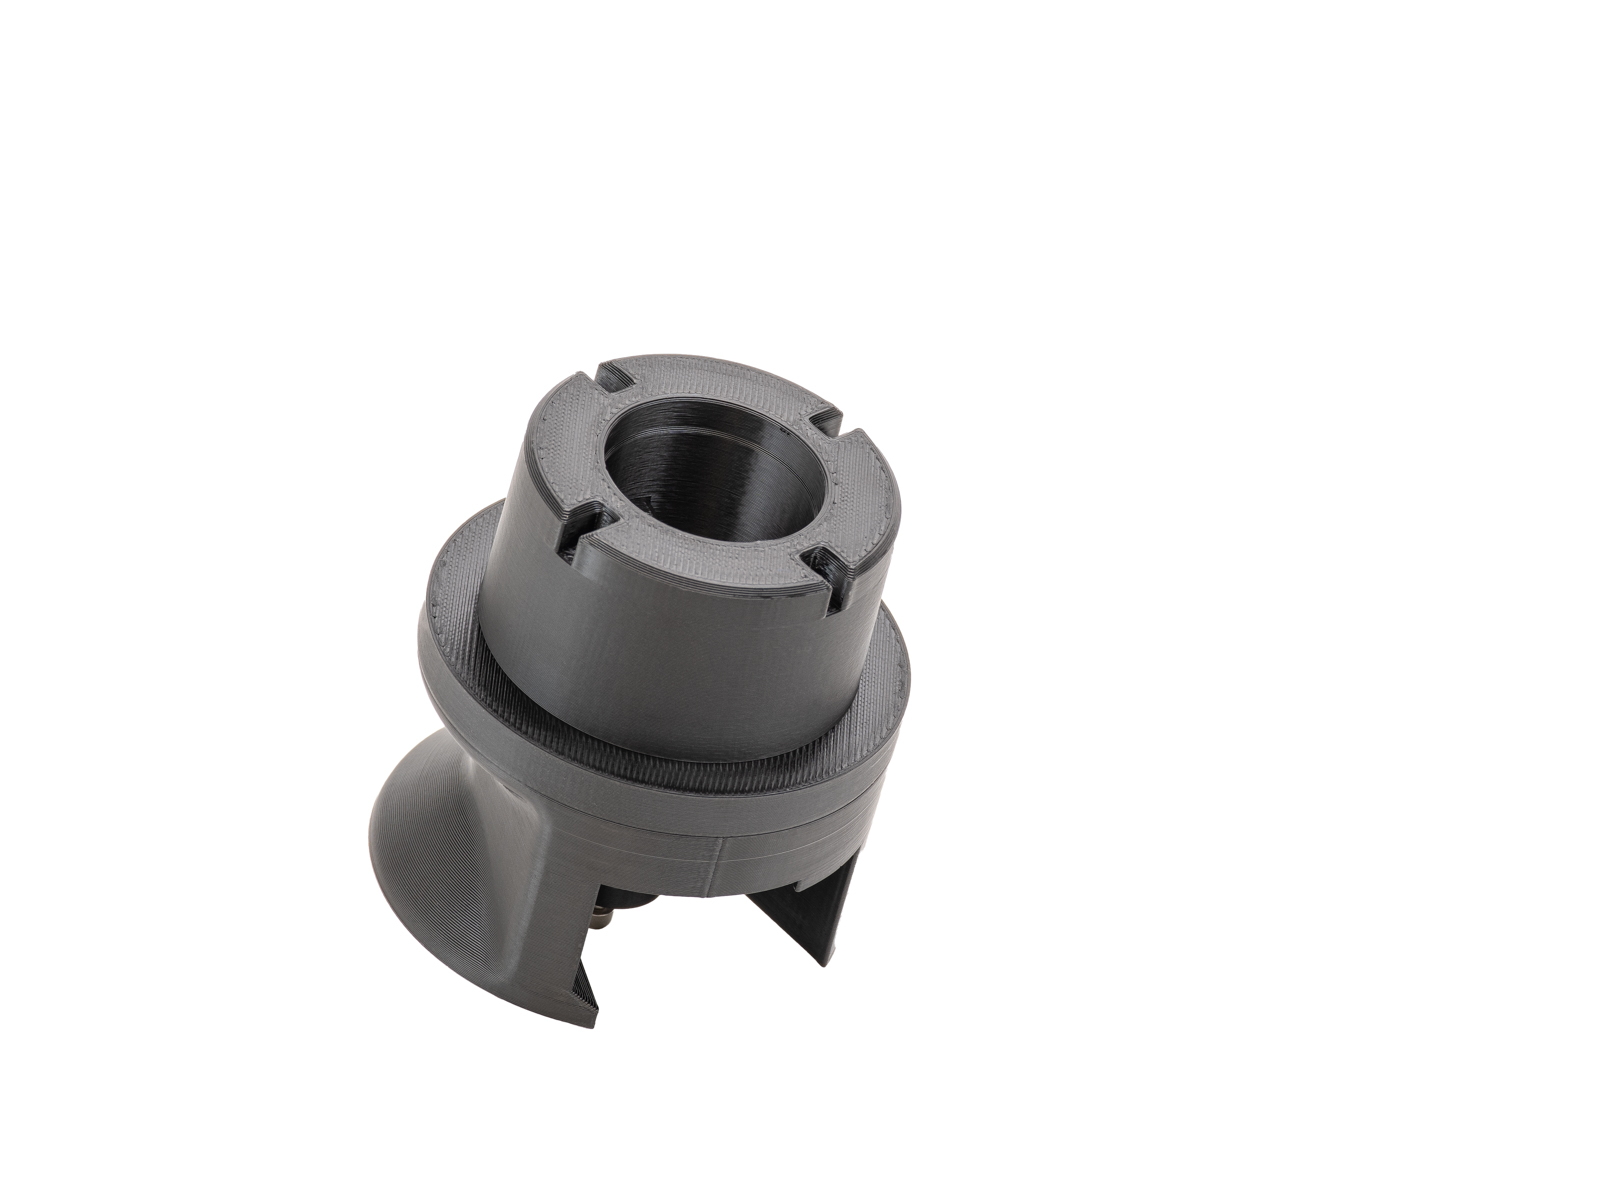
- Remove the spoolholder and prepare it with the adapter and puck. Screw a puck on the other side of the adapter.
 | 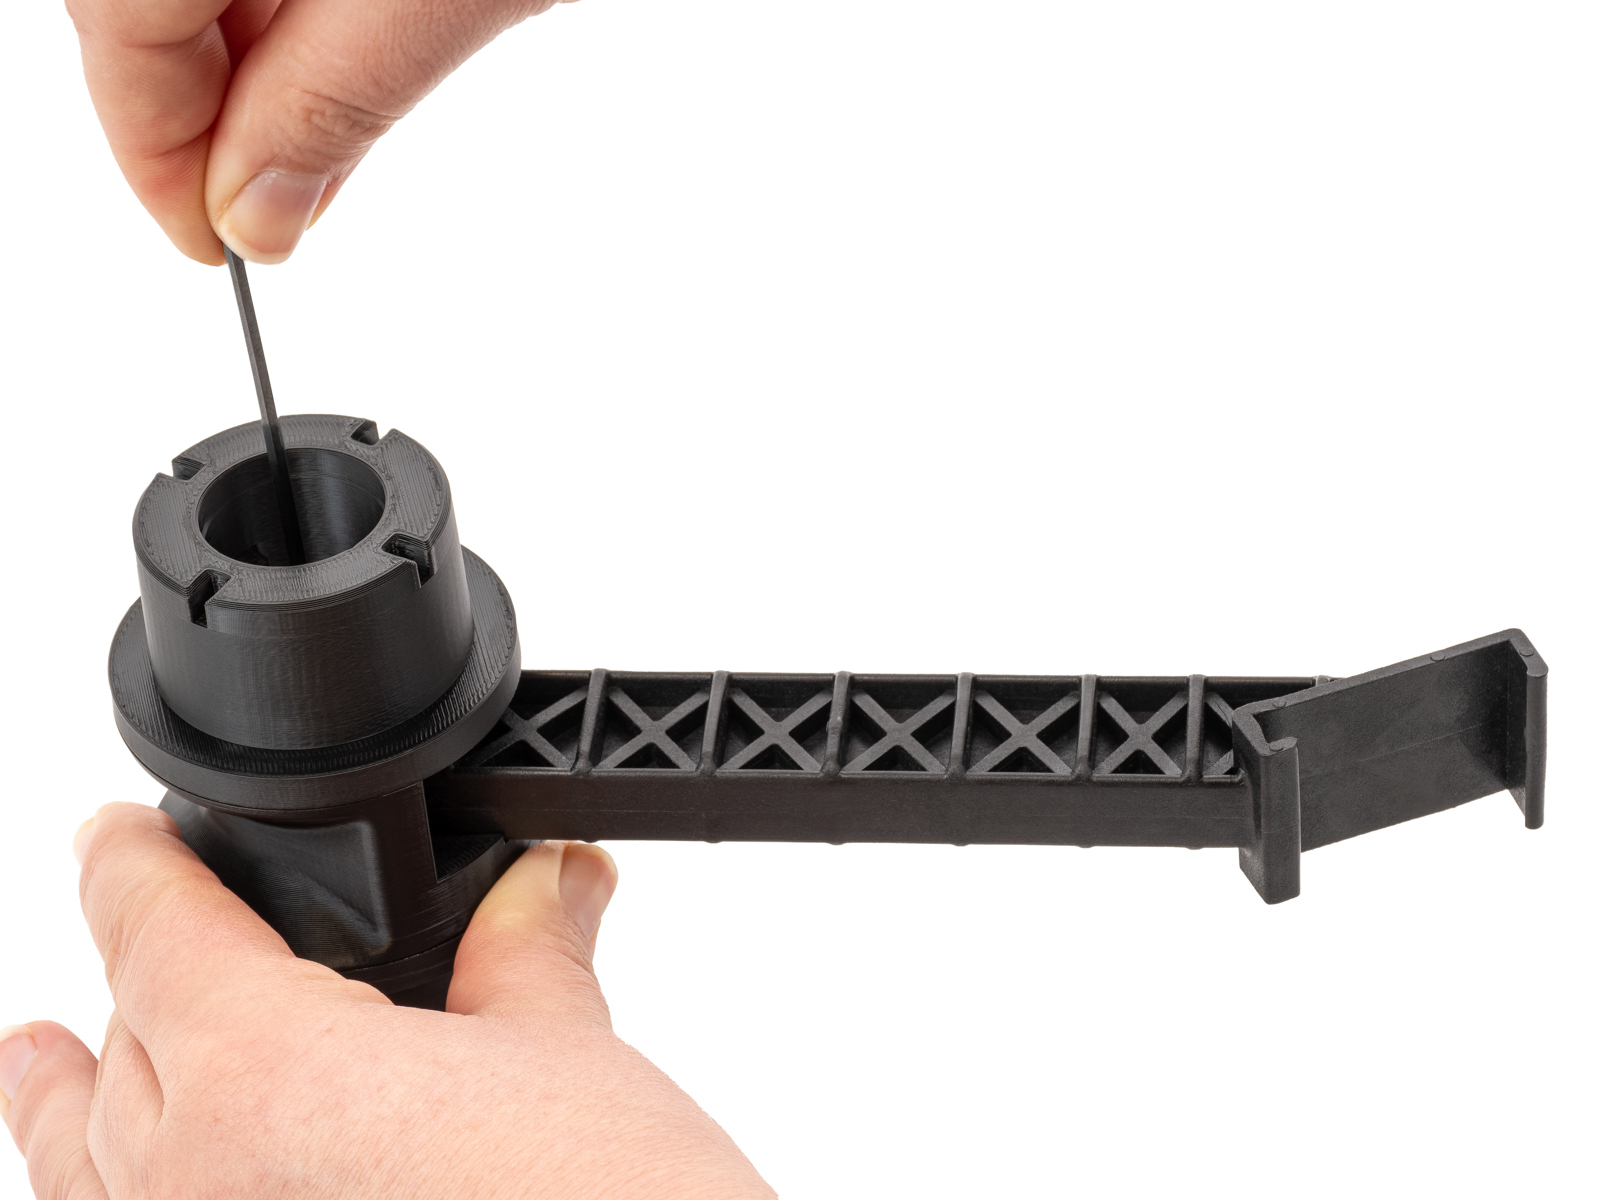 |
- Attach the spoolholder to the frame, place the drybox in the puck, and lock it with the removable spoolholder.
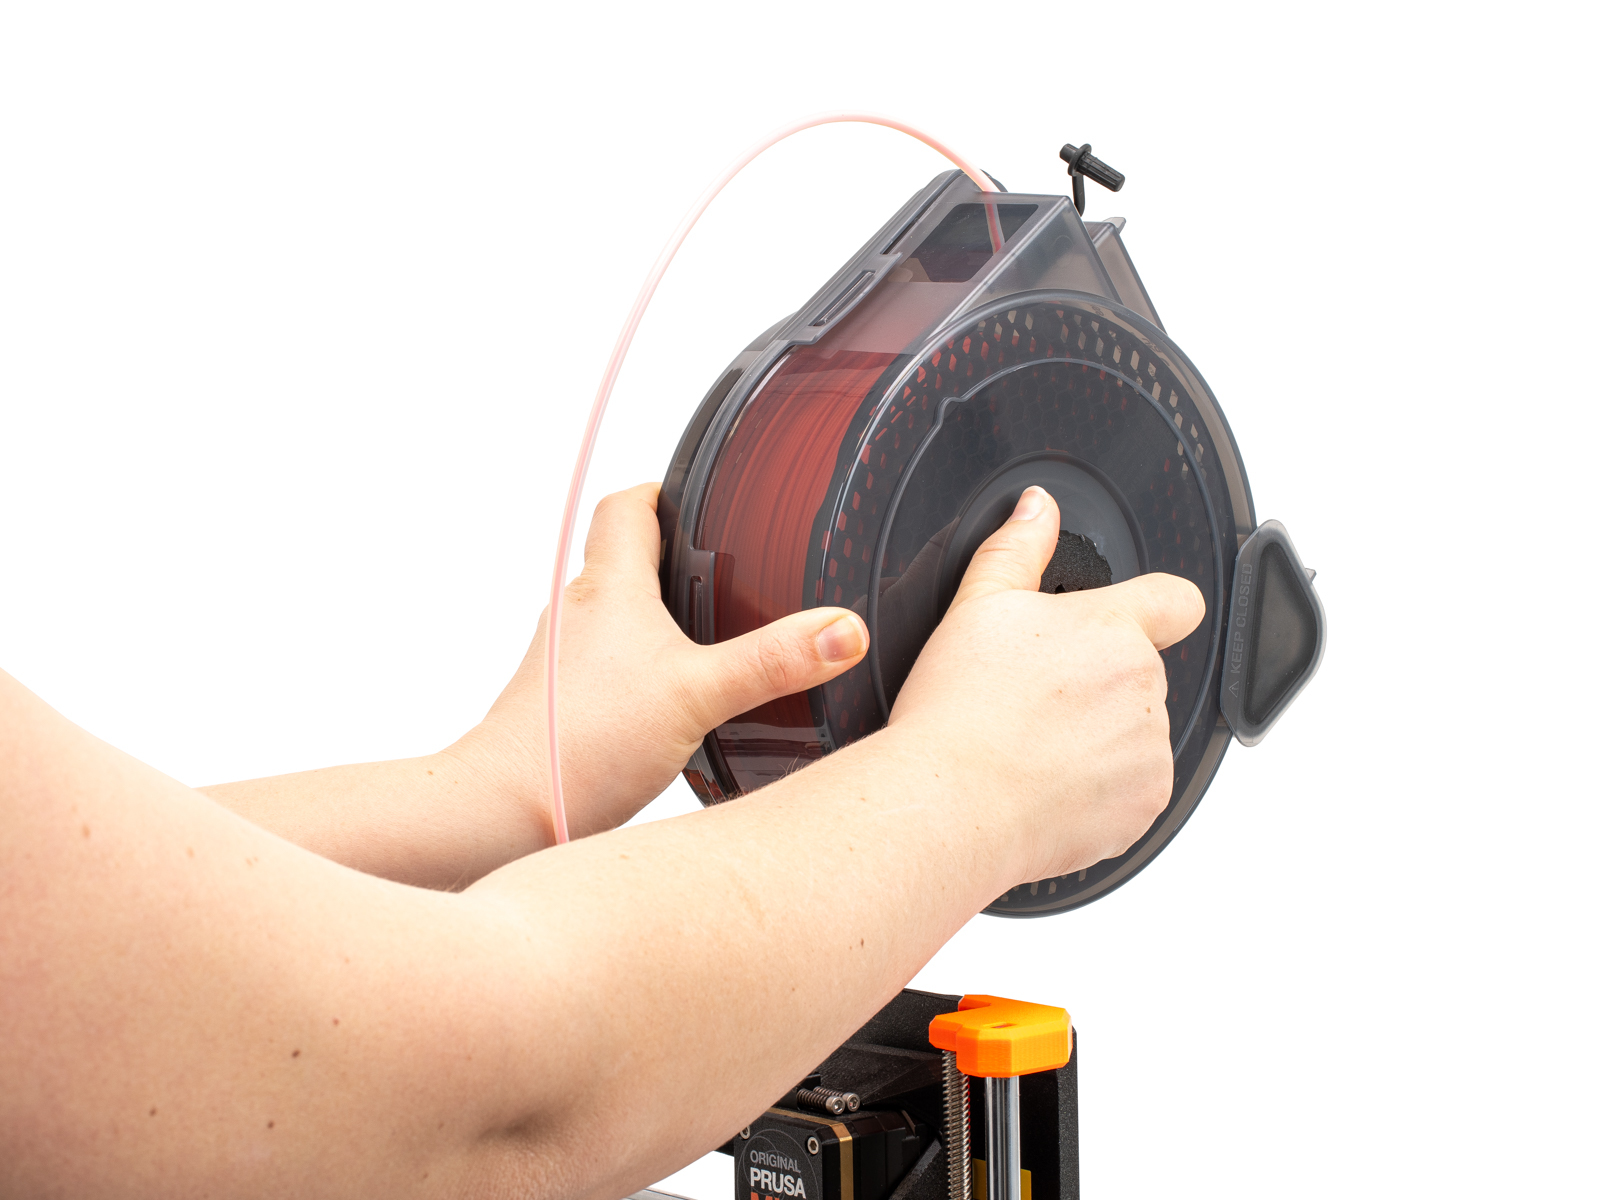 | 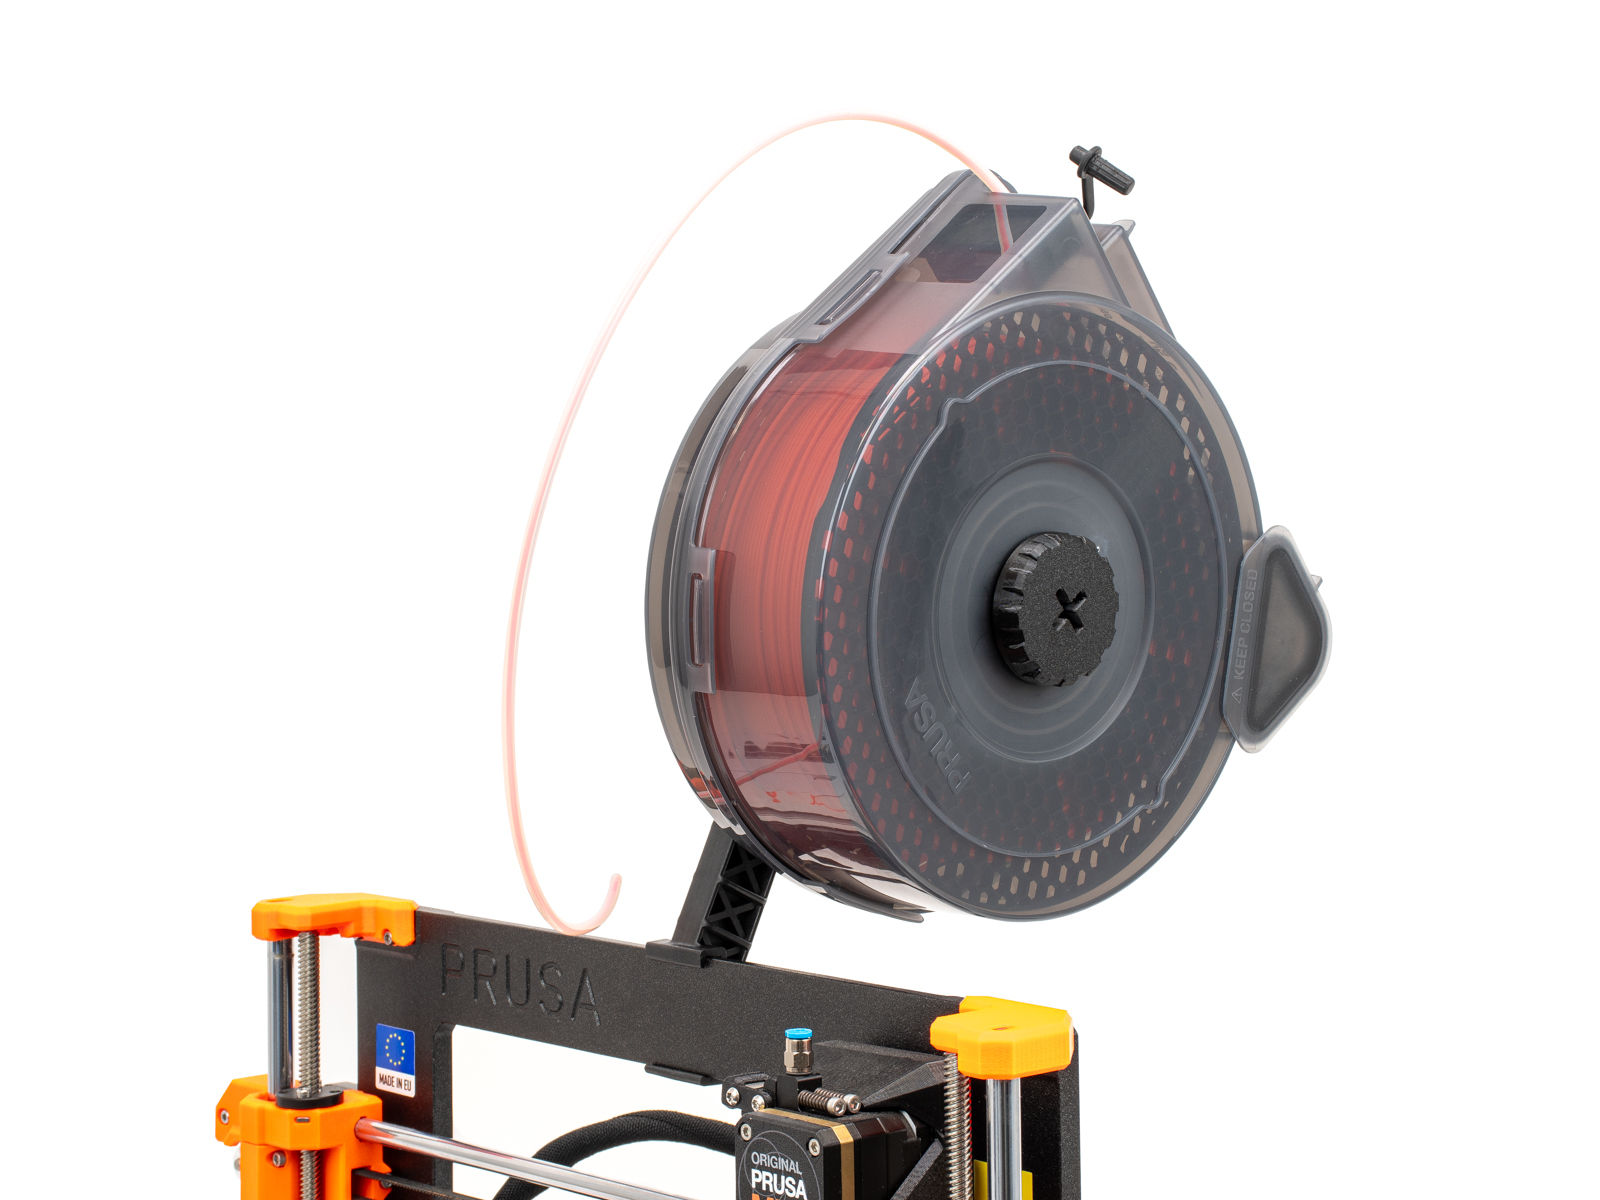 |
- Screw a FESTO fitting to the top of the extruder. Load the filament inside the drybox, and insert the PTFE tube in the fitting.
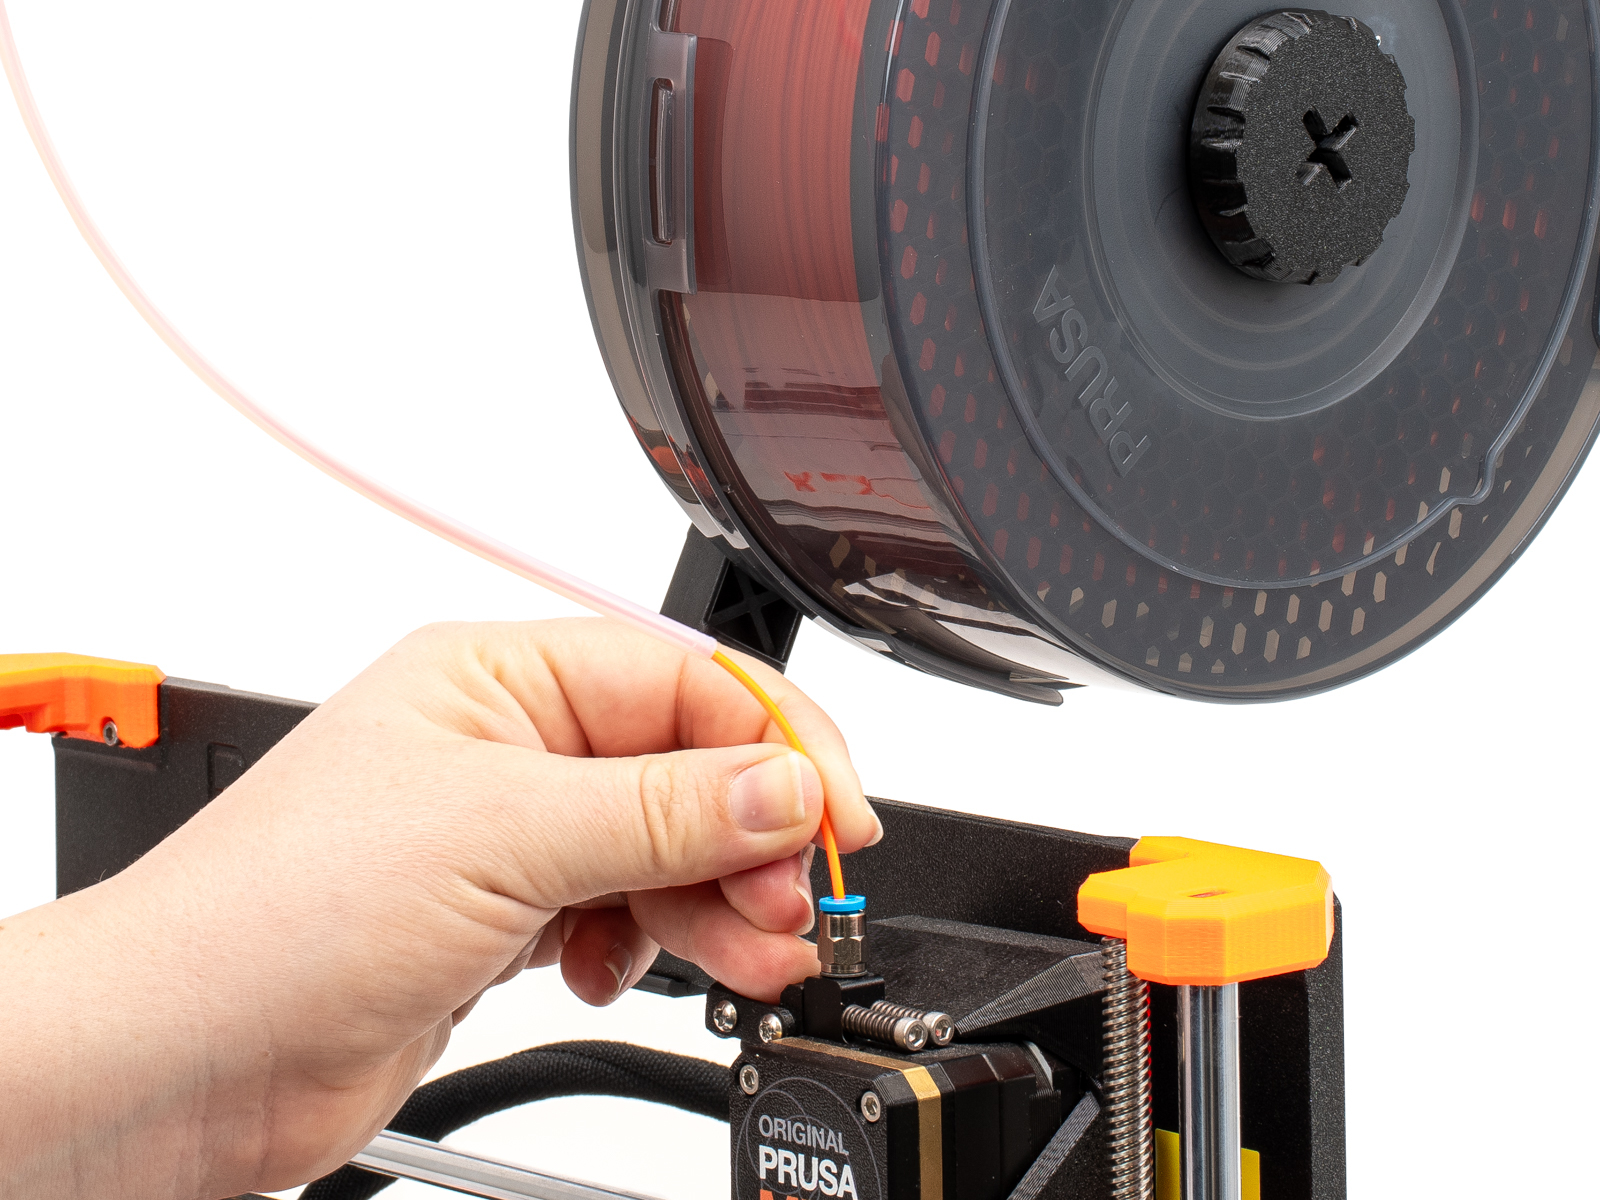 | 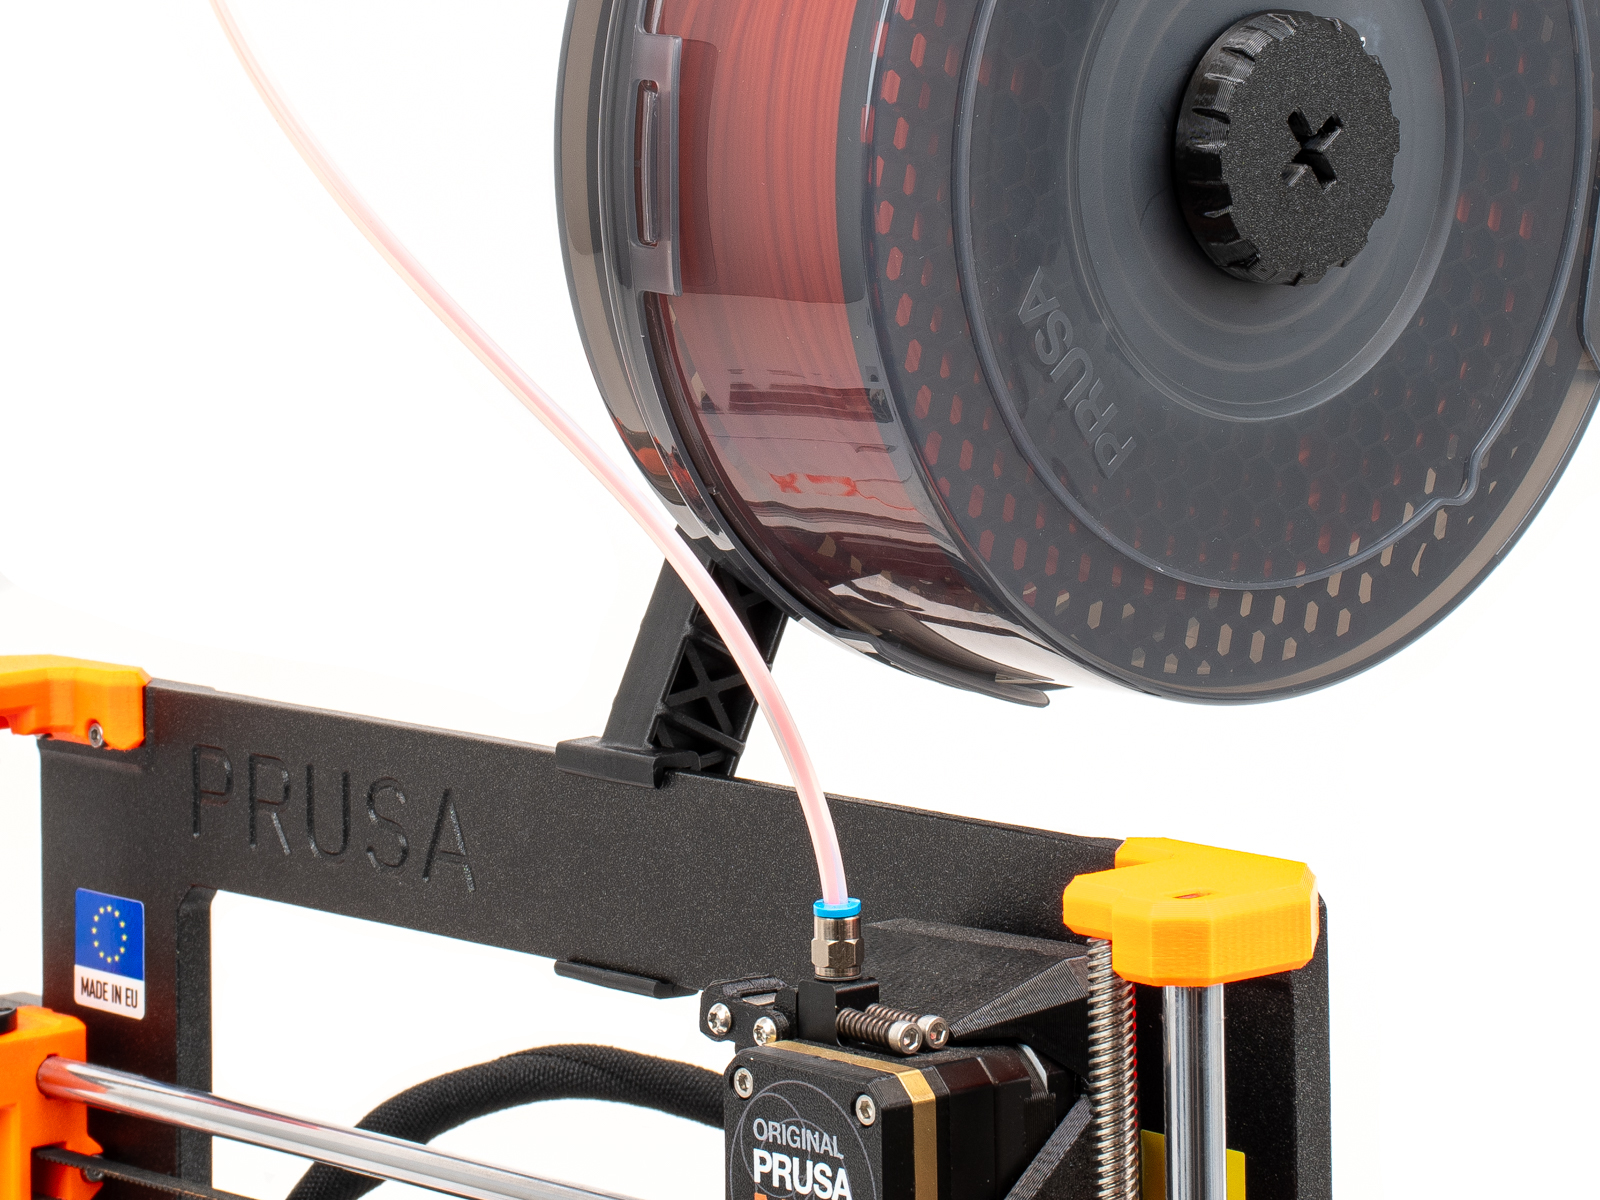 |
この記事は役に立ちましたか?
この操作は登録ユーザーのみが利用できます。ログインしてください。