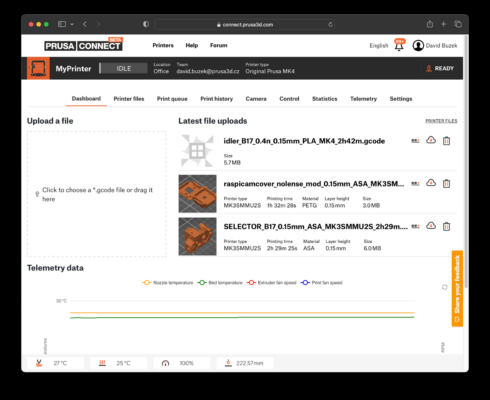

⬢世界中のどこからでもプリンターを操作できるようにするには、プリンタを Prusa Connect リモートコントロールサービスに追加する必要があります。
このガイドは Original Prusa MK4, MK3.9, MINI/+, XLに有効です。
他のプリンタタイプを使用する予定がある場合や、より詳細な情報が必要な場合は、Prusa Connect and PrusaLink explainedの記事をご覧ください。
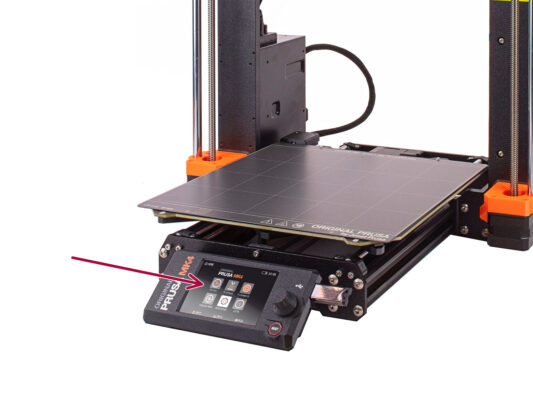
まず、Wifi + PrusaLink setupガイドで説明されているように、プリンタがインターネットに正常に接続されていることを確認してください。
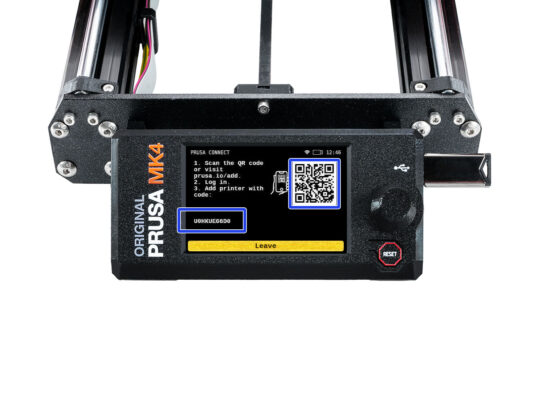
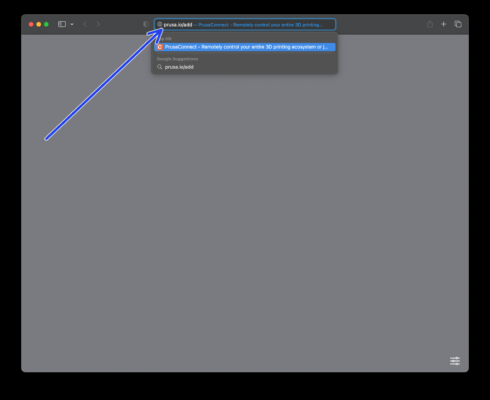
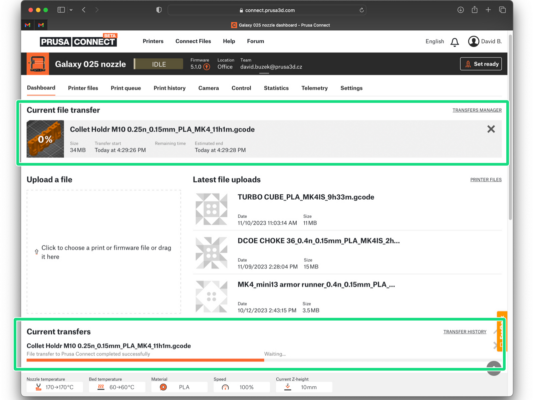
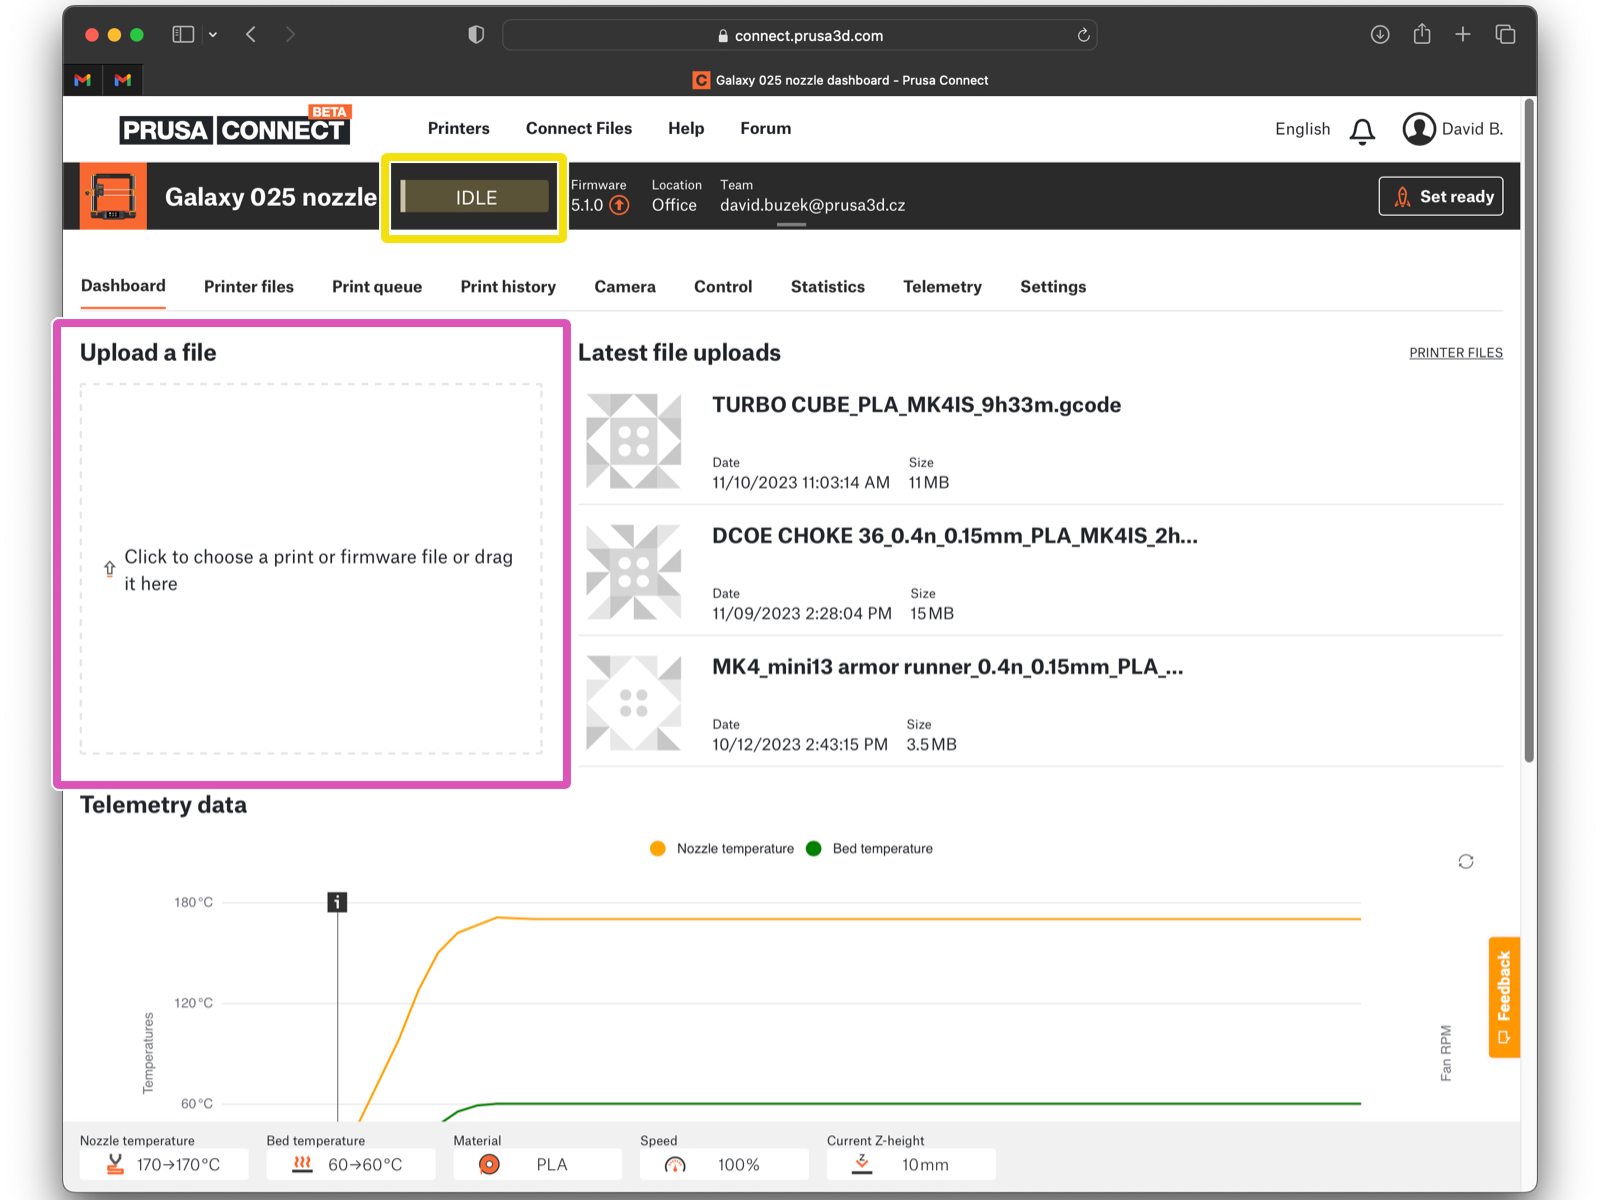
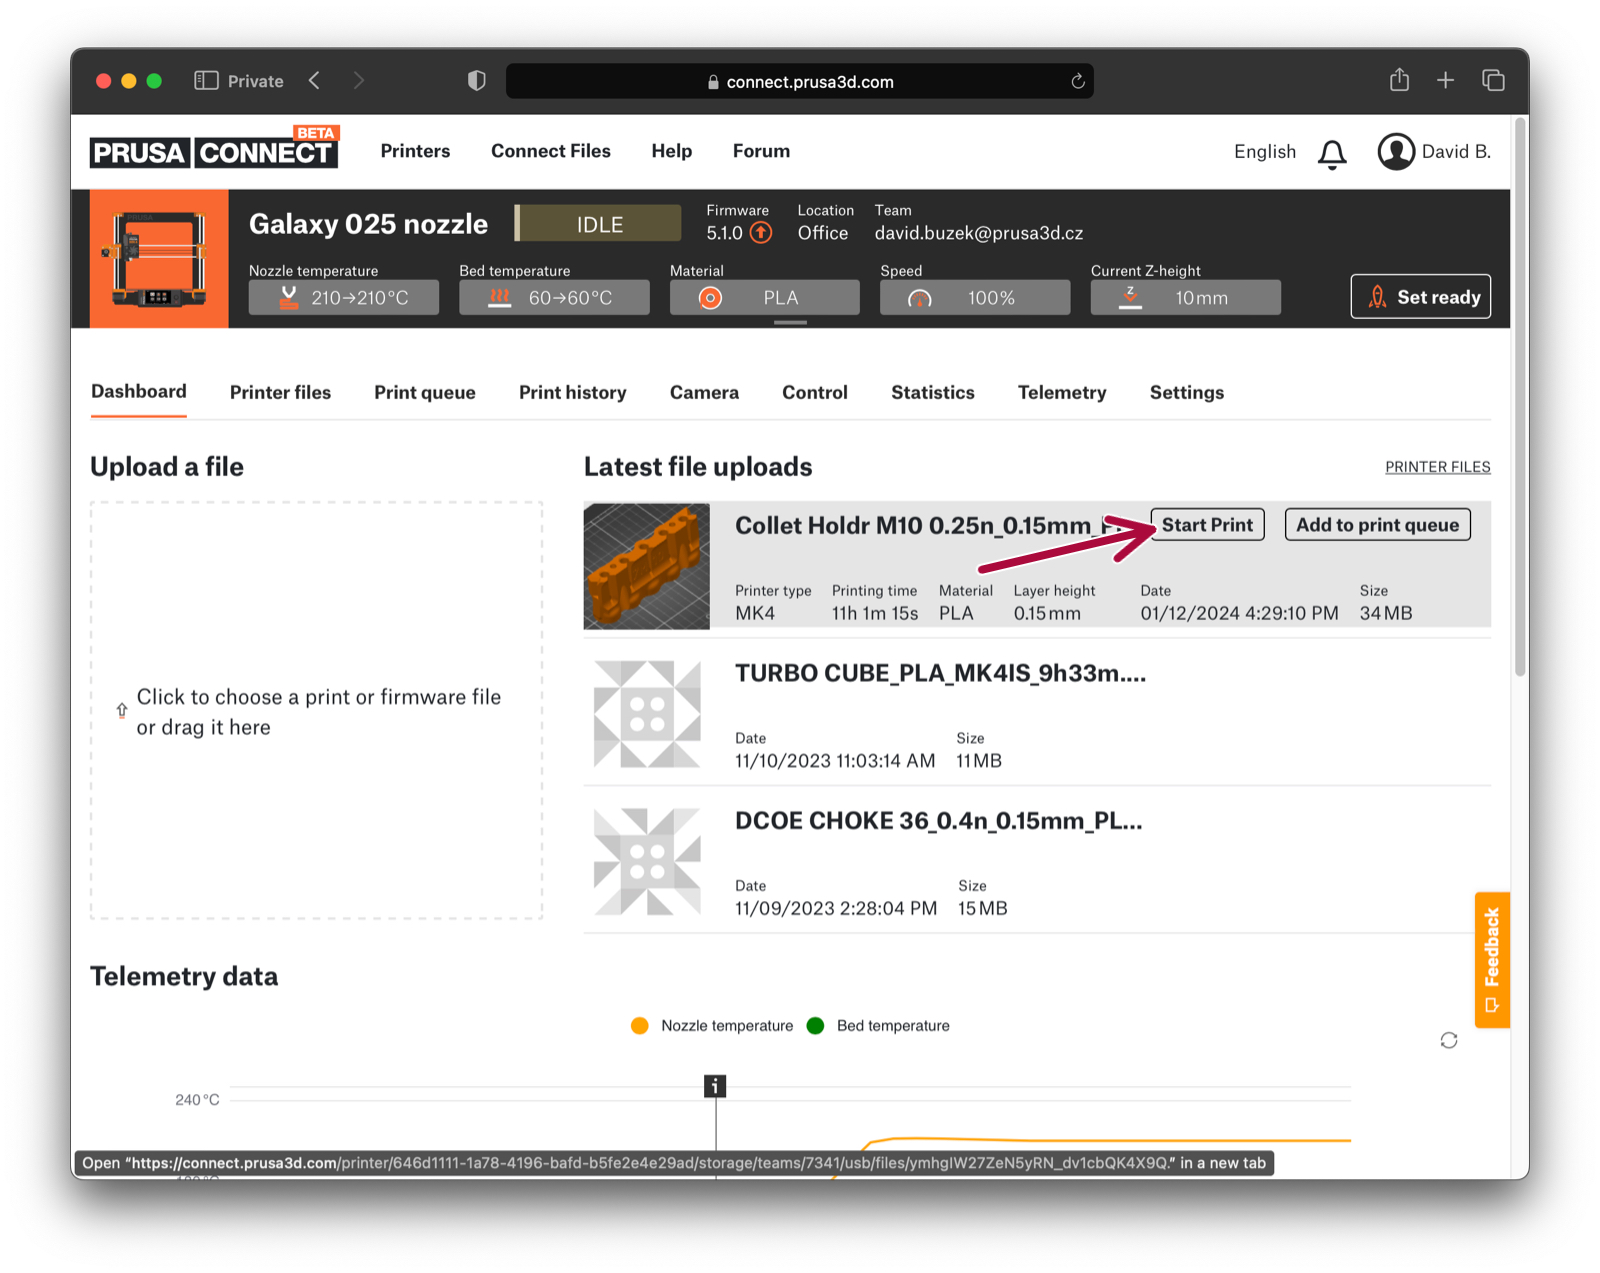
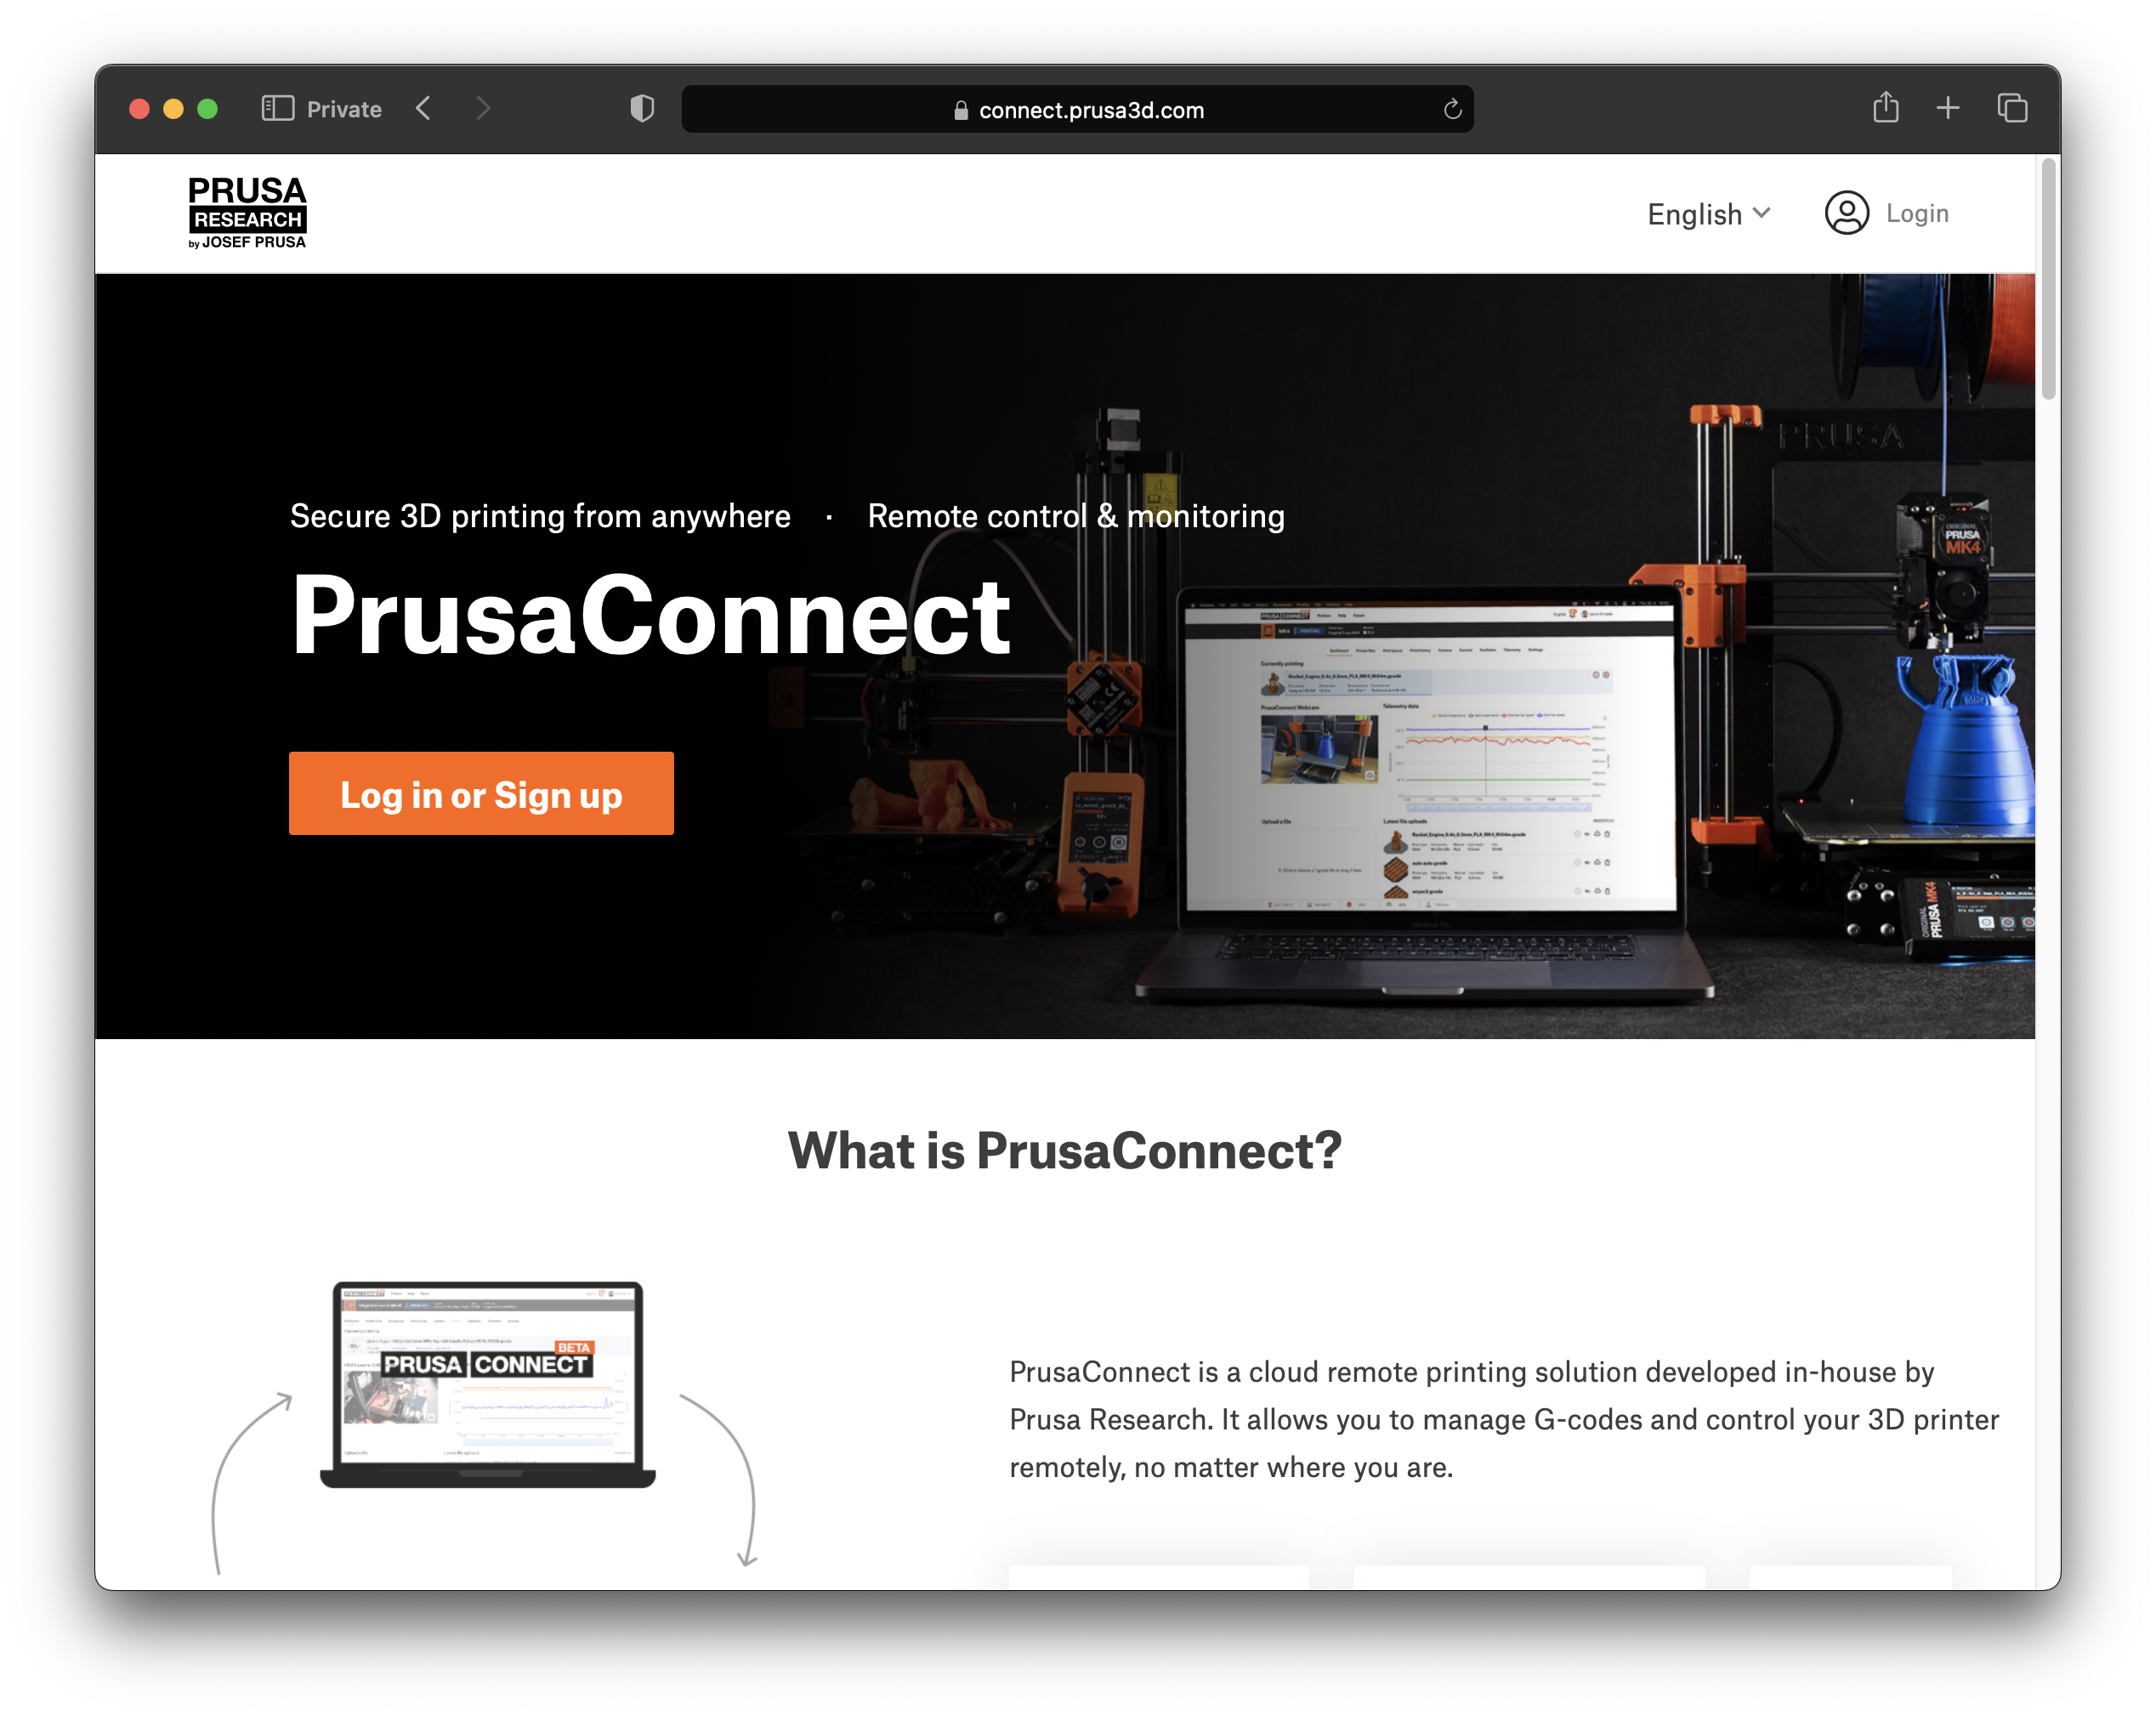
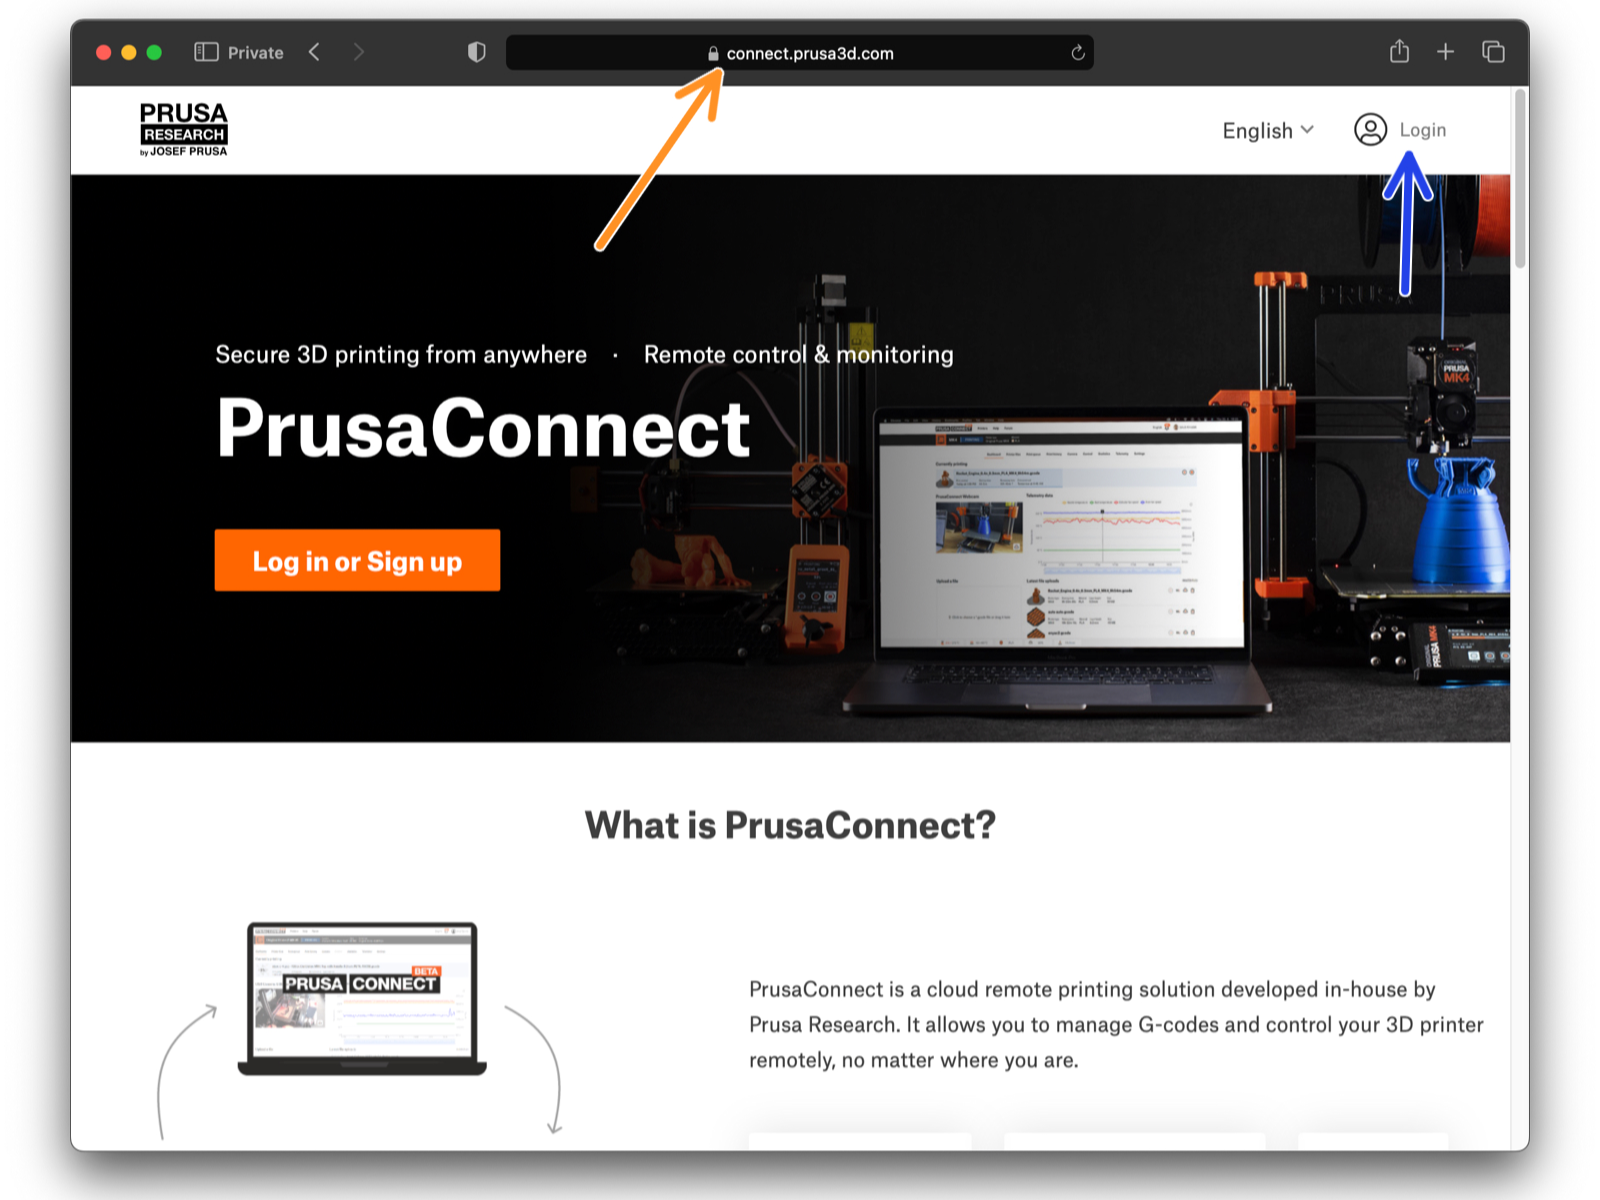
⬢Connect.Prusa3D.com にアクセスし、Prusaアカウントを使用してログインします。