English
Login
3D printers
Materials
Parts & Accessories
For Business
Software
3D Models
Community
Help
Courses
Blog
Company
Support
Prusa CORE One L
Printer maintenance
How to replace the AC box (CORE One L) | Begin assembly
1. Begin assembly
Step 1 of 21 (Chapter 21 of 21)
Contents
Comments
Difficulty
Moderate
Available languages
Begin assembly
Download guide as PDF
Contents
Printer maintenance
How to install the Nextruder V6 nozzle adapter (CORE One L)
How to replace the Prusa Nozzle (CORE One L)
How to replace a hotend assembly (CORE One L)
How to replace the hotend fan (CORE One L)
How to replace the side filament sensor (CORE One L)
How to install the Advanced Filtration (CORE One L)
How to replace the Buddy3D camera cable (CORE One L)
How to replace a Hotend Heater (CORE One L)
How to replace a Heatsink Thermistor (CORE One L)
How to replace Nextruder Filament Sensor (CORE One L)
How to replace the print fan (CORE One L)
How to replace the Accelerometer (CORE One L)
How to replace Hotend Heatsink (CORE One L)
How to reverse the door orientation (CORE One L)
How to replace Loveboard (CORE One L)
How to replace a Hotend Thermistor (CORE One L)
How to replace the White LED strip (CORE One L)
How to pack CORE One L for return
How to replace the heatbed fans (CORE One L)
How to replace the heatbed (CORE One L)
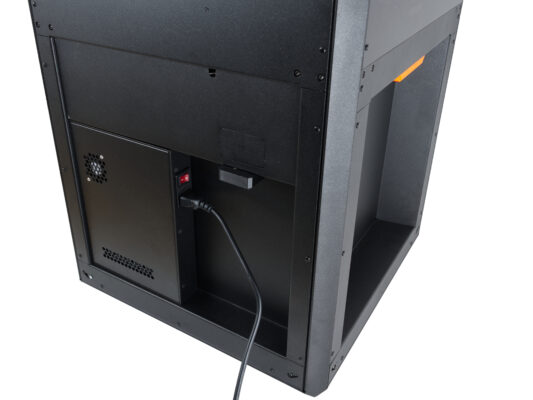
How to replace the AC box (CORE One L)
Begin assembly
Introduction
Tools necessary for this guide
Manually adjusting the heatbed
Preparing the printer
Removing the side cover
Removing the Wi-Fi module
Removing the electronics covers
Unplugging the AC cables
Removing the AC box
Removing the screws
Parts Preparation: AC box
Preparing the new AC box
Attaching the new AC box
Securing the new AC box
Plugging in the AC box cables
Re-attaching the side cover
Covering the electronics
Reattaching the Wi-Fi module
Powering the printer & selftest
Well done
Comments
Log in
to post a comment
No comments