English
Login
3D printers
Materials
Parts & Accessories
For Business
Software
3D Models
Community
Help
Courses
Blog
Company
Support
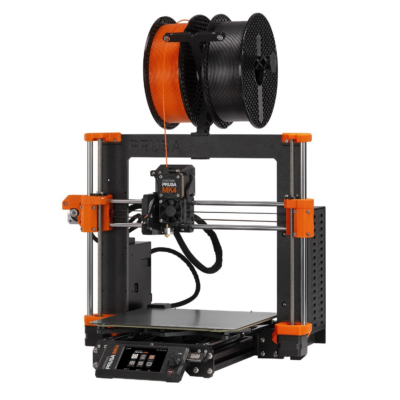
Original Prusa MK4
Original Prusa MK4 kit assembly (1.01)
Original Prusa MK4 kit assembly (1.01)
Comments
Difficulty
Moderate
Available languages
Begin assembly
Download manual as PDF
Contents
1. Introduction
2. Frame assembly
3. X-axis & X-carriage assembly
4. Z-axis assembly
5. Nextruder assembly
6. xLCD assembly
7. Y-carriage & Heatbed assembly
8. Preflight check
Manual changelog MK4 kit
Comments
Log in
to post a comment
No comments