EN
  • Čeština
  • Español
  • Italiano
  • Deutsch
  • Polski
  • Français
  • 日本語
Login

2. Extruder disassembly

2. Extruder disassembly

2. Extruder disassembly
Relevant for:
Last updated 4 years ago
2. Extruder disassembly
 Difficulty
Moderate
 Steps
14
 Available languages
CSPLESDEITFRJA
Preparing the printer
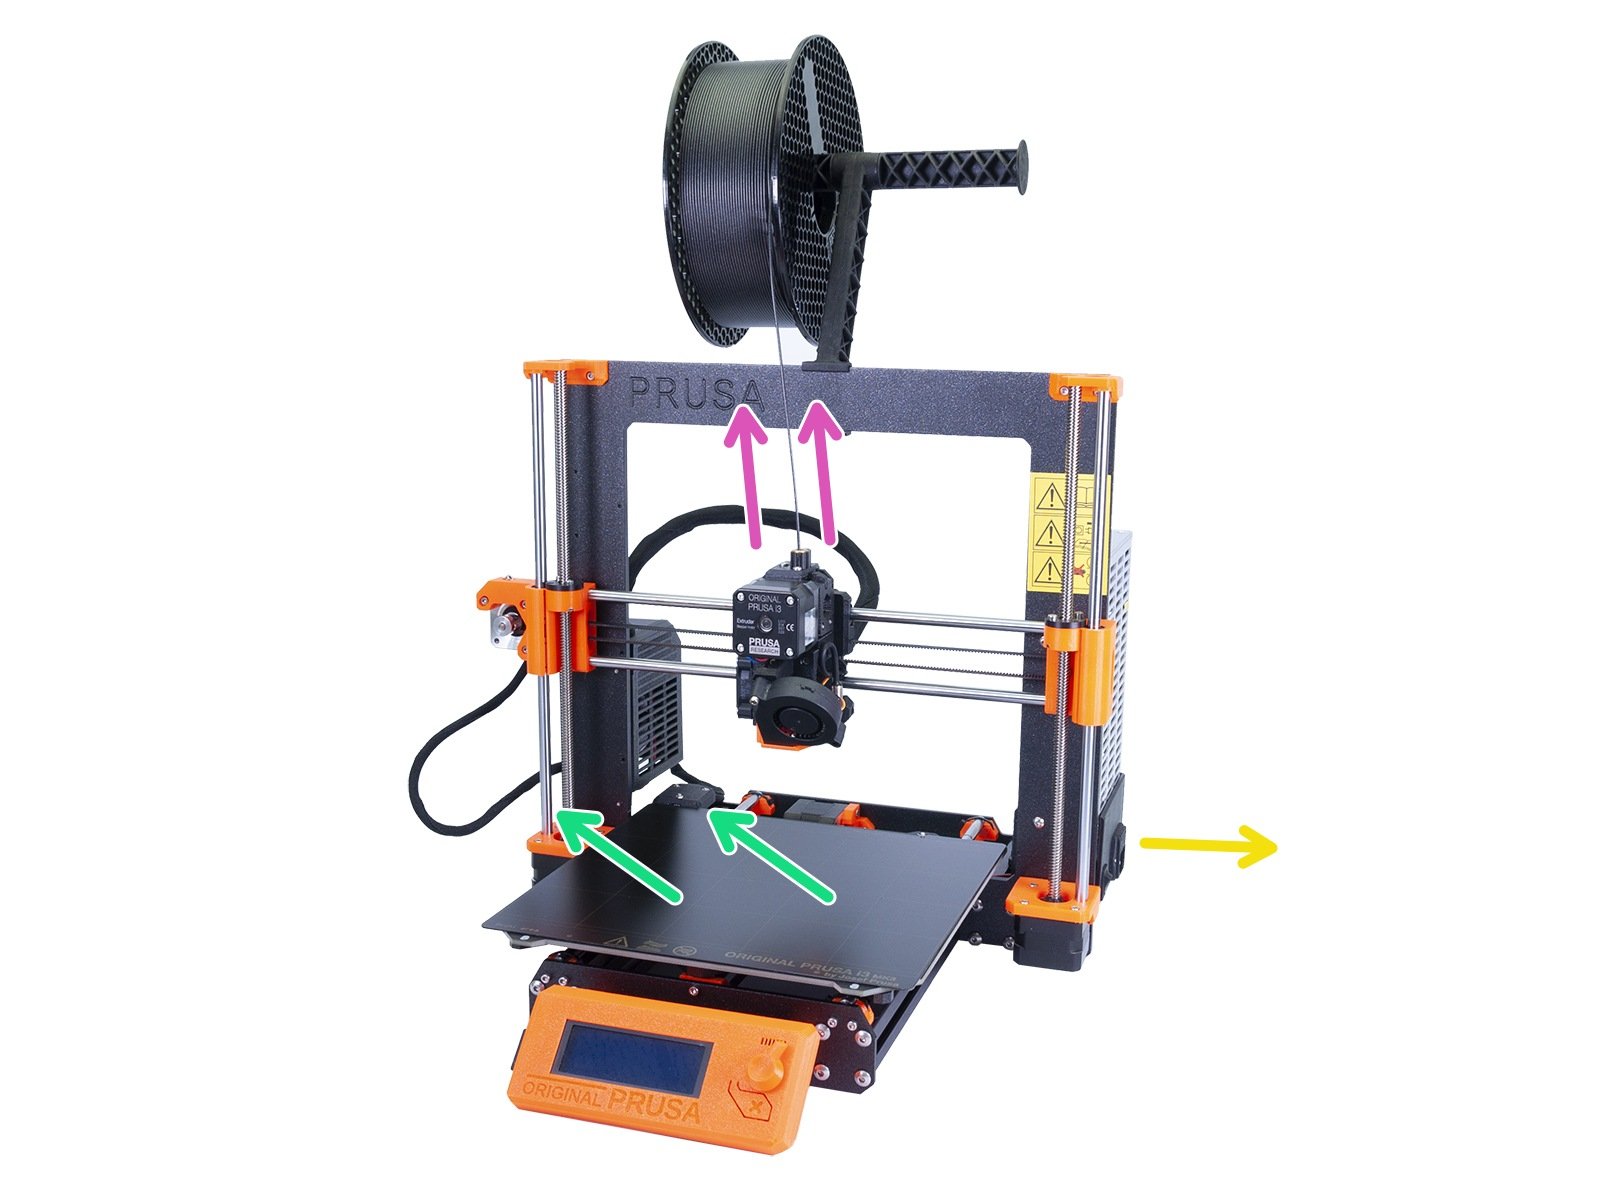
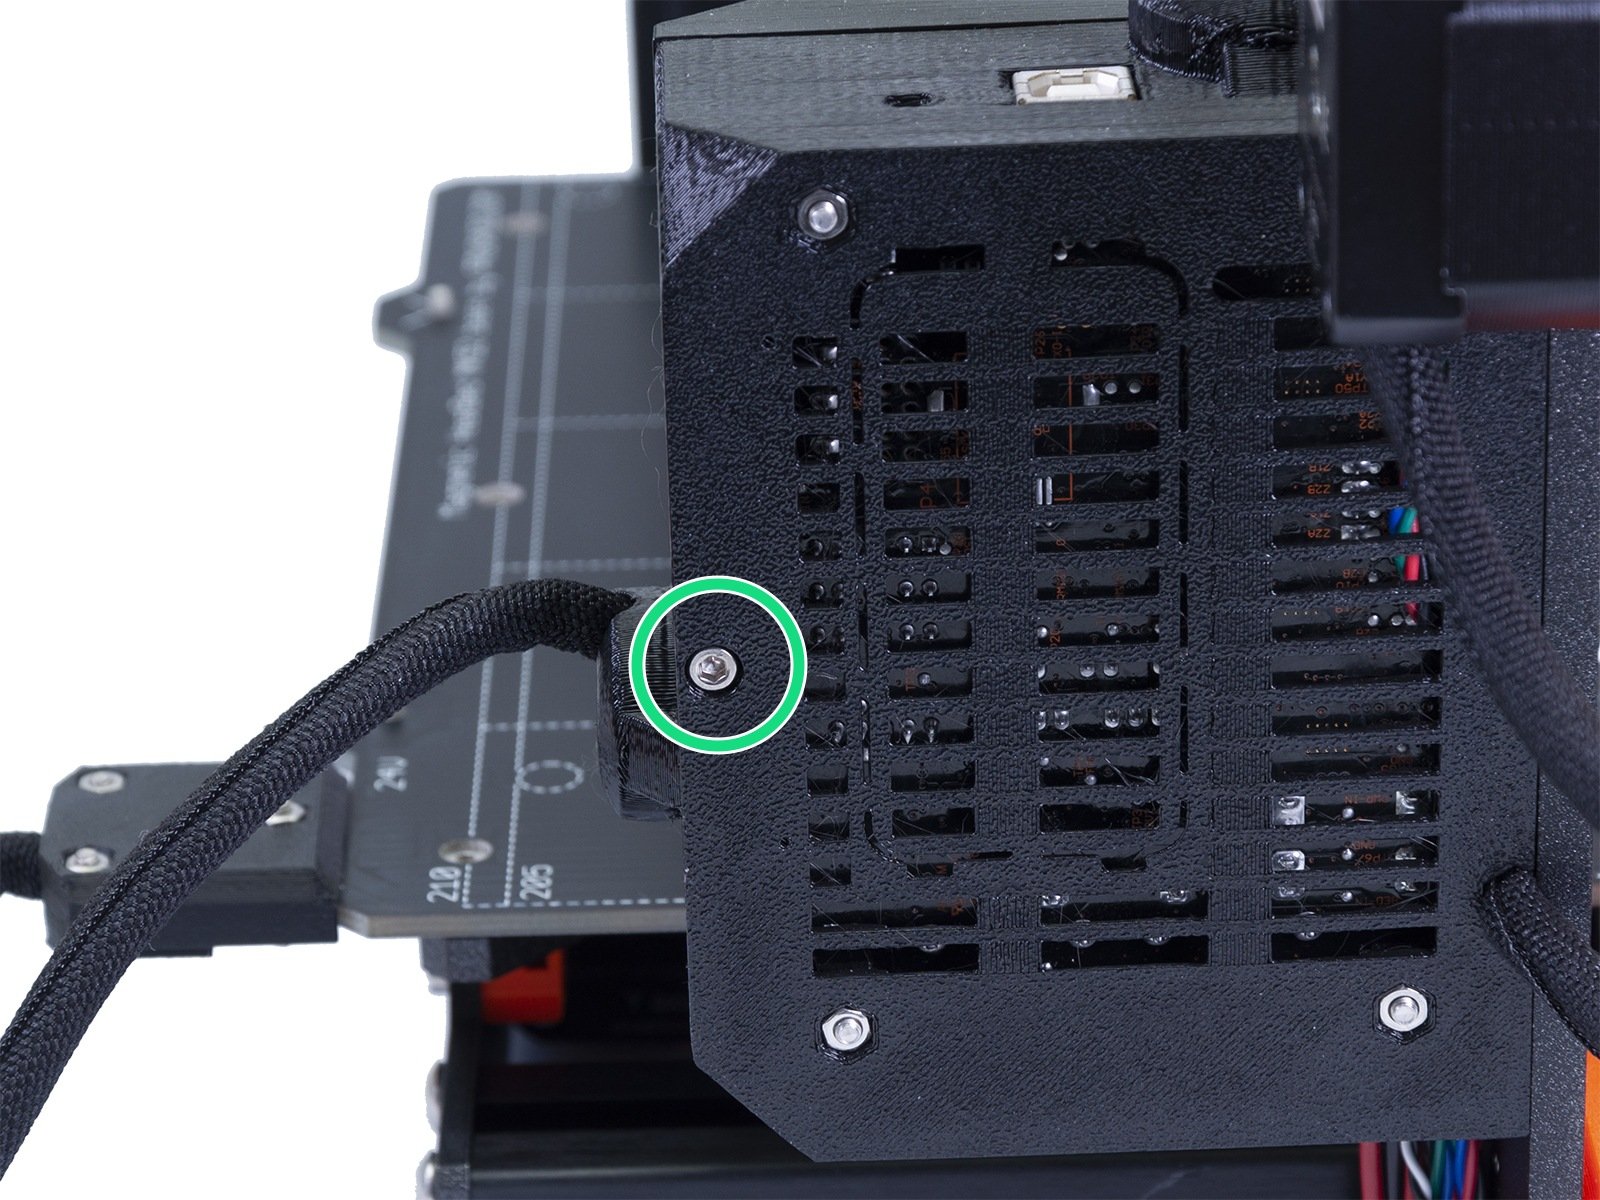
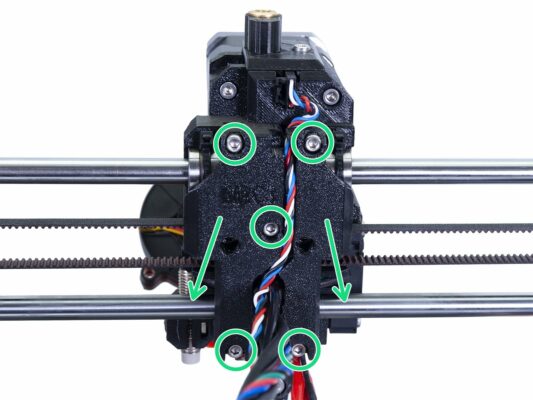
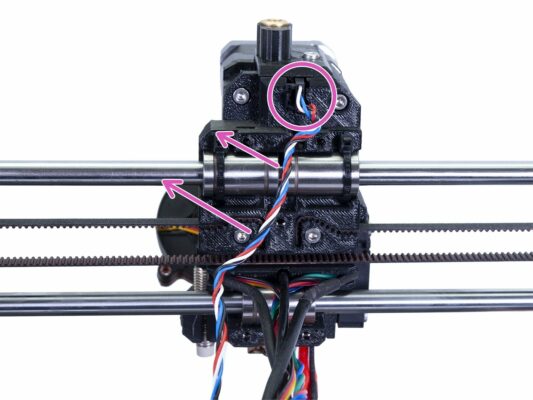
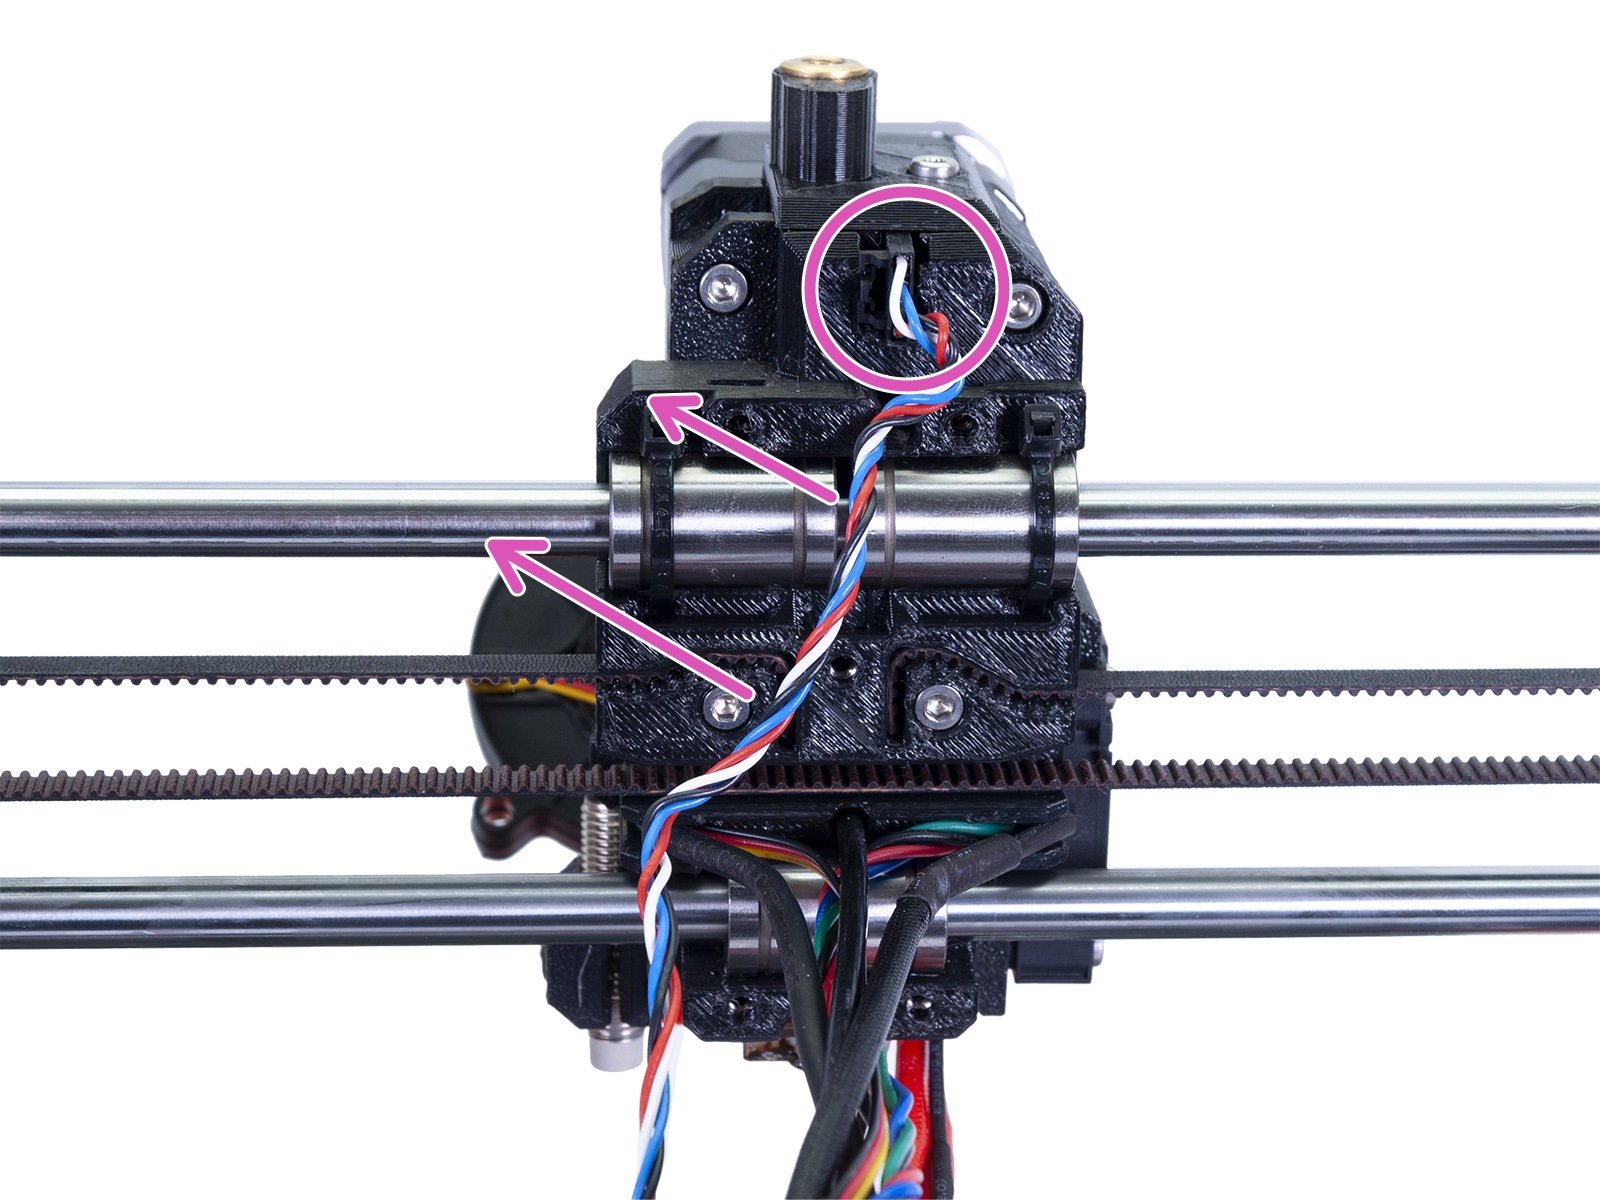
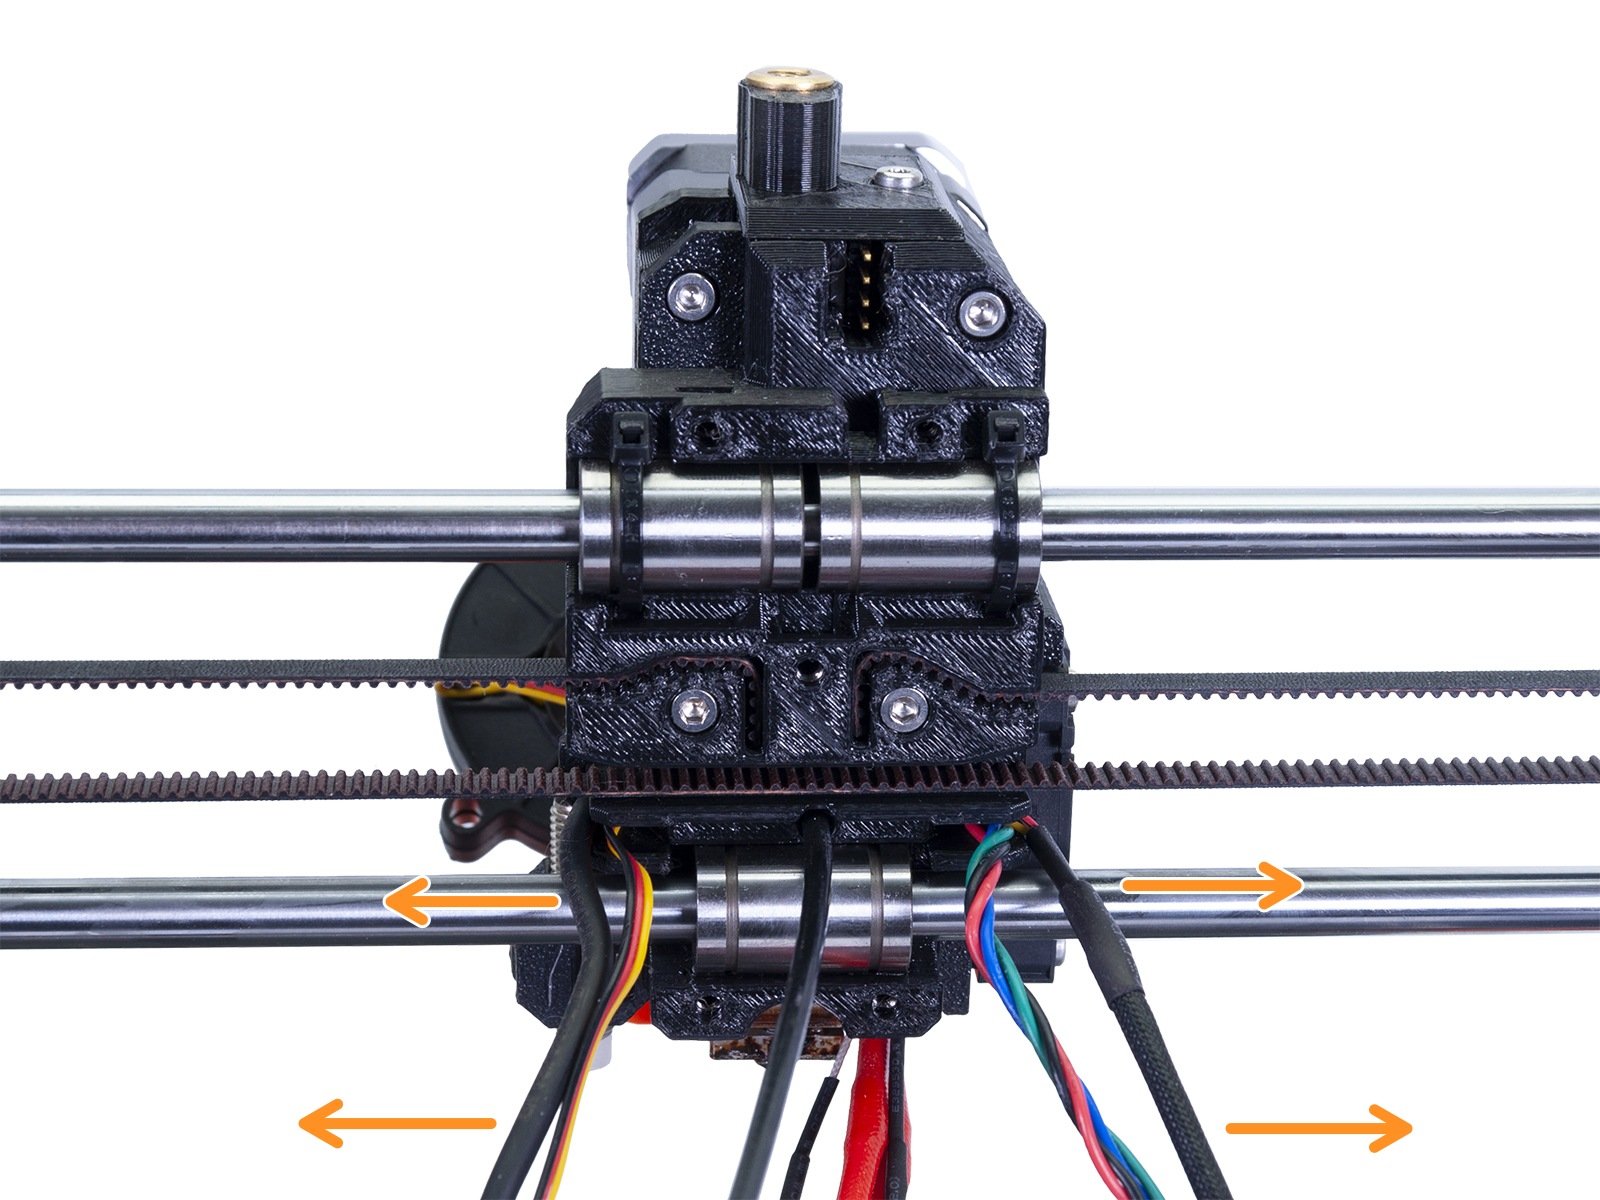
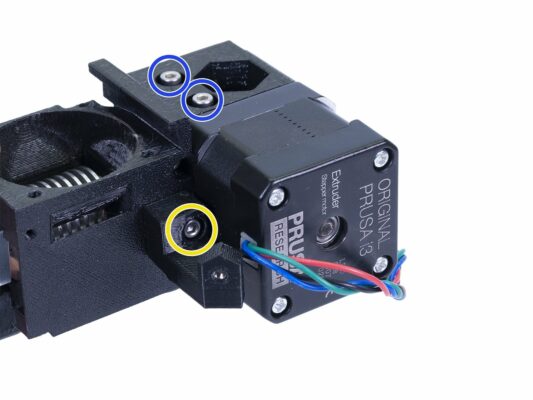
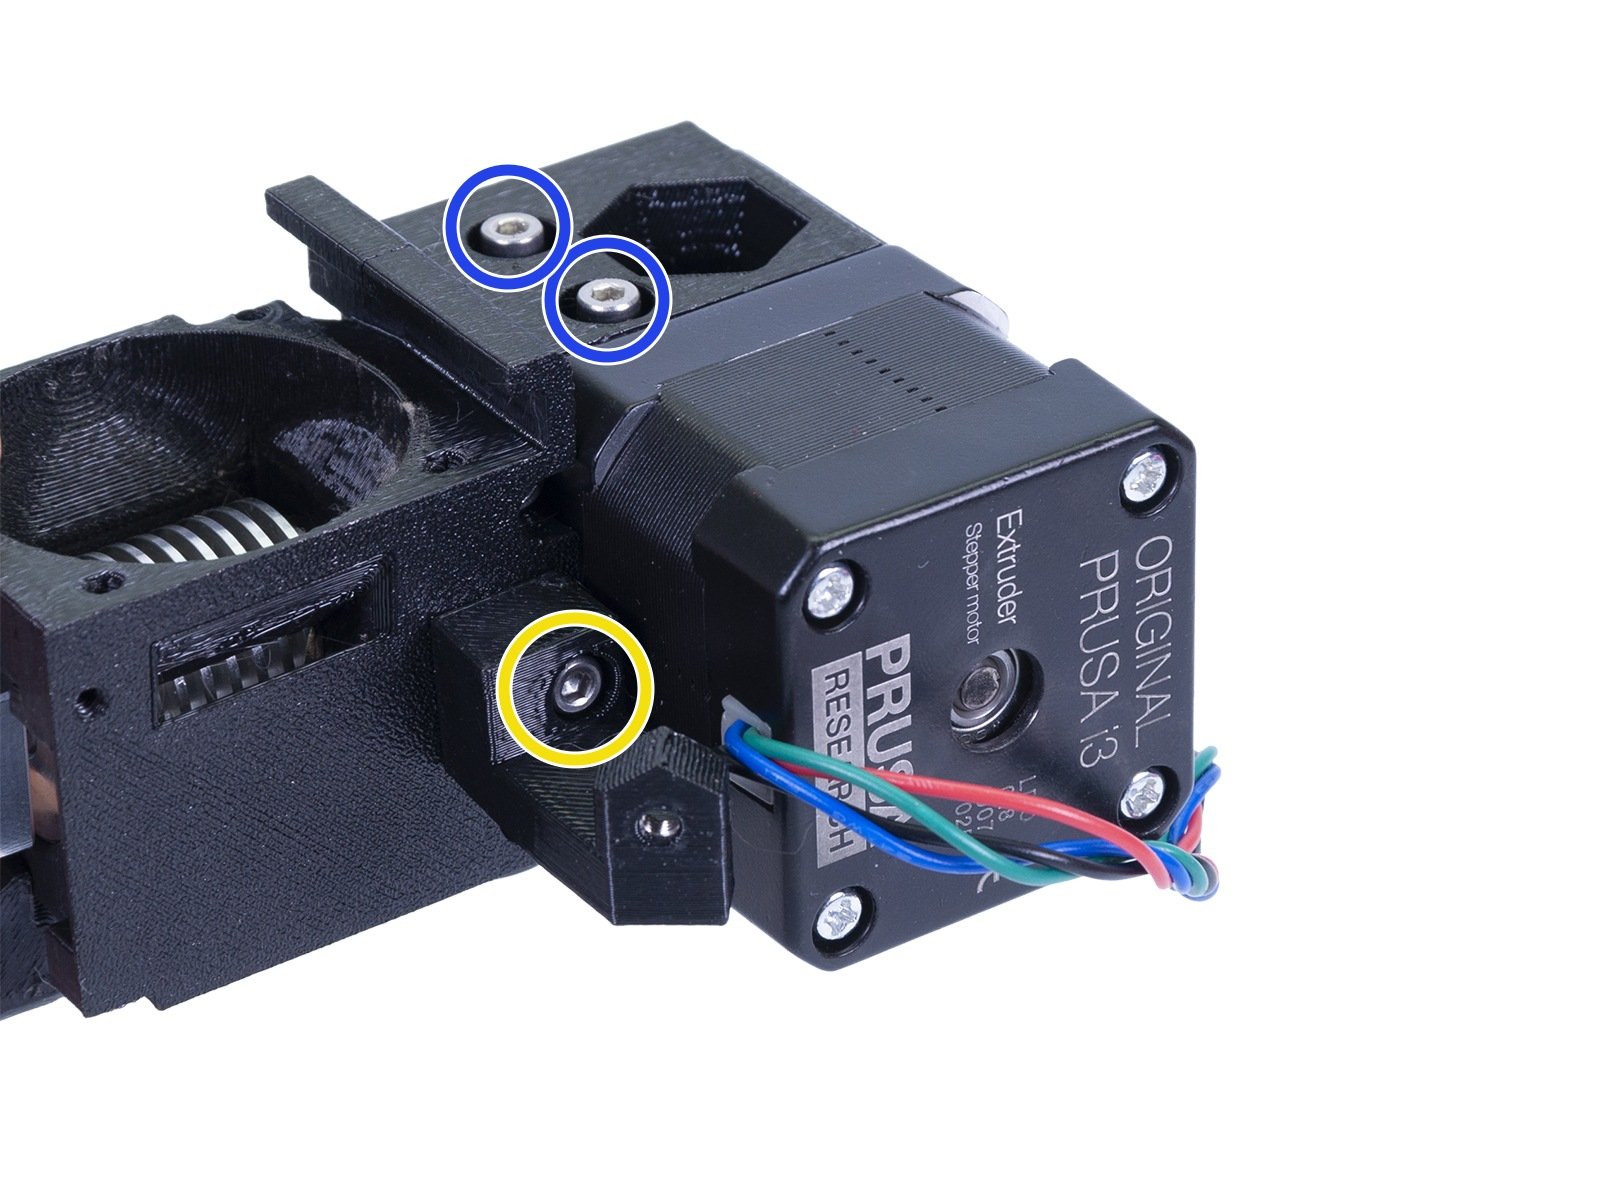
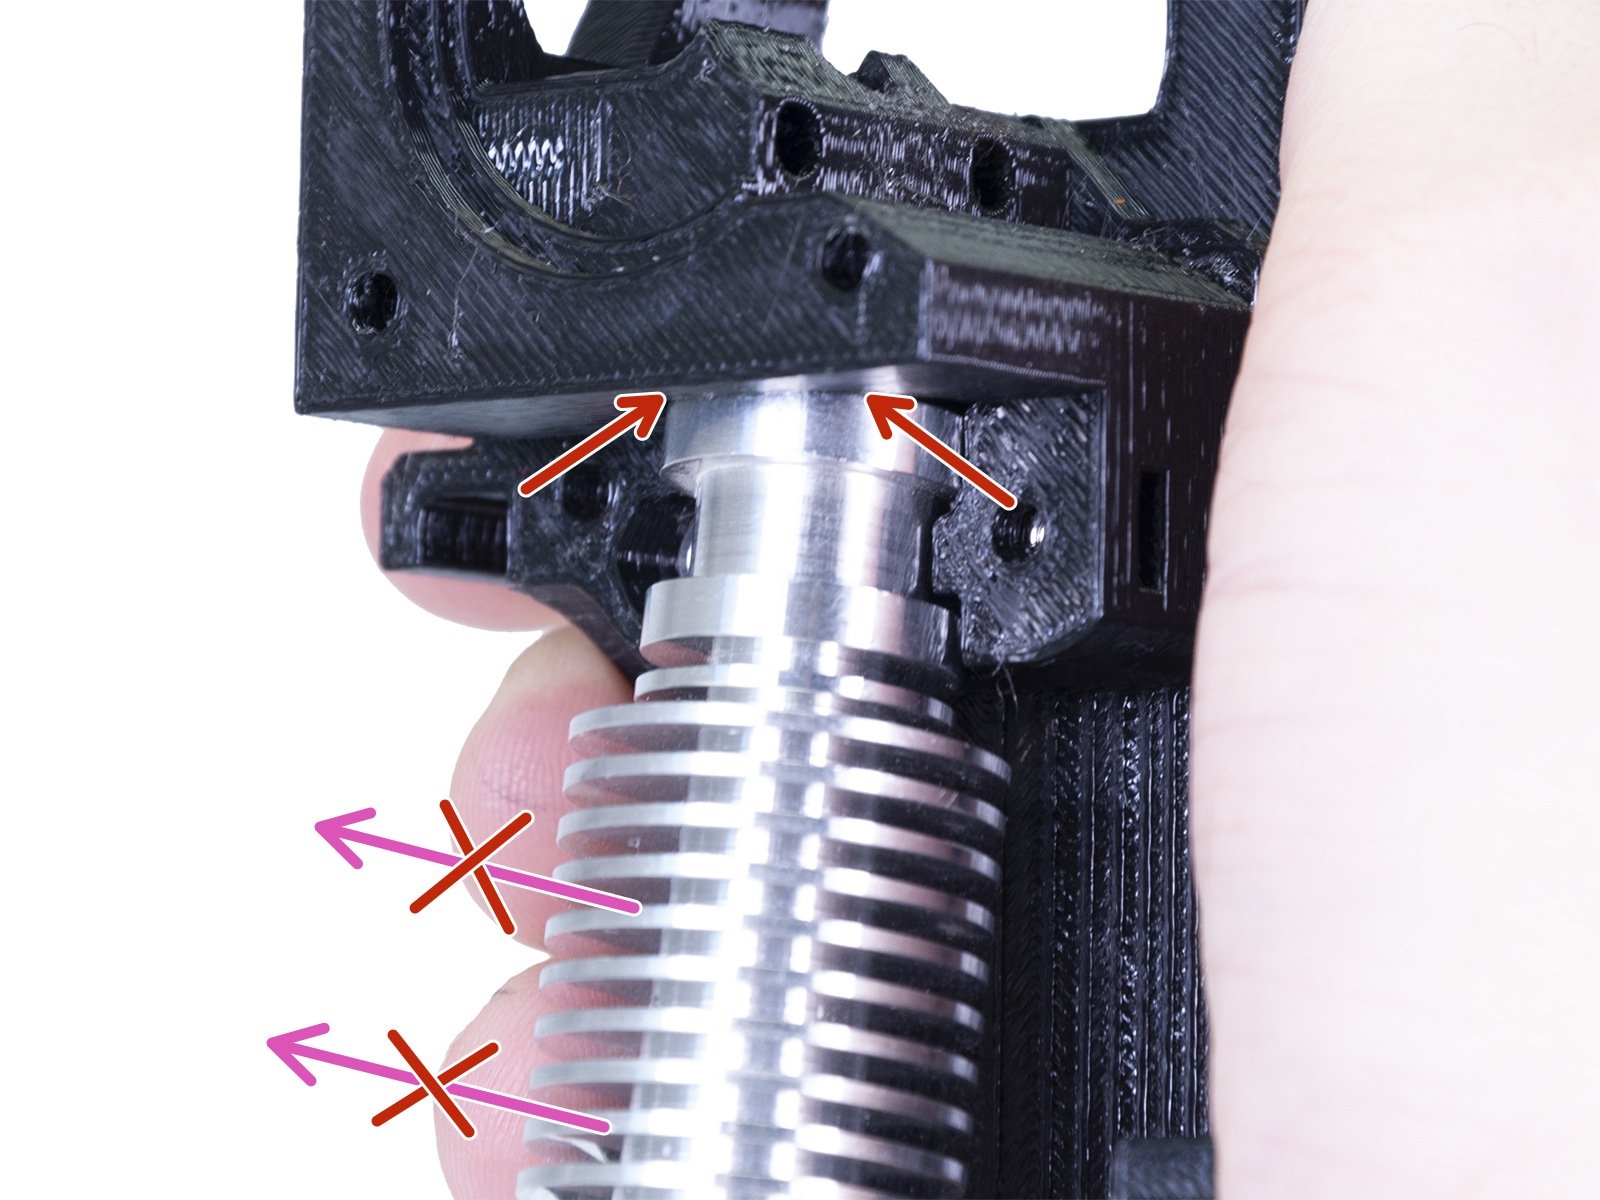
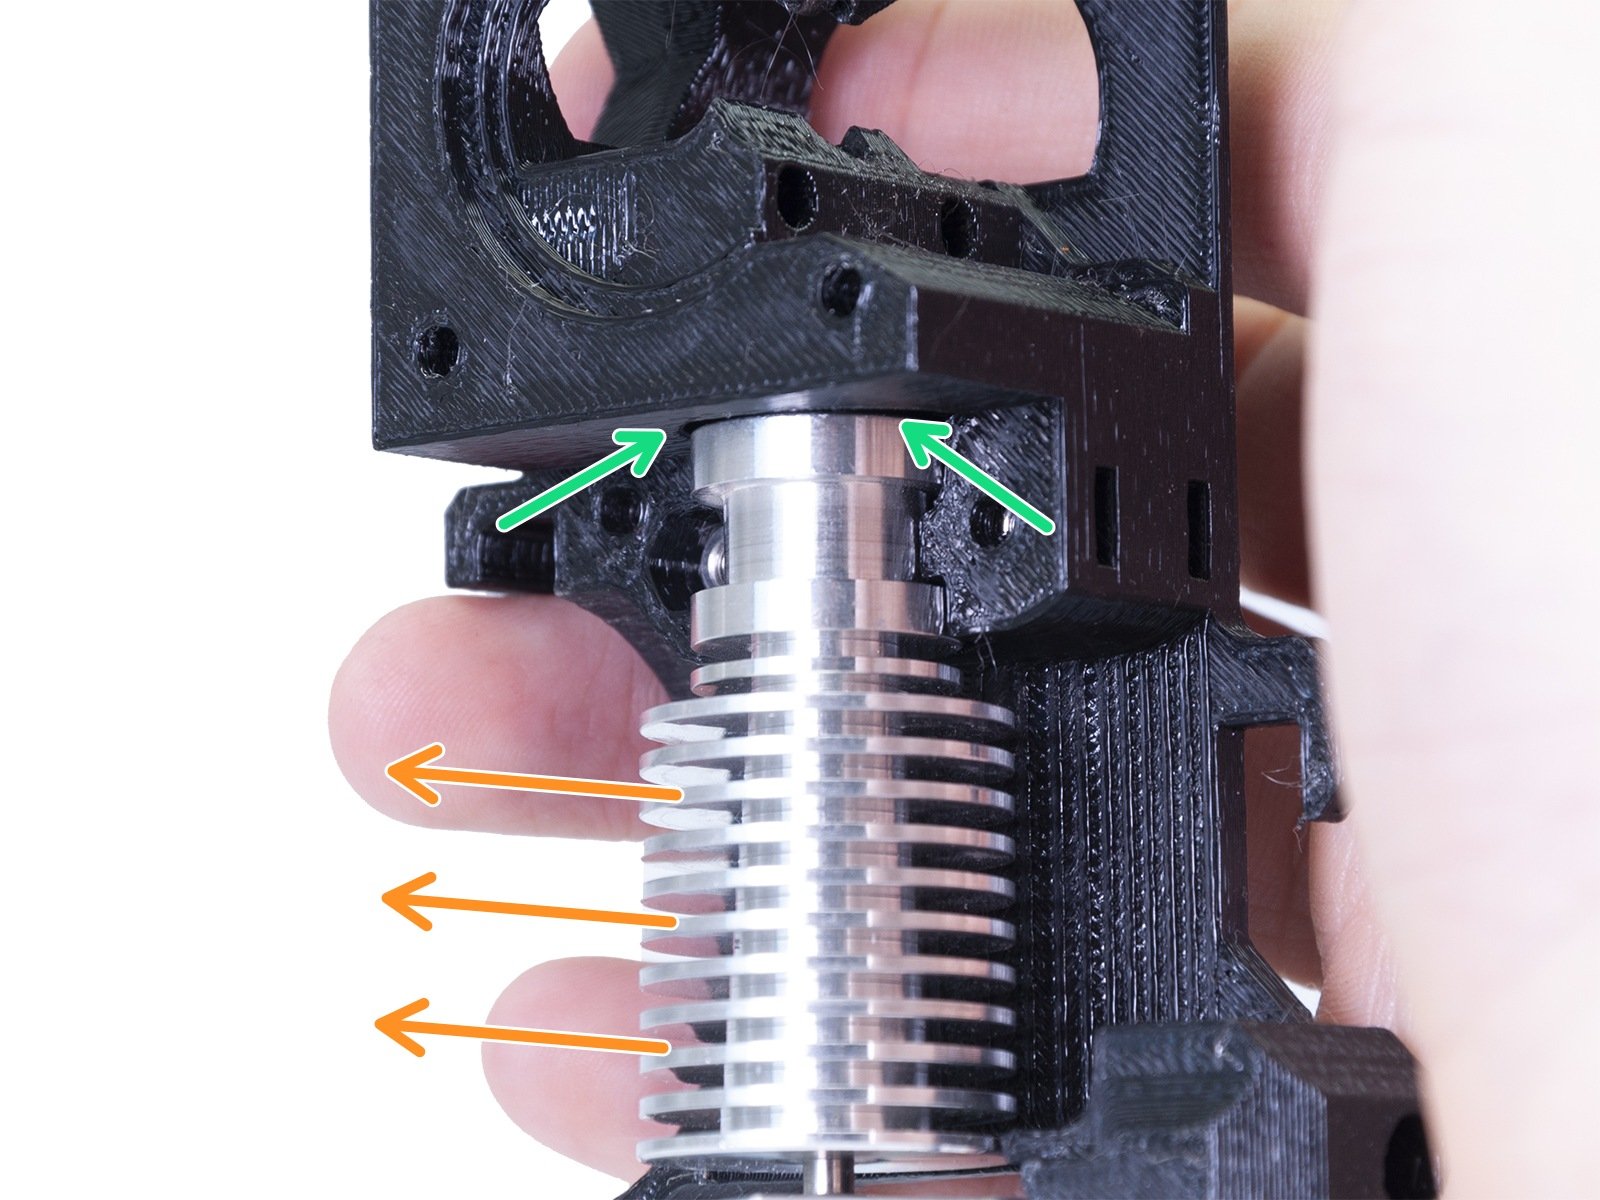
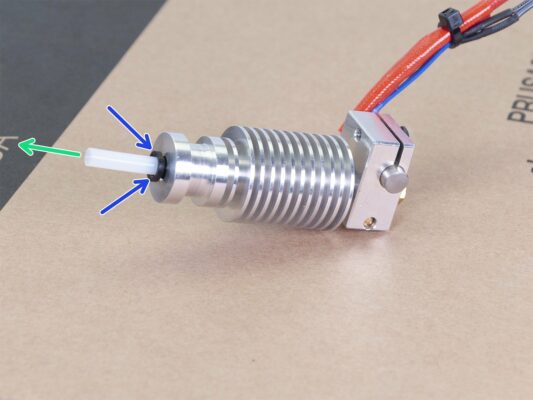
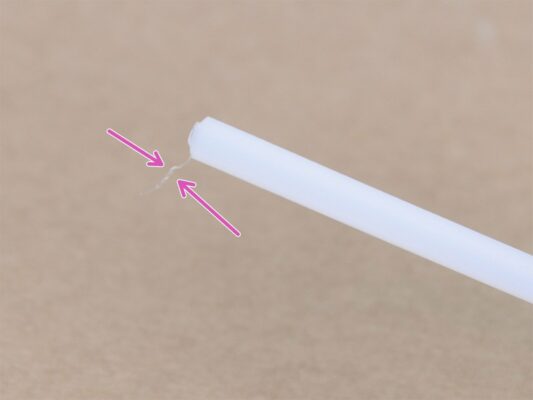
Before you start, make sure that:
the filament is unloaded from the hotend
the printer is properly cooled down
the printer is unplugged
you removed the steel sheet
Releasing the cable bundle
Using an Allen key release the M3x40 screw and open the door.
Release two M3x10 screws and remove the extruder-cable-clip. On older printers cut the zip tie.
In case there are zip ties inside the Einsy-case, carefully remove them.
Remove the zip ties on the cable holder.
Remove the textile sleeve (spiral wrap) all the way to the Einsy-case.
Unplugging the extruder cables
Open the Rambo-case and follow all the cables from the extruder. Unplug them one by one.
WARNING: some cables have a safety latch, don't pull them!
Leave the other cables connected.
Removing the filament sensor cable
Release all five screws and remove the X-carriage-back. Be careful with the wires. Disassemble the cable-holder and keep it for the rebuild.
Unplug the connector and remove the filament sensor cable. This cable is no longer needed and will be replaced with a new one.
Carefully separate the cables and push them to sides.
Removing the extruder
Release both M3 screws.
Before removing the last screw, hold the extruder as it will fall down.
Carefully lay the extruder on the heatbed and push the cables through the X-axis.
Return to the X-carriage:
Remove the black nylon and keep it for later.
Remove the belt and keep it for later.
Cut the zip ties and remove the carriage completely. For the MK2.5S you will need a different one.
Fans and motor removal
Before removing the print fan, make sure the nozzle-fan (fan-shroud) is removed first.
Release all screws on both fans and carefully remove them.
Release both screws holding the idler.
Remove the fan support.
WARNING: release all three screws, but keep in mind the motor and the idler including Bondtech gear will fall off!
Hotend removal
Hotend removal
Hotend removal
Hotend removal
Release both M3 screws and remove the Extruder-cover so you can reach the hotend.
WARNING: Removing hotend from the extruder needs a "special" technique, then the hotend slides out quite easily. Don't use excessive force, or you will damage some parts irreversibly!!!
The hotend is removed by inclining and pulling at the same time. See the picture showing the WRONG inclination. This hotend is inclined too much to the front and there is no gap between the hotend and the extruder body. Hotend is partly inside and you won't be able to remove it.
The second picture is showing the CORRECT inclination. The hotend is tilted, but there is a gap between the hotend and the extruder body. You will be able to remove it.
Removing the PTFE tube
THIS STEP IS OBLIGATORY! The MK2.5S is using shorter PTFE tube compared to the MK2.5, let's replace it now!
Press the black plastic collet down towards the hotend.
Remove the old PTFE tube from the hotend.
Inserting the new PTFE tube
Open the upgrade package and look for a bag with the new (shorter) PTFE tubes.
Check the new PTFE tube. Make sure both ends are clean.
Now it is time to insert the new PTFE tube. Note there are two different ends.
One end of the tube has "rounded" outer edge. This end must be inside the hotend.
Look at the other end, where the tube is drilled inside, shape of the edge is "conical". This is the side, where filament enters the tube. This part must be outside the hotend.
Push the black collet in. Slide the tube all the way in and hold it!
Using second hand pull the collet out and only then release the tube!!! THIS IS CRUCIAL for the hotend to work properly. The tube must not be able to move in or out!
Removing the Bondtech gear
EXTRA WARNING!!! Be extremely cautious during this step!!! You can easily strip the lock screw and irreversibly damage it.
First, make sure the Bondtech isn't glued to the shaft. This is valid in case of the pre-assembled printer. If there is a glue, heat the shaft first (heatgun, lighter). Be careful, you can burn yourself.
Second, carefully release the lock screw. If the resistance is too high, use a grease (e.g. WD-40) and wait for a while.
Remove the Bondtech gear from the shaft and keep it for later.
Idler disassembly
Idler disassembly
Push and pull out the shaft. Keep it for later.
Take out the Bondtech gear, BUT BE CAREFUL, there are two bearings inside. Don't lose them!!!
Removing the filament sensor (optional)
This step is optional, you will use a different sensor in the new extruder.
Release two screws holding filament-sensor-cover.
Release the M3x10 screw holding the filament sensor.
Remove the sensor, avoid touching the PCB and the chips on it.
Disassembly is finished!
We are done here!
Before you move on, let's recap:
Store or throw away all the old plastic parts, you won't need them. Keep only the cable-holder.
Keep both fans, hotend (with replaced PTFE), P.I.N.D.A. sensor, Nylon filament and the X-axis belt.
Keep the motor and both Bondtech gears including bearings and the shaft.
The disassembled filament sensor with the cable will be replaced with a new one, you can keep this one for your future projects ;)
Fasteners are included in the upgrade kit, you can use these as a spare.
Ready? Let's jump to the 3. E-axis assembly
Was this guide helpful?

Comments

Still have questions?

Still have questions?

If you have a question about something that isn't covered here, check out our additional resources.
And if that doesn't do the trick, you can send an inquiry to [email protected] or through the button below.

Contact us