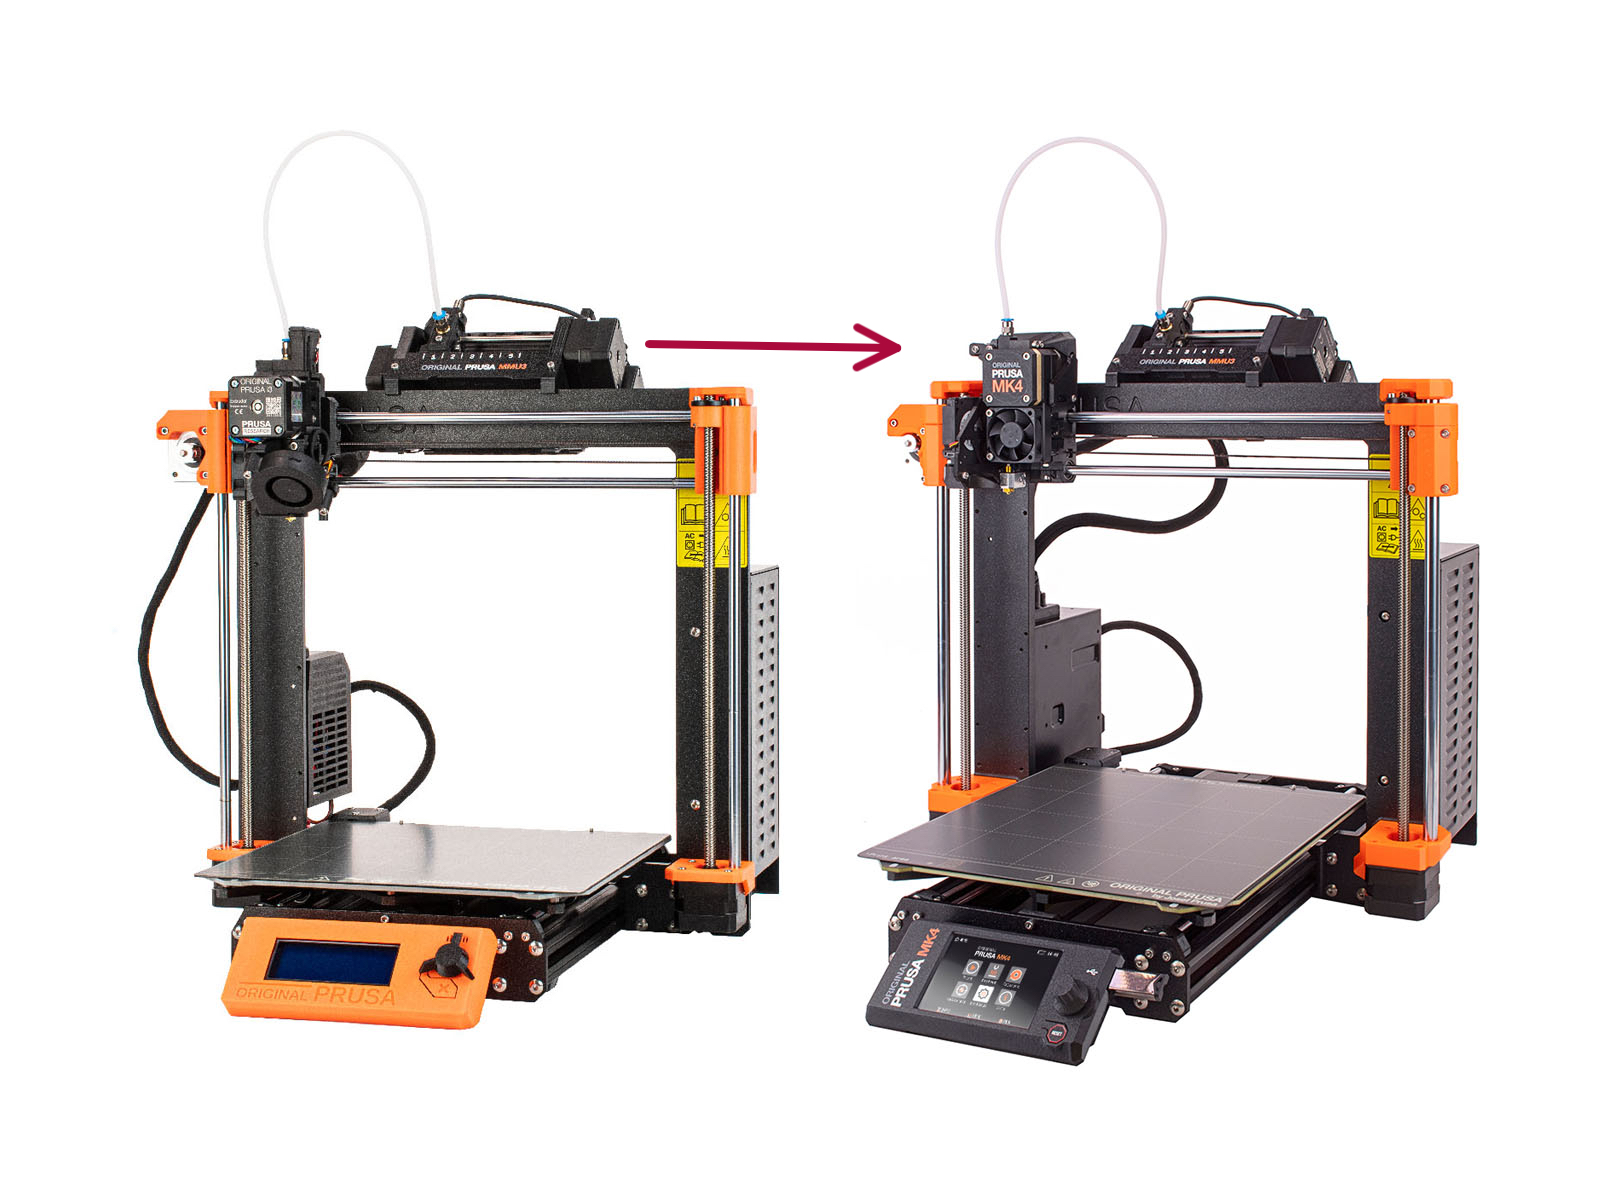
JA
  • English
  • Español
  • Italiano
  • Deutsch
  • Polski
  • Français
Login

1. Preparation

1. Preparation
Relevant for:
Last updated 12 days ago
1. Preparation
 Difficulty
Moderate
 Steps
8
 Available languages
ENPLDEESITFR
Introduction
Introduction
In this guide, we will be upgrading the MK3S+ MMU3 setup into MK3.9/ MK4 MMU3.
Make sure your MK3.9 / MK4 printer is fully assembled and tested.
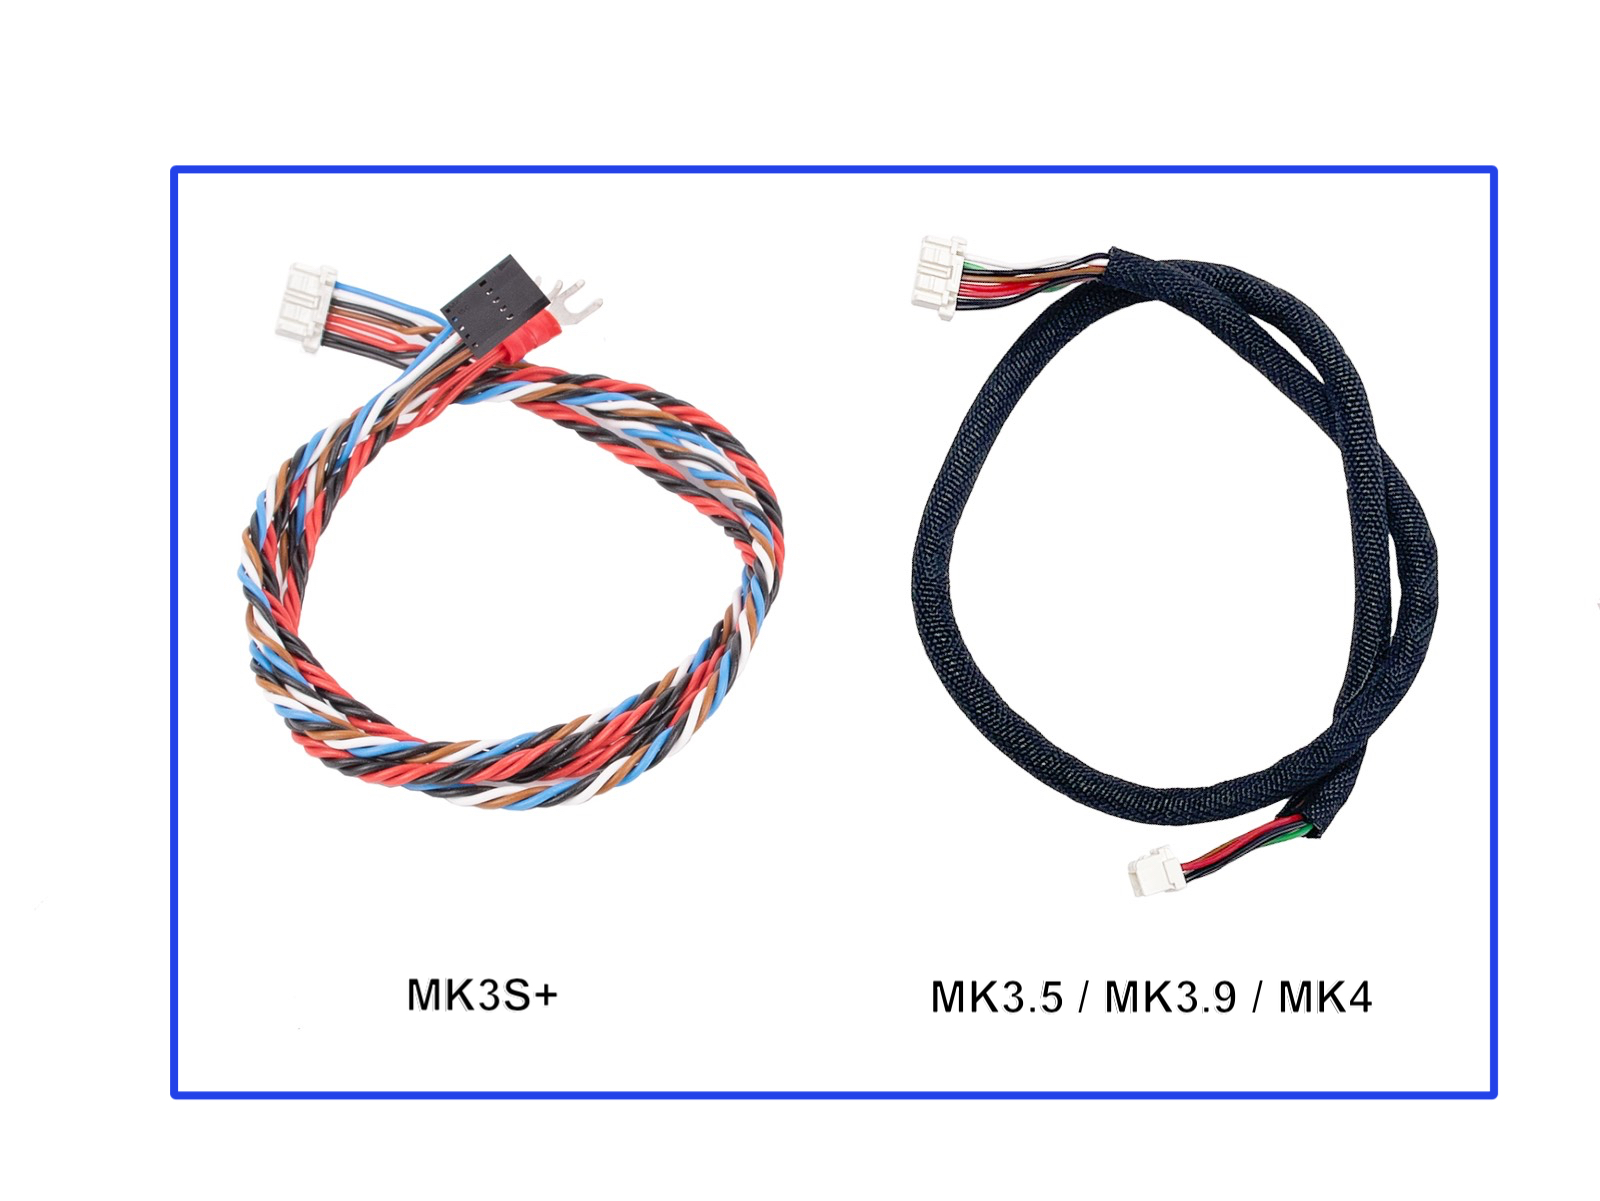
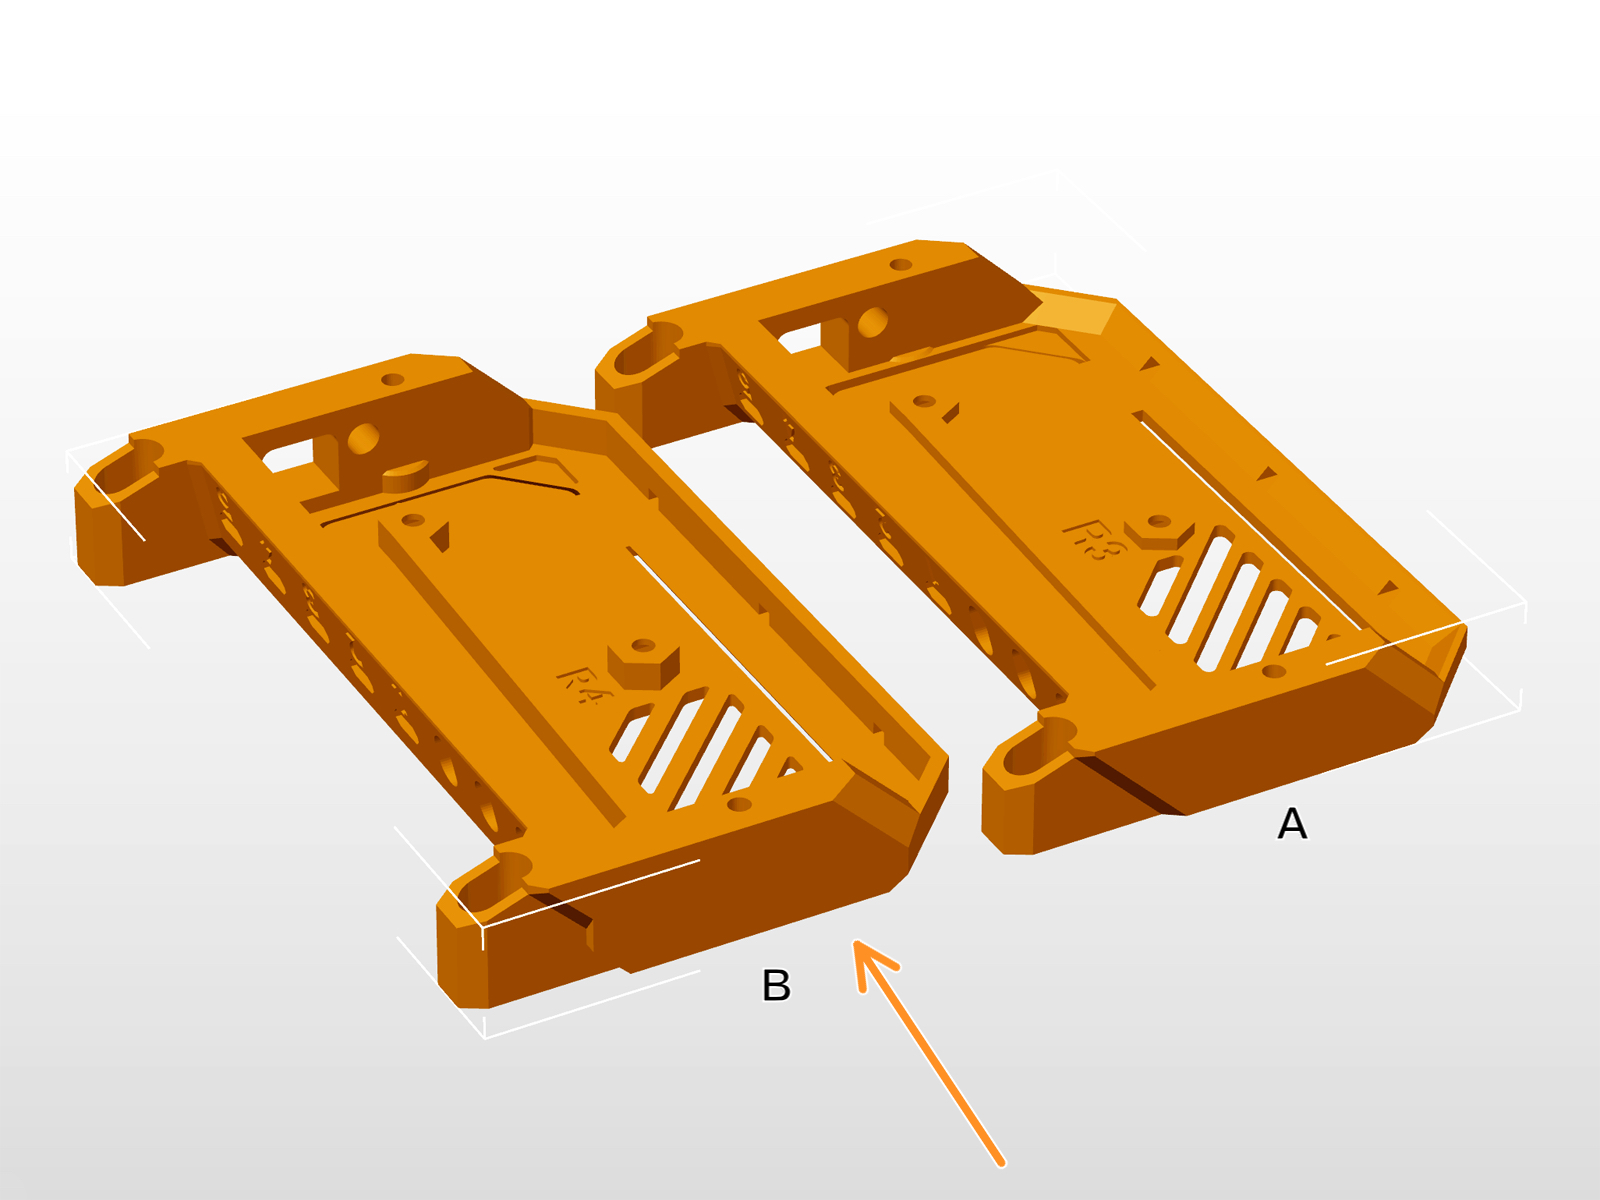
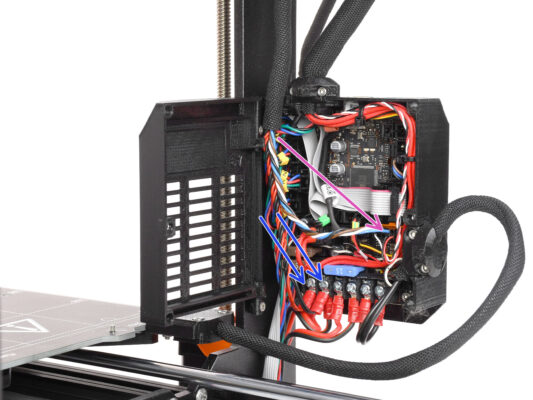
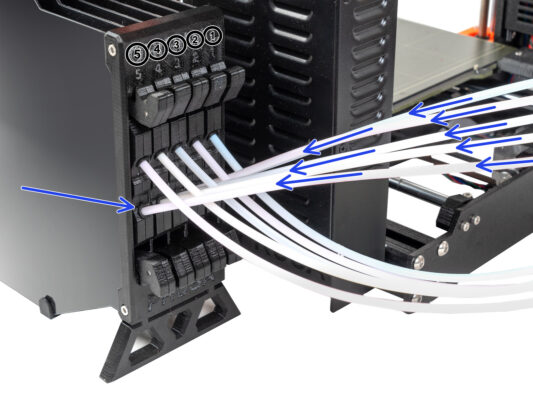
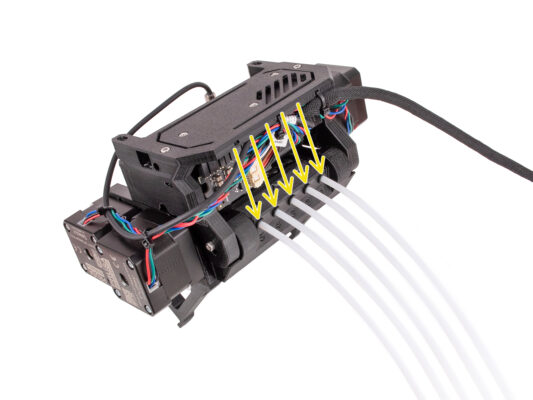
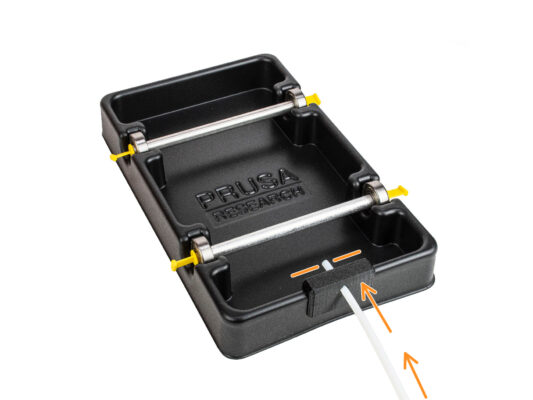
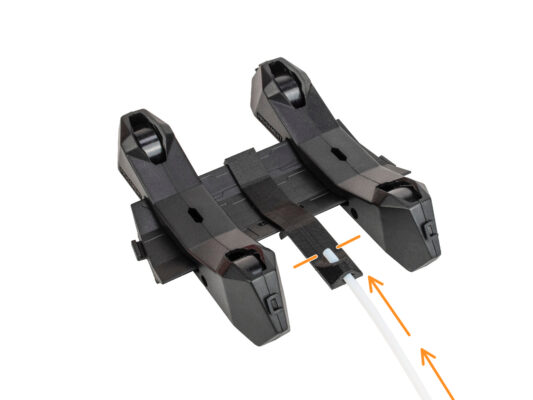
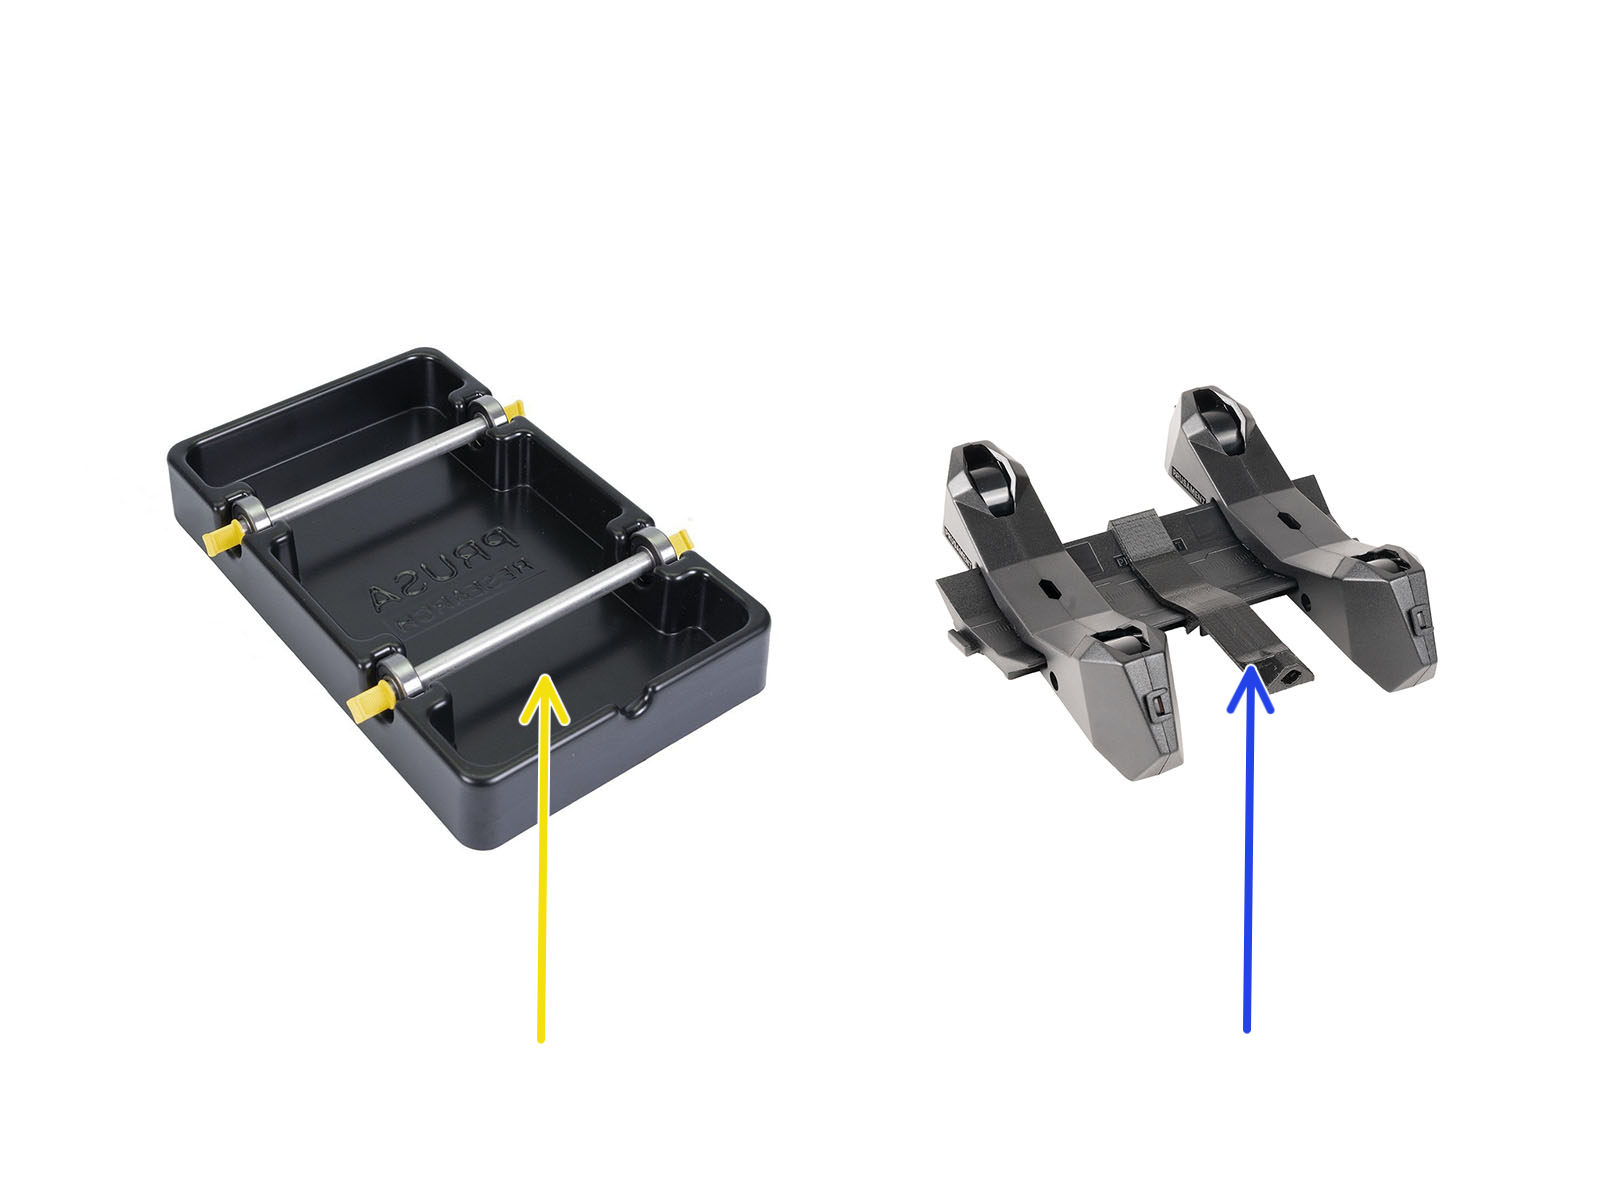
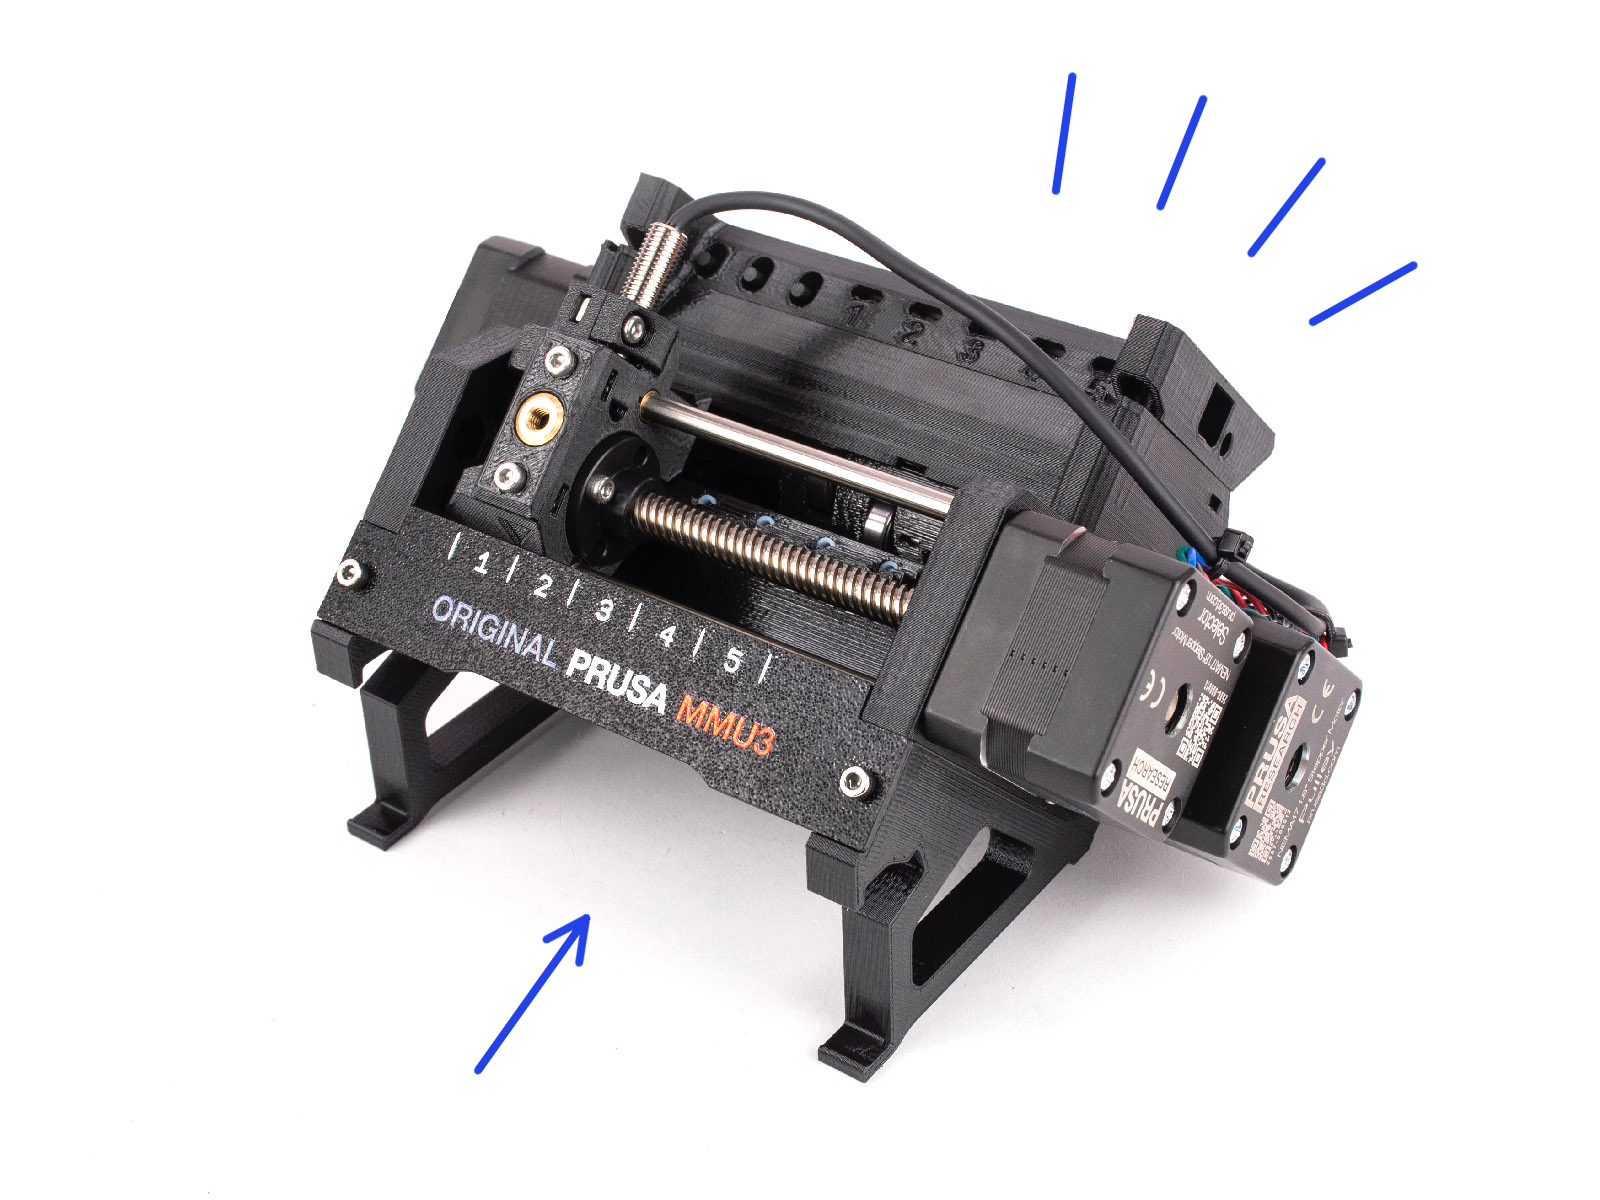
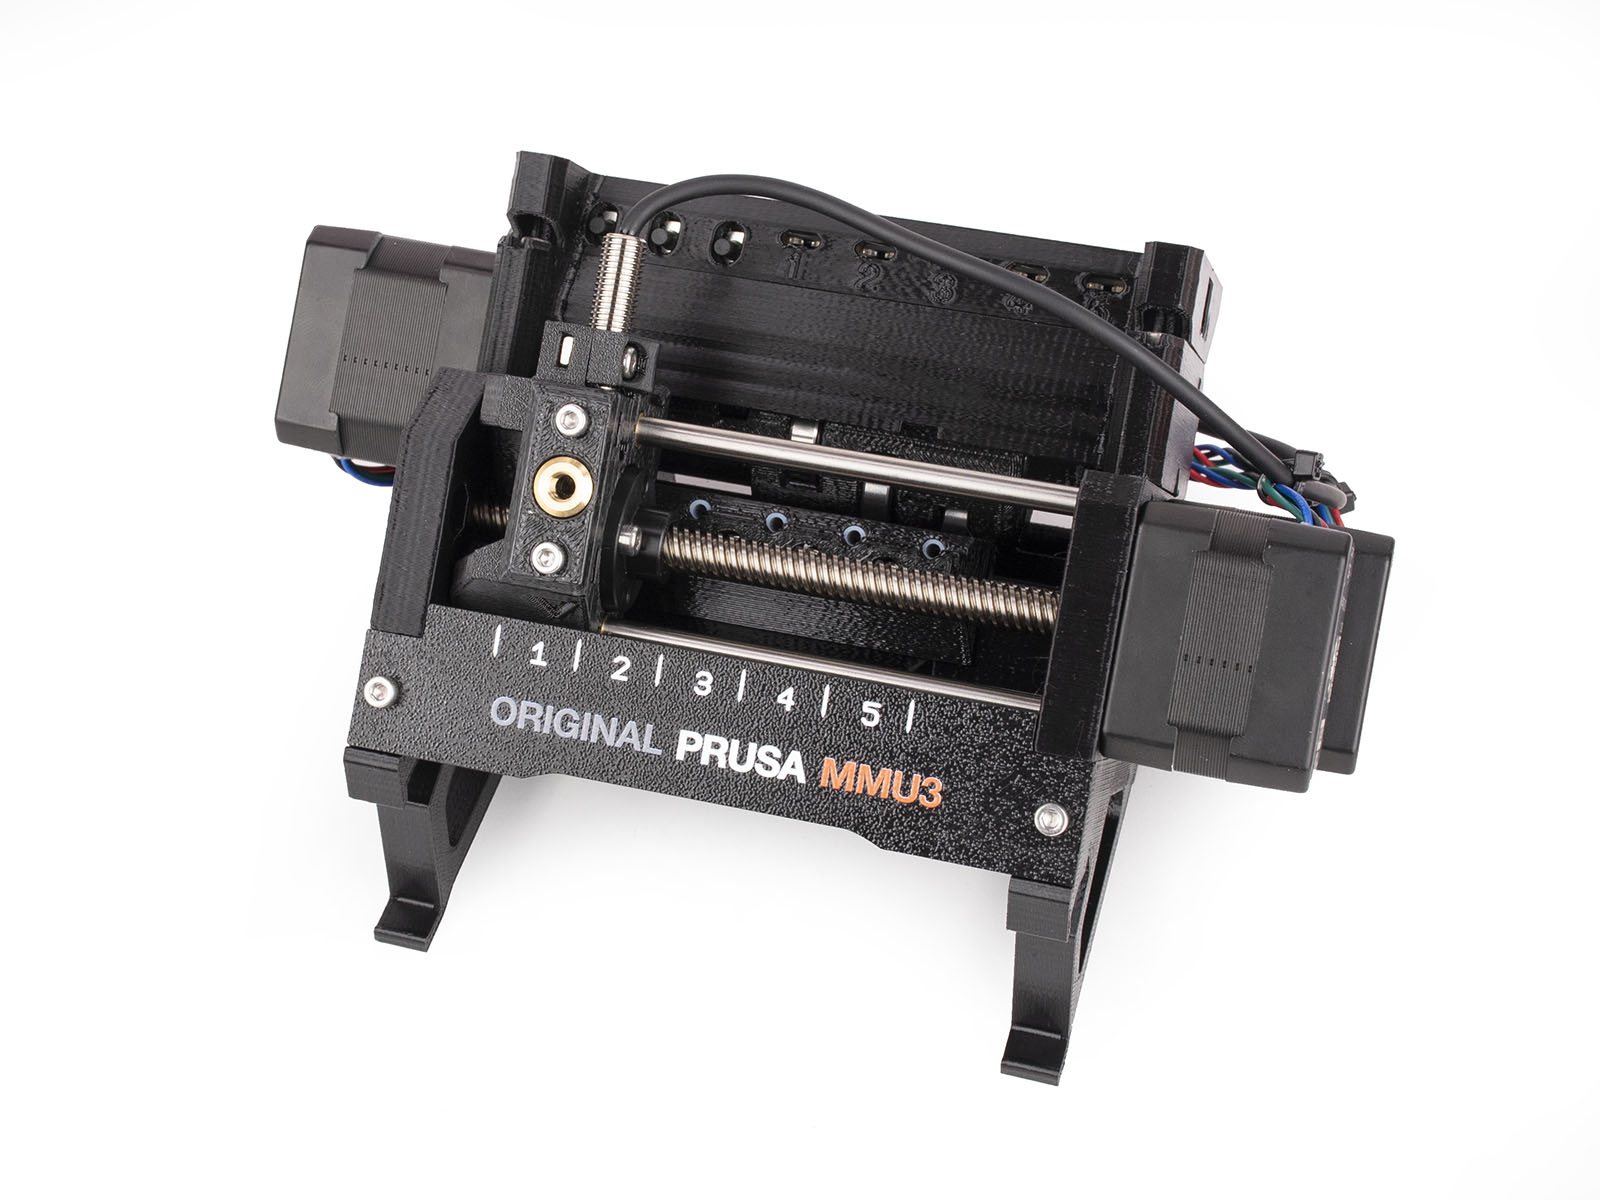
MMU3 installation requires extruder modifications. However, we need to make a few other adjustments before proceeding with that.
Let's quickly review the key points we'll cover in this guide:
Electronics INFO
Electronics INFO
Electronics INFO
The MMU3 requires a specific cable for Einsy-based (MK3S+) and xBuddy-based (MK3.5, MK3.9, MK4) printers. When moving MMU3 from an MK3S+ to an MK4, you must switch to the appropriate cable.
While working on the electronics, you can upgrade the electronics cover to the newest version, in case you have the older one in place.
More on that in the following chapter.
360mm PTFE and FESTO fittings removal
Remove the PTFE tube between the printer and the MMU unit by undoing the FESTO fittings.
Set it aside so that it doesn’t mix up with the new parts. These FESTO fittings will be replaced for the new ones included in the kit.
The 360mm PTFE tube will also be replaced, as it is considered a consumable item.
Various versions of the fittings have been used in MMU units or with other Prusa products shipped before April 2024.
However, the MMU3 on the MK4 printer requires the latest evolution of the fitting, which has an internal diameter of 2.6mm.
MMU Disconnecting
MMU Disconnecting
MMU Disconnecting
MMU Disconnecting
Now, we need to remove the MMU3 unit from the printer.

Make sure the printer is turned OFF and unplugged from the wall outlet. 

Make sure there is no filament loaded.

Remove the MMU3 unit from the printer by lifting the back of the unit up.
Open the printer’s electronics box and remove the MMU3 power connectors. Re-tighten the terminals afterwards.
Disconnect the MMU data cable from the Einsy board.
Leave the neighboring IR Filament sensor cable in place.
650mm PTFE removal
650mm PTFE removal
650mm PTFE removal
Disconnect the 650mm PTFE tubes from the MMU unit.
Push the collet in and hold it. Push the PTFE tube in, then pull it out to remove it easily.
Disconnect the 650mm PTFE tubes from the Buffer.
Save them. We will re-use these PTFE tubes.
Spool holder INFO
Spool holder INFO
Spool holder INFO
Spool holder INFO
Remove the 650mm PTFE tubes from the spool holders.
You have one of these two spool holder versions:

The older vacuum-formed spool holder. 

If this version works well for you, you can continue using it.

The injection molded spool holder.

Your kit includes an updated version of these spool holders, featuring wheels made from POM instead of ABS.

If your MMU3 kit was shipped before April 2024, we recommend upgrading to the updated injection-molded spool holders included in your kit.


Continue
Continue
Continue to the following chapter to upgrade your MMU3 unit.
Was this guide helpful?

Comments

Still have questions?

Still have questions?

If you have a question about something that isn't covered here, check out our additional resources.
And if that doesn't do the trick, you can send an inquiry to [email protected] or through the button below.

Contact us