The Prusa Pro HT90 supports two print head configurations. The default high flow print head handles materials up to 300°C. For industrial materials like PEI, PEKK, and PEEK, use the high temperature print head, which reaches up to 500°C.
Removing print head
- Unload filament and cool the nozzle below 50°C.
- Turn off the printer and unplug it from power.
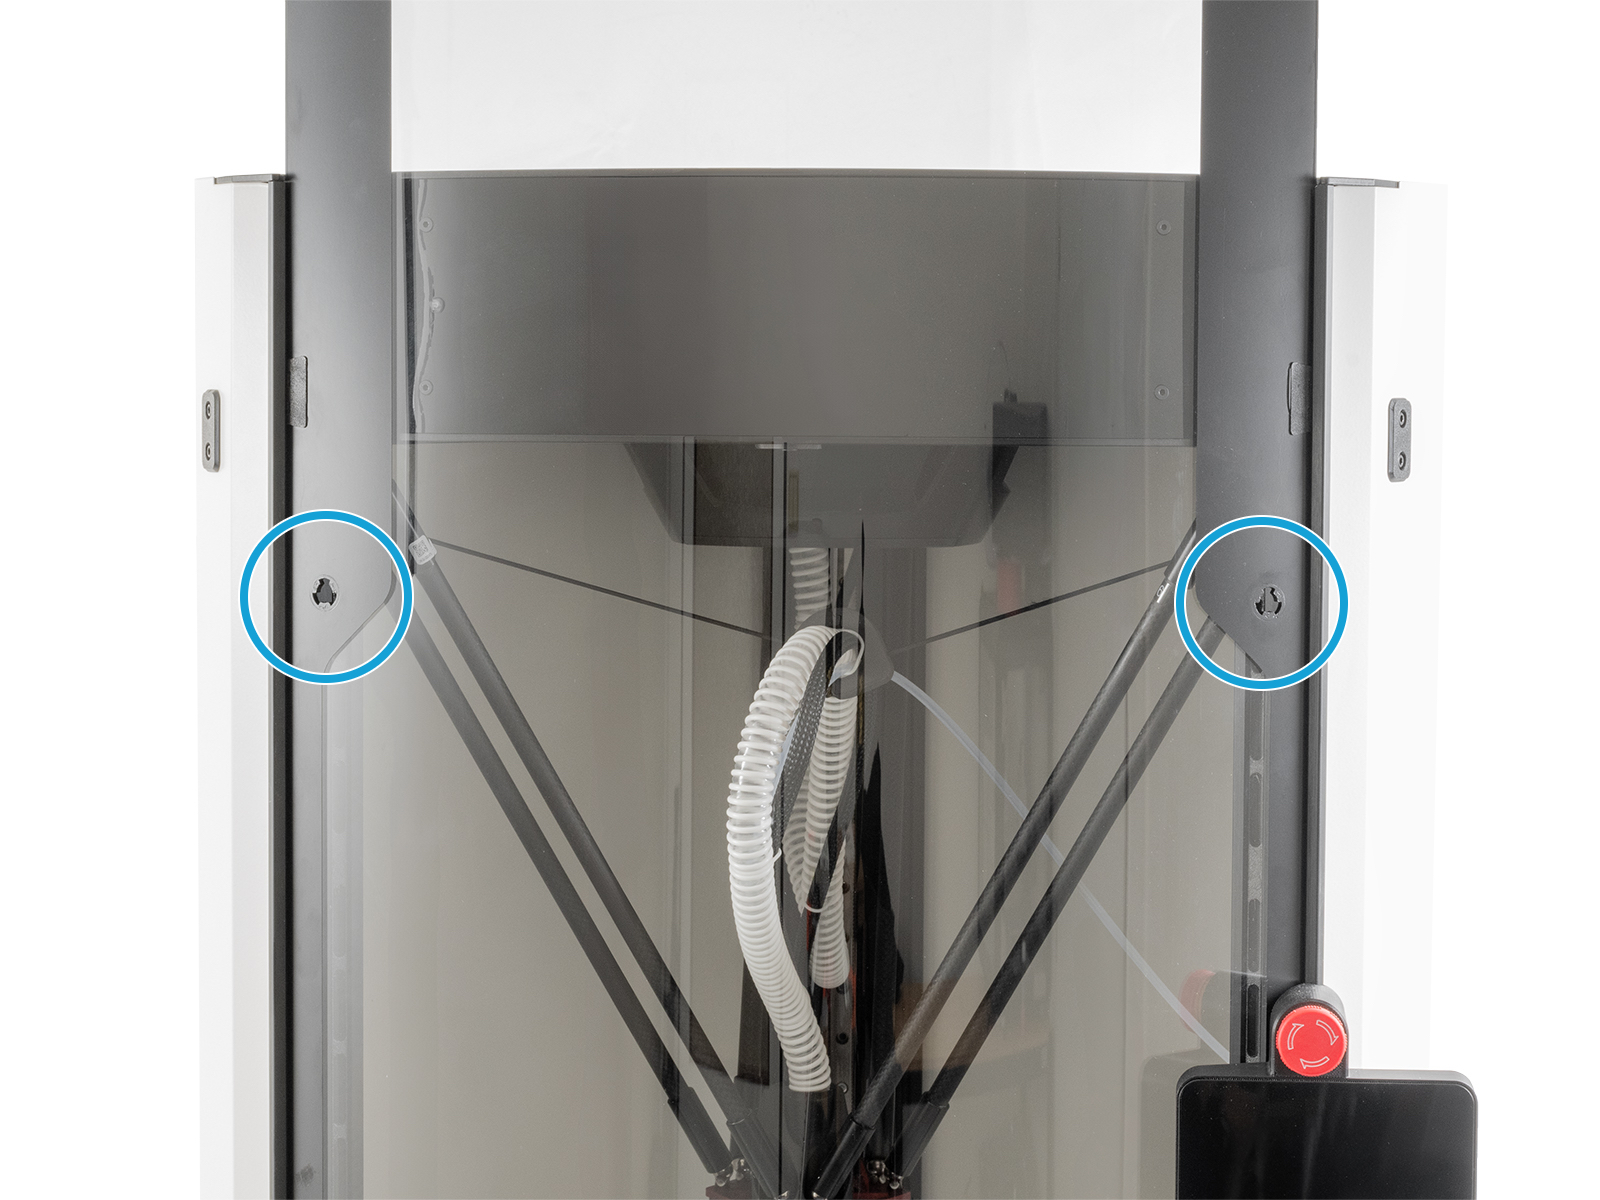
- Using a flat-head screwdriver, turn the stoppers by 120° counter-clockwise and remove them. Open the door to the maximum height.
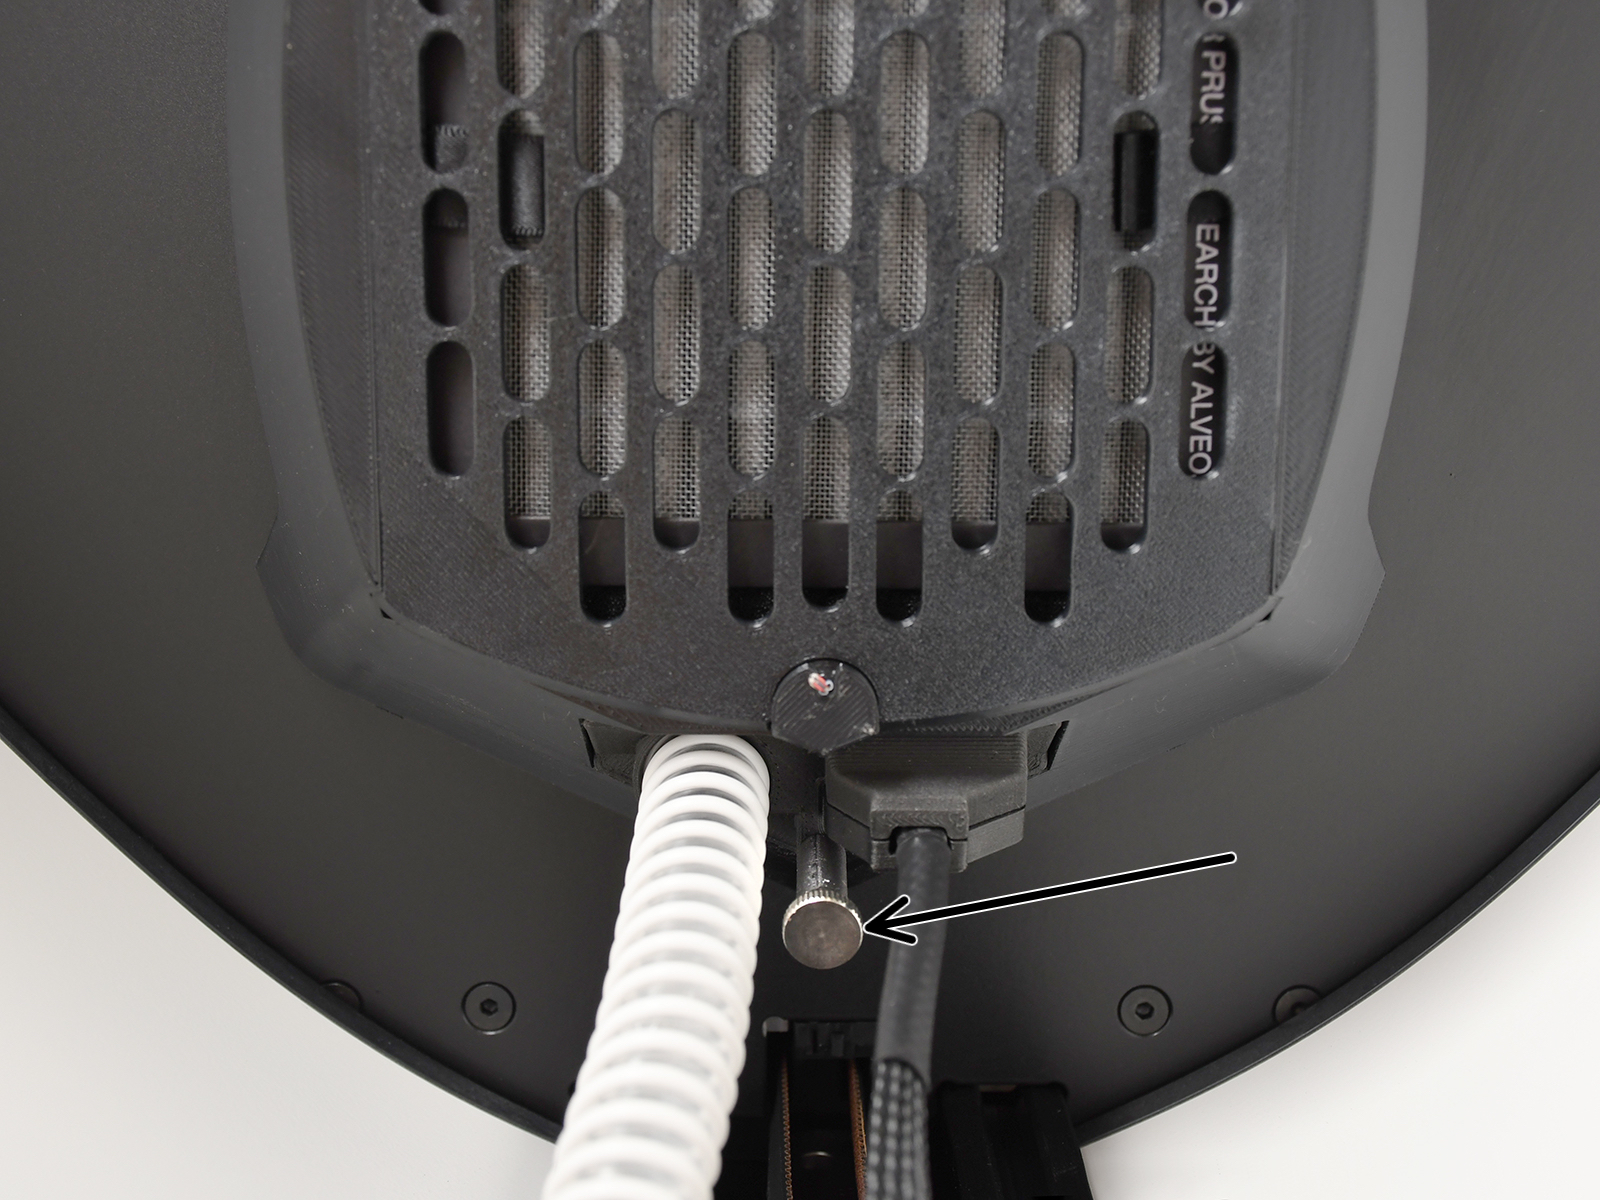
- At the top of the printer, behind the HEPA filter, there is a connector assembly held by a thumb screw. Undo the screw.
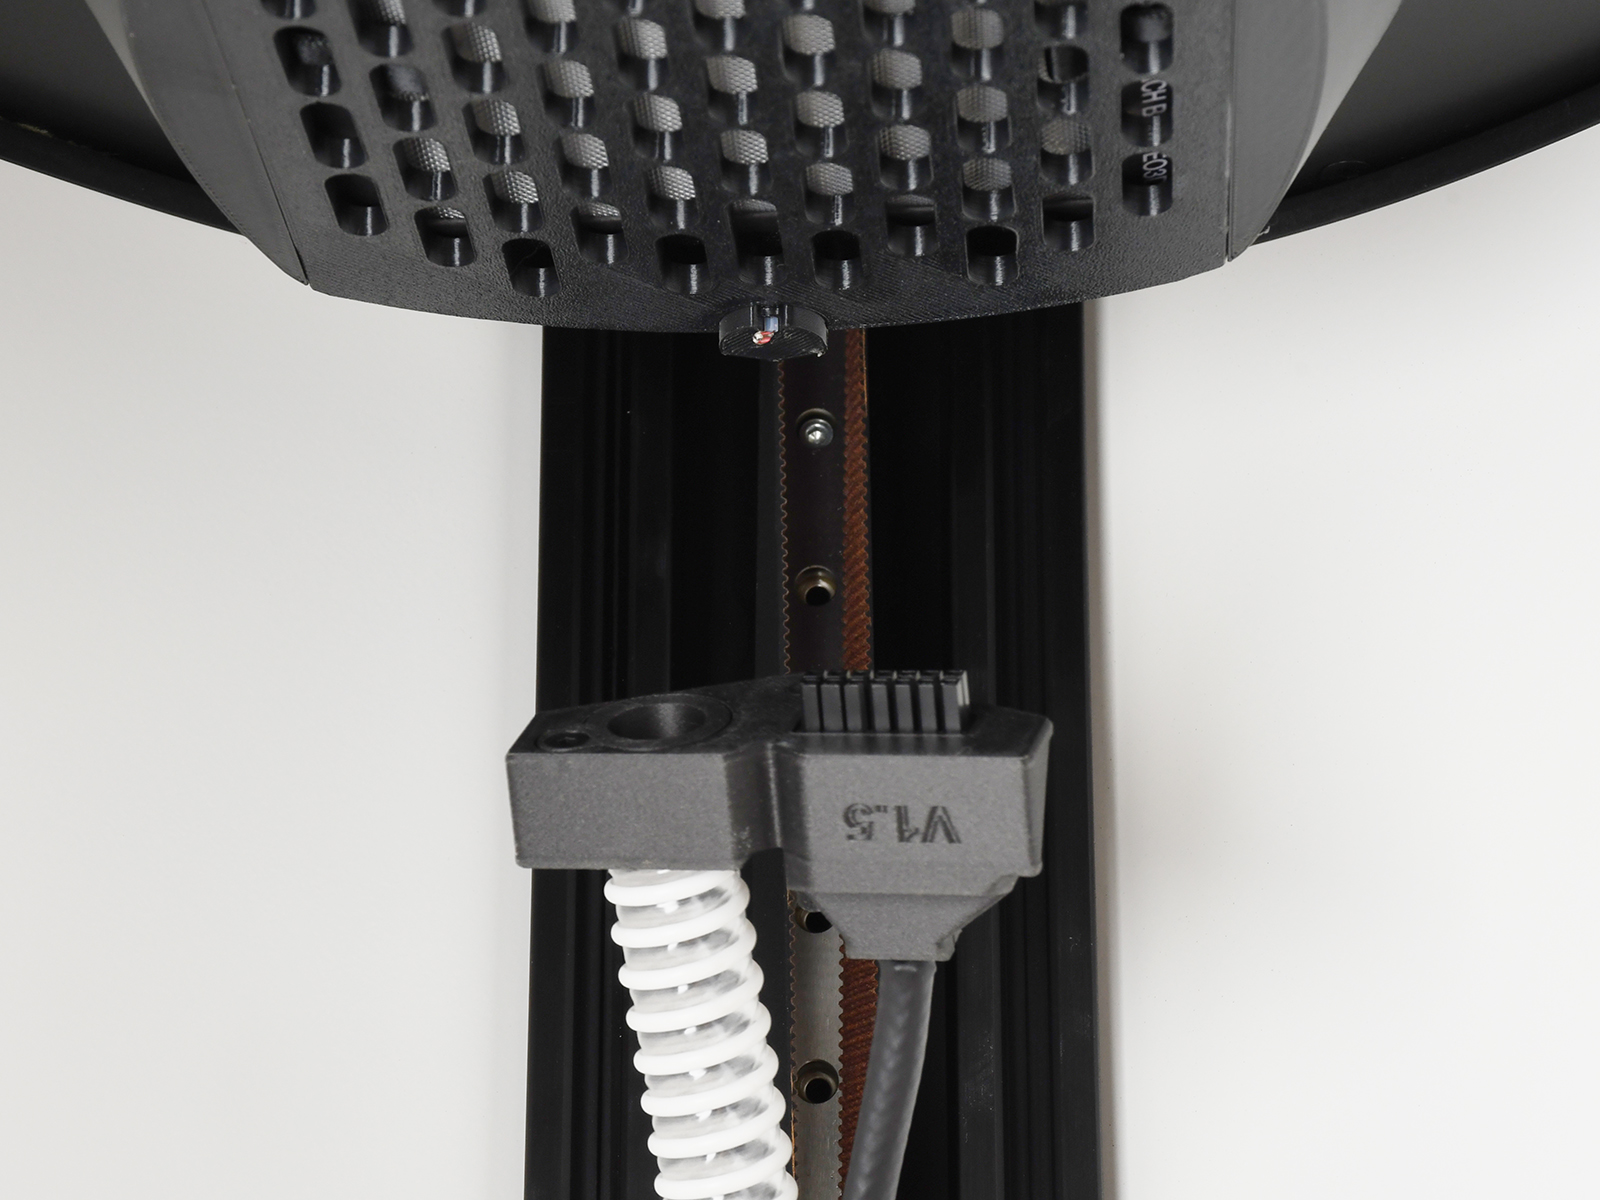
- Pull the entire connector assembly downwards to disconnect it.
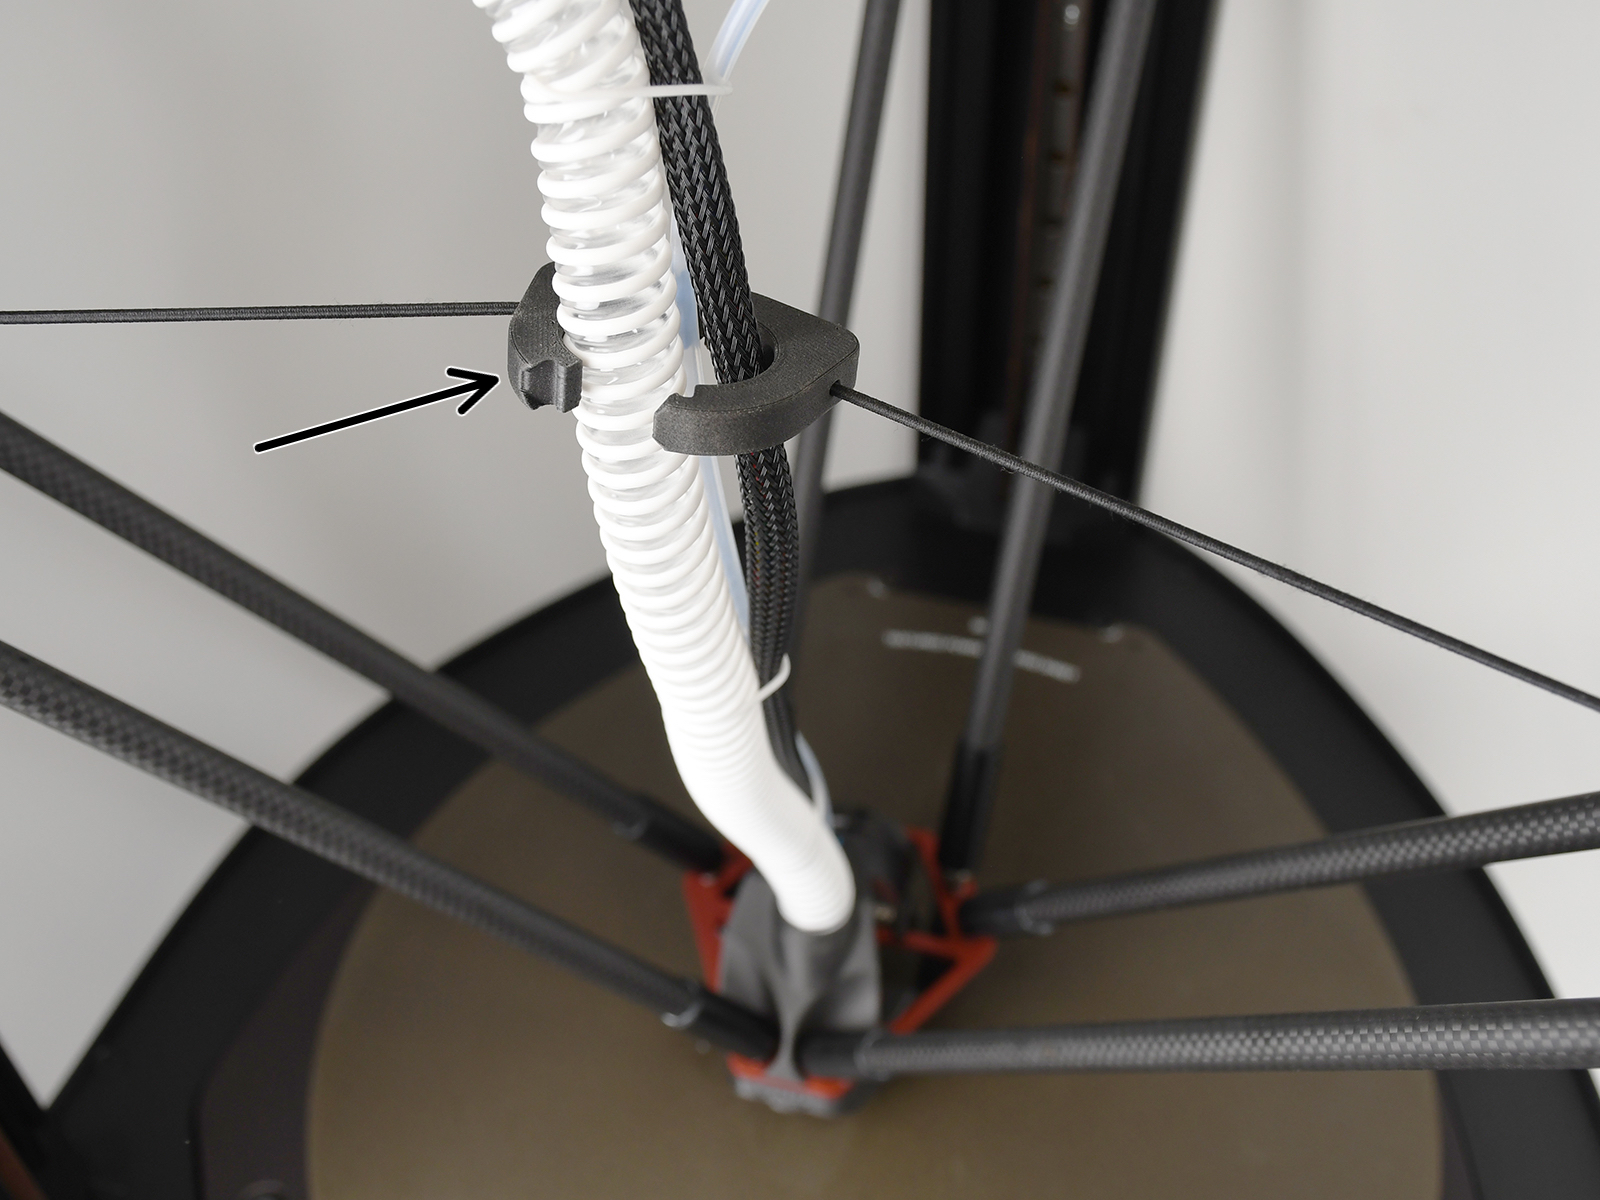
- Open the C-clamp holding the air hose and cable bundle.
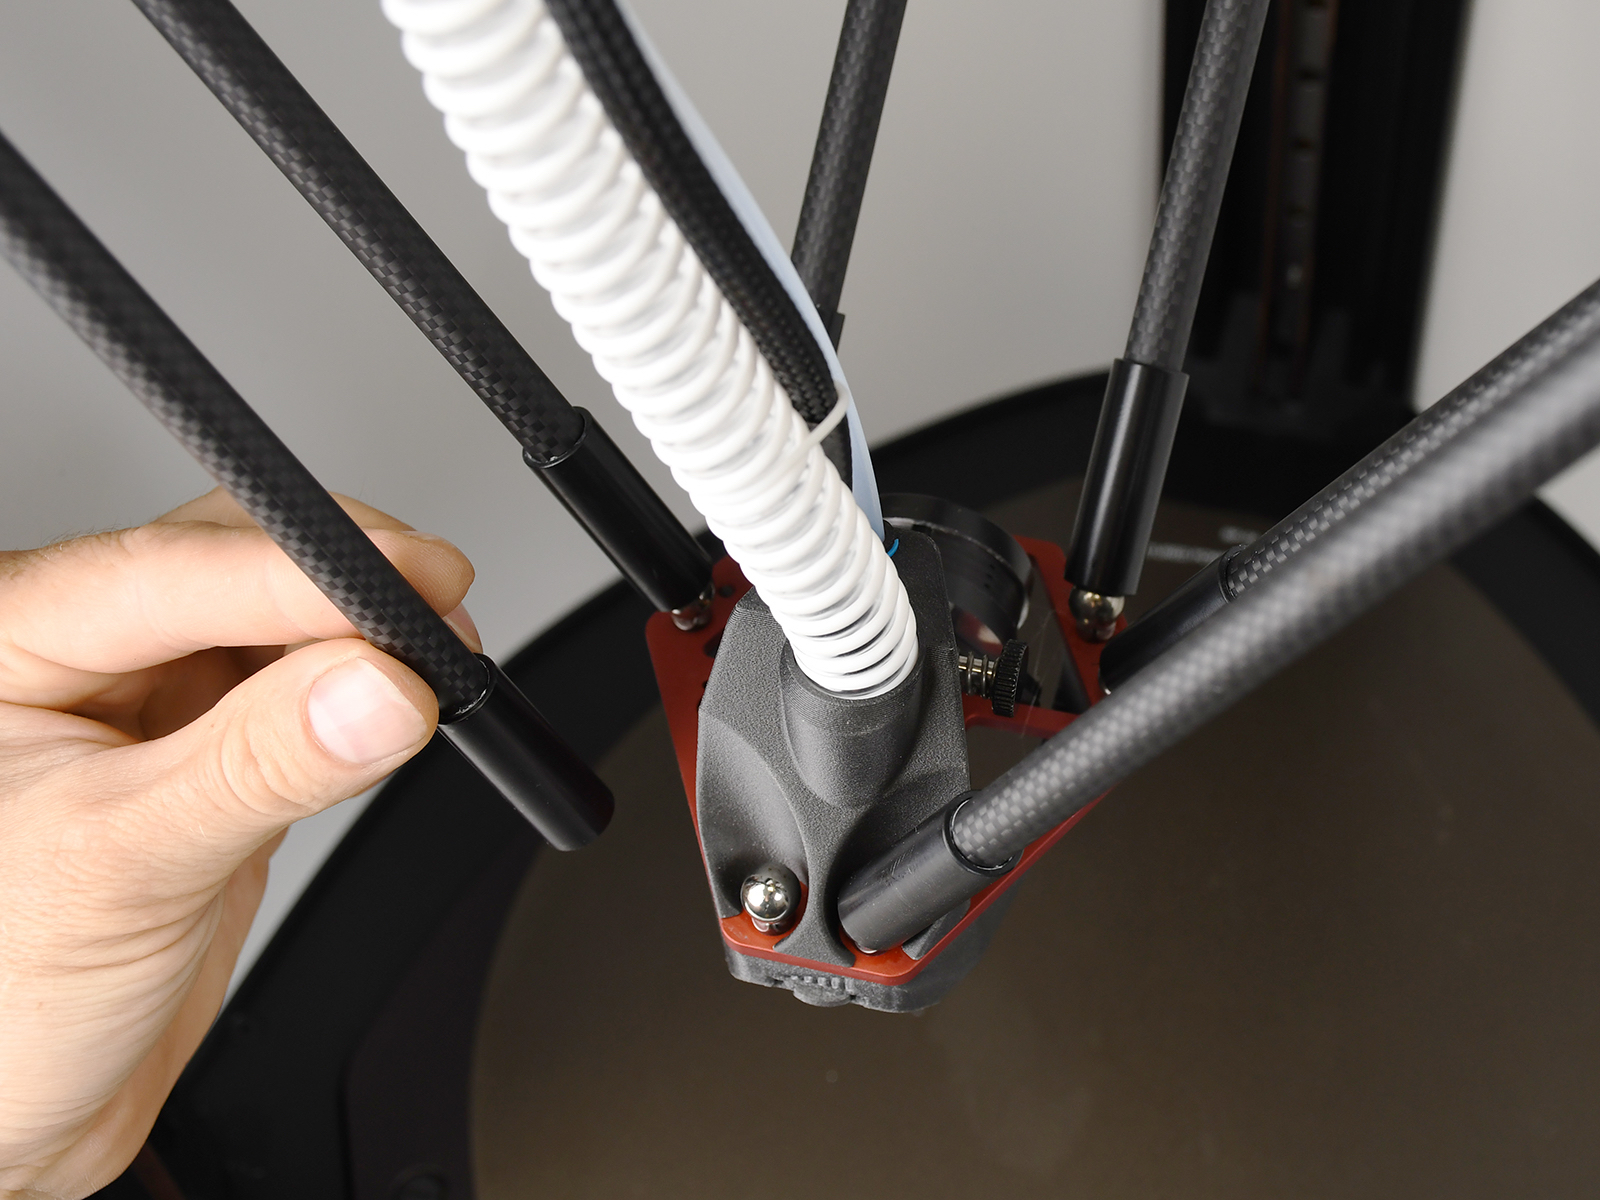
- Hold the print head with one hand and carefully disconnect the arms from the ball joints with your other hand, one by one. This will release the print head.
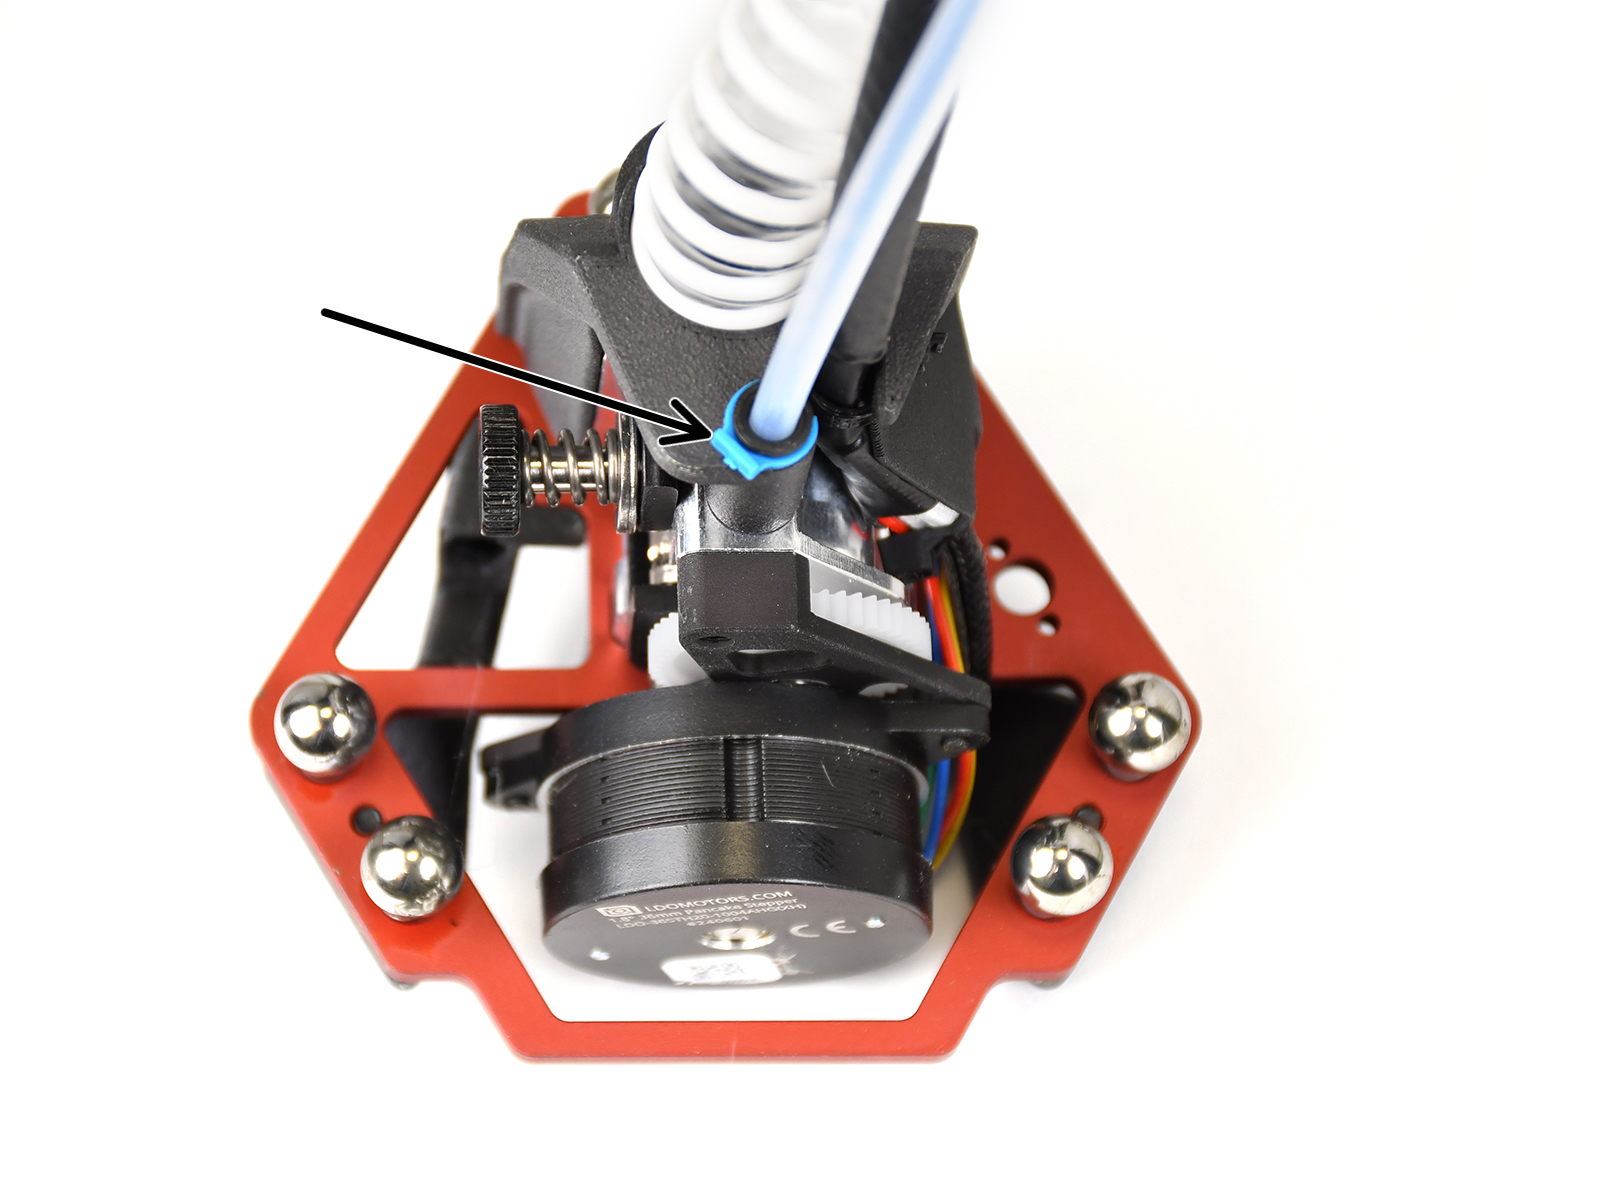
- Remove the PTFE tube collet retainer clip.
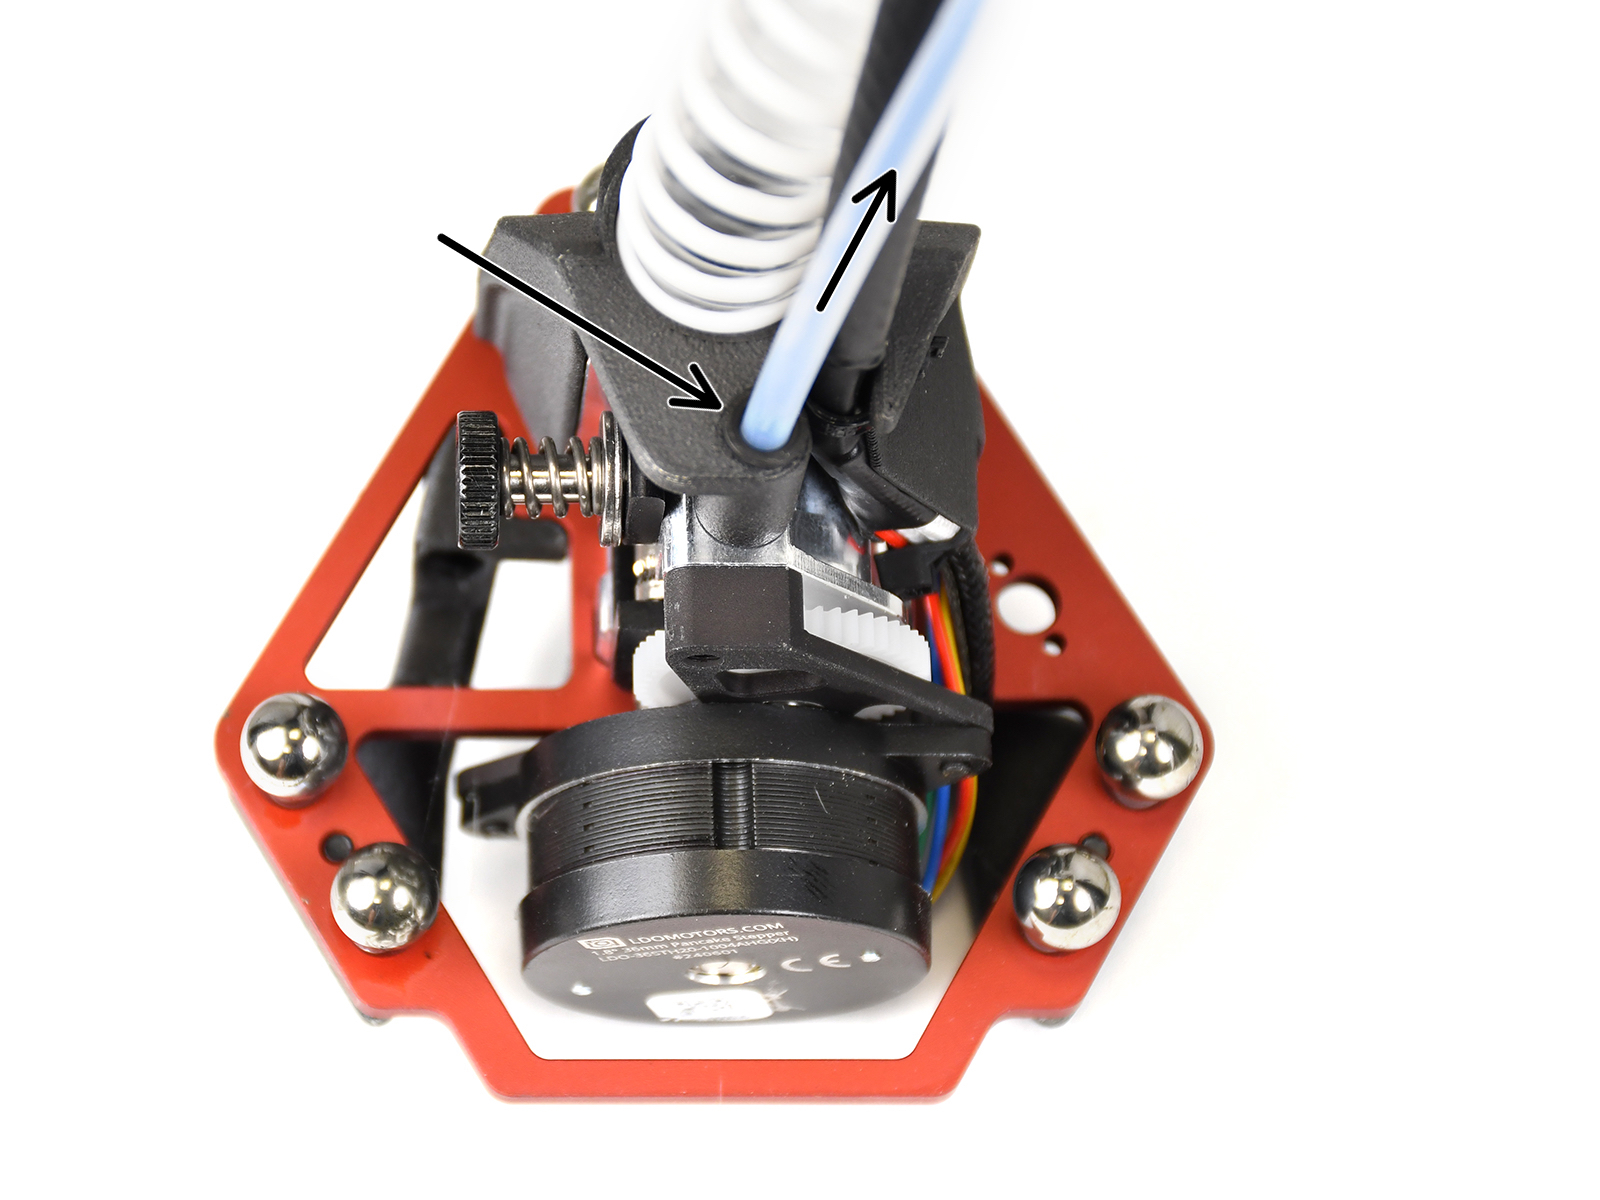
- Push down the collet, while pulling the PTFE tube out, to remove it.
Installing print head
- Lubricate the ball joints on the new print head with a small amount of PTFE lubricant.
- Connect the arms to the ball joints.
- Rejoin the C-clamp holder around the air tube and cable bundle.
- Insert the PTFE tube into the print head and secure the collet with the retainer clip.
- Reconnect the air hose and cable bundle behind the HEPA filter.
- Secure the connector assembly with the thumb screw.
- Close the cover and reinstall the cover stoppers.
Was this article helpful?
This action is available only to registered users. Please log-in.