You can recognize under extrusion when there is material missing in your print’s layers. Printed objects with under extruded layers can be fragile and tend to break apart. There could be several causes to under-extrusion and you should also think if you recently did any changes to your printer (or perhaps no maintenance for a long period), as you might find the culprit there.
 Example of severe under extrusion (left cube) and a normal print (right cube).
Common factors in under extrusions on printers equipped with Nextruder are:
- Nozzle
- Slicer settings
- Gearbox
- Filament
Nozzle
The nozzle on the Nextruder has to be at the correct height and tightened.
CORE One, MK4/S, MK3.9/S
To check this aspect, loosen the thumb screws (do not completely remove the screws, a few turns are enough) on the side of the heatbreak, and push the nozzle up. The copper ring on the tube should not be visible.
Tighten the thumb screws just by hand, do not use any tools.
If you have a Nozzle Adapter, check the installation again to make sure that the nozzle has not been lowered or loosened with the installation of the adapter.
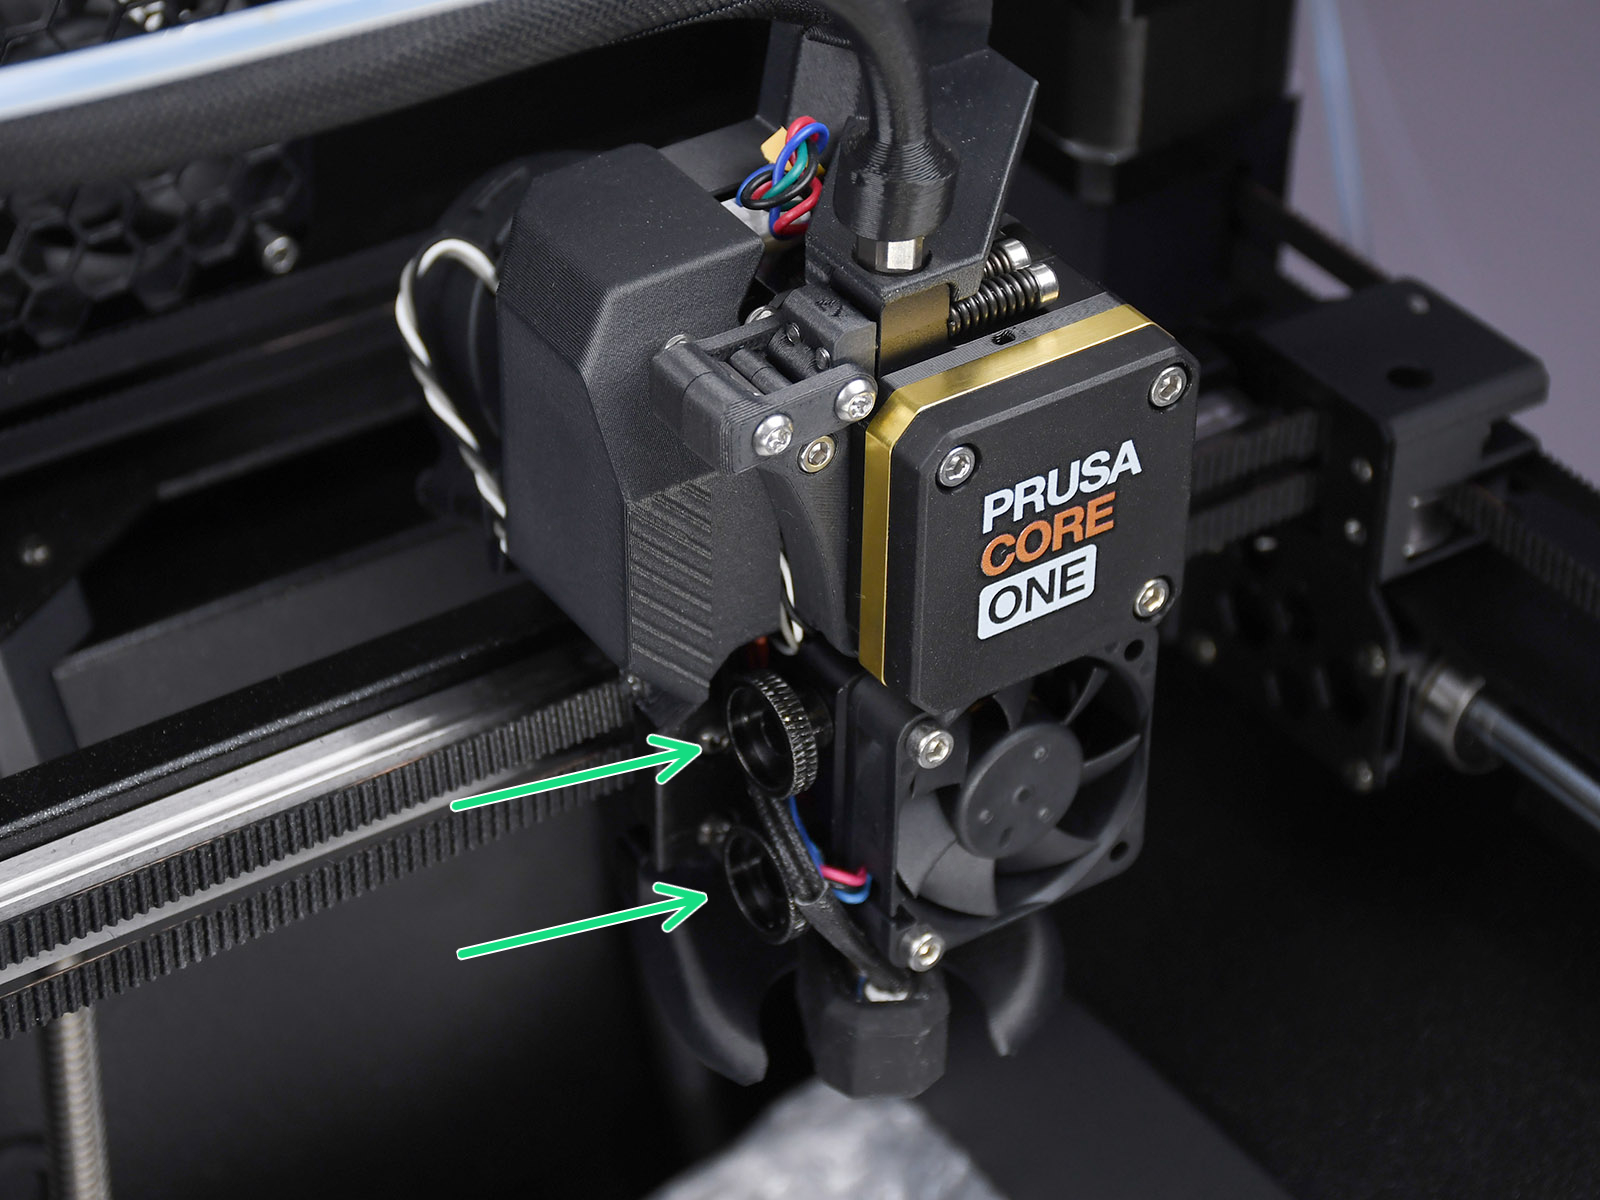 | 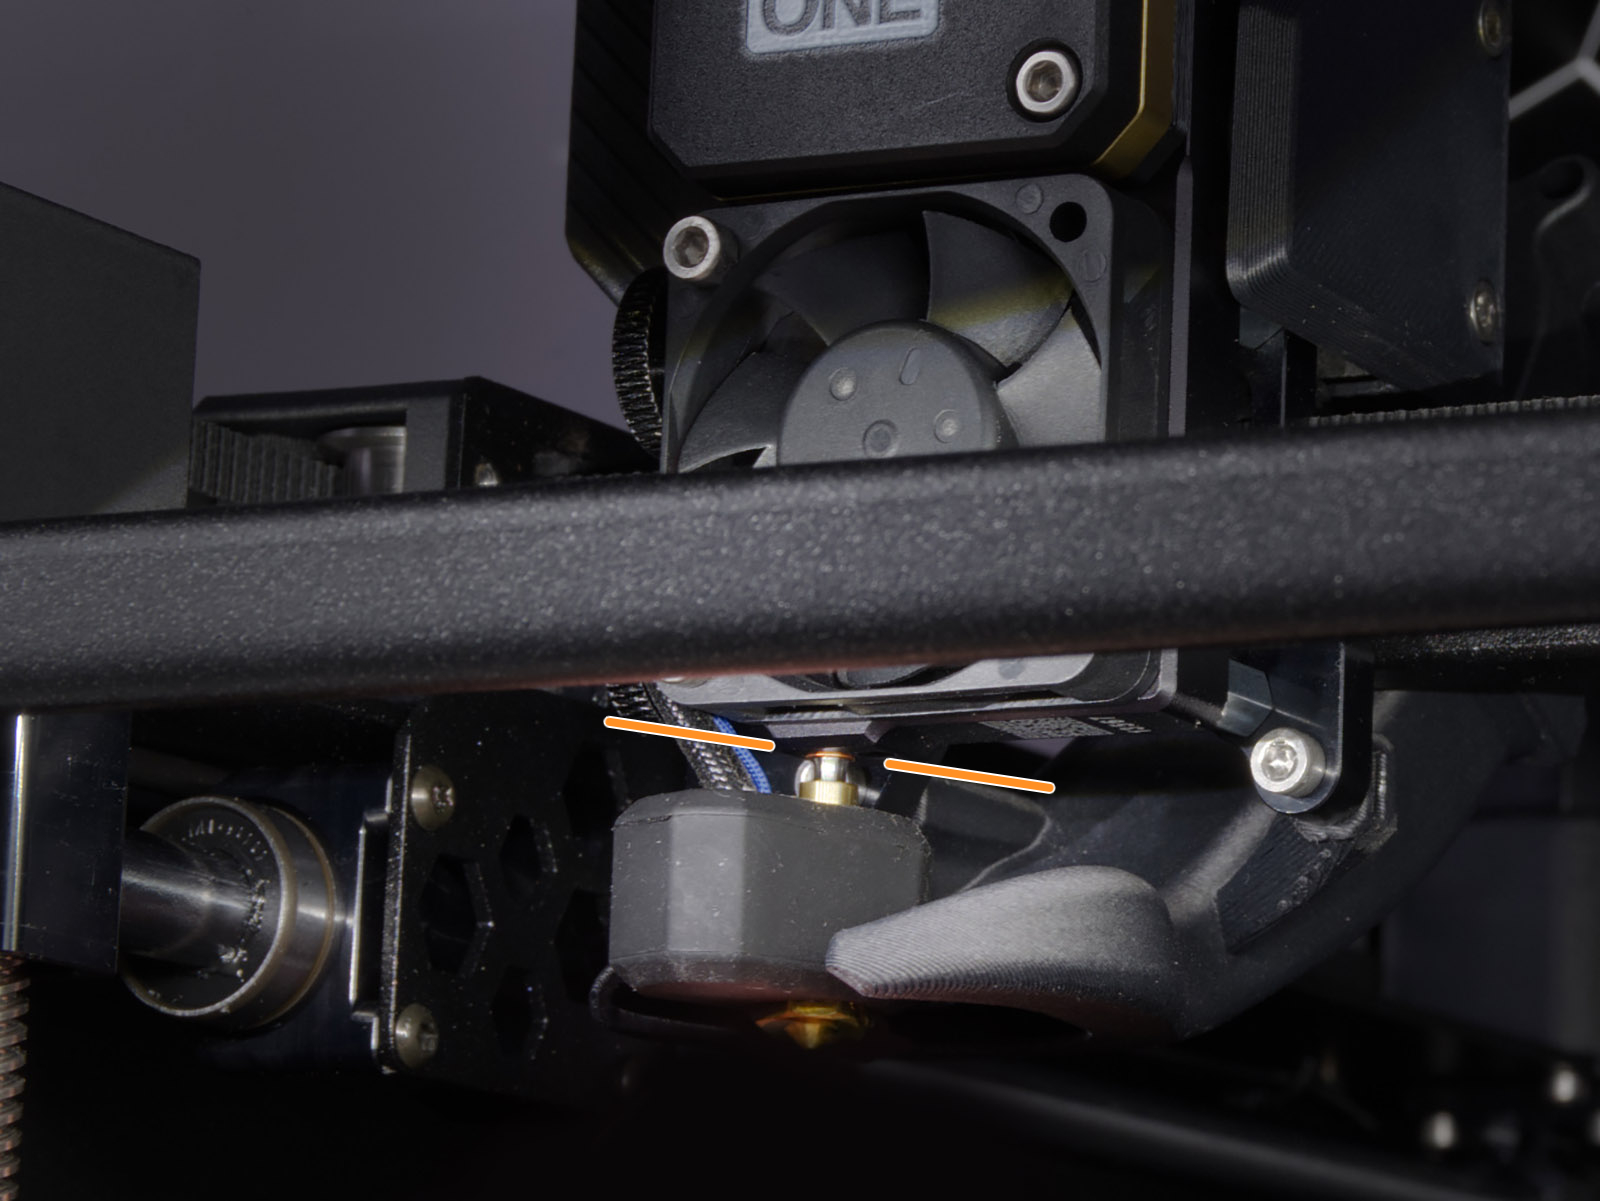 |
| Prusa CORE One | |
 | 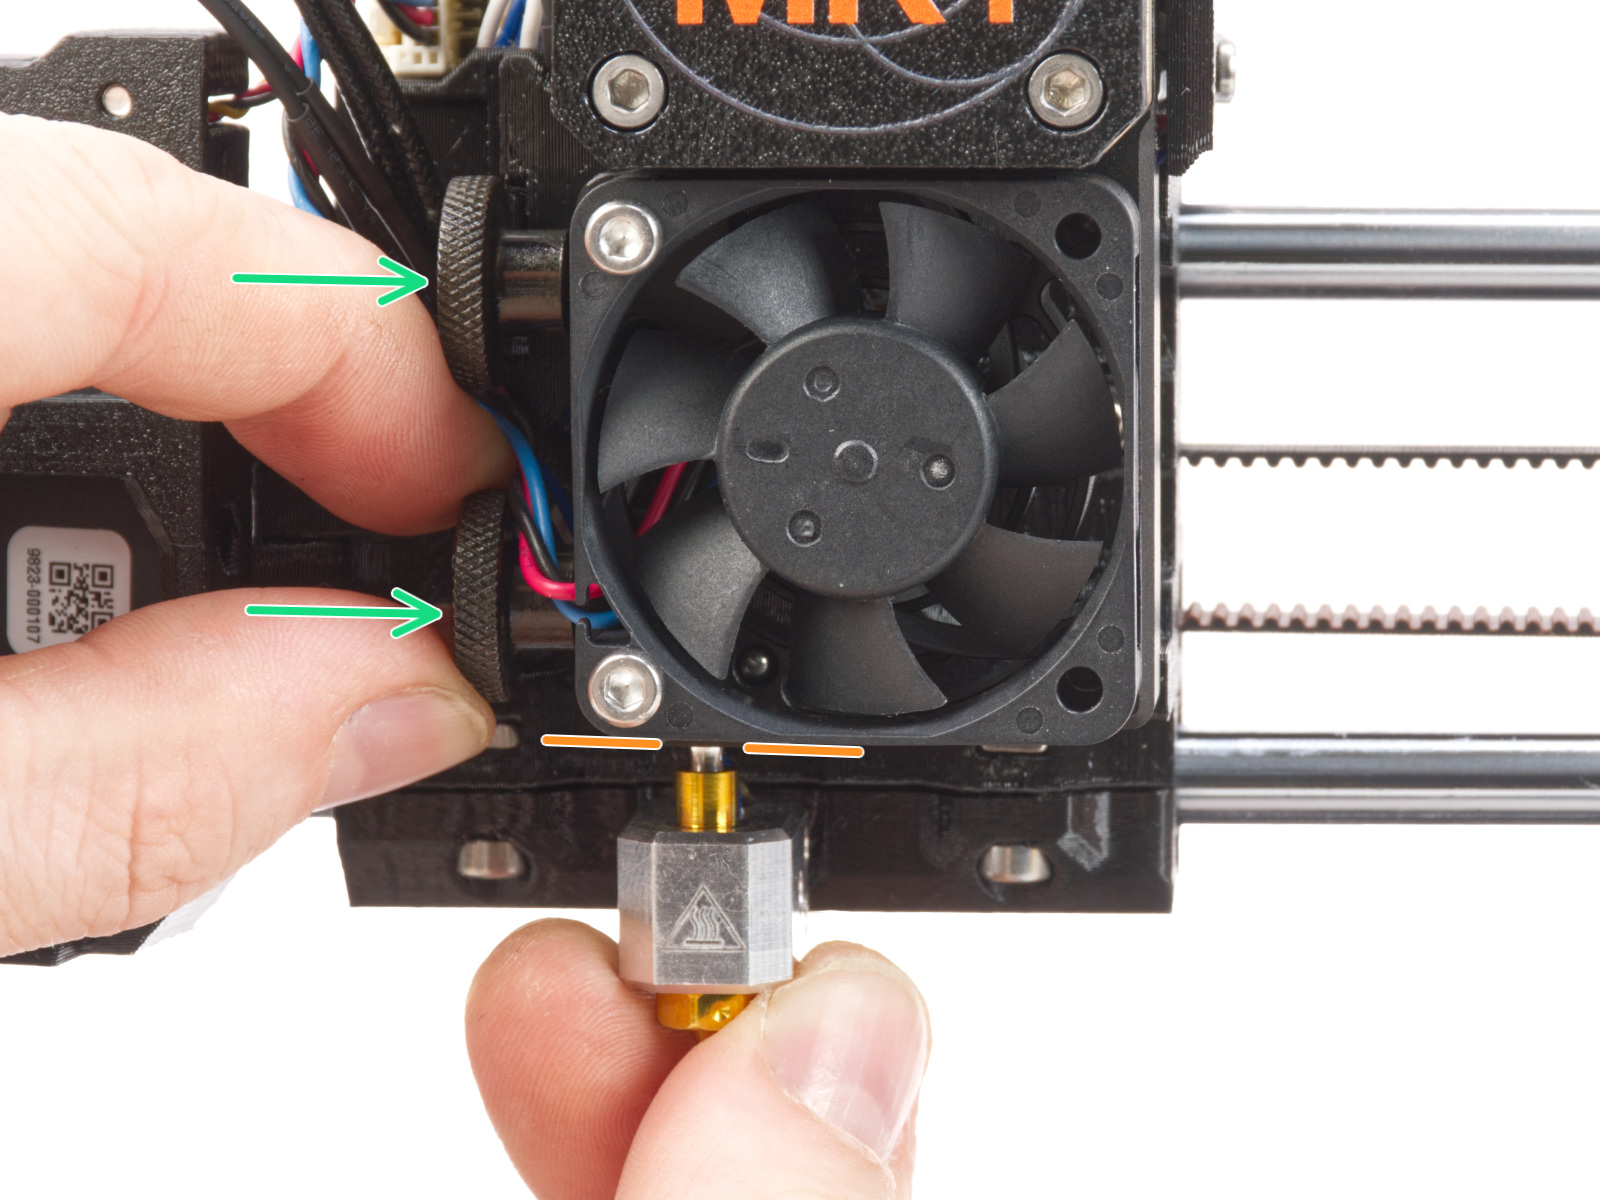 |
| MK4S, MK3.9S | MK4, MK3.9 |
XL
For the following procedure, where the hotend is temporarily extracted and reassembled, you can refer to the hotend replacement guide.
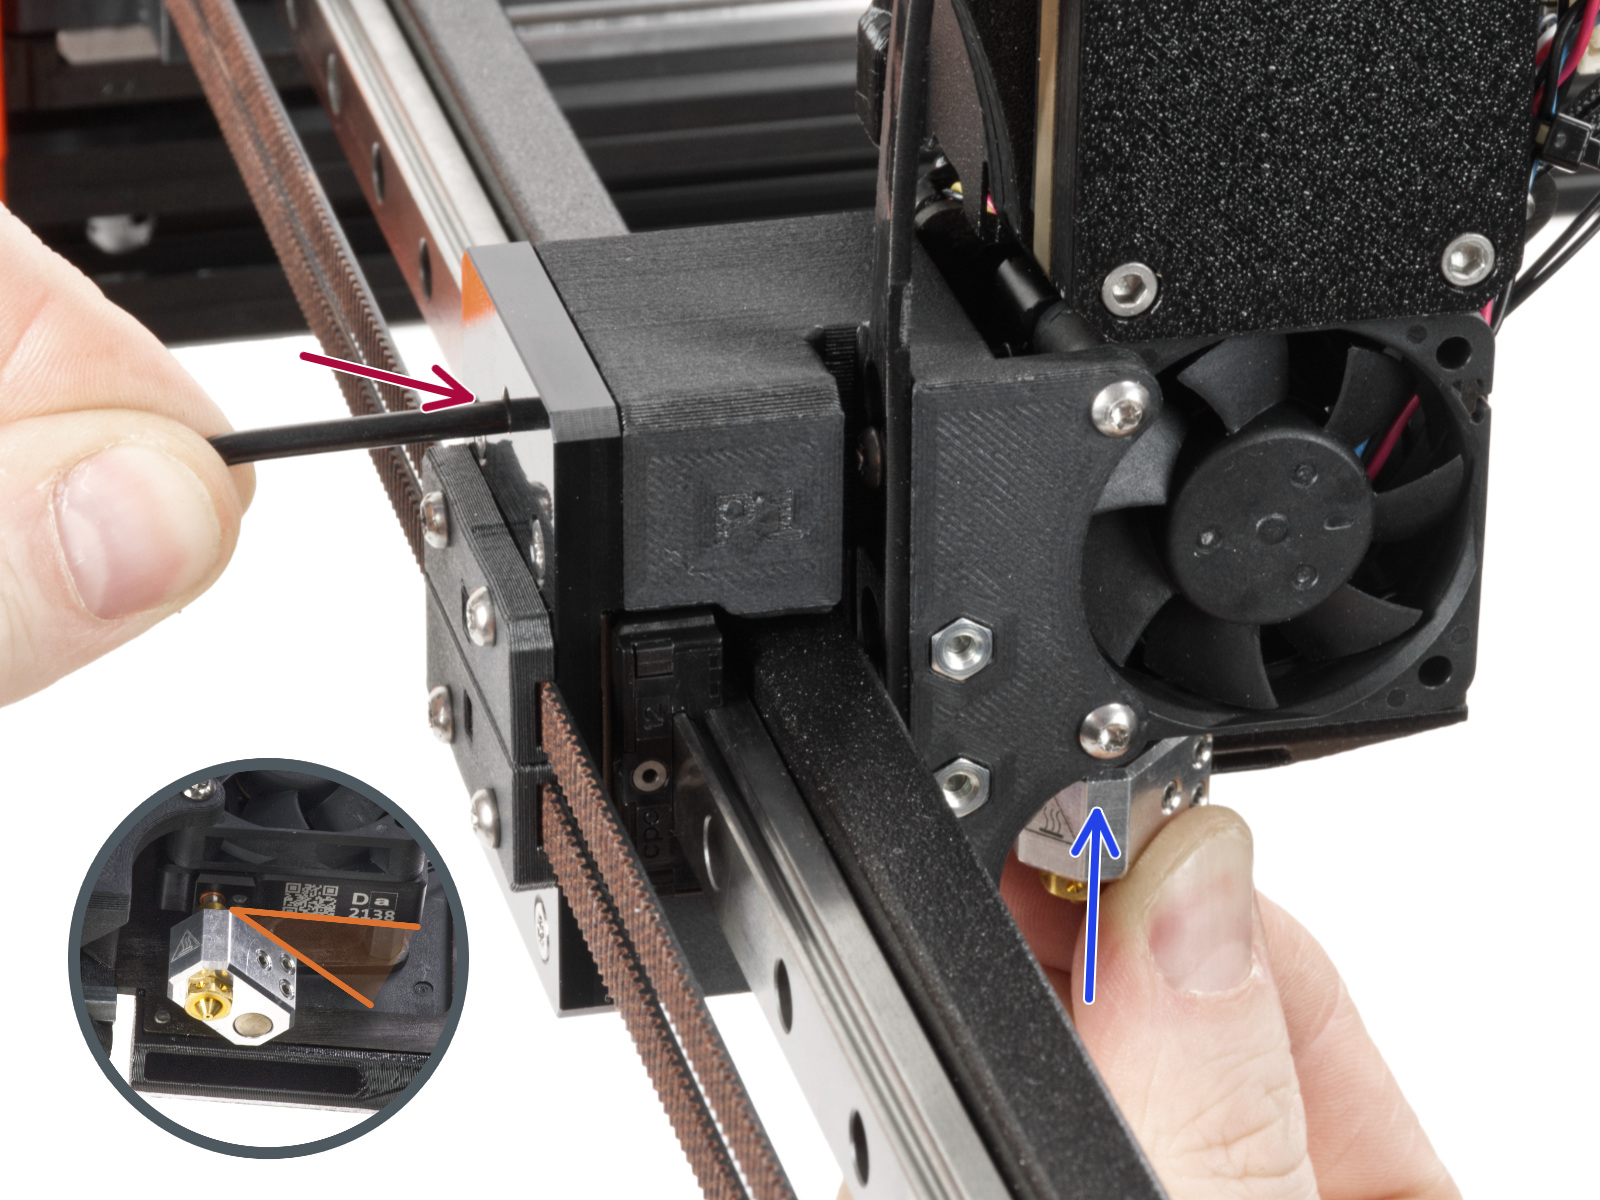
Temporarily extract the nozzle and check whether the metal nozzle tube has a dent. If it has, the nozzle needs to be replaced.
On single-tool XL, use the Torx TX8 key as shown in the picture to adjust the set screw. Do not use extra force while tightening, it may damage the hotend tube. The nozzle must be approximately at a 35°-40° angle to avoid damaging the hotend cables.
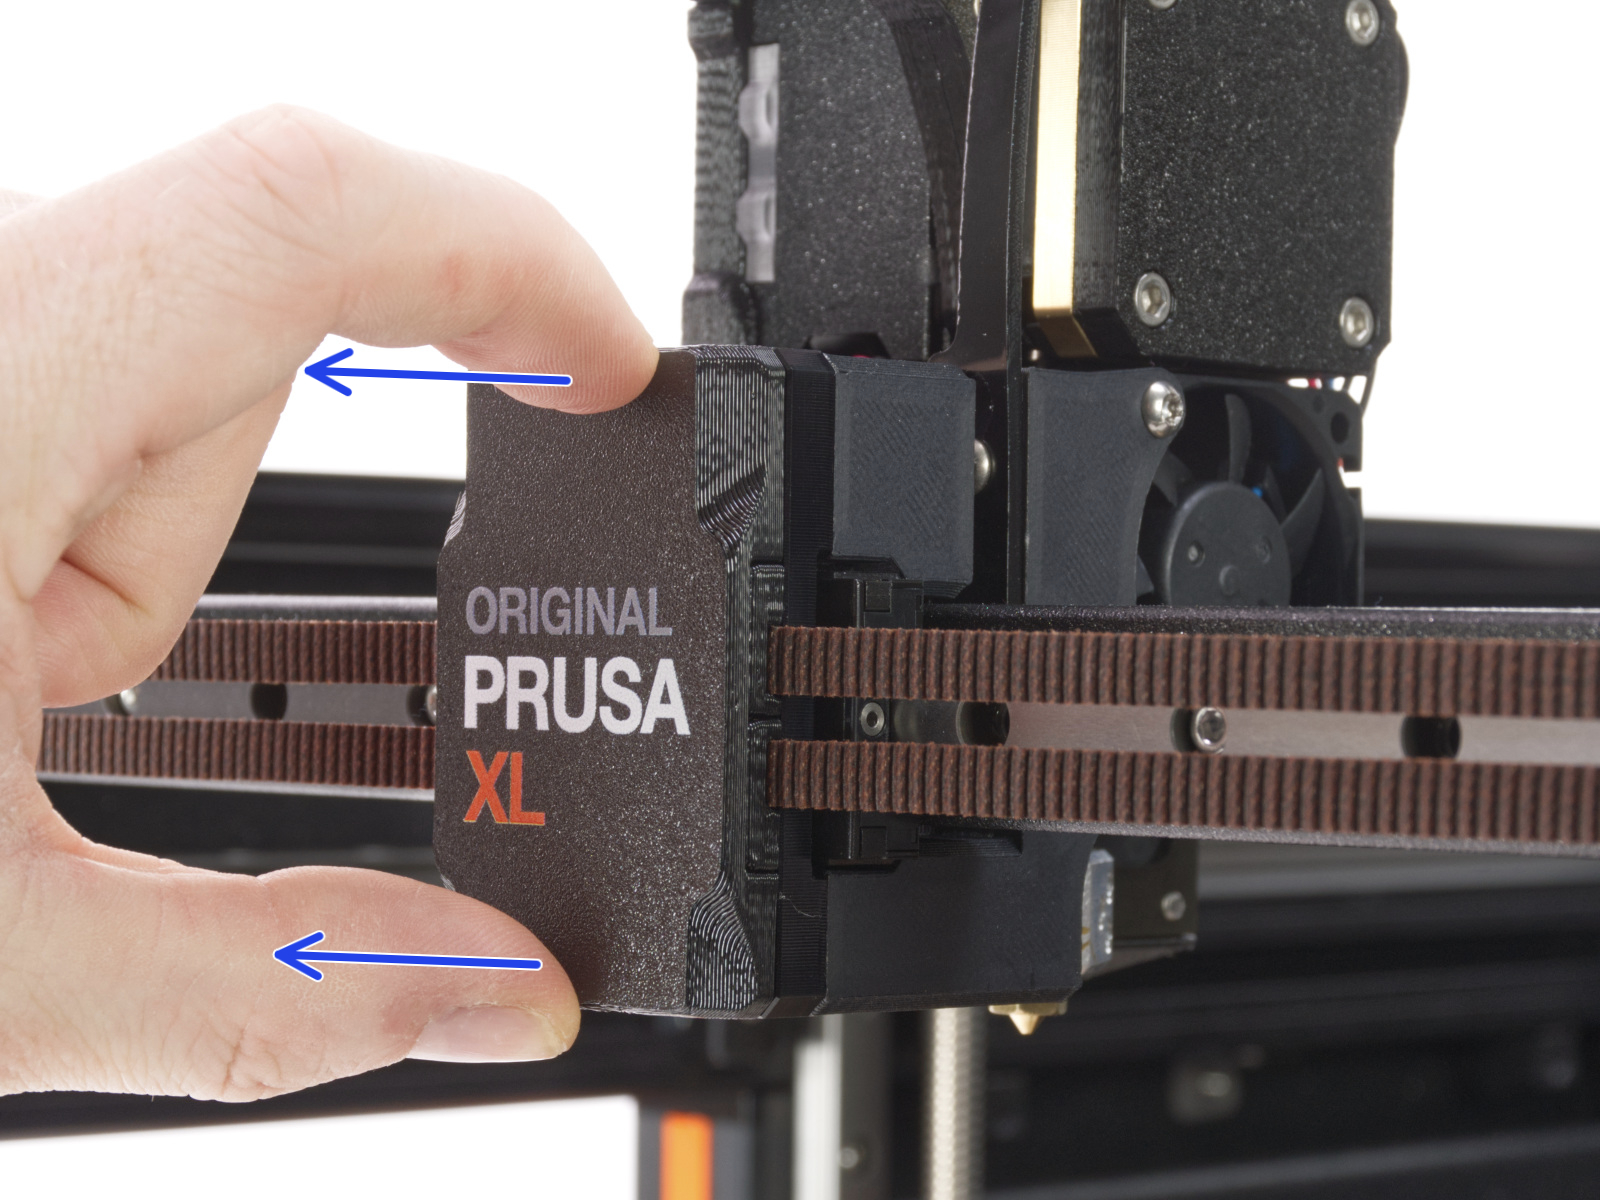 |  |
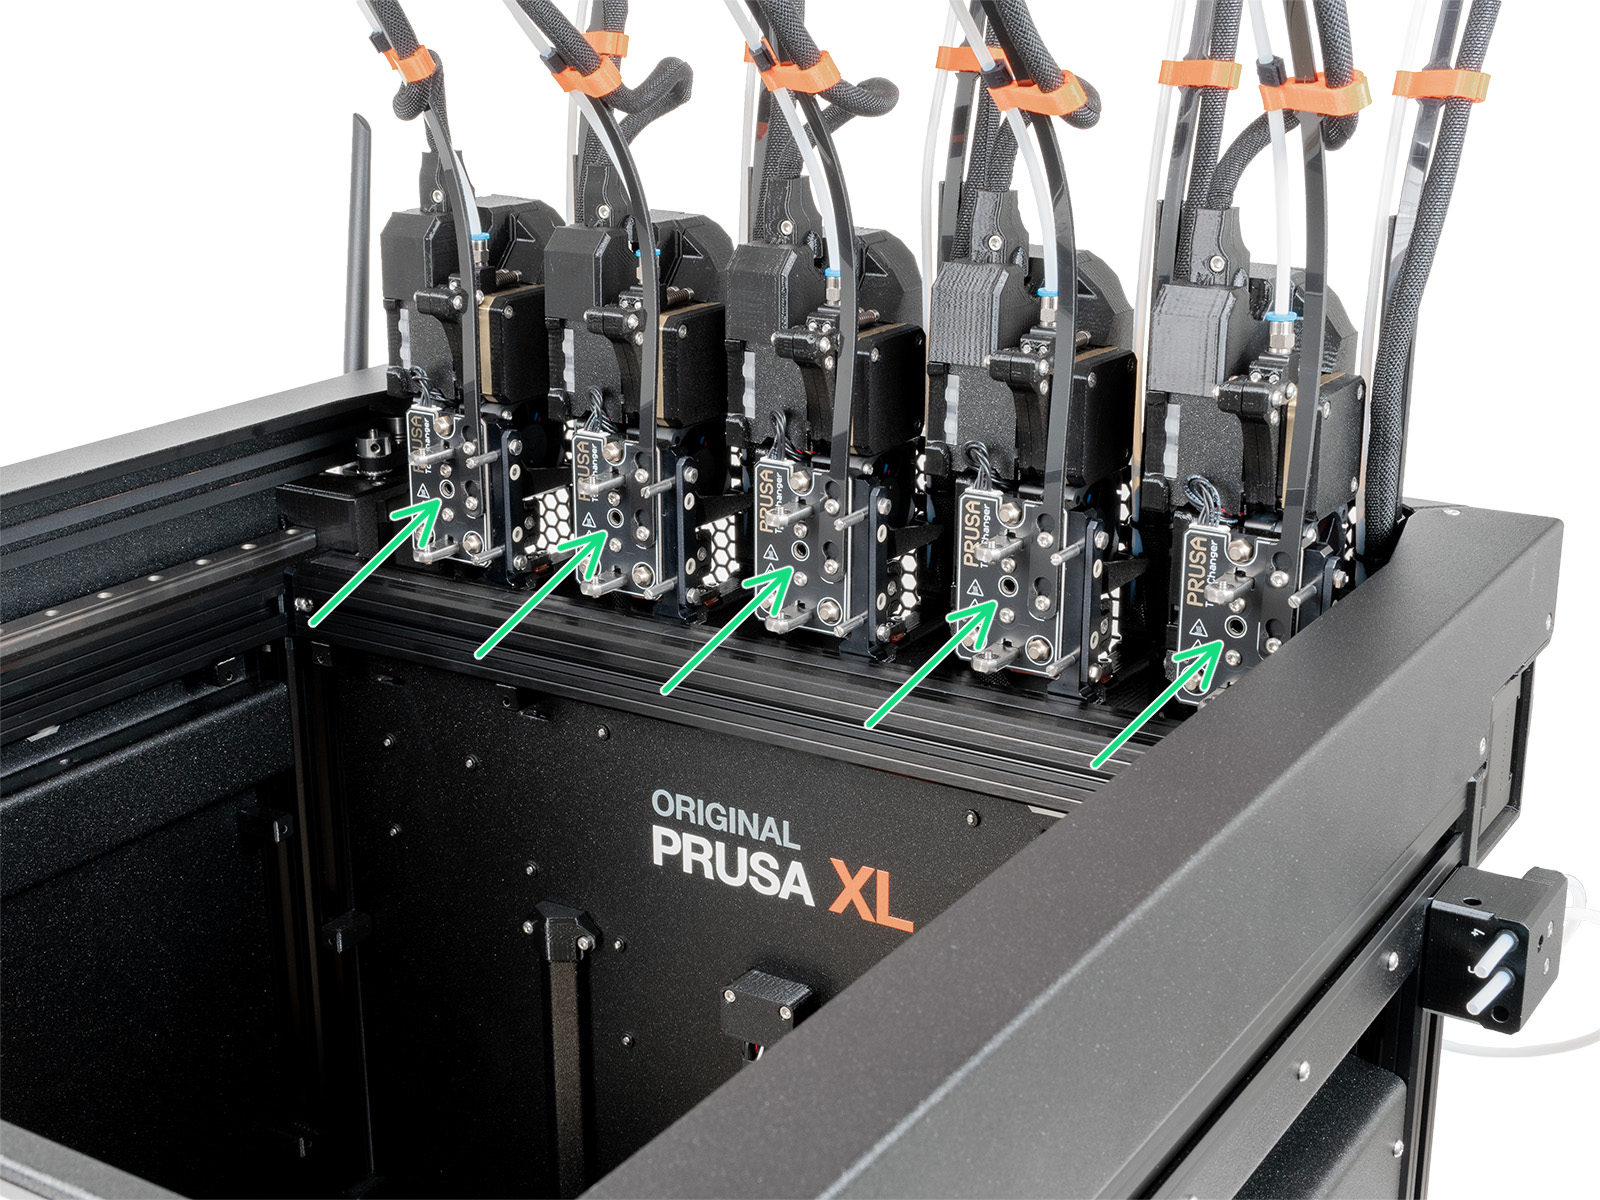
On multi-tool XL, use the Torx TX8 key in the part shown in the picture to adjust the set screw. Do not use extra force while tightening, it may damage the hotend tube. The nozzle must be approximately at a 35°-40° angle to avoid damaging the hotend cables.
Slicer settings
Each profile in the PrusaSlicer contains settings that determine temperature, speeds, and how much filament the 3D printer should extrude. The printer does not provide any feedback on how much filament actually leaves the nozzle. It can be that less filament is extruded than the firmware expects. If that happens, you may notice gaps in and/or in between printed layers.
Make sure you have set up your printer in PrusaSlicer by running the Configuration Wizard and as a starting point you should use the stock filament profiles which are tailored for your machine, filament type, and nozzle size.
Gearbox alignment
It is possible, especially after interventions that involve the opening of the gearbox cover, that the gearbox is not fully aligned, causing an under-extrusion issue. Below are the procedures to align the gearbox.
CORE One, MK4/S, MK3.9/S
Follow the dedicated gearbox alignment article for these printer models.
XL
The Original Prusa XL does not have an automatic gearbox alignment procedure. Perform these steps to reproduce the same movement. If loaded, unload the filament from the printer before proceeding.
- Slightly loosen the three bolts on the gearbox cover, by one turn and a half.
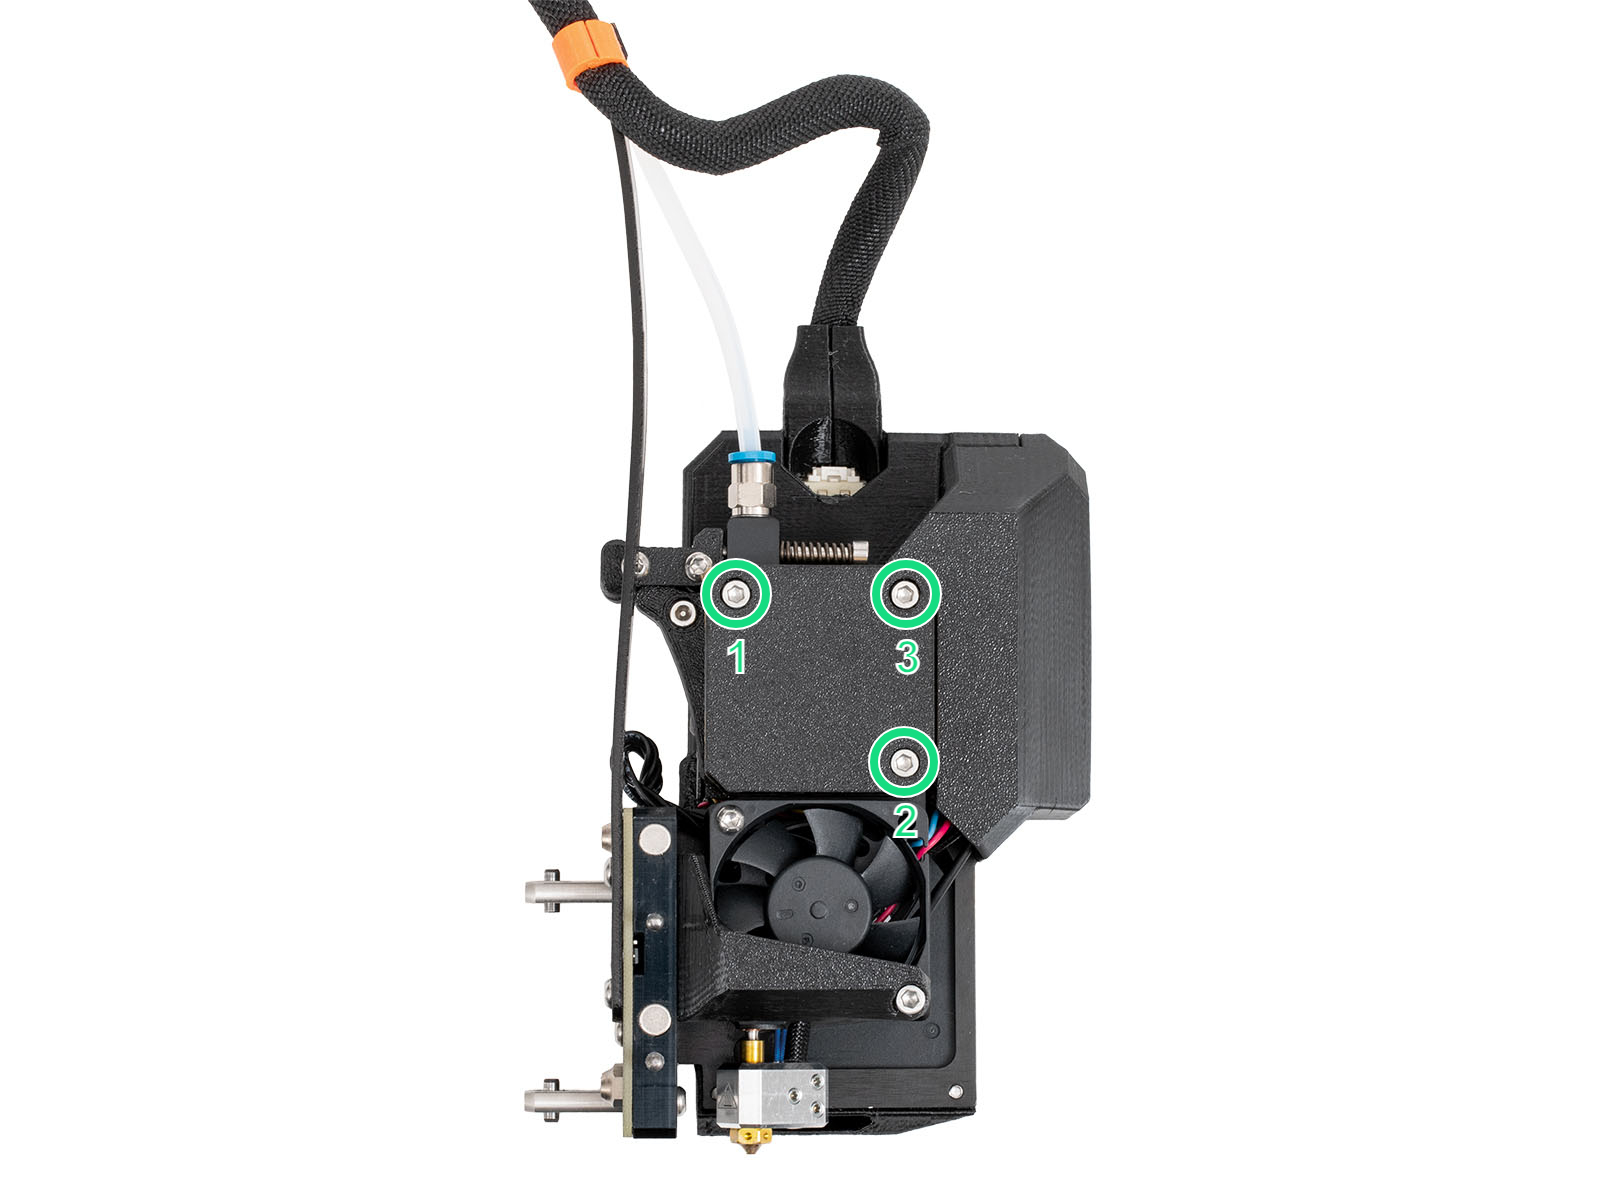
- On the LCD Menu, navigate to Filament -> Unload Filament.
- As soon as the extruder's movement finishes, tighten the three M3x25 screws on the gearbox cover, in the order specified in the picture.
Filament
A printing temperature that is too low or too high can cause print issues as well. If your filament brand and type are not listed in PrusaSlicer, you can try to adjust the print temperature by +/- 5-15°C to see if this resolves the issue.
Some specialty materials, like Flexibilní materiály, may require many adjustments and tweaks to print them successfully. Composite materials, like Woodfill filament, may require at minimum a 0.6 mm nozzle, and 0.2 mm layer height to prevent clogging. If there are composite materials like kevlar or carbon fiber, a hardened nozzle is required.
Some filaments can also have varying thickness, due to quality or infused materials like wood, which will cause unexpected changes in the volume of extruded filament. The industry standard for variations in diameter is +/- 0.05 mm.
Keep your filament dry, and free of moisture because damp filaments have a negative impact on printing, especially soluble filament, PETG, and ABS. We highly recommend putting spools back inside their original bag when it’s not in use, along with a silica gel. We recommend storing your filaments in a dry area or ideally in a “dry box”.
Incorrect loading/unloading
When loading a new filament with a lower specified temperature, preheat the nozzle to the temperature required by the previous filament type you have used. In other words, always to the highest temperature filament, as its remnants are most likely still in the hotend. For example, if you have printed with ABS or PETG and want to print with PLA now, load the PLA filament at the ABS or PETG temperature. This way, the newly introduced filament can push the old one out.
Low-temperature materials and enclosure
Printing PLA or a similar material in an enclosed printer can cause under-extrusion.
For example, on our Original Prusa Enclosure with closed doors, if the ambient temperature is over 27°C, the temperature inside the enclosure may be too high for printing PLA or similar materials, causing under-extrusion or clogging.