English

1. Before you start with Multi-Tool
Step 1 of 31 (Chapter 4 of 5)
Contents
Comments
This chapter shows a brief description of the wizard. Please note that the screenshots are illustrative and might differ from those in the firmware.
Make sure you are running Firmware 5.1.2 or newer
Some parts of the wizard must be done multiple times, this depends on the number of tool-heads. For example:
⬢Dock Calibration
⬢Loadcell calibration
⬢Filament sensor calibration
Contents
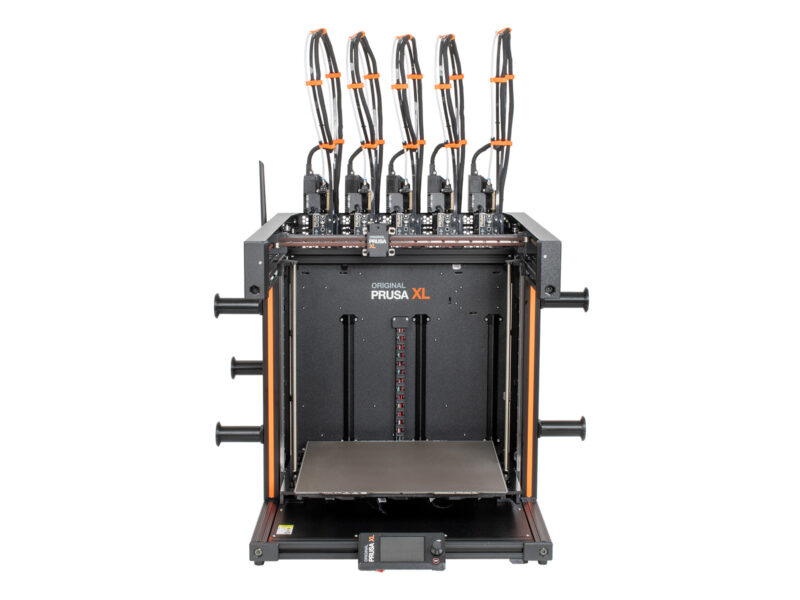
Original Prusa XL Five-Head (Assembled) (1.06)
- 1. Introduction
- 2. Printer unboxing
- 3. Printer set up
- 5. First run
- Before you start with Multi-Tool
- Preparing the printer
- Firmware update
- Prusa Nextruder sock (Optional)
- Nozzle seal heigh calibration
- Nozzle seal heigh calibration
- Wizard
- Wizard: Dock Position Calibration
- Wizard: Loosen pin
- Wizard: Loosen screws
- Wizard: Lock the tool
- Wizard: Tighten the upper screw
- Wizard: Tighten the lower screw
- Wizard: Install pins
- Wizard: Dock successfully calibrated
- Wizard: Loadcell test
- Wizard: Calibrate Filament Sensors
- Wizard: Calibrate Filament Sensors
- Calibration pin: parts preparing
- Calibration pin: parts assembly
- Wizard: Tool Offset Calibration
- Wizard: Sheet install
- Wizard: Calibration pin installation
- Wizard: Offset calibration done
- Calibration pin
- It's done
- Regular printer maintenance
- Quick guide for your first prints
- Printable 3D models
- Prusa knowledge base
- Join Printables!
- Manual changelog Five-Head (Assembled)
Comments
Log in to post a comment
Matthewd5
•
Ok
I somehow skipped/lost/mimisplaced the onscreen calibration step of the side bolts and front pins on the docking module
I do have two problems, two of my nextruders have front pins with no slots to adjust them and the thing brass wire for the wifi has a non functional end that is supposed to click onto the buddy board
Can you please send me 2 new nextruders and 1 new wifi cable as soon as possible??
If I go through the menu and choose reset can I get the calibration steps on-screen to repeat??
Thank you and have a great weekend!
Matthew
Jan Kratochvíl
•
Hello. You can repeat the calibration just in Control menu without reseting the printer. As for missing parts, you have to contact our support team (via livechat is the best option).
nchurch
•
I concur. There needs to be an explanation of how to check the version, and there needs to be instructions showing how to perform the update. 99% of users will need to do this when setting up a new machine. 1. Go to this page https://help.prusa3d.com/article/how-to-update-firmware-mk4-xl_453086 2. Download the new firmware to your local machine. 3. Find the USB drive provided with the XL machine, plug it into your local machine. 4. Delete any older version of the firmware (.bbf file) that you see on the USB drive. 5. Copy the new firmware from your local machine to the USB drive. 6. Insert the USB drive to the XL display. 7. Power up the XL machine. The display will see the new version on the USB and ask if you want to install. 8. Confirm the installation.
Kurt Gluck
•
How do you "Make sure you are running Firmware 5.1.2 or newer". When I turned printer on and it said "Flashing Dwarf" in the lower left hand corner it said "4.7.5+11009". Is this the firmware version? Not sure if I should proceed. Hopefully following https://help.prusa3d.com/article/how-to-update-firmware-mk4-xl_453086